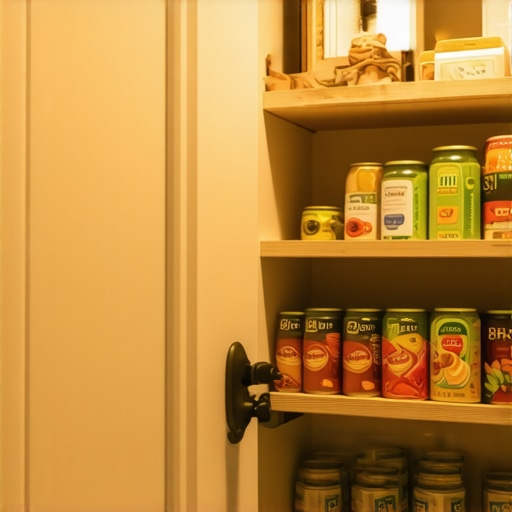
The Pantry Door Shelf Move: Using Dead Space for Canned Goods
I vividly remember the moment I realized my kitchen’s potential was being wasted. It was after a frantic grocery run, baskets overflowing, and I found myself choking on the clutter around my countertops. That’s when I looked up at my pantry door and saw an overlooked opportunity—dead space that could be reinvented for storage. Like many homeowners, I had believed that the only way to store canned goods was on limited shelves or in the traditional pantry corners. But the truth is, a simple shift—using the space behind the pantry door—can change everything.
Turning Hidden Space into Your Canned Food Fortress
When I first embarked on my kitchen remodel, I overlooked the possibilities of utilizing every inch, especially the often-forgotten dead zones. That mistake cost me precious time and space. Imagine opening your pantry and having a dedicated, easily accessible stash of canned goods without sacrificing prime shelf real estate. That’s exactly what a cleverly designed door shelf can do. It transforms unused wall space into an organized, stylish, and practical storage solution. And the best part? This isn’t a complicated or expensive upgrade. With some simple adjustments, you can create a neat vertical storage that keeps those canned foods within arm’s reach, all while maintaining a sleek kitchen aesthetic.
Is a Door Shelf Really Worth the Hype?
Early in my project, I thought, “Is this just another trendy storage hack that won’t last?” I’ll admit—I was skeptical. But then I learned about the mistake I made early on: thinking that all storage solutions are one-size-fits-all. The truth is, it’s often the smallest tweaks that deliver the biggest bang for your buck. Installing a custom door shelf was a game-changer, making access easier and freeing up crucial cabinet space. The secret lies in choosing the right material and design to match your kitchen’s style, while also ensuring it can handle the weight of your canned goods. Want to avoid the pitfalls I encountered? Learn from my experience, and discover how such a simple idea can be a true game-changer for your kitchen organization.
If you’ve ever faced cramped countertops or cluttered pantry shelves, you’re not alone. But I promise, this small upgrade has the power to make a big difference. Ready to learn how to harness that dead space and turn it into your kitchen’s new powerhouse? Keep reading, and I’ll walk you through the steps to make it happen. For more expert insights on custom cabinets and smart storage, check out this detailed guide.
Measure and Plan with Precision
Kick off your project by taking detailed measurements of your space, including the dead zones behind doors and under cabinets. Use a tape measure and a level to ensure accuracy. Draw a scaled sketch to visualize where new storage can fit seamlessly. I remember my messy, paper-lined kitchen table cluttered with sketches and tape, but that clutter turned into a clear plan that made installing a custom door shelf straightforward, saving time and reducing errors.
Select Materials That Last and Match
Choose durable, moisture-resistant materials like hardwood plywood or high-quality MDF for your shelves and frames. For a consistent aesthetic, match your new storage components to existing cabinetry. When I built my door-mounted can shelf, I opted for birch plywood with a water-based finish—resisting warping and moisture. This choice not only matched my cabinets but also ensured longevity, preventing the common issue of warping in humid kitchens.
Build or Buy Custom Components
If DIY isn’t your style, consider ordering pre-made or custom-built units from a trusted cabinetmaker. For those who want to craft their own, cutting and assembling with precision tools ensures a perfect fit. I personally used a circular saw and dado blade for the shelves, ensuring snug joints. Remember, precise cuts are key—any misalignment can make installation a headache. This hands-on approach was messy, but the fit was perfect, and I learned valuable skills along the way. Explore options for built-ins to maximize space, like floating shelves or pull-out drawers, which can be tailored to your needs. For inspiration and detailed guides, check out this comprehensive guide.
Install with Purpose and Care
When installing your new storage solutions, use a power drill with appropriate bits and a level to ensure everything is aligned. Anchor shelves and units into wall studs to guarantee strength, especially for heavier items. I remembered the importance of hitting studs when mounting my canned food door shelf—missing a stud meant a wobble after just a few cans. Pre-drill holes to prevent splitting, and tighten all hardware securely. If you’re fitting a door-mounted rack, make sure the hinges and fasteners are rated for weight to prevent sagging over time. This attention to detail prevents future frustration and ensures your storage remains sleek and functional. For advanced mounting techniques, consult this resource.
Finish and Seal for Longevity
Finish your project with a protective coat that resists moisture and stains. Use a water-based polyurethane or lacquer suitable for kitchens. Sand lightly between coats for a smooth finish. I applied a matte finish to my shelves, which beautifully concealed fingerprints and smudges, maintaining a clean look with minimal upkeep. Proper sealing extends the life of your storage components, so they stay looking new and resist damage from everyday kitchen use. Always follow manufacturer instructions for drying times and application techniques. For finishing tips, see this guide.
Optimize and Organize for Daily Use
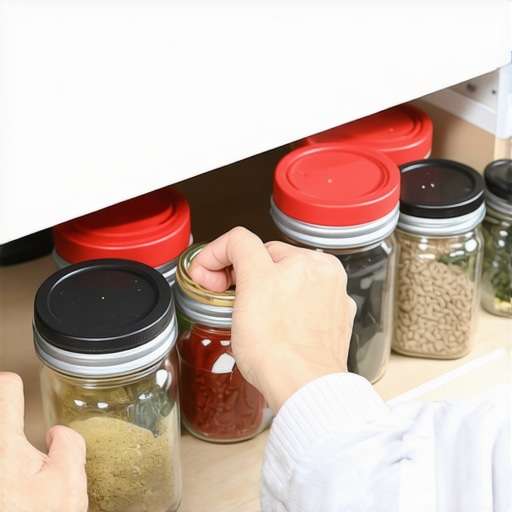
Now that your new storage is in place, allocate space thoughtfully. Group similar items, like all canned goods, together for quick access. Use clear bins or labels to keep things tidy and visible. I used small baskets within my door shelf to organize different types of canned vegetables, beans, and sauces—making retrieval quick and keeping everything from toppling over. Regularly review and adjust your setup to match your changing needs. Remember, the goal is to make your kitchen work for you, not the other way around. Discover more innovative storage ideas at this source.
Many homeowners believe that selecting standard cabinetry or quick-fix storage solutions will suffice in creating a functional kitchen. However, this oversimplification can lead to costly mistakes and missed opportunities for optimization. One common misconception is that all custom cabinets are prohibitively expensive or time-consuming. In reality, understanding the nuances of design and construction allows you to tailor solutions that perfectly fit your space and budget. For example, opting for modular, semi-custom options can provide personalized results without the lengthy lead times associated with fully custom pieces.
Why Do Many Fall for the Same Myths About Kitchen Upgrades?
The most widespread myth is that bigger is always better when it comes to cabinets and storage; more space seems like the obvious goal, but overbuilding can lead to clutter and underutilized areas. A well-planned, compact system often surpasses a sprawling, inefficient setup in usability and aesthetic appeal. Another misconception is that built-ins restrict flexibility. This couldn’t be further from the truth—when designed thoughtfully, built-ins adapt to changing needs and can incorporate innovative features like hidden charging stations or adjustable shelving, maximizing both form and function. For detailed insights, check out this guide.
Investing in custom cabinetry and built-ins greatly enhances your kitchen’s functionality and aesthetic appeal. However, to ensure these investments stand the test of time, proper maintenance and the right tools are essential. Over the years, I’ve refined my toolkit and routines to keep my cabinets looking pristine and functioning smoothly. One of my top tools is a high-quality cordless drill equipped with various bit sets. This allows me to tighten or adjust hinges and handles swiftly without damaging delicate surfaces. I personally prefer models with brushless motors, offering greater efficiency and longevity, which is crucial for ongoing upkeep.
Another indispensable item is a microfiber cleaning cloth paired with a gentle, non-abrasive cleaner specifically formulated for wood and laminate surfaces. Regular cleaning prevents dust buildup and preserves the finish—especially important if you’ve invested in high-end materials. I also recommend maintaining a set of fine-grit sanding sponge blocks. These come in handy for minor touch-ups when scratches or chips occur over time, allowing you to seamlessly blend repairs without professional help.
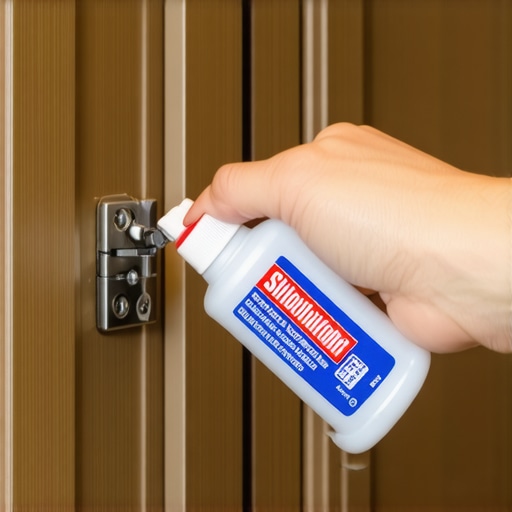
To keep hinges and slides operating smoothly, I use a quality silicone-based lubricant. Applying this once every few months reduces squeaks and prevents sticking. Be cautious to avoid excess, as overspray can attract dust or cause buildup. For more detailed maintenance tips, check out this expert guide.
How do I maintain my cabinets over time?
Consistency is key. Schedule routine inspections to identify issues before they escalate. Wipe down surfaces regularly, paying close attention to corners and joints where grime can hide. For hardware, remove handles periodically and clean or lubricate the mounting points. If you notice hinges starting to loosen or stiffen, tightening or applying a small amount of lubricant can restore smooth operation. Additionally, avoid harsh chemicals that can damage finishes; instead, opt for products formulated specifically for cabinetry maintenance. This proactive care not only extends the lifespan of your cabinetry but also keeps your kitchen looking magazine-ready for years to come.
As technology advances, so do the tools available for maintaining and scaling your kitchen storage solutions. In the near future, expect smart cleaning gadgets that can detect moisture or residue build-up and alert you via an app—further simplifying upkeep. Embracing these innovations will make long-term maintenance more manageable and ensure your custom investments continue to serve you beautifully.
If you’re eager to upgrade your storage with innovative solutions, consider exploring this article for advanced ideas. For now, incorporate my favorite lubricant into your routine—it’s a simple step that yields big results in longevity and performance. Your cabinets will thank you for it!
The Hardest Lesson I Learned About Custom Cabinets and Smart Storage
One of the most impactful lessons I encountered was realizing that even the most beautifully designed kitchen can fall short without clever use of dead space. I once invested heavily in premium cabinetry, only to find that overlooked areas behind doors or under cabinets became dumping grounds rather than functional storage. This taught me that thoughtful planning—embracing every nook and cranny—is vital to truly optimize your space and prevent clutter from creeping back in.
Where to Find Tools That Make a Difference
My go-to toolkit for custom cabinet projects includes a high-quality cordless drill, a set of precision saw blades, and moisture-resistant finish supplies. These tools have made the difference between a good install and a professional-level result. Trust me—investing in reliable equipment ensures your storage solutions stand the test of time, especially when handling heavier items or intricate fittings. For curated insights on effective tools, explore this expert guide.
Transformative Lessons for Your Kitchen Makeover
The journey of upgrading my kitchen taught me that patience and flexibility are as important as the design itself. Sometimes, plans need to adapt based on unforeseen wall alignments or material availability. Embracing this mindset prevents frustration and opens doors to creative solutions, like built-ins or niche shelving, that can revolutionize your storage capacity. Remember, the key is to approach your project as an evolving process, not a rigid deadline.
Achieve Your Dream Kitchen Today
With a clear vision and the right resources, you can unlock hidden potential in your kitchen and make everyday routines more efficient and enjoyable. I encourage you to embrace innovative storage ideas, like integrating a custom door shelf or utilizing Vertical spice pull-outs. These small but impactful changes can significantly enhance your kitchen’s functionality. Ready to start? Dive into detailed guides and expert tips at this resource and take the first step toward the organized kitchen you deserve.