The Secret to Adjusting Inset Doors That Won’t Close Flush
It was a typical Saturday afternoon in my cluttered kitchen when I finally looked up and realized—my beautiful inset cabinet doors just wouldn’t close flush anymore. Instead of sleek, seamless fronts, they had become stubborn, misaligned, and most frustrating of all, unevenly ajar. That lightbulb moment hit hard: no matter how much I fiddled or nudged, those doors refused to sit properly. I knew I wasn’t alone in this struggle; it’s a common headache I’ve seen among homeowners and DIY enthusiasts alike.
Why Your Inset Cabinet Doors Won’t Close Flush and Why It Matters
Inset doors are prized for their clean, built-in look—precise, minimal, and sophisticated. But achieving that flawless finish isn’t as simple as hanging a few hinges. Small misalignments can cause doors to sit awkwardly, banging slightly or leaving unsightly gaps that spoil the entire aesthetic. Over time, these issues can lead to increased wear, dust accumulation, and even damage to the cabinet frame or hinges.
What puzzles many, including myself early on, is understanding the subtle factors at play. Was it warping due to humidity? Incorrect hinge placement? Or perhaps, a mistake I made when initially installing them? Early in my journey, I learned the hard way that overlooking how hinges are set up can cause more problems than they solve. A common mistake, as I discovered, was not properly adjusting the hinges after installation, leading to that dreaded unevenness.
Now, I want to share what I’ve uncovered—simple yet effective techniques to ensure your inset doors close seamlessly every time.
And if you’ve been staring at your misaligned cabinet doors, feeling stuck, don’t worry. This guide is here to help you troubleshoot and fix those issues—saving you frustration, time, and maybe even a few bucks. Ready to turn your imperfect doors into perfect flush fronts? Let’s dive into the proven methods.
Is the Fix Worth the Effort or Just a Waste of Time?
One lingering doubt I had initially was whether adjusting hinges was worth the hassle, or if I should just replace the doors altogether. Honestly, I almost abandoned my project before discovering that a proper hinge adjustment could do wonders. Early on, I also underestimated how crucial precise hinge setup is—an early mistake that cost me extra time and money. Trust me, taking the time to learn how to properly align hinges is one of the most cost-effective ways to improve your cabinet’s appearance.
For further insights on hardware that lasts, check out some of the top-rated [heavy-duty hinges](https://artisancabinetworkz.com/4-titanium-core-cabinet-hinges-that-wont-sag-in-2026) that keep doors aligned and durable over the years.
With that in mind, let’s move from this realization into the practical steps that will help you level those stubborn inset doors and restore that sleek, flush look you want.
Assessing the Degree of Misalignment
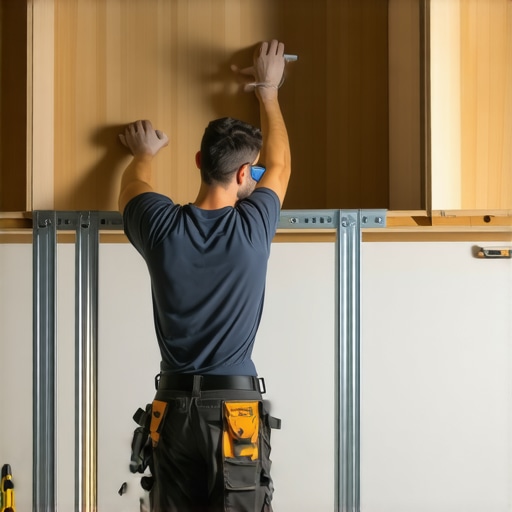
Start by opening your cabinet doors fully and observing how they sit. Are they crooked, uneven at the top or bottom, or do they scrape the frame? During my first attempt, I noticed that one door was about half an inch lower at the hinge side, making the gap look uneven. This initial assessment guides your adjustment process and saves time.
Gathering Your Tools and Supplies
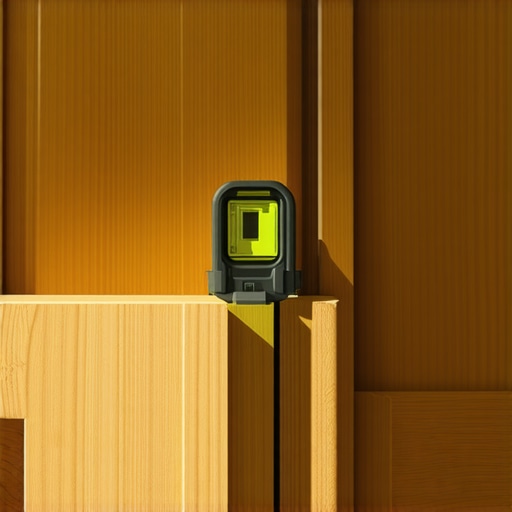
Before proceeding, gather a Phillips screwdriver, a torpedo level, and, if available, a hinge adjustment tool. I recommend having a small container for screws and a flashlight to inspect hidden hinge components. Having these ready made my adjustments smoother and prevented unnecessary pauses.
Checking and Adjusting the Hinges
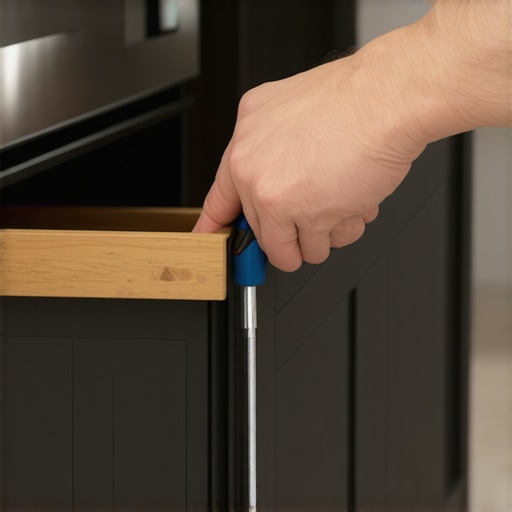
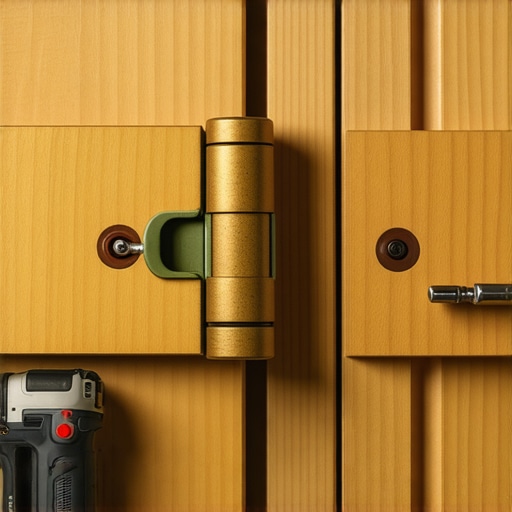
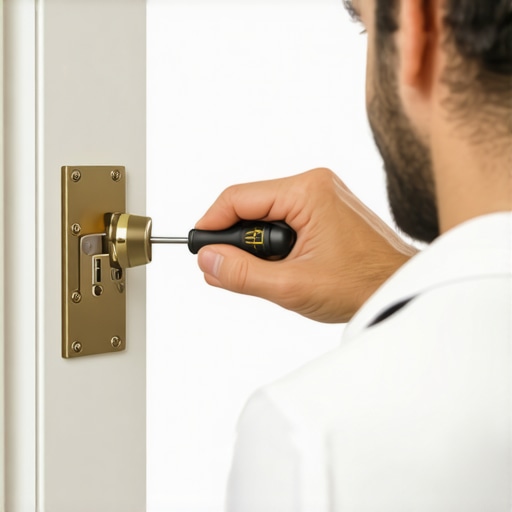
Locate the hinges on the misaligned door; most inset cabinet hinges have screws for height, side, and depth adjustments. Turn to the hinge’s adjustment screws – usually, a screw on the lateral side for horizontal positioning, a screw on the top or bottom for vertical, and sometimes, a third for depth. During my fix, I started with the vertical screw—loosening and then tightening it incrementally—until the door sat flush with adjacent panels.
Adjust the Vertical Position
Using your screwdriver, turn the vertical screw a quarter turn at a time. Tighten while checking the door’s alignment with a level or by sight. My experience was messy at first: the door kept shifting unpredictably. Patience and small adjustments helped me align the top and bottom edges evenly.
Correct Horizontal Misalignment
If the door leans left or right, use the lateral adjustment screw. Loosen it slightly, shift the door into proper position, and then tighten. In a recent project, I used a small piece of painter’s tape on the inside of the hinge to mark the original screw position, ensuring precise realignment.
Fine-Tuning the Closure
After initial adjustments, close and open the door repeatedly to test. Look for consistent gaps and smooth closing. If the door slams or hangs open, further tweak the hinge screws. During one fix, I discovered that a slight clockwise turn of the depth screw helped the door sit closer to the cabinet frame, eliminating gaps and preventing slamming.
Addressing Sticky or Squeaky Hinges
Sometimes, misaligned doors are caused by hinges sticking or squeaking. Apply a quality silicone-based lubricant to the hinge pin and moving parts while the door is open. In my case, lubricating resolved minor stiffness, making adjustments easier and prolonging hinge life. For the best longevity, consider replacing worn hinges with heavy-duty options like heavy-duty titanium hinges.
Verifying Final Alignment
Use a level along the top edge of the door and the adjacent cabinets to confirm flushness. Sight from multiple angles to catch any asymmetry. In my experience, small incremental tweaks led to a noticeably improved appearance, transforming a misaligned door into a seamless part of my kitchen ensemble.
Regular Maintenance to Prevent Future Issues
Inspect hinges annually and tighten screws as needed. Keep hinges lubricated to avoid stiffness, especially in humid environments. These simple practices can prevent misalignment recurrence and maintain that sleek, built-in look that inset cabinets are known for.
When planning a kitchen overhaul or designing custom cabinets, most people focus on visuals and basic storage needs. However, there’s a critical nuance that often gets overlooked: the importance of understanding how materials respond to environmental factors and how design details impact long-term functionality. Many assume that selecting aesthetic materials alone guarantees durability, but in reality, not all finishes or construction techniques hold up under real-life conditions, especially in high-humidity kitchens. For example, some believe that solid wood is the top choice for all scenarios, but without proper sealing and climate control, solid wood can warp or crack over time, negating its premium appeal. As experts in the field confirm, nuances like moisture-resistant finishes and ventilation are essential for longevity—something you won’t find in typical DIY guides.
Keep Your Kitchen Functional with the Right Tools
To ensure your kitchen remains beautiful and functional after your remodel, investing in the right equipment and adopting effective maintenance routines are crucial. I personally rely on a high-quality cordless drill, such as the Dewalt DCD791D2, which offers both power and versatility—making hinge adjustments and cabinet repairs much quicker. For precision work, a compact multi-tool like the Fein Multimaster allows for delicate trim adjustments and removing old sealants without damaging surrounding surfaces. These tools save me time and ensure professional-quality results, especially when fine-tuning built-ins or custom cabinets.
Why I Trust Specific Maintenance Products
For hinge lubrication, I prefer silicone-based sprays like 3-IN-ONE with PTFE because they last longer and don’t attract dust, reducing squeaking over time. Regular use of these lubricants on heavy-duty hinges prevents stiffening and keeps doors swinging smoothly. Additionally, applying a soft cloth with mineral oil on exposed wood surfaces helps prevent drying and cracking, maintaining the cabinet’s finish and integrity. Regular inspections, about twice a year, help catch minor issues before they become costly repairs.
Tools for Long-Term Success
Investing in a digital moisture meter, like the Protimeter Surveymaster, can be a game-changer, especially in humid climates. This device helps you monitor wood and finish moisture levels, preventing warping or peeling—common issues in kitchens without humidity control. For more advanced storage management, I use a 3D modeling software like SketchUp to plan custom interiors, ensuring your built-ins are both beautiful and practical. These tools help you stay ahead in maintaining your space now and as it scales with your household’s needs.
How do I keep my custom cabinets and built-ins working smoothly over time?
Establishing a routine for regular inspections and cleaning is vital. For example, checking hinge alignment and lubricating with appropriate products every 6-12 months preserves their longevity. Additionally, using weather-resistant finishes and avoiding harsh chemicals ensures your cabinetry withstands daily wear and climate variations. Incorporating preventive measures like adjustable shelving and modular storage allows easy access for maintenance and future modifications. Remember, a well-maintained kitchen not only looks great but continues to perform flawlessly for years.
Looking ahead, the future of kitchen maintenance and storage solutions will increasingly integrate smart technology—think sensor-activated hinges or moisture monitors that send alerts directly to your smartphone—making upkeep more intuitive and less time-consuming. For now, start with a simple upgrade: try installing one of the advanced hinge adjustment techniques I’ve highlighted, like the micro-adjustment screws, to elevate your cabinetry’s performance and appearance. It’s this attention to detail that truly makes a difference in long-term kitchen satisfaction.
The Hardest Lesson I Learned About Kitchen Remodels, Built-Ins, Storage Solutions, and Custom Cabinets
One of the most eye-opening realizations was that even perfectly installed hinges can misalign over time if not properly adjusted, reminding me that attention to detail in every step prevents future headaches.
3 Myths About Kitchen Remodels and Custom Cabinets That Held Me Back
I used to believe that high-quality materials alone guaranteed durability, but I discovered that proper maintenance and understanding environmental impacts are equally crucial for lasting beauty.
What Experts Won’t Tell You About Built-Ins and Storage Fixes
Many professionals hide the importance of routine hinge adjustments and lubrication to keep cabinetry functioning seamlessly—this simple upkeep can save thousands in repairs later.
Resources That Changed My Approach to Kitchen Perfection
- Heavy-Duty Titanium Hinges: Trusted for their durability and ease of adjustment, I replaced old hinges with these, ensuring doors stay flush longer. Check them out here.
- Moisture Meter Tools: Monitoring humidity levels helps prevent warping—crucial for kitchens in humid climates. I use the Protimeter Surveymaster regularly.
- Quality Lubricants: Silicone sprays like 3-IN-ONE PTFE keep hinges squeak-free and functioning smoothly without attracting dust.
- Smart Storage Planning Software: SketchUp has transformed my ability to plan efficient, aesthetic built-ins tailored to my space.
Take Action — Your Kitchen Awaits a Revolution
Now that you understand the nuanced world of inset cabinet adjustments and maintenance, it’s your turn to bring these insights into your home. Every small tweak enhances evening out those misaligned doors and elevates your entire kitchen aesthetic. Remember, even the most complex fixes often boil down to simple, consistent care. Dive in, experiment, and enjoy transforming your space into the sleek, stylish kitchen you’ve envisioned. How will you start mastering your inset cabinet doors today? Share your plans below and let’s inspire each other to perfect every detail!
,