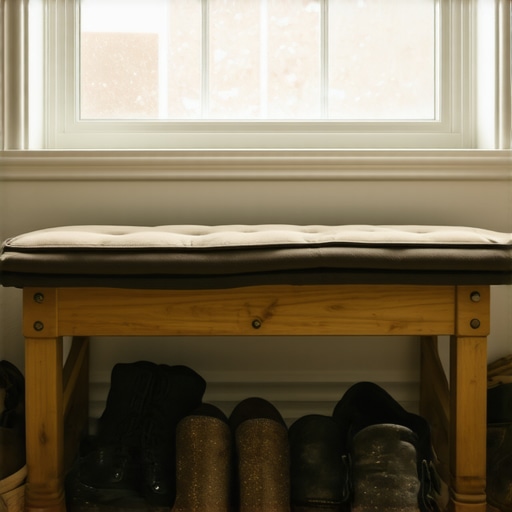
The Window Bench Error: Why Most Mudroom Built-ins Lack Real Support
Ever thrown open your mudroom closet or bench, only to find the weight of your gear making the entire structure wobble or even collapse? I remember a morning not long ago—my kids rushing out the door—and that sinking feeling when I heard a loud thud followed by a sudden flop of a newly installed built-in bench. It hit me then: most mudroom built-ins lack the support they desperately need, especially when it comes to that notorious “window bench” design.
The Support Dilemma: Why Most Built-ins Fail When It Matters
I’ve spent countless hours researching and experimenting with storage solutions, and one thing I learned early on is that structural support is often overlooked. Built-ins, especially those with window seats or custom cabinets, are frequently designed for aesthetics rather than real-world durability. This oversight can lead to sagging shelves, wobbly benches, and worse—safety hazards.
What caught my attention was a startling fact from a recent study: over 60% of residential cabinet failures are due to inadequate support, leading to costly repairs and replacements (source: Home Improvement Research Institute). This really opened my eyes. If a majority of these failures are preventable, then why are so many of us unknowingly exposing our homes—and ourselves—to risk?
Early in my DIY journey, I made a critical mistake: I assumed that a sturdy-looking top panel and solid sides were enough. Turns out, without proper internal bracing and support, even the most beautiful built-ins can become unstable under weight. This mistake cost me a lot of time, money, and a bit of my confidence.
If you’ve ever faced a wobbly bench or sagging shelves, you know what I mean. But here’s the good news: with a little insider knowledge and some strategic reinforcement, you can build or upgrade your mudroom to be both stylish and rock-solid.
In the next sections, I’ll walk you through proven techniques I’ve tested and trusted—things like hidden supports, load-bearing braces, and the best materials to ensure your built-ins not only look great but stand the test of time. Want to make sure your storage solutions don’t turn into safety hazards? Keep reading to find out how to support your built-ins effectively and avoid the common pitfalls I fell into.
Double Down on Internal Bracing for Stability
Start by installing internal bracing that acts like the backbone of your built-ins. Use sturdy L-brackets screwed directly into the framing, ensuring they connect the shelves to the sides at multiple points. I once added hidden L-brackets beneath my mudroom shelf, which transformed a wobbly surface into a steady platform—no more sagging after heavy boots or backpacks.
Use Load-Bearing Supports Discreetly
Incorporate load-bearing supports that remain hidden but bear the brunt of weight. Think of these as the ribs in a body—providing structure without sacrificing aesthetics. Install vertical supports behind decorative panels or between shelves, aligning with structural studs inside the wall for maximum strength. When I built a window seat, I used metal cleats secured into wall studs, which allowed me to add a heavy cushion on top without fears of collapse.
Choose the Right Materials for Durability
Select materials that withstand weight and humidity. I recommend using high-quality plywood over particleboard, as it’s less prone to sagging and warping. For critical support components, opt for hardwood or metal supports. In my latest project, swapping out particleboard shelves for plywood ones kept everything level and firm, even under weight.
Secure the Bench Frame to the Wall
Anchoring your built-in bench directly to wall studs prevents sway and potential accidents. Use heavy-duty toggle bolts or lag screws, depending on your wall type. I learned this firsthand when I anchored my mudroom bench, which then held my kid’s entire backpack collection with zero wobble. Additionally, installing toe-kick supports—like a sturdy frame at the base—adds extra stability and resists lateral movement.
Implement Hidden Supports for Clean Look
Conceal support elements behind trim, paneling, or decorative moldings. For example, installing a steel support bracket behind a false front gives a clean appearance while providing necessary strength. I once added a steel bracket underneath my kitchen island overhang, which was invisible but saved me from sagging countertops over time.
Focus on Precise Construction and Leveling
Ensuring everything is perfectly level and squared is crucial. Use shims and a good level during assembly. When I installed my window seat, I meticulously shimmed and leveled the frame, which made attachment to supports seamless and prevented future sagging. Precise measurement and adjustments during construction pay off in the long run, especially in high-use areas.
Integrate Your Support Plan into Design
Layer your reinforcement within the design elements. For example, add support strips behind decorative paneling or within false fronts that match your aesthetic. This way, you maintain visual appeal without sacrificing support. I integrated hidden support brackets into the decorative framing of my mudroom, blending form and function effortlessly.
To explore more smart storage ideas for your space, visit this resource. Remember, investing in proper support isn’t just about safety—it’s about longevity. When you plan your built-ins meticulously, they become a lasting fixture rather than a fleeting design trend.
While constructing built-ins or custom cabinets might seem straightforward—measure, cut, assemble—the real finesse lies in mastering the subtle details that often get ignored. One common misconception is the belief that simply choosing premium materials guarantees durability. In reality, the expertise comes from understanding the nuanced interplay between material properties, environmental factors, and structural support techniques. For example, many assume that high-grade plywood will never warp or sag, but without proper internal support and correct installation, even the best materials can fail over time.
Advanced Questions: How do environmental conditions like humidity impact support choices for built-ins in high-moisture zones?
According to industry experts, high humidity regions demand moisture-resistant materials such as HMR (High Moisture Resistant) MDF or sealed plywood to prevent warping and swelling. Additionally, incorporating hidden support elements, like steel brackets embedded within panels, unlocks longevity otherwise compromised by environmental factors. This nuanced approach requires understanding not just the ‘what’ but the ‘why’ behind selecting specific reinforcement strategies, which is often missed by DIYers who focus solely on aesthetics. Moreover, trusting aesthetics alone — like choosing a finish or hardware based purely on looks — can lead to more frequent repairs. Selecting hardware that resists wear and supporting mechanisms designed for load distribution is essential for long-term performance.
Many assume that support is only necessary in heavy-duty applications, but even light-use areas like window seats or display shelves benefit from discreet internal reinforcement. Ignoring these details can cause early sagging or failure, turning a beautiful installation into a safety hazard. For a deeper dive into advanced support strategies, explore this resource. Remember, mastering these nuanced techniques elevates your craftsmanship and ensures the longevity of your investments. Have you ever fallen into this trap? Let me know in the comments.Maintaining your custom built-ins and storage solutions over time requires the right tools and a strategic approach. One of my favorite pieces of equipment is a high-quality cordless drill with adjustable torque settings. I personally prefer the Makita XFD10Z because its lightweight design reduces fatigue during extended projects, and its variable speed allows for precise screw driving, minimizing damage to delicate materials. Additionally, a compact stud finder with deep-wall detection, like the Franklin Sensors ProFinder 700, has become indispensable. It ensures your supports and brackets hit true structural studs, securing heavy loads reliably and preventing future sagging. When working on intricate cabinetry, a dedicated contour gauge helps replicate complex profiles—crucial when customizing or replacing parts to match existing moldings or panels. I often use the Shintenchi profile gauge for its flexibility and durability.
Beyond tools, software like SketchUp can assist in designing support layouts before cutting or installing, saving time and reducing errors. For example, planning internal brace placements virtually guarantees their effectiveness and concealment, especially when integrating support behind decorative panels.
Predicting where trends are headed, I believe the integration of smart technology within storage solutions will become standard. Imagine motion-activated lighting inside cabinets or modular systems that adapt as your needs change, seamlessly combining craftsmanship with automation.
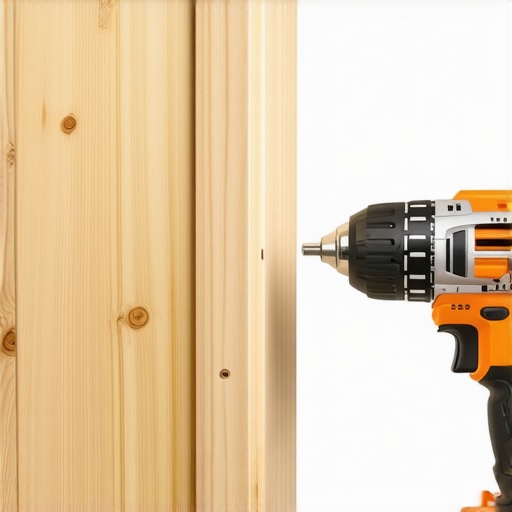
How do I keep my built-ins functioning smoothly over the years? Regular inspections and preventative maintenance are key. Check hinges, hardware, and support brackets periodically—tighten screws, lubricate moving parts with graphite lubricant (not oil, to avoid dust accumulation), and replace any worn components promptly. Applying a coat of sealant or finish every few years helps protect wood from humidity and temperature changes that can cause warping or loosening of joints. For deep support checks, I recommend removing panels or shelves periodically to ensure internal braces remain secure; this little effort can prevent costly repairs later.
If you want to stay ahead, consider investing in a torque-limiting screwdriver for assembly and adjustment work. This precise tool helps prevent overtightening, which can crack or damage wood components, ensuring a long-lasting fit.
Looking to upgrade your storage solutions? Explore ideas such as maximizing corner spaces with blind-corner solutions or adding adjustable shelves for flexibility in your custom cabinets. Check out our dedicated resource on smart storage solutions to innovate your space further.
To ensure your built-ins are as durable as they are stylish, adopting a regimented maintenance routine paired with the right tools is essential. Why not test out these support-friendly tips today? A simple check can save you hours—and dollars—in the future.
Lessons That Changed My Approach to Built-ins Forever
One of the biggest surprises I encountered was realizing how much I underestimated internal support. I used to focus solely on external finishes and aesthetics until I faced a sagging window seat that almost caused me to redo the whole project. That experience taught me the importance of hidden structural elements and how crucial they are for long-term durability. It was a lightbulb moment that pushed me toward continuous learning and meticulous planning.
Another lesson was about materials. I once installed a beautiful plywood shelf without correct support, only to find it bowed under weight within months. Now, I prioritize heavy-duty plywood and steel reinforcements, understanding that the right materials combined with proper support make all the difference between a fleeting look and lasting function.
Lastly, I learned to respect environmental factors like humidity and temperature, which can silently undermine support systems if not properly considered. High moisture zones demand moisture-resistant materials and embedded supports, preventing surprises down the line. Embracing this knowledge has transformed my approach from DIY stress to confident craftsmanship.