Why Full-Overlay Cabinets Give You More Storage for Less Money
I remember flipping through photos of stylish kitchens, feeling that familiar pang of frustration. Even in the most beautiful spaces, I couldn’t shake the feeling that I was missing out on storage. It was as if some clever trick kept popping up—something called full-overlay cabinets—and honestly, I had no idea if it was worth the hype. But then, during my own remodel, I had that lightbulb moment: *Could these cabinets give me more space without draining my wallet?* The answer turned out to be a resounding yes.
The Hidden Power of Full-Overlay Cabinets
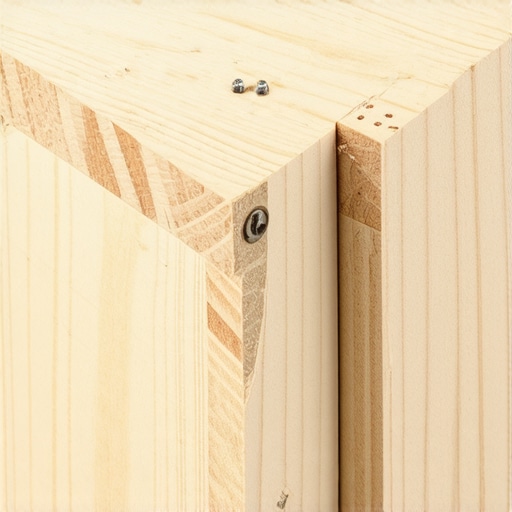
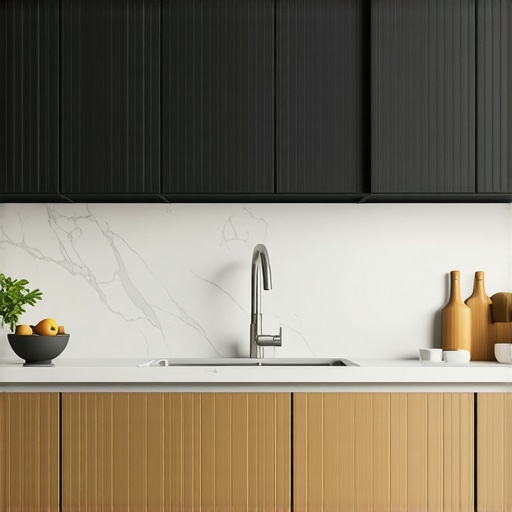
Like many homeowners, I initially thought that expensive custom cabinets were the only way to get ample storage. But I soon discovered that full-overlay cabinets offer a smart, budget-friendly alternative. They maximize your kitchen’s potential by reducing the frame size, giving the illusion of more space and easier access to everything you store. Plus, installing them can often be less costly than traditional options, freeing up your budget for other essential upgrades. I vividly recall the moment I realized that I could *fit more in less*, transforming my whole cooking zone with this simple switch.
In fact, according to artisan cabinetworkz.com, innovative storage solutions like full-overlay doors are becoming a game-changer, especially for kitchens where space is at a premium. They’re not just about looks; they’re about making everyday life easier and more organized.
Is This Just a Trend or Truly Worth It?
Early in my research, I made the mistake of assuming that all cabinet overlays were the same. Trust me—my first set of standard overlays looked good, but the space was underwhelming. It wasn’t until I learned that full-overlay cabinets eliminate the face frame gap that I realized how much more storage I could unlock. This mistake cost me time and a bit of money, but it taught me a valuable lesson: small design choices can have a big impact.
So, if you’ve faced the frustration of limited cabinet space or you’re considering a remodel, stay tuned. We’re about to dive into the real benefits of full-overlay cabinets and how they can help you get more storage for less money—no gimmicks, just practical tips from someone who’s been there.
Selecting the Right Cabinets
Start by measuring your existing space accurately, noting door and drawer clearances. Choose full-overlay cabinet styles that eliminate unnecessary face frames, creating a sleek look and maximizing every inch of available storage. Visit a trusted supplier like this resource for ideas on modern designs that suit your budget. I remember ordering my sample doors and realizing how much more spacious my kitchen felt as soon as they arrived.
Preparing Your Space and Tools
Clear the area and protect your countertops. Gather essential tools: a drill, screwdriver, level, tape measure, shims, and clamps. Use a stud finder to locate wall supports—this saves time and prevents damage. Think of it like building a sturdy foundation; a misaligned cabinet will cause headaches later. When I did this step in my renovation, I marked every stud location, which made mounting much smoother and prevented accidental wall damage.
Removing Old Cabinets and Wall Prep
Carefully detach existing cabinets, starting from the upper units if applicable. Use a putty knife to pry off any trim or moldings. Fill in holes with spackle and sand smooth. Ensure the wall surface is level and smooth to support new cabinets firmly. In my project, I hit a tricky spot where wall irregularities caused some cabinets to sit unevenly. I used shims generously to level each unit, ensuring a seamless appearance and smooth operation of doors and drawers.
Mounting the Upper Cabinets
Begin with the upper units. Mark the desired height based on ergonomic considerations; typically, 54-60 inches from floor to the bottom of the upper cabinet. Use a ledger board temporarily to hold cabinets in position during installation. Drill pilot holes into wall studs through the cabinet back panels, then secure with proper screws. I remember leaning my cabinet into place, aligning it with the ledger, and drilling with precision—I ended up with perfectly level and flush upper cabinets that transformed my space.
Installing the Base Cabinets
Set the base cabinets on the prepared floor, placing shims under them to achieve perfect level and straightness. Secure them to each other using clips or screws at the sides. Fix the base cabinets to the wall studs, ensuring strong anchoring. I used a level continuously, adjusting shims until my countertops sat perfectly flat, avoiding future issues like uneven drains or wobbling drawers. For added stability, consider anchoring cabinets to each other and to walls securely to handle heavy loads and prevent shifting over time.
Final Adjustments and Doors
Attach hinges to doors and mount them onto the cabinets. Use a router or screwdriver to fine-tune their alignment, ensuring they close flush and without gaps. Installing full-overlay doors means dealing with minimal gaps; patience here is key. I once spent extra time adjusting hinges to prevent scraping—that small effort paid off with perfectly aligned doors that operate smoothly. Get familiar with your hinge type and make incremental adjustments for the best result. To see how these small tweaks can dramatically improve aesthetics and function, check this guide.
When it comes to upgrading your kitchen with built-ins or custom cabinets, many homeowners fall into common traps that can undermine the entire project. As an expert in kitchen design and storage solutions, I’ve seen how misconceptions can lead to costly mistakes, especially when choosing between standard options and tailored solutions. Let’s explore the subtle nuances that most overlook, and how understanding these details can elevate your remodel from good to exceptional.
One widespread myth is that all built-in systems are created equal. In reality, the difference often lies in the quality of installation and the details of design. For example, many assume that custom cabinets are only about aesthetics, but their true strength is in how well they optimize space and functionality. Cutting corners here—such as neglecting precise measurements or ignoring the importance of space planning—can result in units that look good but hinder daily use.
A critical mistake I often see is homeowners rushing into storage solutions without considering the “hidden” needs of their daily routines. For instance, relying solely on traditional cabinets without incorporating adjustable shelves or pull-out units can create frustration. You might think fixed shelves are sufficient, but they limit flexibility and accessibility, which becomes evident over time. A smarter approach involves integrating accessories like vertical dividers or deep drawers, which you can explore more in detail at these innovative solutions.
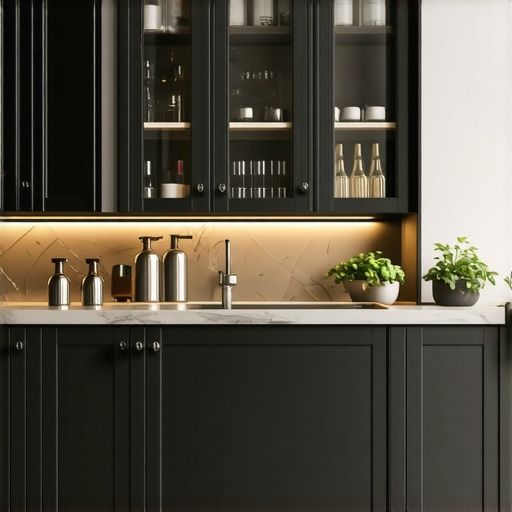
Another misconception focuses on built-ins’ ability to seamlessly blend aesthetics with practicality. While they can be stunning, sacrificing function for style is a common pitfall. For example, beautiful corner cabinets with no easy access often become black holes where items go to die. The trick lies in choosing hardware like swing-outs or blind-corner pull-outs, which maximize usability. To avoid wasting space—and money—think about how each inch serves your lifestyle, not just the eye.
Now, for the advanced homeowner: How do you address uneven walls or quirky room dimensions without sacrificing style? The answer involves custom scribing and precise measurements—skills that go beyond basic installation. This ensures your built-ins fit snugly, avoiding gaps or misalignments that can make even the most high-end cabinets look amateurish. For a detailed guide on fine-tuning inset doors to perfect alignment, check out this resource.
Understanding these nuanced aspects is crucial because small overlooked details can cascade into larger problems—like warped doors, uneven finishes, or wasted space. As experts suggest, investing in quality materials like plywood instead of particleboard can dramatically improve durability and performance, especially in high-humidity areas at this article.
In summary, mastering the art of built-ins and kitchen storage requires more than selecting trendy styles. It demands attention to detail, precise measurements, quality materials, and thoughtful planning. Have you ever fallen into this trap? Let me know in the comments, and stay tuned for more expert insights that can help you avoid these pitfalls and create a space that’s both beautiful and highly functional.
Stick with the Right Tools for Long-Term Success
To ensure your custom cabinets and built-ins stay functional and beautiful over time, investing in high-quality tools and adopting proper maintenance routines is crucial. I personally swear by a few essential items that make ongoing upkeep manageable. A cordless orbital sander, for example, is invaluable for quick touch-ups and refinishing small areas without disrupting the entire kitchen. It saves time and ensures a smooth finish, especially when you notice tiny scratches or chips in your cabinet doors.
Additionally, a microfiber duster combined with a gentle cleaning solution like a mixture of warm water and a few drops of dish soap helps keep surfaces free of dust and grease buildup. Regular cleaning prevents deterioration and keeps the finish looking pristine. When I first started maintaining my cabinets, I overlooked routine cleaning, and it led to stubborn stains; now, scheduled monthly wipe-downs have kept everything looking fresh and prevented long-term damage.
How do I maintain built-ins and custom cabinets over time?
One effective method is to routinely inspect and tighten all hardware, such as hinges, handles, and sliders. Over time, these can loosen due to regular use, leading to misaligned doors or drawers. Applying a bit of silicone lubricant to hinges and slides ensures smooth operation and prevents squeaking or sticking, extending their lifespan. I also recommend checking the alignment periodically—you’ll be surprised how small adjustments can make your cabinets look brand new and function flawlessly for years.
For more advanced care, consider using a furniture polish designed specifically for wood surfaces—products like pure tung oil or beeswax-based polishes nourish the wood and form a protective barrier against moisture. This is especially important if your cabinets are in humid areas or exposed to frequent splashes. Recently, I transitioned to one of these natural polishes, and my cabinets not only look better but also seem more resilient to everyday wear.
Future Trends in Cabinet Maintenance and Storage
The future of built-in maintenance is heading toward smarter, more sustainable solutions. Innovations like self-healing finishes and antimicrobial coatings are emerging to reduce upkeep and extend cabinet life further. These advancements minimize the frequency of cleaning and help prevent mold and bacteria growth—all vital features for a kitchen remodel aiming for longevity and hygiene.
Upgrade Your Maintenance Routine Today
If you haven’t already, try integrating a dedicated maintenance checklist into your routine—inspecting hinges, cleaning surfaces, and applying protective finishes. These small steps pay off immensely over the years, saving you money and frustration. For detailed tips on hardware upkeep and more advanced preservation techniques, explore this comprehensive guide. Don’t wait for problems to arise—be proactive, and your cabinets will thank you for it!
The Hidden Lessons That Changed My Approach to Kitchen Storage
One of the most eye-opening realizations I had was that not all built-ins are created equal. I once believed that splurging on high-end, custom cabinets was the only way to achieve optimal storage, but I was quickly humbled by the power of thoughtful design choices. I learned that integrating adjustable shelves and clever pull-outs, like those discussed at this resource, can dramatically maximize every inch of space. The biggest lesson? Small details—like scribing cabinets to uneven walls—can elevate your entire project from good to extraordinary.
Another truth I wish I’d known earlier is the importance of prioritizing accessibility over visual aesthetics. Beautiful corner cabinets are tempting, but without innovative hardware such as blind-corner pull-outs, they often become wasted space. Spending time on precise measurements and considering how you actually use your storage—something I now advocate after many miscalculations—can save both money and frustration in the long run. This article is a game-changer for learning about practical design ideas that serve your lifestyle.
The Tools and Resources That Make a Difference
Throughout my remodeling journey, I found that the right tools are essential for lasting results. For example, a cordless orbital sander helped me perform quick touch-ups and maintain a smooth finish, while quality hardware such as heavy-duty hinges, available at this store, ensured my cabinets could handle daily wear without squeaking or sagging. Additionally, investing in comprehensive guides, like space-saving pull-outs, provided me with ideas that I never would have considered on my own. These resources helped me avoid common pitfalls and achieve professional-looking results even as a DIYer.
Fuel Your Passion for a Better Kitchen Today
Remember, your kitchen isn’t just a place to cook—it’s the heart of your home. Embracing the journey of customizing your built-ins and storage solutions can be empowering. Whether it’s a small update or a full remodel, you have the ability to transform your space into an organized, stylish haven that truly works for you. If you’re wondering where to start, dive into the expert advice and innovative ideas at this resource and begin crafting your dream kitchen today. What’s the first change you plan to make? I’d love to hear your ideas below!