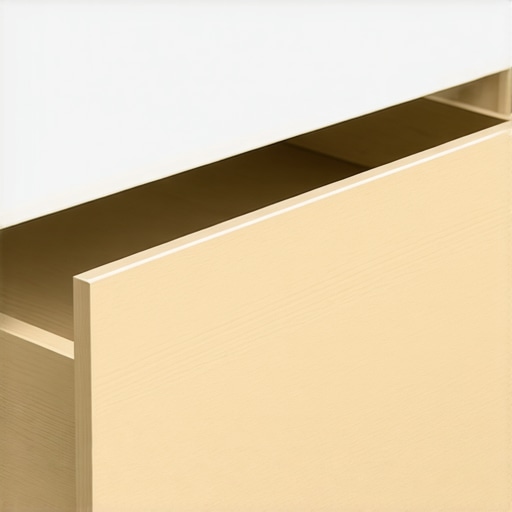
Why We Use Soft-Close Dampers Even on Small Vanity Drawers
I vividly remember the first time I installed a set of soft-close dampers on my tiny bathroom vanity drawers. It was supposed to be a simple upgrade, a minor detail in my overall remodel. But as I gently closed the drawer and watched it close softly instead of slamming shut, I experienced a lightbulb moment. That soft, whisper-quiet finish transformed not just the cabinet’s functionality but also my entire perception of quality in home improvement. I realized then that even on small drawers—little things you might overlook—these dampers make a meaningful difference.
Discovering the Value of Soft-Close Dampers in Small Spaces
As a homeowner and DIY enthusiast, I used to question the necessity of investing in premium hardware for tiny drawers. After all, they’re just used for everyday stuff, right? But my experience taught me that the little details—like soft-close dampers—add up to a more polished, user-friendly space. They prevent the jarring noise and sudden bang that can eventually damage the cabinet or the drawer itself. Plus, they make opening and closing feel so much more effortless, which is a win for everyone in the household.
Is investing in dampers on small drawers truly worth it?
Initially, I made the mistake of thinking that such a small feature wouldn’t justify the cost. Looking back, that was a mistake. Early on, I installed dampers only on my main drawers, ignoring the little ones. Over time, I began noticing how those tiny drawers would sometimes slam shut, scuffing the finish and creating unnecessary noise. This realization pushed me to retrofit dampers onto all drawer sizes, large and small. The result? A quieter, more refined space that feels premium — even if it’s just a bathroom cabinet. This experience led me to understand that quality hardware on every component, regardless of size, elevates the overall feel of your home.
If you’re curious about exploring innovative storage solutions or want to learn how to upgrade your cabinetry for maximum comfort and style, I recommend checking out this guide on space-maximizing storage solutions.
Now, let’s dive into why these dampers are more than just a luxury and how they can make a tangible difference in your home projects.
Prepare Your Workspace and Gather Tools
Start by clearing out your cabinet or drawer area, removing all contents, and laying down a protective cloth. Gather the necessary tools: Phillips screwdriver, drill with bits, measuring tape, level, pencil, and soft-close damper kit tailored for your cabinet size. I once attempted to retrofit dampers into a tiny bathroom drawer without a drill, which made the process frustrating and imprecise. Having the right tools simplifies installation and ensures durable results.
Measure and Mark Placement Points Carefully
Use your measuring tape and pencil to mark the exact spots where the damper components will be attached. Typically, dampers install on the side or the bottom of the cabinet door or drawer. For a small cabinet, measure the distance from the edge to where the damper will pivot. I remember misjudging the placement initially, causing the damper to interfere with the opening—leading to a messy redo. Precise marking avoids misalignment later.
Detach Existing Hardware and Prepare Mounting Surfaces
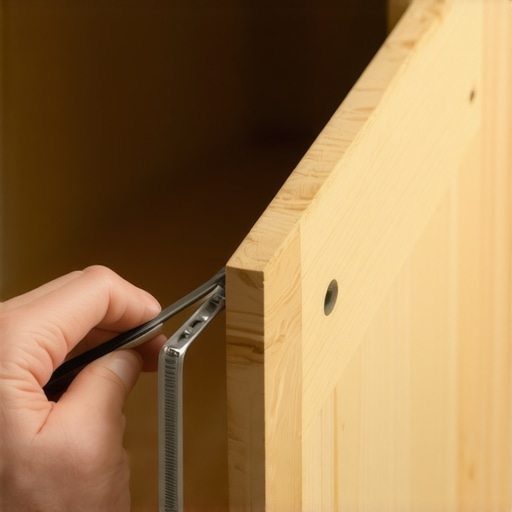
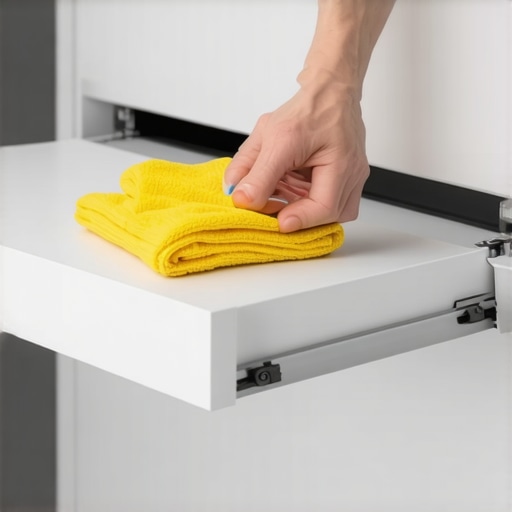
If your cabinet already has hinges or slides, remove them carefully with your screwdriver. Wipe the surfaces with a damp cloth to remove dust and debris. This clean surface ensures the damper attaches firmly. During my first try, I failed to remove a stubborn hinge, which prevented proper damper installation—delaying the project by an hour.
Attach Dampers to the Cabinet Frame
Align the damper mounting bracket with your marked points. Drill pilot holes if necessary to avoid splitting the wood or damaging particleboard. Secure the damper with screws, ensuring it’s firmly attached but not overtightened. I once drilled too deep into a soft MDF panel, causing a crack, which I repaired with wood glue and a clamp. Deep drilling can weaken the structure, so proceed cautiously.
Connect Dampers to the Drawer or Door
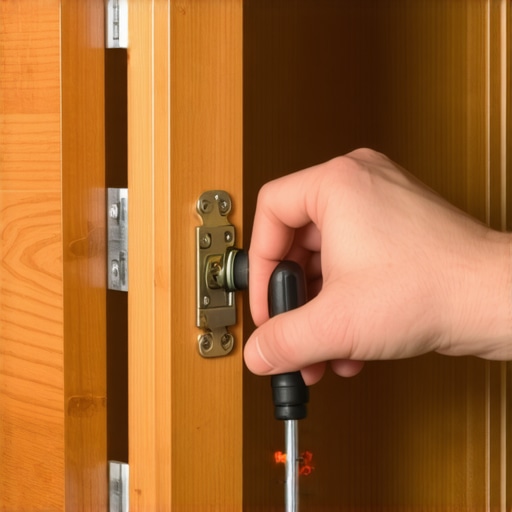
Attach the damper arm to the corresponding pivot point on the drawer or door. Make sure the arm moves smoothly without binding. Adjust the damper’s tension screw according to the manufacturer’s instructions, typically to control closing speed. I learned this best by testing multiple tension settings to find the optimal soft-close action.
Test and Adjust for Smooth Operation
Gently close the door or drawer and observe the dampers in action. If it closes too slowly or too quickly, tweak the tension screw accordingly. Ensure the movement is controlled and silent. During my trial run, I noticed the door still slammed slightly; tightening the damper’s tension provided an elegant, whisper-quiet closure.
Final Inspection and Cleanup
Check that all screws are tight and the dampers are secure. Open and close multiple times to verify consistent performance. Clean any dust or debris for a professional finish. Remember, frequent testing helps catch misalignments early, preventing future damage. After installation, I marveled at how a simple upgrade transformed my cabinetry experience—less noise, easier operation, and a touch of luxury.
Enhance Your Space with Custom Solutions
If you’re considering a broader upgrade or need tailored cabinetry, explore custom cabinets that optimize every inch of your home. For innovative storage ideas specific to small kitchens, visit smart storage solutions to maximize efficiency.
Many homeowners and designers share a mistaken belief that opting for ready-made or standard built-ins is a cost-effective choice that requires no customization for optimal functionality. However, in my experience working on numerous remodels, this oversimplification overlooks crucial nuances that can make or break a project’s long-term success. For instance, believing that generic storage solutions fit all spaces ignores the importance of tailored design that accounts for unique room dimensions, traffic flow, and future needs. This misunderstanding often leads to inefficient layouts and regretful upgrades.
One pervasive myth is that high-end materials alone guarantee durability and aesthetic appeal. While premium materials are essential, neglecting the importance of precise craftsmanship and proper installation can nullify their benefits. Poorly executed built-ins, regardless of material quality, tend to warp, sag, or trap moisture over time. An expert setup ensures that each component, from cabinetry to hardware, is optimized for the space’s specific conditions, avoiding costly mistakes down the line.
Why Do Many DIY Installations Fail to Meet Expectations?
The ‘oops’ factor in DIY projects often stems from underestimating the complexity of custom cabinetry. For example, miscalculating the exact positioning of cabinets can lead to door misalignments or obstructed pathways. Additionally, using standard-sized components without adjusting for wall irregularities results in gaps or uneven finishes. According to a study by the National Kitchen + Bath Association, improper installation accounts for over 70% of cabinet-related complaints, emphasizing the importance of professional measurements and fitting. For those considering DIY, I recommend consulting detailed guides or reaching out for expert help, which you can explore here.
Advanced Insights for the Discerning Homeowner
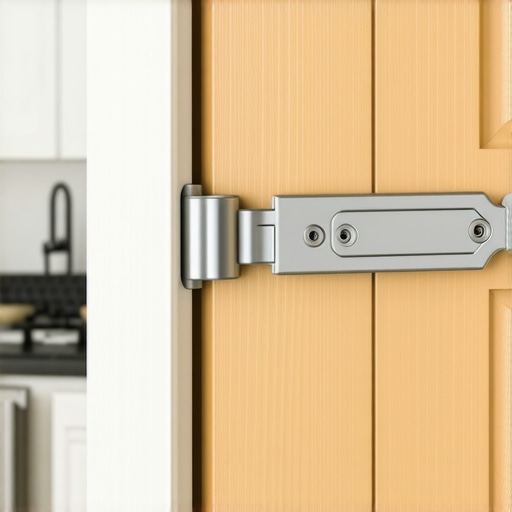
For seasoned remodelers seeking to elevate their projects, a critical nuance involves understanding the structural support behind custom cabinets. Hidden reinforcement strategies, such as installing steel brackets or adjustable shelving supports, ensure that heavy countertops or appliances do not compromise the integrity over time. Overlooking these aspects can lead to sagging or even failure of the cabinetry, especially in high-humidity environments. A comprehensive approach also involves selecting the right hinges and slides, like soft-close mechanisms, which not only enhance user comfort but also prolong the life of your investments. For a deep dive into this topic, see expert tips on storage solutions.
In conclusion, the true mastery of built-ins and custom cabinetry lies in understanding these nuanced details. Recognizing that shortcuts or generic solutions can lead to costly corrections is vital. Instead, prioritize precision, tailored design, and quality craftsmanship to achieve a lasting, beautiful result. If you’re contemplating your next upgrade, don’t hesitate to get in touch through our contact page. Remember, addressing these hidden details ensures your space is both functional and truly personalized. Have you ever fallen into this trap? Let me know in the comments.
Maintaining your custom cabinets, storage solutions, and built-ins is essential to preserve their functionality and appearance over time. The right tools and a proactive approach can save you from costly repairs and ensure your remodels stand the test of time. One tool I recommend wholeheartedly is the Oscillating Multi-Tool. Its versatility makes it perfect for routine upkeep, such as gently sanding rough edges, smoothing out worn finishes, or accessing tight corners for cleaning. I personally rely on the Dremel Multi-Max because of its ease of use and interchangeable accessories, which allow me to perform multiple maintenance tasks without switching tools.
How do I maintain my built-ins over time?
Developing a regular maintenance routine is key. Schedule quarterly inspections to check for loose hardware, signs of wear, or moisture issues. Using a soft cloth to wipe down surfaces helps prevent dust buildup, which can scratch finishes. Applying a furniture polish or conditioner every year will keep wood components looking fresh and protect against drying out. For high-humidity areas like kitchens and bathrooms, I suggest periodically checking seals and applying a silicone spray to hinges and slides to prevent rust and sticking.
In addition to manual tools, investing in appropriate cleaning agents tailored for your cabinet surfaces prolongs their life. For veneered or painted surfaces, I recommend a gentle, pH-neutral cleaner to avoid stripping finishes. When necessary, small touch-up kits for scratches and chips are invaluable. These kits typically include color-matched wax sticks and sealants, which are quick fixes that can be done yourself, avoiding the need for professional refinishing every few years.
Looking ahead: The future of cabinet maintenance
Emerging technologies like smart sensors and IoT-enabled hardware might soon inform homeowners of potential issues before they develop, such as humidity fluctuations or hardware wear. Keeping up with these innovations can help you schedule maintenance proactively, ensuring your investment remains beautiful and functional longer. As a tip, I recommend exploring innovative storage solutions that include maintenance-friendly features, making future upkeep even simpler.
Try this advanced tip to boost your cabinet care
One technique I swear by is applying a light coat of silicone-based lubricant to hinges and sliding mechanisms every six months. Unlike oil, silicone sprays don’t attract dust and grime, which means your hardware stays smooth and quiet longer. This simple step can significantly extend the lifespan of your fixtures and keep your cabinets operating effortlessly. If you want a professional-grade product, I recommend the 3-IN-ONE Professional Silicone Spray, which I’ve used for years with excellent results. Regular lubrication not only prevents squeaks but also avoids misalignment caused by sticky hardware. This small investment of time pays off by maintaining that ‘like-new’ feel for years to come. Don’t forget to wear gloves when applying lubricant and wipe away any excess to prevent dust from sticking.
By integrating these tools and routine practices into your home upkeep, you’ll ensure your cabinets, built-ins, and storage systems stay in prime condition for decades. Remember, a little preventive maintenance goes a long way — and I encourage you to give the silicone lubricant trick a try today.

The Little Lessons That Changed My Approach to Home Renovation
One of the most eye-opening lessons I uncovered was how small upgrades, like installing soft-close dampers on tiny drawers, can revolutionize your entire space. I once thought that focusing solely on larger cabinets or trendy finishes was enough, but experience showed me that perfection lies in the details. Real craftsmanship involves appreciating and refining every aspect, no matter how minor it seems at first glance.
Another insight was understanding the importance of proper measurement and alignment—mistakes here can lead to misfitted doors or uneven finishes that diminish the luxurious feel of custom cabinetry. Patience and precise planning are your best allies in creating seamless, high-end results that withstand the test of time.
Finally, I learned that maintenance isn’t just about fixing issues—it’s about proactive care. Regular lubrication of hinges and cautious cleaning preserves the beauty and functionality of your home investments. Small, consistent efforts truly extend the lifespan and keep your built-ins looking sharp for years to come.
Your Toolbox for Exceptional Home Upgrades
My first pick is the modern kitchen remodels guide—a comprehensive resource offering design ideas and practical tips I personally rely on when planning a custom upgrade. For installation tools, I swear by the oscillating multi-tool, which makes delicate work like scribing and smoothing much easier. And don’t overlook the expert insights on selecting storage solutions—these have helped me optimize space and functionality beyond my initial expectations.
Keep Pushing Forward, Your Dream Space Awaits
Remember, transforming your home through thoughtful built-ins and custom cabinets isn’t just about the end look; it’s about enjoying the process and learning along the way. Embrace these lesser-known lessons, and don’t be afraid to refine your approach as you go. Your perfect, personalized space is within reach, and every small step brings you closer to it. If you’re ready to elevate your home, I encourage you to take action today—start planning, investing in quality, and caring for your cabinetry with intention. How will you incorporate these insights into your next project? Share your plans below and let’s inspire each other to build better, smarter, and more beautiful spaces.