Why You Should Install Your Base Cabinets Before Your Flooring
The sound of wood under stress is something you never forget. It is a sharp, agonizing crack that echoes through the house at 2:00 AM. For me, it was not a structural beam—it was my pride and joy, a brand new floating floor. I had spent a week meticulously clicking those planks together, only to realize I had made the rookie error of a lifetime. I had pinned that floor down with heavy base cabinets. I thought I was being efficient by finishing the floors first. I was wrong. I was young, caffeinated, and far too eager to see the finished product.
The Day I Trapped My Floor Under Eight Hundred Pounds of Oak
That lightbulb moment happened when I noticed a weird hump in the middle of my galley. My modern kitchen remodel was gorgeous, but it was technically failing. You see, most modern floors—especially LVP and laminate—are designed to float. They expand and contract as the seasons change. When I bolted those heavy 36-inch base cabinets directly on top of them, I basically handcuffed the material. Today, we are going to dive into why the sequence of your kitchen remodel floor plan dictates the success of your entire project. I am here to save you from the expensive, back-breaking mistake of having to rip up flooring that was perfectly fine because it simply could not breathe.
Is This Whole Cabinets First Thing Really Worth the Extra Labor?
I know what you are thinking. If I install the floor last, I have to cut around the cabinets! That is way more work. It sounds like a headache. You are imagining yourself on your knees with a jigsaw, trying to get the perfect cut against a toe-kick. Trust me, I get the skepticism. But here is the reality: replacing a buckled floor is infinitely harder than sealing the gap between your cabinet and the floor with a bit of shoe molding. You want a kitchen that lasts, not one that requires a demolition crew in three years.
Save Your Sanity and Your Subfloor
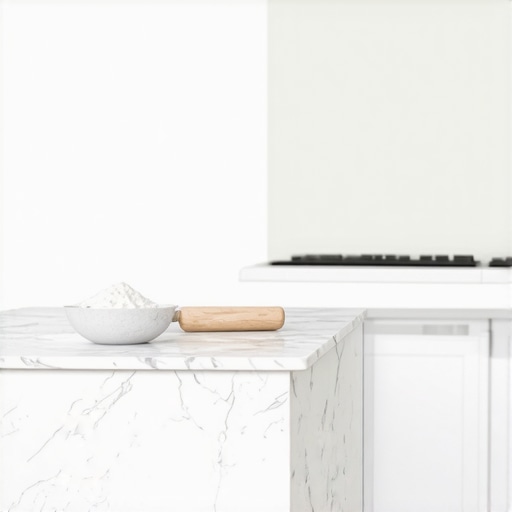
Installing cabinets first is about more than just physics; it is about future-proofing. [IMAGE_PLACEHOLDER] If you ever want to change your floors ten years from now, you should not have to tear out your entire kitchen to do it. Why luxury vinyl plank should not be trapped under your base cabinets is a lesson many DIYers learn the hard way. According to the National Wood Flooring Association, permanent fixtures like kitchen cabinets should never be installed on top of a floating floor because it restricts necessary movement. If you trap it, you void your warranty and invite disaster. Have you ever faced the dread of a buckling floor, or are you standing in your empty kitchen right now with a box of planks, wondering which way to go? Let us talk about why the cabinets first rule is the hill I will die on, especially when dealing with custom cabinets ideas that require absolute precision.
Find the Highest Point Before You Touch a Screw
The biggest mistake you can make is assuming your subfloor is level. It almost never is. In my early days, I tried to skip the mapping phase on a small 10×10 project. I started at the left wall and just kept going. By the time I reached the corner, my cabinets were diving toward the center of the room by nearly three-quarters of an inch. I had to rip everything out and start over. Now, I use a laser level to find the highest point in the room. This peak is your ‘ground zero.’ You set your first cabinet here, and every other box is shimmed upward to meet that height. Learning the proper way to shim cabinets on a high spot in the floor is the difference between a countertop that looks like a playground slide and one that is perfectly flat. This level foundation is essential when you are installing modern kitchen remodels featuring custom cabinets and built-ins, as even a tiny tilt can cause doors to hang crookedly.
Secure the Boxes to the Studs Not the Flooring
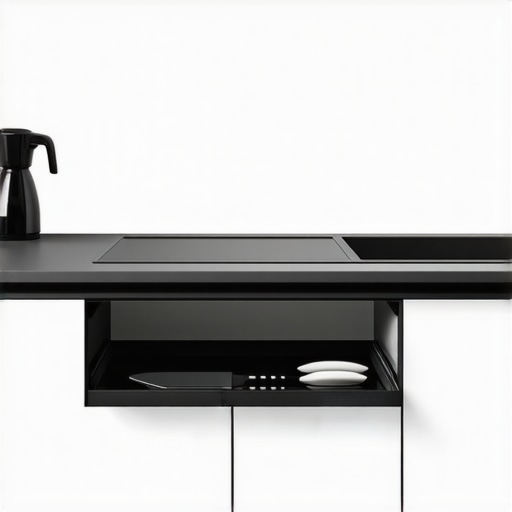
Once you’ve found your level line, you need to anchor the base cabinets directly to the wall studs. By doing this before the floor is installed, you create a rock-solid perimeter. This allows you to integrate innovative storage solutions for modern kitchen remodels without the weight of the drawers affecting the flooring. I remember a job where we installed a massive heavy small appliance lift inside a base cabinet. Because that cabinet was bolted to the framing, the floor underneath remained completely stress-free. If that weight had been sitting on a floating LVP floor, the planks would have eventually separated or buckled from the sheer downward pressure. 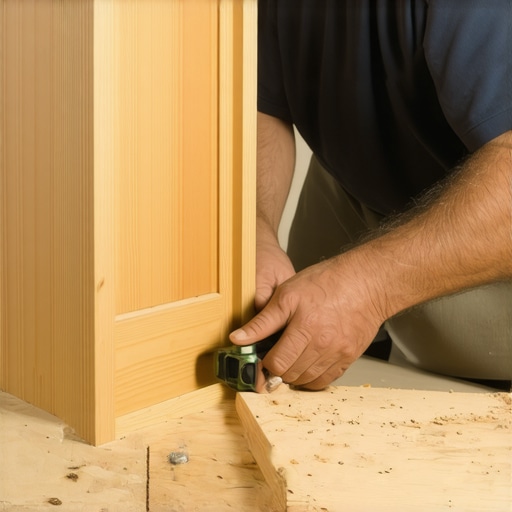
Load Up Your Base Cabinets With Smart Storage Now
With the cabinets firmly in place, you should focus on the internal mechanics before the flooring crew even arrives. It is far easier to install spice drawer inserts or slide-out racks when you aren’t worried about scratching a brand-new floor. This is also the time to ensure your cabinet quality is up to par; for instance, why your custom cabinets should feature dovetail drawers becomes apparent once you start loading them with heavy stoneware. The structural integrity of the drawer box needs to match the stability of your installation.
Master the Transition Between Wood and Cabinetry
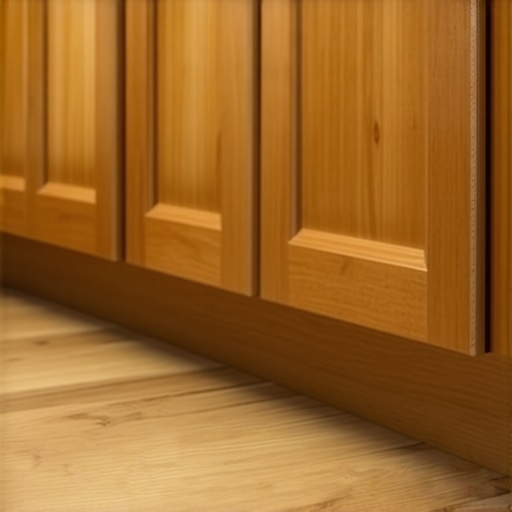
When the flooring finally goes in, you simply run it up to the edge of the cabinet legs or the box frame. You must leave an expansion gap—usually about a quarter-inch—to allow for seasonal shifts. This gap is the secret to a floor that doesn’t ‘tent’ in the summer. You then hide that gap using a toe kick or a small piece of trim. Using the best way to seal the gap between your cabinet and the floor ensures a professional, seamless look that still allows the house to breathe. I once used a scribe molding on a brick-adjacent run, and the result was so tight it looked like the cabinets had grown out of the floor. It takes a little more patience with the miter saw, but the durability you gain by not trapping the flooring material is worth every extra second. By following this order, you maximize space with innovative storage solutions for every room while maintaining a floor that remains flat for decades.Everyone tells you to pack in as much storage as possible. They say your goal is to never see a countertop again. In my experience, that’s a recipe for a cramped, dysfunctional workspace. When I am helping clients with expert tips on selecting storage solutions for a perfect kitchen upgrade, I often suggest less cabinetry. It sounds counterintuitive, but negative space allows for better movement and a more social environment. The More is Better myth leads to kitchens where three people cannot stand together without bumping elbows.
The Sink Base Trap Most DIYers Ignore
One of the biggest oops factors I see involves the heavy-duty components we love today, like cast iron sinks or massive quartz slabs. Most stock cabinets are not built to handle that static load over twenty years. I have seen sink bases literally pull away from the wall because they lacked a plywood cradle for reinforcement. This is precisely why most undermount sink clips fail and the plywood cradle fix is the only way to sleep soundly at night. If you are planning smart storage solutions for small kitchens in 2025, do not sacrifice structural thickness just to gain a few extra inches of drawer space.
Can Your Custom Design Handle the Weight of Modern Quartz?
According to the National Kitchen & Bath Association (NKBA) guidelines on structural integrity, the load-bearing capacity of a base cabinet must account for both the dead weight of the countertop and the dynamic load of daily use—basically, the weight of a person leaning on the counter while kneading bread or preparing a holiday meal. If your ultimate guide to custom cabinets for a stylish kitchen overhaul does not include 3/4-inch side panels, you are asking for long-term structural trouble. Even the highest-end hardware has its physical limits. For example, the real reason your soft-close drawers are sluggish in winter often traces back to the viscosity of the hydraulic fluid in the slides, which is further aggravated if the cabinet box is even slightly out of square due to weight stress. Have you ever fallen into the more storage trap only to realize you cannot actually open your dishwasher all the way? Let me know in the comments.
Stop Guessing and Start Laser-Mapping Your Walls
I’ve learned the hard way that a standard bubble level is only as good as the person holding it, and when you are installing modern kitchen remodels featuring custom cabinets and built-ins, ‘close enough’ is a recipe for a cabinet door that won’t stay shut. My go-to tool for every single install now is the Bosch GLL3-330CG 3-plane leveling laser. I set it up in the center of the room, and it throws a crisp green line across every wall simultaneously. This is how I ensure that the proper way to shim cabinets on a high spot in the floor actually works—you aren’t just leveling one box to the next; you are leveling the entire room to a single mathematical plane. If you aren’t using a laser, you are basically building on a foundation of sand. I also never travel without my True Position Drill Guide; it is the only way to ensure the best way to drill holes for new cabinet hardware doesn’t result in a slanted handle that haunts your dreams every time you walk into the kitchen.
How can I make these custom cabinets last a lifetime?
Maintenance isn’t just about cleaning; it’s about mechanical upkeep. Every six months, I do a ‘hinge hike’ where I check for any door sag. Even the best soft-close hinges can settle over time. You should familiarize yourself with why your drawer fronts are crooked and the adjuster screw fix to keep the lines of your kitchen looking sharp. For the finishes, stop using harsh chemicals. If you have gone with the trendy dark tones, you need to know how to clean matte black cabinet hardware without scratches—usually, a simple microfiber cloth and a drop of pH-neutral soap are all you need. According to the Architectural Woodwork Institute (AWI) Standards, maintaining a consistent indoor humidity level between 25% and 55% is critical to preventing the wood from cracking or the joints from separating. If your house gets too dry in the winter, those expensive ultimate guide to custom cabinets for a stylish kitchen overhaul investments will literally shrink before your eyes.
The Future of the Kitchen is More Than Just Hidden Plugs
Looking ahead to 2025 and beyond, I predict we are moving away from ‘smart’ appliances and toward ‘smart’ structures. We are already seeing the rise of smart storage solutions for small kitchens in 2025 that include integrated sensors to notify you of a slow leak before it ruins your subfloor. We are moving toward a world where your innovative storage solutions for modern kitchen remodels aren’t just static shelves, but motorized systems that bring the top-shelf items down to eye level at the touch of a button. While we wait for that tech to become affordable for the average DIYer, focus on the fundamentals. If you notice a glitch in your hardware, don’t ignore it; learn how to fix a drawer that wont close all the way before the slide mechanism is permanently bent. My biggest tip? Grab a high-quality scribe tool and learn to use it—the difference between a kitchen that looks ‘installed’ and one that looks ‘built-in’ is all in how the wood meets the wall. Go ahead and audit your current cabinet hinges this weekend; you’ll be surprised at what a quarter-turn of a screwdriver can do for your kitchen’s alignment.
Hard Truths I Learned from a Buckled Floor
If I could go back to that 2:00 AM wood-cracking disaster, I’d tell myself that the ‘order of operations’ is the most important tool in the belt. I’ve realized that a great modern kitchen remodel is about the invisible work. First, never value speed over stability; those 3/4-inch side panels are worth every penny when you’re installing heavy stone. Second, always leave room for the house to shift. Wood is alive, even when it’s a floor plank. Finally, the ultimate guide to custom cabinets for a stylish kitchen overhaul should always emphasize that your level line is your only true north.
#IMAGE_PLACEHOLDER_FINAL#
The Kit That Keeps My Kitchens Square
Beyond my laser level, I rely on a few distinct items to keep things precise. My scribe tool is what helps in creating seamless kitchen remasters with built-in storage solutions that look like they were carved into the walls. I also recommend reading expert tips on selecting storage solutions for a perfect kitchen upgrade to ensure your internal hardware is as high-quality as your boxes. If you find the technical side daunting, you can always contact us for a second pair of eyes on your layout.
Build a Space That Breathes with You
The goal isn’t just to have a beautiful room today, but a functional one a decade from now. When you integrate innovative storage solutions for modern kitchen remodels into a plan that respects the floor’s need to move, you’re building a home that lasts. For those looking ahead, smart storage solutions for small kitchens in 2025 offer a glimpse into how we can maximize every inch without sacrificing structural safety. Take it one cabinet at a time, and don’t be afraid to pull a screw if the level isn’t perfect. Your future self will thank you for the extra effort. What’s the one tool or storage trick you wish you had known about before starting your last home project? Let me know below.