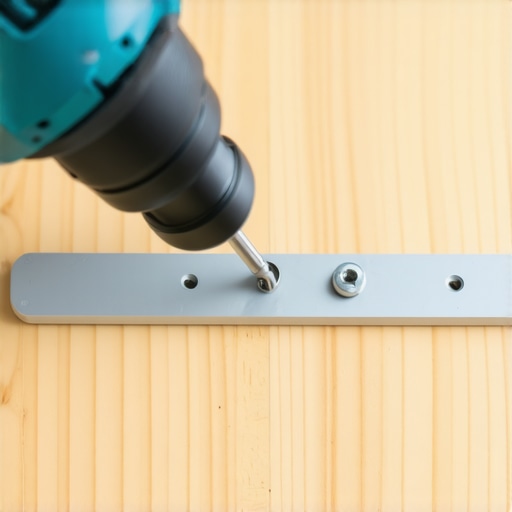
The Best Way to Drill Holes for New Cabinet Hardware
I still remember the pit in my stomach the first time I held a drill to a brand-new, factory-finished shaker door. I had spent months planning my modern kitchen remodels featuring custom cabinets and built-ins, and here I was, about to potentially ruin it in three seconds flat. My very first project involved a set of beautiful brass pulls, but I was overconfident. I didn’t use a jig, I eyeballed the ‘center,’ and I ended up with a drawer handle that sat at a jaunty three-degree angle. Every time I walked into the room, that crooked handle was all I could see. It didn’t matter how beautiful the wood was; the execution looked sloppy. Today, I want to make sure you never have to feel that regret. We are going to walk through the exact process to get perfectly aligned hardware every single time, whether you are working on custom cabinets ideas that transform your homes style or just refreshing an old vanity.
Why Precision Matters More Than the Hardware Itself
You might think a millimeter here or there won’t be noticed, but the human eye is incredibly sensitive to linear patterns. When you have a row of cabinets, even a tiny deviation looks like a glaring error. This is often why your drawer fronts are crooked in the first place—poorly placed hardware can actually make a perfectly hung door look out of alignment. According to the National Kitchen & Bath Association, hardware is the ‘jewelry’ of the kitchen, and improper installation is one of the most common complaints in professional remodeling post-mortems. I’ve learned the hard way that ‘eyeballing it’ is a recipe for a very expensive trip to the cabinet manufacturer to order a replacement door. Have you ever felt that moment of panic right before the drill bit hits the wood?
Is a professional jig actually worth the extra money?
The short answer is a resounding yes. While you can certainly make a scrap-wood template, a dedicated cabinet hardware jig takes the human error out of the equation. It locks into place, ensures your holes are level across twenty different doors, and prevents the drill bit from walking across that smooth finish. If you’re investing in high-quality storage solutions, spending $30 on a tool that guarantees success is the best insurance policy you can buy. It turns a high-stress afternoon into a simple, repetitive task that you can knock out while listening to a podcast.
Get Your Layout Right Before the Drill Hits the Wood
One of the most frequent questions I get when helping people with expert tips on selecting storage solutions for a perfect kitchen upgrade is where the handle should actually go. There is no universal law, but there is a logic. Think of your cabinet door like a piece of art; you wouldn’t hang a painting three inches from the ceiling in one room and at eye level in the next. For base cabinets, the general rule is to align the hardware with the top rail of the door frame. For upper cabinets, align it with the bottom rail. This creates a visual anchor that feels natural to the hand and ensures your arm doesn’t have to reach awkwardly high or low.
Pick a Spot and Stick to It
Consistency is your best friend during innovative storage solutions for modern kitchen remodels. I remember a project where I was installing sleek, minimalist pulls. I decided to change the mounting height halfway through because I thought it ‘looked better’ on a taller pantry door. It was a disaster. The lack of a continuous horizontal line across the kitchen made the whole room feel tilted. If you decide on a 2-inch offset from the corner, that 2-inch offset must be your religion. This is especially vital when you consider why your cabinet handles should be installed horizontally on drawers but vertically on doors—the transition needs to be mathematically perfect to maintain the flow.
#IMAGE_PLACE_HOLDER_B#
Protect Your Finish with the Blue Tape Trick
Cabinet doors are often made of materials that love to splinter, like oak or certain veneers. When a high-speed drill bit exits the back of the wood, it often pushes the fibers out, creating a jagged ‘blowout.’ I learned this lesson the hard way on a set of custom maple built-ins. I was rushing, skipped the tape, and ended up with a nickel-sized crater on the inside of a $200 door. Now, I always apply a strip of painter’s tape to both the front and back of the hole location. The tape acts as a secondary skin, holding the wood fibers in place while the bit passes through. It’s a small step that separates a DIY look from a professional transform your kitchen with custom cabinets expert guide for 2025 result.
The Two-Step Drilling Secret
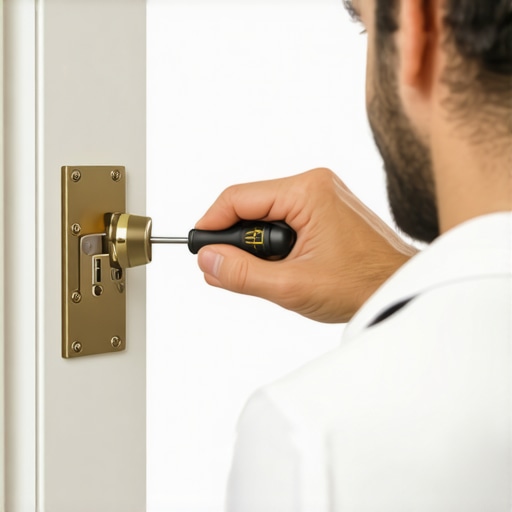
Never try to drill the full-sized hole in one pass. Start with a tiny 1/16-inch pilot bit. This bit won’t wander, and it allows you to double-check your alignment before committing to the larger hole. Once the pilot is through, then come back with the bit sized for your specific hardware. While you’re at it, make sure you’ve followed the secret to choosing hardware that does not snag your pockets, because once those holes are drilled, your hardware choice is permanent. If you’re dealing with alignment issues later, you might need to know how to adjust european hinges for a perfectly level door reveal, but getting the handle hole right the first time eliminates 90% of the visual frustration.
While we often focus on the exterior finish and perfectly aligned pulls, true expertise lies in what happens behind the closed door and within the floor plan itself. Most homeowners believe that simply adding more cabinets will solve their clutter problems. In my experience, this is a total myth. Large, cavernous cabinets often become ‘black holes’ where gadgets go to die. Instead of maximizing volume, you should be maximizing accessibility through smart storage ideas to maximize your kitchen space this year. For example, I always push my clients toward choosing specific interior materials; why pre-finished maple interior is better than melamine comes down to long-term durability and the ability to wipe away spills without the material swelling or peeling.
Stop Obsessing Over Cabinet Count
If you’re planning modern kitchen remodels featuring custom cabinets and built-ins, don’t just count the boxes. Focus on the flow. A common trap is placing the trash bin in the middle of the ‘chef’s zone.’ This is why your garbage pull-out should never be next to the oven; it creates a constant bottleneck where the person cooking and the person cleaning up are constantly bumping into each other. The National Kitchen & Bath Association (NKBA) recommends a minimum of 36 inches of continuous countertop for a primary prep area, yet many DIYers sacrifice this for a bank of tiny, less-functional drawers.
Is Your Island Height Causing You Back Pain?
One of the most advanced nuances in custom design involves ergonomics. While perimeter counters are typically 36 inches high, why your kitchen island should be two inches taller than your perimeter counters is a secret that professional chefs and bakers swear by. A slightly taller surface for prep work reduces the strain on your lower back. 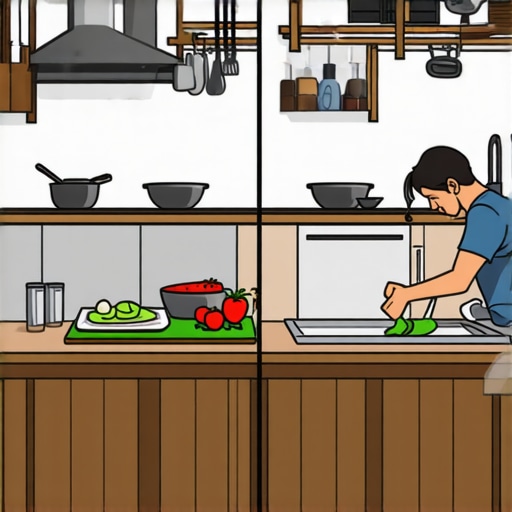 Have you ever felt that nagging ache after a long session of chopping vegetables? This is the ‘Oops’ factor most people ignore until it is too late to change the build.
The Fixed Shelf Fallacy
Finally, don’t fall for the trap of permanent, built-in shelving in your pantry or mudroom. Your storage needs in five years won’t be the same as they are today. This is why your pantry shelves should be adjustable not fixed. Lifestyles change—suddenly you might have a massive air fryer or a collection of oversized flour bins that won’t fit on a standard 12-inch shelf. Have you ever fallen into this trap of building ‘perfect’ storage that you outgrew in six months? Let me know in the comments.
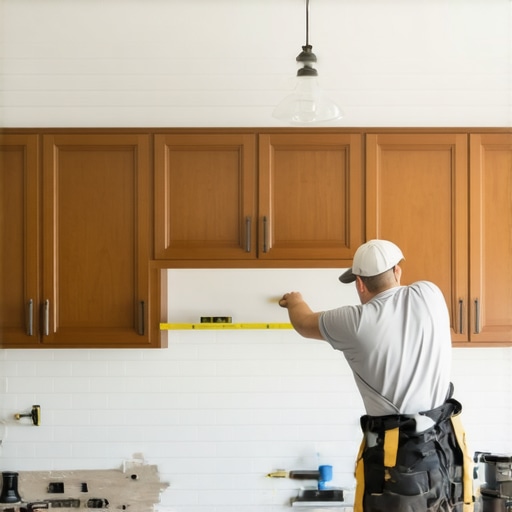
Even the most beautiful layout falls apart if the physical structure isn’t built to last. When I am knee-deep in modern kitchen remodels featuring custom cabinets and built-ins, I stop reaching for standard hardware store screws. I have switched almost entirely to GRK cabinet screws. They feature a built-in washer head that prevents the screw from pulling through the back of the box—a common reason why your wall cabinets are pulling away from the drywall. If you want your installation to survive the natural settling of a house, this is the non-negotiable upgrade you need in your toolbox.
The Tools That Separate Pros from Amateurs
I am often asked what the single most important tool is for creating seamless kitchen remasters with built-in storage solutions. It isn’t the fanciest drill; it is a high-quality, calibrated level. Beyond that, for hardware, I swear by the True Position Drill Guide. It allows you to move from door to drawer without recalibrating your measurements every five minutes. This level of precision is exactly the ultimate guide to custom cabinets for a stylish kitchen overhaul requires to look professional rather than DIY. When you are securing the boxes themselves, remember that why your base cabinets should be secured with 3-inch rugged screws is all about the shear strength needed to support heavy stone countertops.
#IMAGE_PLACE_HOLDER_D#
For the moving parts of your kitchen, we need to talk about lubrication. People often assume that ‘soft close’ means ‘maintenance-free.’ It is not. According to the technical documentation from Blum, a leader in hardware engineering, their hinges are tested for 200,000 opening cycles, but environmental factors like airborne cooking grease can degrade the performance. This is why your soft-close slides grind and the quick lubrication fix becomes essential. I keep a can of dry PTFE spray in my maintenance kit; unlike standard oils, it does not attract dust or pet hair, keeping your smart storage solutions for small kitchens in 2025 running smoothly for years.
How do I keep my custom built-ins looking new for a decade?
The secret to longevity isn’t a special cleaner; it is routine mechanical checks. I recommend checking your hinge tension every two years. Gravity is a constant force, and over time, even the best custom cabinets ideas that transform your homes style can experience slight sagging. A quick turn of the adjustment screw—a trick I explain in how to adjust european hinges for a perfectly level door reveal—prevents the doors from rubbing against the frame and chipping your finish. If you have invested in built-ins that elevate your living rooms functionality, keeping them aligned is the best way to preserve their value.
Looking toward the future, I predict we will see more integration of modular, ‘click-in’ interior systems that allow homeowners to swap a spice rack for a knife block in seconds. But no matter how high-tech the interiors get, the foundation remains the same: solid materials and precise installation. If you are starting a project this weekend, my challenge to you is to ditch the drywall screws and pick up a box of rugged cabinet fasteners instead. It is a five-dollar difference that changes the entire lifespan of your kitchen.
Hard Truths About Cabinet Installation Most Pros Skip
Over the years, I have realized that the most expensive kitchen in the world can still feel ‘cheap’ if the small mechanical details are ignored. First, shadows are your best friend and your worst enemy. If your doors are even slightly out of plumb, the shadows between the doors will be uneven, making the whole wall look crooked. This is why you should spend the extra hour fine-tuning your reveals. Second, you must embrace the reality of clutter. Even with the best custom cabinets ideas that transform your homes style, you will still have a junk drawer. The secret is to use the drawer within a drawer move for organizing your junk drawer so that the mess stays hidden and manageable. Lastly, don’t underestimate the power of silence. I always use the secret to a quiet kitchen dampening your cabinet doors because the sound of wood slamming against wood can make a high-end space feel aggressive instead of peaceful. I have also learned that if you see raw edges, the magic is gone; that is why I prioritize the secret to making plywood edges look like solid wood for a truly seamless look.
My Secret Weapons for a Professional Finish
If you want results that look like they belong in a magazine, you need to look beyond the basic hardware store aisle. I always keep a stash of GRK screws and a True Position Drill Guide nearby. These aren’t just ‘nice to have’—they are the insurance policy for your hard work. When planning your layout, remember that functionality often trumps aesthetics in the long run. I often tell my clients to skip the lazy susan and install lemans pull-outs instead; your knees will thank you in ten years when you don’t have to crawl into a corner cabinet to find a pot lid. Additionally, why we recommend 36-inch base cabinets for every modern remodel comes down to standard appliance heights and overall comfort during prep work.
#IMAGE_PLACEHOLDER_E#
Build a Home You Never Want to Leave
Your home should be a reflection of how you actually live, not a showroom that feels untouchable. Embarking on modern kitchen remodels featuring custom cabinets and built-ins is a big commitment, but the payoff is a space that supports your morning coffee routine, your holiday hosting, and everything in between. Don’t be afraid to take your time with the final hardware installation. If you find yourself feeling overwhelmed or ready to start your next big project, you can always contact us for expert guidance. The difference between a good kitchen and a great one is simply the patience to get the last 5% right. Have you ever had a hardware mishap or a crooked handle that still haunts your dreams? Let me know in the comments below!