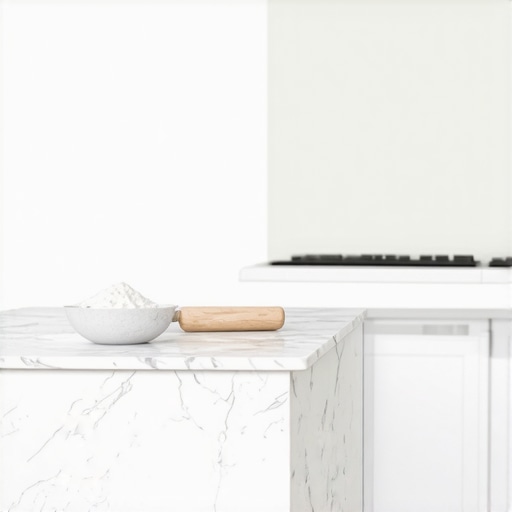
Why Your Kitchen Island Needs a Dedicated Baking Zone with Lower Counters
I was elbow-deep in sourdough starter, flour dusting my favorite apron, and my shoulders were absolutely screaming at me. I’ve been baking for years, but I never realized that the ‘standard’ kitchen height was actually my biggest enemy until I tried to roll out a pie crust on my dining table instead of my island. The difference was night and day. On the island, I was hunching, trying to get enough leverage to flatten cold butter. At the table—which was about six inches lower—I could actually use my body weight to work the dough. That was my lightbulb moment. I realized that my dream of a modern kitchen remodel had focused so much on aesthetics that I completely ignored how I actually use the space. Today, we’re going to solve the problem of ‘countertop fatigue’ and why your next set of custom cabinets should include a dedicated, lower-height baking zone. [image]
Your Back Will Thank You for This Lowered Zone
We’ve been sold a lie that every surface in the kitchen needs to be exactly 36 inches off the floor. It looks neat in a floor plan, but it’s an ergonomic nightmare for anyone who spends time kneading bread or rolling pastry. When you’re planning seamless kitchen remasters, you have to account for the physics of the task. Professional kitchens have used varied work heights for decades because they know that leverage is key. According to research on ergonomic kitchen design, a work surface that sits 6 to 10 inches below your elbow height significantly reduces strain on the musculoskeletal system. For most people, this means a 30 to 32-inch surface is the ‘sweet spot’ for baking. By incorporating the baking center move, you aren’t just making a design choice; you’re making a health choice. I’ll be the first to admit I made a huge mistake early on. In my first major project, I focused entirely on smart storage ideas to maximize space, but I kept the heights uniform. I even installed a heavy mixer lift to save my counters, but the mixer still ended up sitting too high for me to comfortably add ingredients while it was running. It was a classic case of over-engineering the storage while under-thinking the usage. It taught me that custom cabinets as a game-changer only works if they fit your physical needs as much as your storage needs. It’s not just about the kneading, either. Think about the kids or grandkids who want to help. A standard counter is essentially at eye-level for a six-year-old. When I finally lowered a section of my island, it became the social hub where my daughter could actually see what she was doing. We stopped needing that bulky step-stool that everyone constantly tripped over. By integrating the best way to store baking sheets right underneath this lowered zone, everything became a self-contained ecosystem of efficiency.
Does a staggered island look like a mistake?
This is the number one question I get from people in the neighborhood. They fear that a ‘step-down’ in the middle of their beautiful stone island will look disjointed or chopped up. I get it—we love those long, unbroken lines. But here’s the secret: when you use built-ins and storage hacks correctly, that transition can look like a high-end, intentional design feature. Think of it as a butcher block inset or a contrasting stone surface. It doesn’t look like a mistake; it looks like a workstation built for a pro. Have you ever felt like you were ‘fighting’ your kitchen just to make a batch of cookies? Drop a comment and tell me if your counters feel just a little too high for comfort! We’re going to dive into how to blend these heights without losing your kitchen’s cool factor next.
Measure Twice to Save Your Lower Back
To find your ideal height, don’t use a tape measure—use your own body. Stand naturally where your counter will be and bend your elbows to 90 degrees. Your baking surface should sit roughly 6 to 8 inches below that elbow height. This is the difference between hunching over a ball of dough and using your core to press into it. I learned this the hard way during a client project where we aimed for a standard 30 inches but didn’t account for the finished floor thickness. She ended up leaning too far forward, straining her neck. We had to backtrack and realize that the baking center move only works if the elevation matches the user’s specific frame. When you plan your modern kitchen remodels, treat this measurement like a tailor fitting a bespoke suit. It is not one-size-fits-all.
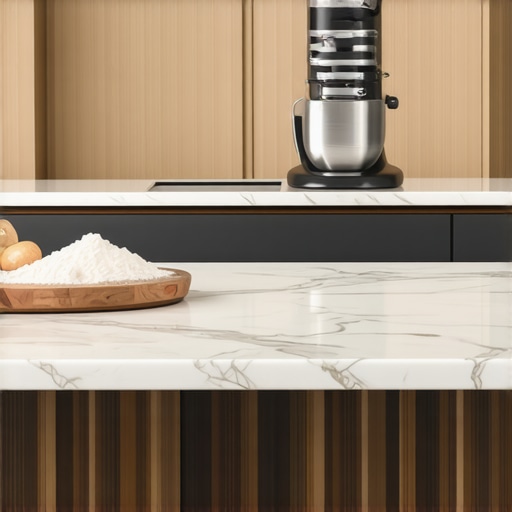
Why Wood and Stone Don’t Always Mix
When you drop the height of a section of your island, you are creating a ‘step-down’ effect that is the perfect moment to switch materials. Using a thick maple or walnut top for the baking zone provides a softer, warmer surface for dough than cold quartz or granite. However, avoid the butcher block mistake by ensuring the wood has room to expand and contract. If you bolt it too tightly to the base cabinets, the wood will eventually cup or crack as the seasons change. For the base itself, you must ensure your builder isn’t cutting corners. This is where knowing how to tell if your cabinet maker is using low-grade plywood becomes vital. A heavy pastry station requires a rigid box, and why plywood box construction still beats particle board for kitchens is clear here: it handles the lateral force of kneading without wobbling over time.
Support Your Station the Right Way
Because this lowered zone is often part of an island, you have to think about structural integrity. If your baking station features an overhang for a stool, you need the countertop support move to prevent the weight of the stone or wood from stressing the joints. You might also face the kitchen island pivot, deciding whether to use decorative legs or a solid cabinet base to support the lower tier. I once worked on a remodel where we used thin, decorative legs for ‘aesthetic’ reasons, only to find the station vibrated whenever the stand mixer was on high speed. We ended up having to reinforce the interior with steel brackets. It was a messy, expensive fix that could have been avoided with innovative storage solutions that prioritize weight distribution from the start.
Keep the Heavy Lifting to a Minimum
The goal of a dedicated station is to reduce friction in your workflow. This means the heavy mixer lift should be positioned so the mixer emerges exactly at the level of your lowered counter. Underneath the counter, integrate the best way to store baking sheets using vertical dividers so you can grab a pan with one hand while the other is covered in flour. When you use smart storage ideas to maximize your kitchen space, you turn a simple cabinet into a high-performance tool. Every inch should serve the specific tasks of rolling, cutting, and prep, from the depth of the drawers to the placement of the cooling racks.
Everyone tells you that to get the most out of your budget, you need to squeeze every possible cubic inch of storage out of your floor plan. It sounds logical, right? But in my experience, that’s the fastest way to turn a high-end space into a functional bottleneck. I’ve seen homeowners so obsessed with expert tips on selecting storage solutions that they forget about the most important element: air. When you pack cabinets right up to the edge of your walkways, you lose the ability to actually move. According to the National Kitchen & Bath Association (NKBA), a functional work aisle should be at least 42 to 48 inches wide. If you ignore why your open-concept kitchen island needs a 4-foot clearance rule, you’ll find that two people can’t pass each other, and your dream kitchen suddenly feels like a crowded hallway.
Stop trying to fill every square inch
The contrarian truth is that sometimes the best storage solution is the one you don’t install. We often feel pressured to add more boxes, but revolutionize your kitchen remodel using built-ins by focusing on the quality of access rather than the quantity of shelves. A common ‘oops’ factor I see is placing temperature-sensitive items in ‘dead space’ that actually destroys them. For example, why we stopped putting wine racks over the refrigerator is simple: the heat from the compressor cooks your Cabernet. The same goes for spices. Tucking them into a beautiful pull-out right next to a high-BTU range might look sleek, but the constant heat cycling will turn your expensive saffron into flavorless dust in months.
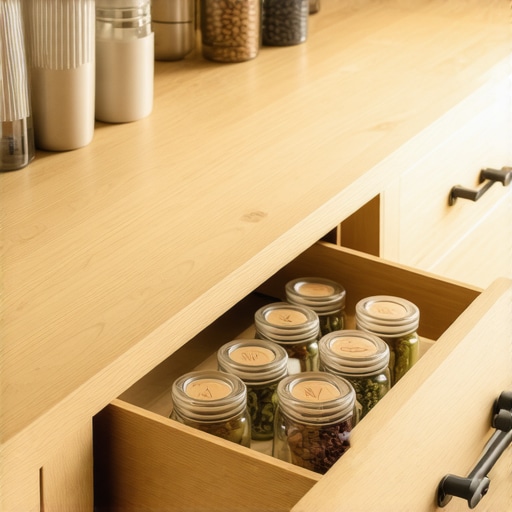
Are those narrow spice pull-outs actually worth the cabinet space?
It’s the most requested feature in modern cabinetry, but here’s the hidden nuance: narrow pull-outs can be an ergonomic disaster if they aren’t engineered correctly. If they are too deep and too narrow, you end up digging for that one jar of cumin at the very back of the bottom shelf, which defeats the entire purpose of ‘easy access.’ This is why narrow spice pull-outs are often harder to use than you think. Instead of a 3-inch filler pull-out, I often recommend using that space to give your drawers more breathing room or opting for a tiered drawer insert where every label is visible at a glance. Have you ever fallen into this trap where you prioritized the number of cabinets over how you actually move? Let me know in the comments!
Once the dust settles and the installers head home, the real journey of homeownership begins. You’ve invested in custom cabinets for a stylish kitchen overhaul, but if you treat them like the flat-pack furniture from your college dorm, they won’t stay beautiful for long. I always tell my clients that a kitchen is a living, breathing thing—especially if you’ve opted for natural wood. To keep things running smoothly, you need the right tools in your junk drawer. Forget the generic toolkit; you specifically need a PoziDriv #2 screwdriver. Most high-end hinges and drawer slides use PoziDriv screws, which look like Phillips but have extra ribs to prevent stripping. Using the wrong bit is the cabinet screw mistake that causes heavy drawers to fail because it rounds out the head, making future adjustments impossible.
The One Tool You Need in Your Junk Drawer
If you notice your doors are suddenly wonky, don’t panic. Houses settle, and wood responds to the seasons. You can easily learn how to align inset cabinet doors using the small adjustment screws on the hinge arm. It’s a five-minute fix that prevents your doors from rubbing and chipping the finish. While you’re at it, keep an eye on your hardware. If things start to feel ‘sticky,’ it’s usually just dust. I’ve found that the quick cleaning fix for failing slides—a simple wipe-down with a dry cloth and a puff of dry lubricant—is often all it takes to restore that satisfying ‘thud’ of a soft-close drawer.
How do I keep these cabinets looking brand new for a decade?
The biggest threat to your kitchen isn’t a messy cook; it’s humidity. The Architectural Woodwork Institute (AWI) suggests in their Quality Standards Illustrated that maintaining a consistent relative humidity between 25% and 55% is critical for architectural woodwork. If your home swings wildly from bone-dry in the winter to swampy in the summer, solid wood door panels still need room to breathe, and extreme shifts can cause cracking. I personally use a small hygrometer hidden on top of my fridge to monitor my kitchen’s air. If I see it dipping too low, I run a humidifier to protect my joints and seams.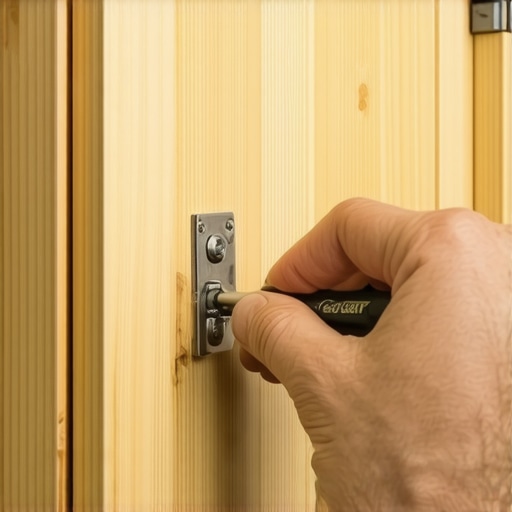
Stop Using Harsh Chemicals on Your Finish
When it comes to cleaning, less is always more. I’ve seen beautiful finishes ruined by ‘orange oil’ cleaners that leave a wax buildup that eventually turns into a sticky magnet for grime. Because of the difference between pre-catalyzed and post-catalyzed cabinet lacquer, your modern cabinets are already incredibly durable. All you really need is a slightly damp microfiber cloth. If you do encounter a stubborn stain or water mark, look into how to remove stubborn water rings specifically for natural wood before you reach for the abrasive sponges. Prevention is key, so I always recommend waterproof liners for custom sink bases to catch those slow drips before they rot the cabinet floor.
What the next ten years look like for your kitchen
Looking ahead, we are moving toward ‘hyper-modular’ interiors. While the exterior of your modern kitchen remodel stays classic, the inside will become increasingly tech-integrated. We’re already seeing smart storage solutions for small kitchens that use sensors to track inventory or magnetic track systems that allow you to move shelves without tools. The future of the kitchen is one that adapts to you as you age, moving from a baking center for young families to an ergonomic prep station for seniors. If you’re ready to start planning a space that lasts a lifetime, feel free to contact us to talk about your vision. Grab your screwdriver this weekend and check the tension on your most-used drawer—you’ll be surprised how much better it feels with a quick adjustment!
Hard-Won Truths from My Own Flour-Dusted Kitchen
After years of trial and error, I’ve learned that a kitchen designed for a catalog often fails the ‘saturday morning biscuit’ test. Here are a few lightbulb moments from my journey:
- The ‘Standard’ is Just a Suggestion: Don’t let a general contractor tell you that 36 inches is the only height possible. If you are 5’2″ or 6’4″, that standard is your enemy. Custom means built for you.
- Storage Without Access is Just Clutter: We often obsess over expert tips on selecting storage solutions, but if you have to move three things to get to one, the system is broken.
- Air is the Best Feature: Respecting why your open-concept kitchen island needs a 4-foot clearance rule changed my life. It turned a cramped workspace into a social hub where people can actually pass each other without a ‘pardon me’ every ten seconds.
The Gear That Keeps My Kitchen Humming
To keep your custom cabinets for a stylish kitchen overhaul looking pristine, you need more than just a sponge. I swear by these three things: a PoziDriv #2 screwdriver for precise hinge adjustments, a digital hygrometer to track humidity and protect against wood swelling, and a non-waxy microfiber cloth. For the planning phase, I always suggest homeowners check my guide on how to tell if your cabinet maker is using low-grade plywood. Knowing the quality of your materials before they are installed is the ultimate peace of mind.
Build a Space That Actually Fits Your Life
At the end of the day, your home should serve you, not the other way around. Taking the step to incorporate a lowered baking zone or a specialized storage wall is about more than just aesthetics; it’s about reclaiming the joy of cooking. Whether you’re planning a full modern kitchen remodel or just looking to tweak your current setup, remember that the best design is one that makes your daily life feel effortless. If you’re ready to stop fighting your countertops and start enjoying your craft, I’d love to help you find the right path forward. Have you ever felt that a ‘standard’ kitchen height was holding you back from your best baking? Let me know in the comments below!