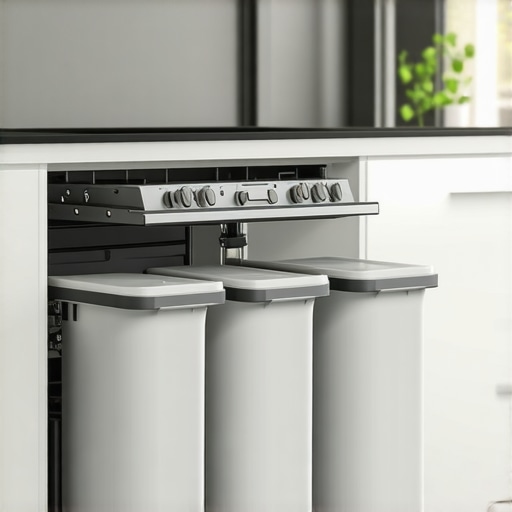
3 Heavy-Duty Trash Pull-Outs That Actually Stay on Their Tracks
It wasn’t until I fumbled with yet another stubborn trash pull-out, lid halfway closed and track jammed, that I realized I wasn’t alone in this frustration. If you’ve ever tried to open your kitchen cabinet and been met with a screech or, worse, a cabinet that refuses to glide smoothly, you know exactly what I mean. Those little upgrades should make life simpler, but when they falter, they can turn into daily annoyances. I remember the moment I thought, “There has to be a better way.” That lightbulb led me down a rabbit hole of discovering heavy-duty trash pull-outs that actually stay on their tracks.
Today, I want to share what I found out about heavy-duty cabinet solutions that are built for real homes—ones that don’t just look good but perform reliably, year after year. If this is your kitchen challenge—forgetting about waste management because the pull-outs keep jamming or falling off—stick around. I promise, there’s a fix that’s worth your time.
Why Your Trash Pull-Outs Keep Falling Off Track (And How to Stop the Frustration)
Assess Your Current Track System
Take a close look at your existing cabinet tracks; identify any signs of wear, misalignment, or damage. During my last kitchen upgrade, I realized that the tracks had accumulated debris and rust, causing the drawers to stick. Using a flashlight and a flashlight, I removed the drawer to inspect the rollers and tracks thoroughly. This initial step is vital to understanding what specific components need reinforcement or replacement.
Replace with Heavy-Duty Components
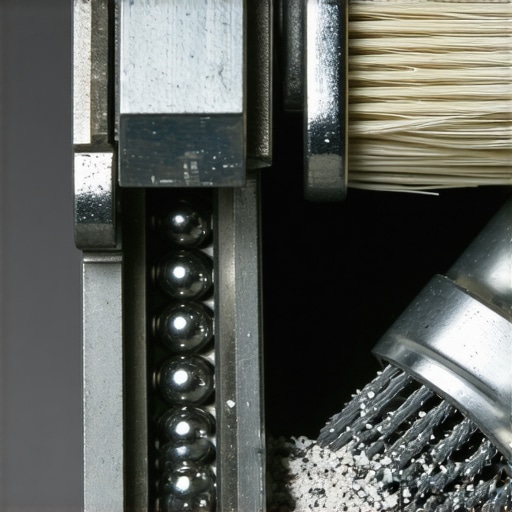
Switch out your old tracks and rollers with heavy-duty, high-capacity equivalents. When I upgraded my trash pull-out, I chose industrial-grade slides designed for 100-pound loads, ensuring durability over years of use. Be sure to select slides with ball-bearing mechanisms for smooth operation. For an example of reliable hardware, consider exploring heavy-duty drawer slides.
Choosing the Right Size and Mounting Style
Measure your existing slides precisely to match the new ones. I found that models with full-extension capability allowed easier access to the back of the cabinet. Decide between side-mount or under-mount slides—side-mount are generally easier to install and more compatible with standard cabinet frames. During my project, I took measurements twice to avoid costly errors, aligning the slide length with the drawer depth.
Proper Installation Steps
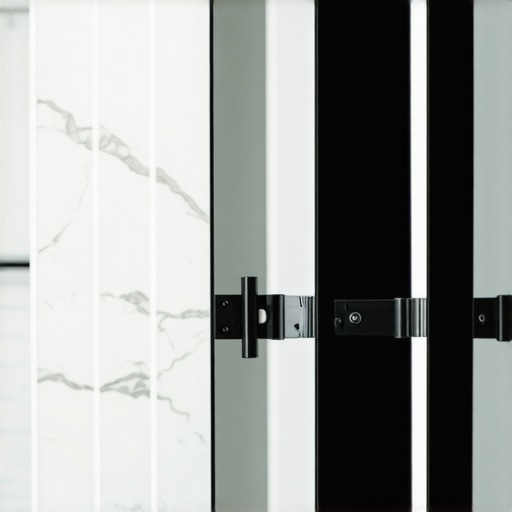
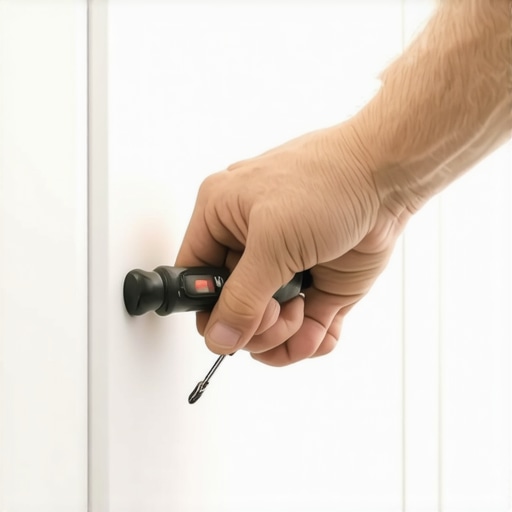
Carefully detach the old tracks, clean the mounting surfaces, and ensure the cabinet walls are level. During my installation, I used a level and a measuring tape to align the tracks perfectly. Forgetting to align tracks can cause uneven wear or jamming, as I experienced when my first attempt resulted in a wobbly drawer. Use appropriate screws and brackets, following manufacturer instructions meticulously.
Secure the Tracks Firmly
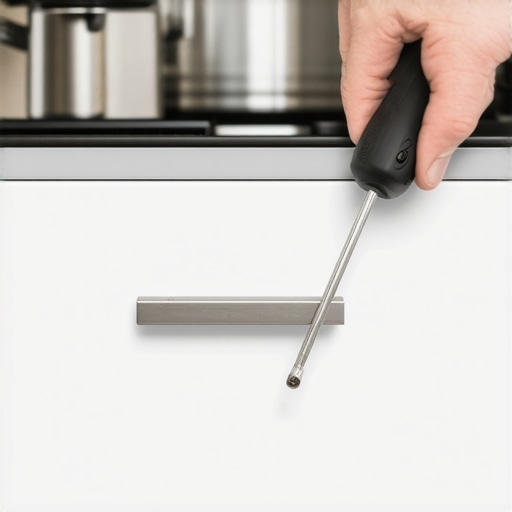
Fasten the slides precisely with appropriate hardware, ensuring they are tight and firmly anchored without over-tightening, which could warp the cabinet. Once installed, I tested the drawer by opening and closing several times; smooth motion indicated a successful setup. Regularly check and tighten screws during routine maintenance for long-term reliability.
Lubricate and Test for Smoothness
Apply a high-quality lubricant designed for metal slides at contact points. I used a silicone-based spray, applying it lightly to prevent buildup. After lubrication, I moved the drawer back and forth multiple times; the result was noticeably quieter and smoother. Consistent testing and maintenance prevent premature wear and keep your cabinet tracks functioning flawlessly.
Reinforce with Additional Support if Needed
If your cabinet is still sagging or experiences strain under load, consider adding brackets or cross-supports inside the cabinet walls. During my project, a support brace between the side panels eliminated wobbliness, especially when pulling heavy trash bins. Remember, the goal is to distribute weight evenly and minimize stress on the hardware, extending the lifespan of your investment.
Final Adjustments and Regular Checks
After installation, check the alignment periodically. Small misalignments can cause significant issues over time. During my routine kitchen maintenance, I noticed slight misalignment that I corrected by tightening screws or realigning tracks. Regular upkeep ensures your heavy-duty cabinet components remain in prime condition, preventing jamming and sagging before it starts.
Explore more solutions for your kitchen by visiting custom cabinet ideas or reach out to professionals for personalized advice through our contact form. Properly reinforcing your cabinet tracks now saves headaches and expenses later.While many believe that selecting the perfect materials or innovative hardware makes the biggest difference in a custom kitchen, the real nuance lies in understanding how these choices interact with your home’s unique dynamics. A common myth is that high-end finishes or complicated organizational features automatically translate to better performance. In reality, neglecting foundational aspects—like proper weight distribution, humidity compatibility, or long-term wear—can undermine even the most luxurious cabinets. For example, many homeowners falter by choosing seemingly durable materials like MDF without considering the impact of kitchen moisture, leading to warping and buckling over time.
Another trap involves overestimating the efficacy of trendy accessories or elaborate storage systems, which often require precise installation and are sensitive to user habits. Skipping professional advice or ignoring detailed measurements can turn these investments into frustrating maintenance liabilities. Advanced users, in particular, should ask:
What are the long-term implications of my material and hardware choices, especially in high-traffic or moisture-prone areas?
Experts highlight the importance of tailored solutions that factor in your specific usage patterns and home environment—something a one-size-fits-all approach can’t provide. Research from industry leaders emphasizes that the success of custom cabinets hinges on meticulous planning, accounting for even subtle nuances such as hinge tension, material expansion, and support reinforcement, ensuring longevity and consistent performance. Discover more sophisticated strategies by exploring modern remodels with tailored built-ins or reach out through our contact form for personalized insights.
Have you ever fallen into this trap? Let me know in the comments.
Maintaining your custom cabinets and built-in storage solutions requires the right tools and a disciplined approach. Over the years, I’ve refined a toolkit that ensures longevity and flawless performance. One indispensable item is a high-quality cordless drill with variable speed and a set of precision screwdriver bits. I personally prefer the DeWalt DCD791D2 because its brushless motor offers durability and power without overheating during prolonged use. This tool is crucial for tightening screws, replacing hardware, or making adjustments without damaging delicate finishes.
Additionally, I rely on a soft-bristle brush, such as the OXO Good Grips>The soft brush is perfect for removing dust and debris from track mechanisms or hinges without scratching surfaces. Regular cleaning prevents buildup that can impede operation—something I learned the hard way when neglected tracks led to jamming.
The Value of Lubrication and Alignment Tools
Proper lubrication is key to smooth movement. I use a silicone-based spray like 303 Aerospace Protectant because it repels dust and moisture while maintaining flexibility of hardware. Applying a light mist periodically keeps hinges, slides, and tracks functioning seamlessly. For precision alignment, I use a small digital level—like the Stabila 37440. It helps me adjust shelves and tracks to perfect horizontal and vertical alignment, which directly improves the operation and appearance of built-ins.
Looking ahead, I predict an increase in the integration of smart tools that can monitor wear or alert homeowners to maintenance needs, making upkeep even easier. Think of smart hinges that notify you when lubrication or tightening is due—an exciting development in cabinetry technology.
How do I maintain my custom cabinetry over time?
The secret lies in consistent, proactive care. Schedule monthly check-ins with your toolkit: clean hardware, lubricate moving parts, and verify alignment. Establishing a routine prevents small issues from escalating into costly repairs. Also, keep a log of maintenance actions and hardware replacements; this record not only helps track wear but also guides future upgrades.
If you’re serious about preserving your investment, consider investing in a smart maintenance system that can remind you when to check and lubricate hardware based on usage data. Incorporating these tools and habits ensures your cabinetry remains beautiful and functional for years to come. For tailored advice on upgrading your cabinet hardware or planning your next remodel, don’t hesitate to reach out through our contact page.
Secrets Kitchen Remodelers Keep Quiet About
One of my biggest realizations was that focusing solely on high-end finishes or trendy hardware often diverted me from the importance of foundational elements like proper weight support and moisture-resistant materials. I learned that overlooking these basics could turn a beautiful kitchen into an ongoing maintenance nightmare. It’s easy to get swayed by flashy designs, but lasting performance stems from understanding how your specific environment interacts with your choices.
An eye-opener was discovering that even the most advanced hardware can fail if not installed correctly or if the materials aren’t suited for the conditions. I once installed premium soft-close hinges without considering humidity levels—resulting in squeaks and misalignment within months. This taught me to see hardware as part of a bigger ecosystem rather than isolated components.
Another lesson was the significance of routine maintenance and proactive reinforcement, not just during the remodel but as an ongoing practice. Small checks, like tightening screws or lubricating hinges, preserve integrity and prevent costly repairs later. It’s about building habits that respect the longevity of your custom solutions, instead of waiting for problems to arise.
Tools and Resources That Elevate My Craft
Over time, I’ve curated a toolkit that ensures I stay ahead of issues before they become evident. A high-quality cordless drill, like the DeWalt DCD791D2, is indispensable for precise, damage-free hardware adjustments. Paired with a soft-bristle brush such as the OXO Good Grips, it helps keep track mechanisms free of dust and debris, ensuring smooth operation. Regular lubrication with products like 303 Aerospace Protectant extends hardware lifespan and maintains quiet, effortless movement.
For accurate adjustments, a reliable digital level like the Stabila 37440 helps me ensure everything is perfectly aligned, from cabinet doors to shelves. Regular use of these tools, combined with a mental note of maintenance schedules, transforms a one-time project into a long-lasting investment. Exploring additional resources, such as detailed guides on modern kitchen designs, keeps my approach fresh and aligned with current best practices.
Crafting a Future with Confidence in Your Kitchen
Now is the perfect moment to embrace these lessons and elevate your kitchen remodel or cabinetry upgrade. By prioritizing foundational quality, committing to regular maintenance, and leveraging trusted tools, you set the stage for a space that remains functional and beautiful over the years. Remember, investing in robust hardware and thoughtful planning isn’t just about aesthetics—it’s about creating a resilient home environment that adapts to your lifestyle and lasts through everyday use.
Are you ready to rethink your approach to custom cabinets and storage solutions? Take the first step today—your future self will thank you for the investments you make now.
What improvements or lessons have you discovered in your own kitchen journey? Share below and let’s learn together!
,