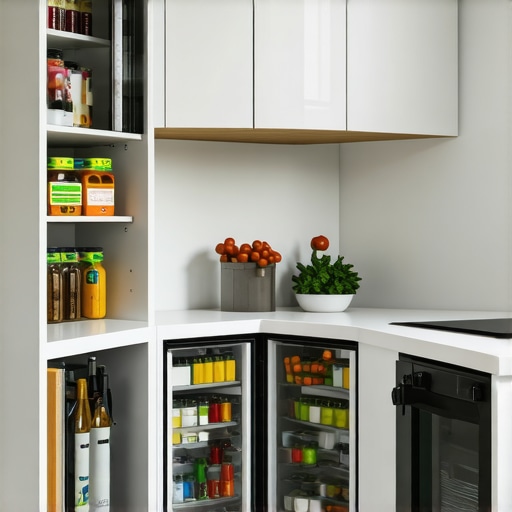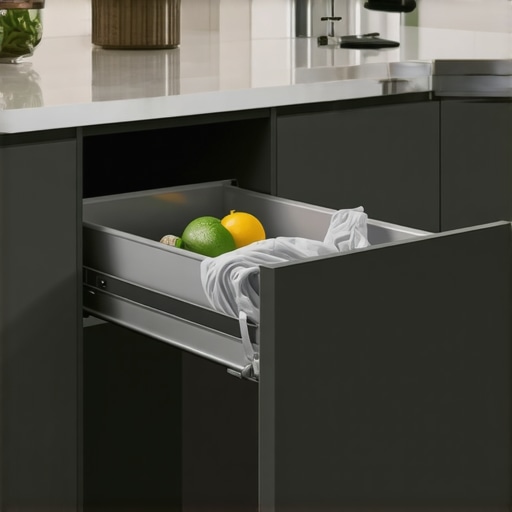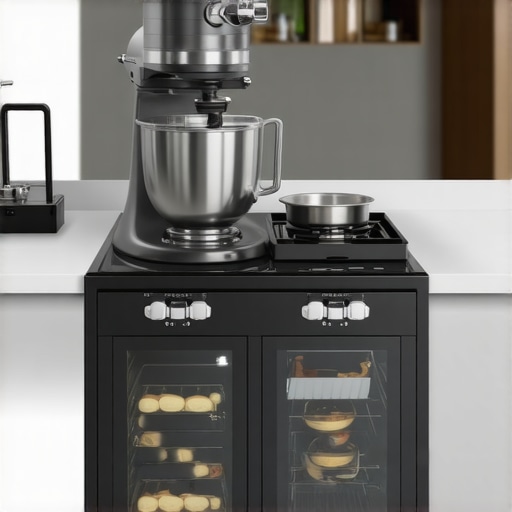
4 Pull-Out Trays for Your Heavy Stand Mixer and Food Processor
I remember the moment clearly. After my latest kitchen remodel, I faced a frustrating hassle: stacks of bulky stand mixers and food processors cluttering my countertops and cluttering my cabinets. No matter how organized I tried to be, heavy appliances kept knocking over, making it impossible to find what I needed without a mini scavenger hunt. That lightbulb moment hit me hard — I needed a better solution, stat.
The Hidden Power of 4 Pull-Out Trays
Imagine having your heaviest kitchen gadgets right where you need them, yet neatly tucked away and easily accessible. That’s exactly what 4 pull-out trays can do for your space. These clever storage units slide smoothly out, letting you grab your stand mixer or food processor without lifting or searching—no more wrestling with awkwardly stacked appliances. And here’s the best part: they maximize your cabinet space, turning what was once a forgotten corner into a functional storage haven.
But I know what you might be thinking — “Are pull-out trays really worth the investment?” Well, let me assure you, they transform a cluttered kitchen into a sleek, efficient workspace. Plus, they’re perfect for those of us who love a seamless, modern look. If you’re tired of crawling on the floor or digging through piles to find that one gadget, I promise, this is a game-changer.
And if you’re wary about the initial cost or installation complexity, you’re not alone. Early on, I made the mistake of installing them without considering weight limits, leading to sagging trays. That mistake taught me a valuable lesson: choose sturdy, high-quality materials and proper hardware. You can learn more about how to select the best storage solutions for your kitchen in this helpful guide.
So, are you ready to say goodbye to kitchen chaos and hello to a smarter, sleeker storage setup? Keep reading, and I’ll walk you through how to incorporate these versatile trays into your remodel plans. Trust me — once you experience the convenience, you’ll wonder how you ever managed without them.
Measure and Plan Your Space
Start by carefully measuring your existing cabinets to determine the optimal size and number of pull-out trays needed for your gadgets. Use a tape measure to record width, depth, and height, then sketch a layout highlighting where each tray will go. Think of this step as laying out furniture in a room — precision ensures a seamless fit. During my remodel, I spent an afternoon walkthrough, jotting down measurements for each cabinet, which prevented mistakes later.
Select Quality Materials for Durability
Choose high-quality plywood or metal slides rated for heavy loads to handle appliances like stand mixers. I learned the hard way that cheaper slides sag over time, making trays sluggish. A comparison with my initial setup shows that investing in sturdy hardware prolongs function and safety. For detailed guidance on choosing durable components, visit this expert guide.
Build or Purchase Customized Trays
For a tailored fit, either order custom-built trays from a carpenter or DIY with pre-cut plywood and a circular saw. I opted for a DIY approach, using a jigsaw to create compartments specifically for my food processor attachments. I found that customizing the dimensions reduces wasted space and ensures appliances sit securely. Plus, it’s a cost-effective way to get exactly what you want. For design ideas, check out storage hacks for sleek kitchens.
Install Heavy-Duty Hardware Securely
Mount the slides to the cabinet using heavy-duty screws, ensuring they’re level and aligned. I used a level and a measuring tape to verify each screw placement. Misalignment caused trays to bind when pulling out, so precision here makes all the difference. For exact hardware installation techniques, refer to cabinet installation tips.
Test and Fine-Tune the System
Once installed, slide each tray in and out multiple times to check for smooth operation. I discovered that lubricating metal slides with silicone spray reduced friction and prevented squeaks. Adjusting mounting screws slightly can correct any tilt or wobble, ensuring appliances slide effortlessly. This trial-and-error step guarantees functional perfection before finalizing your design. For more troubleshooting tips, visit troubleshooting storage solutions.
When it comes to kitchen renovations, many homeowners believe that installing custom cabinets or built-in storage will automatically solve all their organization woes. However, let’s dig deeper into some nuanced misconceptions that often trip people up. One prevalent myth is that more compartments and elaborate cabinetry can compensate for poor layout planning. In reality, adding excessive storage without considering ergonomics can lead to clutter hotspots and inefficient workflows.
Are Built-Ins Always Cost-Effective or Do They Hide Hidden Drawbacks?
Many assume that custom built-ins are the ultimate cost-saver, providing tailored solutions that eliminate the need for additional furniture or storage. But experts warn that poorly planned built-ins can become expensive and impractical, especially if they limit access or don’t adapt well to changing needs. For instance, fixed shelving might cover an entire wall, but if not adjustable, it could make future modifications more complex. It’s essential to collaborate with experienced designers—check out this article for insights on clever storage ideas that combine function with flexibility.
Another common misconception is assuming that all storage solutions are equally durable and stress-resistant. Many people overlook the importance of selecting high-quality hardware—like heavy-duty slides or moisture-resistant plywood—that withstand daily wear and tear, especially in humid kitchens. Neglecting this can result in sagging shelves, sticking drawers, or warped panels over time. An advanced mistake I once made was opting for cheaper materials, which failed within a few years. Learning from this, I found that investing in reputable materials and hardware—details discussed in this guide—pays off in durability.
Many homeowners also get caught up thinking that fancy storage is only about aesthetics, while overlooking functional aspects such as accessibility and safety. For example, corner cabinets with lazy Susans may seem space-efficient but can be difficult to reach into for some users. Alternatively, installing pull-out trays or incorporating soft-close mechanisms can improve usability and lifespan significantly. These advanced nuances underline the importance of thoughtful planning and expert advice. For an in-depth look at maximizing every inch, visit this resource.
In conclusion, the real secret to effective kitchen storage isn’t just about adding built-ins or fancy features; it’s about understanding the subtleties of design, materials, and habits. Don’t fall for oversimplified myths; instead, aim for customized, thoughtful solutions that keep your space organized and adaptable. Have you ever fallen into this trap? Let me know in the comments.Maintaining your kitchen storage solutions and built-ins over time requires careful attention to detail and the right tools. I rely heavily on a high-quality cordless drill with variable speed settings, like the DeWalt DCD791D2, which makes installing and adjusting hardware effortless and precise. For measuring, I swear by a laser distance measurer such as the Bosch GLM 50 C — its accuracy ensures your custom cabinets fit perfectly, preventing gaps that can cause issues down the line. Regularly lubricating drawer slides with silicone-based sprays, like WD-40 Specialist Silicone, keeps them operating smoothly and prevents squeaks or sticking, especially in humid environments. When it comes to cleaning, a microfiber cloth combined with a gentle, non-abrasive cleaner preserves finishes without scratching.
Looking ahead, I predict smart, automated maintenance systems will become more prevalent. Imagine voice-activated sensors that remind you when to lubricate or clean your hardware, or even self-adjusting hinges that compensate for wear over time.
How do I maintain my storage systems for long-lasting performance?
Consistent check-ins are key. Every few months, inspect your hardware for signs of wear or looseness, tightening screws and replacing any damaged components promptly. Regularly cleaning and lubricating moving parts prevents buildup of dust and debris, which can impair operation. Upgrading to high-quality hardware during your initial installation, as discussed in this expert guide, ensures durability and reduces the need for frequent repairs. To make this process even easier, I recommend setting monthly reminders on your smartphone to perform these routine checks.
Begin integrating one of these maintenance tips today — perhaps by acquiring a versatile lubricant or scheduling your first hardware inspection. Consistent upkeep will keep your customized storage solutions functioning flawlessly for years to come and save you money on costly repairs or replacements.
Secrets I Wish I Didn’t Have to Learn the Hard Way
- One of the biggest lessons was realizing that overestimating my DIY skills cost me time and money. It’s tempting to tackle every project myself, but knowing when to call a professional saved me from costly mistakes, especially with heavy-duty hardware and precise measurements.
- Ignoring the importance of quality materials haunted me early on. Cheap slides and materials led to sagging trays and frustrated mornings. Investing in top-tier hardware from trusted sources makes all the difference in durability and safety.
- Underestimating space planning was a trap I fell into. Measuring once isn’t enough; I learned to double-check and even triple-check to ensure everything fit perfectly, avoiding the stress of rework during installation.
- Failing to consider future needs can make your storage solutions obsolete fast. I wish I had incorporated adjustable shelves and modular units from the start, allowing my kitchen to grow and adapt over time.
- Misconceptions about aesthetics versus functionality nearly derailed my project. Balancing beautiful design with practical access led me to prioritize pull-out trays and ergonomic layouts, making daily use effortless.
Tools and Resources That Changed My Approach
- Innovative storage solutions guide: This cornerstone resource opened my eyes to space-maximizing ideas I hadn’t considered, like corner pull-outs and hidden compartments.
- Expert hardware recommendations: A game-changer in selecting durable, heavy-duty slides and materials that withstand daily wear and tear.
- Built-in storage hacks: These gave me creative ways to keep appliances out of sight yet easily accessible, transforming my kitchen’s look and feel.
- Custom cabinetry insights: Understanding when and how to invest in custom solutions helped me avoid cookie-cutter pitfalls and achieve a tailored aesthetic.
Take Action and Elevate Your Kitchen Now
Embarking on a kitchen storage upgrade might seem daunting, but the payoff is undeniable. Picture a clutter-free space where everything has its place, making your daily routines smoother and more enjoyable. Remember, the key lies in thoughtful planning, quality choices, and being open to innovative solutions. Start today — your future self will thank you for turning chaos into harmony. What’s one storage challenge you’re eager to conquer first? Share below and let’s tackle it together!
,