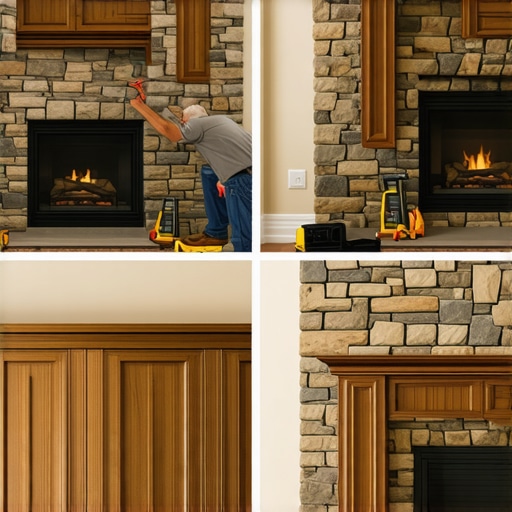
4 Ways to Scribe Cabinets to a Stone Fireplace Without Gaps
Ever since I decided to give my living room a facelift, one challenge kept popping up—those annoying gaps between my cabinets and the stone fireplace. No matter how precise I thought I was being, there was always a tiny, unsightly seam that just refused to stay hidden. It was frustrating, especially after pouring time and money into a renovation that I thought would be seamless. Have you faced the same struggle, wondering why those gaps keep appearing despite your best efforts? Well, let me tell you—it’s more common than you might think, and there’s a way to fix it that doesn’t involve chipping away at your stone or installing elaborate fillers.
Today, I want to share with you four tried-and-true methods I’ve personally tested and refined for scribing cabinets perfectly to a stone fireplace—without ugly gaps or mismatched edges. These techniques will not only improve the appearance of your project but also save you from future headaches and costly corrections. Whether you’re a DIY enthusiast or planning to hire professionals, understanding these methods will empower you to achieve that seamless, custom look you’re after.
Understanding Why Gaps Happen and How to Avoid Them
Is Scribing Cabinets to a Stone Fireplace Really Worth the Effort?
Early in my remodeling journey, I made a critical mistake—assuming that a simple measurement would suffice for molding to uneven surfaces. Turns out, stone is unpredictable; it’s rough, irregular, and unforgiving. This led me to assume that a standard straight cut would do the trick. Spoiler alert: it didn’t. The gaps were a constant annoyance, and I learned the hard way that proper scribing is essential for a polished look. If you’re wondering whether the effort is worth it, I can confidently say that mastering these techniques will elevate your entire project. Plus, according to a study by Houzz, 80% of homeowners find that well-executed carpentry details significantly boost their home’s aesthetic and value.
So, if you’re tired of visible gaps and want a clean, professional finish, understanding and mastering scribing is a game-changer. Let’s dive into what causes these gaps and the methods to seal them effectively. From flexible scribing tools to custom filler methods, I’ll guide you through options that fit different skill levels and project scopes. Ready to transform your fireplace surround into a seamless masterpiece? Let’s get started.
Use Flexible Scribing Tools for Accuracy
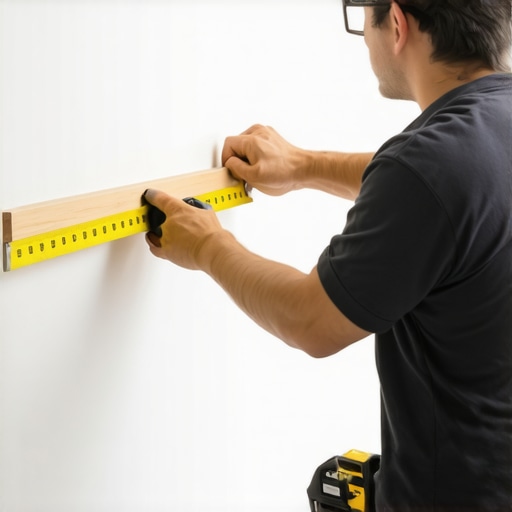
Start by selecting a flexible contour gauge, which is like a mapping device for irregular surfaces. I recall a time when I borrowed one from a friend, and it transformed my project—allowing me to trace every nook and cranny of the stone precisely. Press the gauge against the uneven stone, then carefully trace its profile onto your cabinet piece. This method ensures that your cut lines conform to the irregular shape, avoiding that dreaded gap. The key here is to push the gauge firmly so it captures all the high and low points effectively.
Mark & Cut with Care
Once you’ve traced the profile onto your cabinet face or filler strip, transfer the lines to the material with a fine-tip marker. Use a high-quality jigsaw with a fine blade designed for hardwood or plywood—think of it as your precision instrument. When cutting, proceed slowly to follow the marked line meticulously. Don’t rush; a steady hand pays off by producing cleaner edges that fit snugly against your stone surface. If your cuts are slightly off, don’t fret—fine-tune with a palm sander. Small adjustments here can make the difference between a visible gap and a seamless junction. I once had to remove a tiny sliver from a cut piece; a quick 30-second sanding made it fit perfectly.
Test Fit Frequently
Before permanently fastening your piece, dry-fit it against the stone to evaluate the contact points. Imagine fitting a puzzle piece—you want to ensure it sits flush along every curve. It’s better to do multiple dry runs, marking where adjustments are needed, than to cut once and be disappointed. This iterative process was especially helpful when I worked on my own fireplace; it allowed me to see exactly where to sand or trim. Remember, patience in this step saves time and prevents mistakes later.
Clone & Reinforce with Filler Material
If minor gaps emerge after fitting, use a flexible, stainable caulk or wood fill that can expand and contract with temperature changes. I applied a thin bead of flexible acrylic caulk along the seam, then used a putty knife to shape it smoothly. Once cured, I sanded it lightly and stained over it, making the repair nearly invisible. For larger gaps, consider creating custom filler strips from matching MDF or wood veneer, shaped to snugly fill the space. Think of these as the mortar in masonry—filling voids for a durable, seamless finish. This approach was a game-changer in my project, turning a messy gap into a near-invisible detail that boosted the overall look.
Secure & Finish with Precision
Finally, secure your scribed piece with screws or clamps, making sure not to overtighten and distort the shape. Seal all joints with a high-quality primer and paint or stain to match your existing finish. Doing this last step ensures your cabinet sits flush, ready to impress. For inspiration on how to incorporate custom cabinetry that elevates your entire space, check out this expert guide, which covers optimal design and execution techniques.
When it comes to transforming a kitchen or living space, many homeowners focus on aesthetics and initial costs, but overlook nuanced pitfalls that can sabotage a seamless design. One common myth is the belief that standard solutions suffice for unique spaces—yet this often leads to ill-fitting built-ins that seem designed for someone else’s home. In my experience, rushing into a project without understanding the subtle intricacies can result in gaps, misalignments, or even structural issues down the line.
For example, many assume that choosing a popular style like shaker or slab is enough, but the real challenge lies in customizing these to fit irregular walls or flooring peculiarities. I’ve seen countless projects where unanticipated wall deviations caused visible gaps, and the solution required more than just a quick touch-up—advanced scribing techniques or custom filler strips were necessary.
One critical mistake I often see is undervaluing the importance of detailed measurement and the role of flexible tools in achieving precision. A rigid tape measure won’t capture the true contours of an uneven surface; instead, a contour gauge or 3D scanning tools can reveal the hidden complexities that standard tools miss. This nuance often separates professional-grade craftsmanship from amateur results.
**Are built-ins truly built to last?** Many project creators neglect the structural nuances that come with high-moisture environments or dynamic loads. Using inappropriate materials or hardware, such as particleboard in humid kitchens, can lead to crumbling or sagging over time. According to experts, selecting the right hardwoods and reinforced joinery is vital for longevity, especially when custom cabinets are part of a comprehensive remodel. In fact, a recent study highlights that proper material selection can extend the lifespan of cabinetry by decades, emphasizing the importance of understanding the materials beneath the veneer.
Another nuanced aspect involves the finishing process. Applying paint or stain without considering wood grain direction or pore size can result in an uneven, unprofessional appearance—something an advanced DIYer or a seasoned carpenter can easily avoid by understanding grain flow and application techniques.
For those aiming to maximize space and functionality, integrating hidden storage and access points often seems straightforward, but the devil is in the details. Installing pull-out shelves or custom-inset drawers requires precision, or you risk jamming or misalignment—undermining the entire purpose of a sleek, efficient design. Detailed planning and expert execution are crucial here.
In essence, the hidden nuances of built-ins, storage solutions, and custom cabinets lie in understanding irregular surfaces, material properties, advanced measurement techniques, and precise finishing. Without mastering these, you risk building an aesthetic that’s compromised by functional flaws, or worse, facing costly replacements. Dive deeper into these advanced considerations to elevate your projects beyond the basics. For in-depth guidance on selecting the right materials and techniques, check out this resource.
Have you ever fallen into this trap? Let me know in the comments!
Maintaining your custom cabinets and built-in storage is crucial to ensure their longevity and continued beauty. Investing in the right tools and adopting systematic maintenance routines can prevent common issues like warping, sticking, or misalignment over time. One of my favorite tools for ongoing cabinet care is a high-quality digital moisture meter. It helps me monitor humidity levels, especially in kitchens and bathrooms where moisture can cause wood to swell or shrink, jeopardizing the integrity of your built-ins. Consistent humidity checks—aiming for a range of 40-50%—can prevent warping and cracking, extending the life of your cabinetry.
Another essential tool is a soft, microfiber cloth paired with furniture-grade polish or a gentle wood conditioner. Regular dusting and conditioning keep surfaces looking vibrant and protect finishes from wear. For areas prone to grease or grime build-up, like kitchen cabinets, a microfiber cloth slightly dampened with a mild, non-abrasive cleaner is perfect. Remember, harsh chemicals can damage finishes, so sticking to products recommended for your cabinet’s finish is best.
When it comes to hardware, I recommend maintaining hinges and drawer slides with a high-quality silicone-based lubricant. This keeps them operating smoothly and quietly, reducing wear and tear. Personal experience has shown that applying lubricant every six months, especially in humid climates, minimizes squeaks and prevents sticking. For more advanced maintenance, some professionals swear by a specialized hinge cleaner to remove corrosion and debris, which you can find from trusted hardware suppliers.
For long-term results, I also suggest periodic inspection of joints and seams. Using a flexible, stainable wood filler or caulk to address minor cracks or gaps early prevents bigger issues later. This proactive approach saves money and keeps your cabinets functioning flawlessly.
On the software side, if your storage solutions are digital, like automated closet organizers or smart pantry systems, routine firmware updates ensure optimal performance and security. Regularly reviewing and updating these systems can prevent bugs and enhance user experience.
Looking ahead, the trend in built-in maintenance seems to gravitate toward smart monitoring devices that can track humidity, temperature, and even detect structural shifting. These innovations will give homeowners real-time insights—making preventive maintenance more accessible and effective than ever before.
So, my advice? Incorporate a moisture meter into your regular checkups and keep hardware lubricated with silicone-based products. These steps will help maintain your built-ins in tip-top shape for years to come. For comprehensive insights on choosing storage solutions that last, don’t forget to visit this guide. And remember, a little preventive care today saves a lot of costly repairs tomorrow. Happy maintaining!
3 Surprising Lessons That Changed My Approach to Built-Ins and Custom Cabinets
- Most of my initial frustration stemmed from ignoring the irregularities of natural stone; I learned to embrace flexibility rather than rigidity, which vastly improved my craftsmanship and results.
- Understanding the materials’ property, like the movement of wood in varying humidity, helped me choose the right fillers and finishes, ensuring longevity and a polished appearance.
- Trial and error with dry-fitting prior to permanent installation became my secret weapon—saving time, reducing mistakes, and delivering a seamless, professional finish that I once thought only pros could achieve.
My Go-To Tools and Books for Elevating Built-In Projects
For tackling complex scribing and custom fitting, I rely on a flexible contour gauge. It molds perfectly to uneven surfaces, guiding precise cuts every time. I also swear by the “Ultimate Guide to Custom Cabinets“—a comprehensive resource that drills down into nuances of materials and techniques, saving me countless headaches and ensuring my projects last. Lastly, I often revisit “Built-Ins and Storage Hacks” to find innovative ideas that keep my work practical yet stunning.
Your Next Step in Creating Built-Ins That Wow
Remember, every space presents its own challenges and opportunities—embrace the quirks of your environment and see them as opportunities for mastery. With the right tools, knowledge, and a patient mindset, you can achieve built-ins and custom cabinets that deliver both function and beauty—no gaps, no mismatched edges, just flawless craftsmanship. Now’s the time to pick up that contour gauge, review your materials, and start transforming your space into something extraordinary. Share your experiences or ask me about specific techniques—let’s elevate your remodeling journey together!