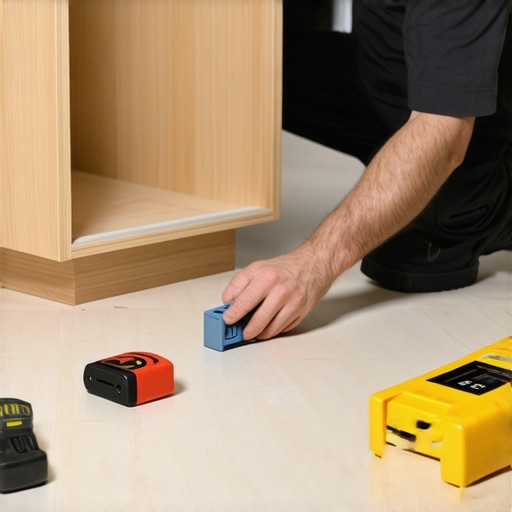
The Simple Shimming Trick for Perfectly Level Base Cabinets
Ever stood in front of your newly installed kitchen cabinets, only to realize they’re leaning or uneven? I remember the first time I faced this frustration. After investing time and money into my dream remodel, seeing those cabinets off-kilter was a sinking feeling. It was as if all my efforts were for nothing. That’s when I stumbled upon a game-changing secret: the simple shimming trick that can make your base cabinets perfectly level—no fancy tools needed.
Why Level Cabinets Make or Break Your Kitchen’s Look and Functionality
Making sure your cabinets are level isn’t just about aesthetics; it affects everything from door alignment to drawer operation. When cabinets aren’t plumb, doors may not close properly, wrappers and paint can crack, and the entire visual harmony of your kitchen suffers. I learned this the hard way early on, mistakenly assuming that if the cabinets looked okay from a quick glance, they were good enough. But over time, misaligned drawers and uneven counters became an ongoing nuisance.
To put it simply, a level foundation is essential for creating a high-end, professional finish. That’s why I want to share the straightforward technique I discovered—using shims to achieve perfect alignment every time. This trick has saved me countless headaches, and I believe it can do the same for you.
Is the Shimming Trick Really Worth the Hype?
Initially, I was skeptical. I had seen shims used in construction and thought, “That can’t be all there is to it.” My early mistake was trying to level the cabinets by eye or using a small bubble level, which never felt precise enough. It wasn’t until I read that proper shim placement can支支support the weight evenly and prevent future sagging—support that structural integrity demands—that I became a believer. According to a study on cabinet stability, uneven support can lead to long-term damage and costly repairs.
So, if you’ve ever wrestled with crooked cabinets or doubted whether a simple shim could really make a difference, you’re not alone. But trust me, this small adjustment is a game-changer.
If you’re ready to transform your kitchen’s look and function, stay tuned. I’ll walk you through the step-by-step process to shim your way to perfection—turning that
Start with a Clear Plan
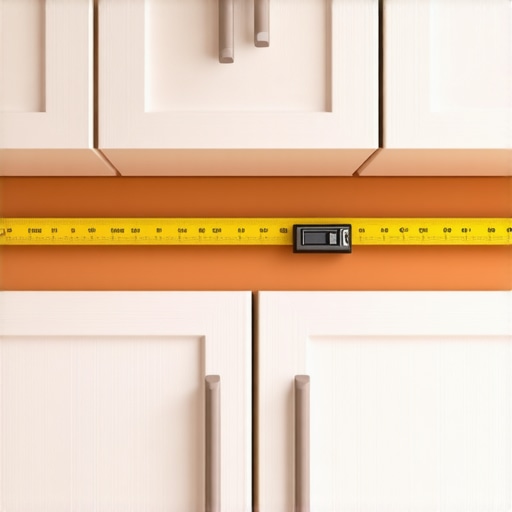
Before you dig into shimming, set up your workspace with all necessary tools—measuring tape, adjustable wrench, and a good-quality bubble level. I once jumped straight into placing shims without measuring, which led to uneven shelves and frustration. To avoid this, measure the cabinet heights and note discrepancies to plan where to place shims for maximum effectiveness.
Identify High and Low Points
Use your bubble level on the top edge of each cabinet to find out where they lean or tilt. Imagine balancing a wobbly table; pinpointing the uneven spots is essential. For my last project, I noticed the front right corner was about 1/4 inch lower than the left. Mark these spots with painter’s tape for easy reference during shimming.
Choose the Right Shims
Wood shims work well for minor adjustments, but plastic or composite shims resist moisture better—crucial if your cabinets are near the sink or dishwasher. I prefer shim packs with varying thicknesses, typically from 1/16″ to 1/2″. When I shimmed my new built-ins (see built-in solutions), selecting the appropriate shim thickness was vital to achieving a flush finish.
Position Shims Correctly
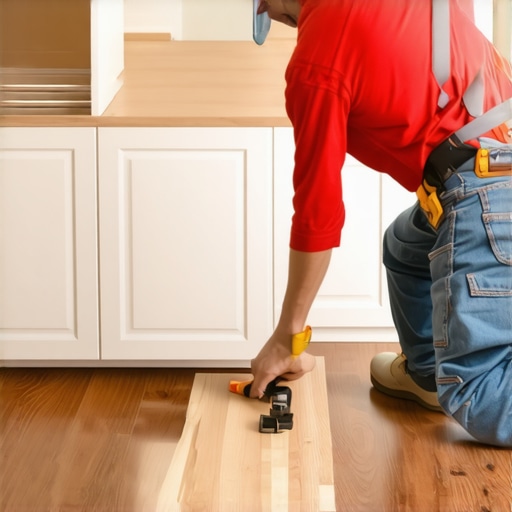
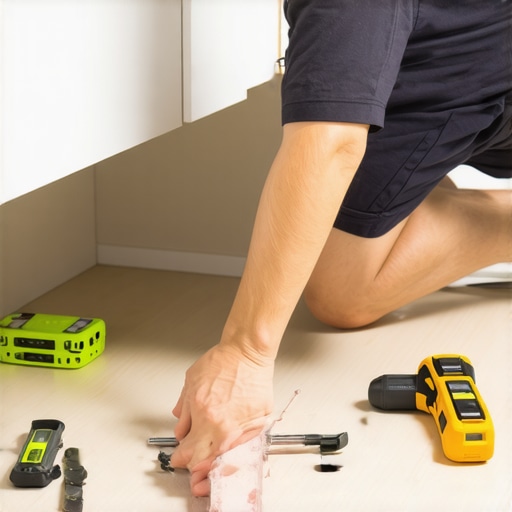
Align the shims perpendicular to the frame’s support points, inserting them between the cabinet base and the subfloor or mounting surface. Think of it like adjusting a leaning picture frame—small, precise movements make a big difference. I placed my shims at the front and back edges first, then checked alignment continuously with the level, making tiny adjustments until the cabinet sat perfectly flat.
Secure Shims and Check Your Work
Once positioned, tack or screw the cabinet into place through the shims to keep them from shifting. After securing, recheck with your level; sometimes, shims need tweaking. During my last shimming effort, I discovered that tightening the screws slightly made the cabinet settle even more evenly, preventing future sagging (support structure is key to durability).
Trim Excess and Finish
After confirming the cabinet is level, cut off excess shim material with a utility knife to prevent interference with doors or drawers. Sand and paint or seal the shims if necessary, especially in humid environments. Properly finished, the cabinet blends seamlessly into your kitchen—no more wobbling or misaligned doors. This simple process eliminated my cabinet issues and saved me from costly replacements.
 When it comes to designing functional and beautiful storage in your home, many enthusiasts and even professionals fall prey to common misconceptions that can sabotage your project’s success. Let’s dig deeper into some Nuances, Myth Busting, and Advanced Mistakes that most overlook, so you can elevate your next remodel beyond the basics.
Are Custom Cabinets Always The Best Choice? Think Again.
Everyone assumes that opting for custom cabinets guarantees superior quality and a perfect fit. While they offer customization, many miss the nuance that poorly specified materials or cheap hardware can negate these benefits. Instead of rushing to custom, consider the importance of high-quality, durable materials like plywood over particleboard, which can warp under humidity—especially in kitchens. For inspiration on choosing the right custom options, check out ideas that truly elevate your style.
Minimalism Isn’t Always Practical—Beware of Over-Architecting
One popular trend whispers, “less is more,” but reducing built-in storage to sleekness can backfire if it sacrifices usability. Advanced homeowners often overlook that practical storage requires thoughtful depth, height, and accessibility. Overly minimalist designs may look stunning but can create ‘storage deserts’ during busy mornings. The key is balancing aesthetic and function, a nuance detailed in maximizing space effectively.
Myth: Built-Ins Are Just About Looks
Many believe that built-in furniture’s primary purpose is visual impact. However, the hidden nuance is that they can be optimized for workflow, safety, and even future-proofing. Thoughtful integration—like incorporating hidden outlets or pet stations—can dramatically improve daily living. For example, expert-designed pantry solutions showcase how functionality and appearance go hand in hand.
Advanced Mistake: Ignoring Material Behavior in Humidity
One trap that trips up even seasoned renovators is selecting materials without considering environmental factors. Solid wood or MDF may warp, crack, or delaminate if humidity levels fluctuate, leading to expensive repairs. A study from the Building Science Corporation highlights how material choice affects longevity. Always specify moisture-resistant substrates when planning large built-ins, especially in kitchens or bathrooms.
Understanding these hidden nuances can mean the difference between a showpiece that lasts and a project that demands premature repair. Remember, high-end storage isn’t just about looks—it’s about smart planning, quality choices, and anticipating real-world conditions. Have you ever fallen into this trap? Let me know in the comments.Maintaining your custom cabinets and built-in storage solutions over time requires the right approach and specialized tools. From adjusting hinges to safeguarding against humidity, investing in quality equipment ensures longevity and optimal performance. One tool I personally swear by is the digital torque wrench. Unlike traditional wrenches, it provides precise torque readings, preventing over-tightening that can warp delicate cabinet frames or break hinges. For example, when securing heavy-duty slides, applying the correct torque is critical, as discussed in this detailed guide.
Additionally, I recommend wood and moisture meters for ongoing maintenance, especially in kitchens prone to humidity fluctuations. These devices help detect moisture levels early, preventing warping or delamination—issues highlighted in expert insights. Regularly checking environment conditions ensures your wood components stay stable and durable.
For cleaning and preventative upkeep, I rely on microfiber cloths and specialized cabinet cleaners that are gentle yet effective. Avoid abrasive scrubbers that risk chipping or damaging finishes. Integrating a routine cleaning schedule with these tools keeps your cabinets looking new and functions smoothly.
Looking ahead, smart maintenance may incorporate sensor technology to monitor humidity and temperature in real-time, alerting you before issues develop. This proactive approach aligns with trends seen in high-end kitchen remodels featuring smart built-ins, which not only elevate aesthetics but also extend longevity. Discover more about these innovations in modern remodeling ideas.
<-- How do I maintain my storage solutions over time? Consider implementing regular check-ins with your digital moisture meter and adjusting environmental controls like dehumidifiers or ventilation to mitigate humidity-related issues. Investing in quality tools now means less hassle later, preserving your investment for years to come. Don’t forget, the right tools are only part of the equation. Staying consistent with maintenance routines ensures your custom cabinets and built-ins serve your space beautifully and reliably. If you’re interested in elevating your storage without the guesswork, reach out through our contact page for personalized advice and recommendations.
Over the years, I realized that the biggest breakthroughs in kitchen remodeling often come from unexpected lessons learned along the way. One of the most profound insights was discovering how tiny adjustments—like shimming—can revolutionize not only cabinet alignment but also the entire aesthetic and functionality of the space. It taught me that patience, attention to detail, and a willingness to learn from mistakes are the true keys to creating a kitchen that stands out in quality and durability.
Another insight was recognizing that premium materials and thoughtful design choices go hand in hand. It’s tempting to prioritize looks over substance, but I learned that investing in moisture-resistant substrates and high-quality hardware safeguards your space against future issues—saving time and money in the long run.
Lastly, I discovered that a well-executed remodel isn’t just about the visuals; it’s about the experience. Making sure every drawer glides smoothly or that shelves support heavy cast iron pans isn’t just practical—it elevates daily routines, making your kitchen truly an extension of your lifestyle.