How to Fix a Sagging Pantry Shelf Using Invisible Cleats
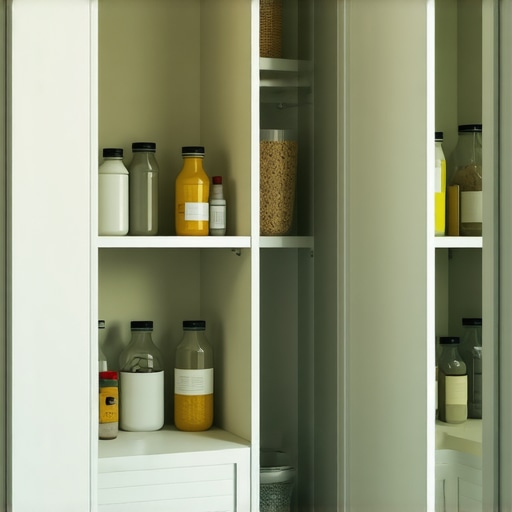
I vividly recall the moment I opened my pantry door and saw that beloved shelf sagging under the weight of cans and boxes—a tiny disaster unfolding right before my eyes. It was a lightbulb moment for me. Why had I accepted this as normal? Isn’t it frustrating when your storage solutions start failing just when you need them most? If you’ve faced the same sinking feeling, you’re not alone. Many homeowners discover their shelves drooping without warning, often because of the wrong support systems or simply overloading the space.
Why a Sagging Shelf Is More Than Just an Eyesore
A sagging pantry shelf isn’t merely an aesthetic issue; it can compromise your entire kitchen organization and even cause damage to your cabinetry. Over time, uneven support can lead to cabinets warping or material fatigue, especially if you’re using subpar materials that aren’t designed to hold heavy loads. Did you know that improperly supported shelves can fail unexpectedly, risking your stored items and safety? According to a recent study, poorly supported storage units are among the leading reasons for cabinet failures in homes.
If you’re tired of wobbly shelves and want a discreet, sturdy fix, I can share my personal experience and a solution that’s both effective and visually invisible—using what are called invisible cleats. This method transforms a potentially flimsy, sag-prone shelf into a reliable, clean-support system without bulky brackets or unsightly brackets. No more worries about tipping loads or loose supports.
Have you ever struggled with a shelf that just won’t stay level? Maybe you’ve already tried a few fixes and still find yourself battling gravity each time you reach for your spices. Well, don’t worry—next, I’ll walk you through the simple process of installing invisible cleats. This DIY approach not only saves money but also preserves the sleek look of your kitchen. Ready to give your shelves a sturdy makeover? Let’s dive into the step-by-step guide that will help you regain both function and peace of mind.
Before we begin, it’s important to note that one common mistake homeowners make early on is neglecting to ensure their drywall or wall stud support is adequate. I learned this the hard way—trust me, the support system behind your shelf is just as crucial as the shelf itself. For more ideas on maximizing space and creating custom storage solutions, check out [this article](https://artisancabinetworkz.com/maximize-space-with-innovative-storage-solutions-for-every-room). Now, let’s move on to the practical steps to fix that sagging shelf once and for all.
Marking the Support Line
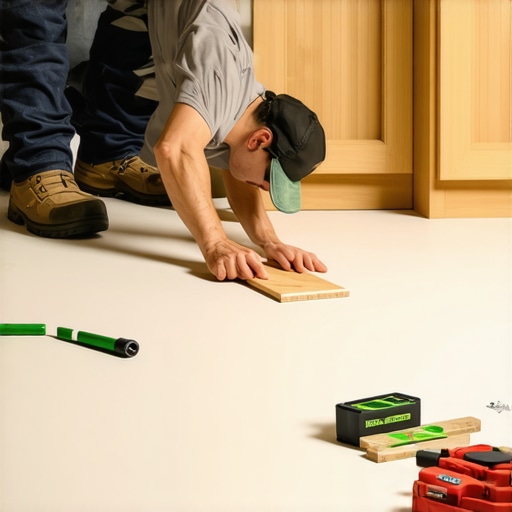
Start by measuring where you want the cleat to sit—about 1/4 inch below the top of the shelf for a clean look. Use a level to draw a straight, horizontal line across the wall at this height. In practice, I once spent an afternoon trying to align multiple shelves, only to realize I didn’t account for the uneven wall surface—so I used shims to create a perfectly level line before marking.
Attaching the Support Cleats
Choosing the Right Material
Opt for hardwood or metal strips for durability. I opted for hardwood because it matched my cabinetry, but I once tried using cheap pine, which warped over time. Ensure the cleat length matches the depth of the shelf plus some extra for secure support.
Pre-Drilling and Anchoring
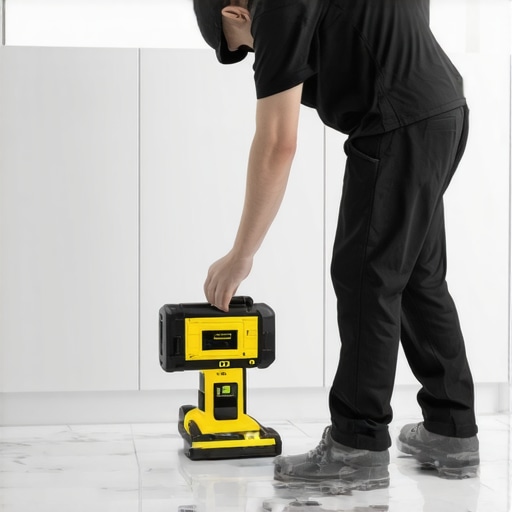
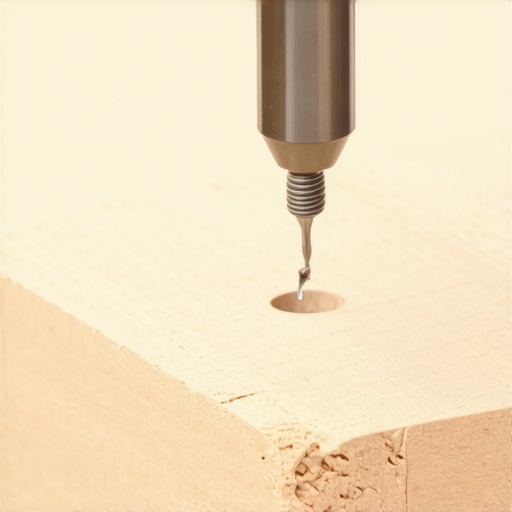
Pre-drill holes into the cleat corresponding to wall studs or anchors. I used a stud finder to locate wall framing behind my drywall, akin to mapping out hidden tunnels before a construction project. Insert appropriate fasteners—long screws for studs, wall anchors for drywall—to ensure the support stays firm under weight.
Installing the Cleats
Hold the cleat along the marked line, then drive screws into the wall anchors or studs. Use a level to double-check alignment before tightening fully. I once misaligned the cleat slightly, resulting in a wobbly shelf—so patience with leveling is key. In my case, a quick correction with shims stabilized the support without removing the screws entirely.
Placing and Securing the Shelf
Once the cleat is firmly attached, position your shelf on top, ensuring it rests fully on the support. To hide the cleat, you can install a thin strip of trim or molding along the front edge. I remember installing a fake wood molding that perfectly concealed the cleat, giving my pantry a seamless appearance.
Final Checks and Adjustments
Apply light pressure and observe the shelf for stability. If there’s any wobbling, tighten the screws or add shims behind the cleat. I once had to redo a support after noticing a slight tilt, which I corrected by adjusting the shim placement. This process restored the shelf’s levelness and ensured it could handle heavier items.
Adding these invisible cleats transforms a sagging, unstable shelf into a reliable storage space. For more ideas on optimizing your kitchen, visit this resource and learn about modern kitchen remodels that prioritize smart storage solutions.
When it comes to designing built-in cabinetry and storage in your home, many homeowners fall prey to myths that can derail their projects or lead to costly mistakes. One widespread misconception is that *all custom cabinets are inherently better than stock or semi-custom solutions*. While customization offers tailored aesthetics and function, it also demands meticulous planning and understanding of nuances. In my experience, many projects fail because clients underestimate the importance of precise measurements and supporting structures, especially in complex layouts like corner or over-island cabinets.
Why do so many DIYers get shelves and built-ins wrong despite how simple they seem?
It’s often because they overlook subtle factors like wall support integrity, material quality, and hardware compatibility. For example, assuming particle board will hold up in a humid kitchen is a mistake I see frequently. This material easily warps or rots if not properly selected and installed, leading to sagging and failure over time.
Another common myth is that adding more storage is always better. However, cramming too much into a space without considering workflow or accessibility can make your kitchen less functional. This issue ties into understanding the *hidden nuances* of space planning—like the importance of toe-kick drawers or pull-out shelves that maximize unused spaces efficiently.
What advanced mistake do even experienced designers sometimes overlook?
Many overlook the importance of proper ventilation and moisture control inside cabinets, especially in areas like under-sink or laundry built-ins. Poorly vented cabinetry can lead to mold, warping, or damage to your meticulously chosen finishes. Expert sources, such as industry professionals who focus on high-humidity zones, recommend integrated venting solutions and moisture-resistant materials for long-term durability. To avoid such pitfalls, it’s essential to educate yourself on the subtle complexities that differentiate a good renovation from a great one. For ideas that elevate both form and function, explore built-ins that truly work, or learn about modern kitchen remodels with smart storage. Remember, investing in understanding these details pays off in a space that’s not only beautiful but also resilient. Have you ever fallen into this trap? Let me know in the comments.Maintaining your custom cabinets and storage solutions requires the right tools and methods to ensure longevity and consistent performance. From precise measuring devices to specialized hardware, using the correct equipment makes all the difference. I personally swear by a high-quality angle ruler, such as the **Bosch Digital Angle Finder**, which allows me to set cabinet hinges and align shelves with unbeatable accuracy. Its digital readout ensures perfect angles every time, reducing guesswork and rework. For finer adjustments, I rely on a set of fine-threaded torque screwdrivers, like the **Wiha Precision Screwdriver Set**, which give me control when tightening delicate hardware without over-torquing. This attention to detail helps maintain the integrity of your cabinetry over years of use.
When it comes to ensuring cabinets remain flush and level, I use a **stabila spirit level** with an integrated laser line. This tool helps me verify total alignment, especially in tight spaces or when working with corner cabinets. Its durability and precision make it a staple in my toolkit, proven through countless remodel projects.
For more complex storage configurations or when planning a remodel, I turn to their **design software like SketchUp**. This program allows me to visualize exact dimensions and model custom solutions before making any cuts or purchases — saving time and money, and helping me communicate ideas clearly with clients.
To maintain your hardware’s smooth operation over time, regular lubrication is key. I recommend using a silicone-based spray, such as **Tri-Flow**, which doesn’t attract dust or grime and ensures soft-close hinges and sliding tracks operate smoothly for years.
Looking ahead, I predict the trend toward smart, integrated storage solutions will continue to grow. Devices that monitor weight loads, track usage, or even trigger maintenance alerts via apps are becoming more accessible, enhancing the lifespan of your cabinetry.
**How do I maintain built-in cabinets and drawers over the years?** Simple routine checks are essential. Every six months, inspect hinges, slides, and supports for wear or loose fittings. Apply lubricant to hinges and slides to prevent squeaks and ensure smooth operation. Adjust hinges if doors become misaligned; most modern European hinges provide easy, tool-free micro-adjustments, but a quick turn with a Torx screwdriver like the **Wiha** set can make a noticeable difference.
For heavy-duty applications such as supporting large, heavy shelves or countertops, I use steel bracket supports and special anchoring systems, like the **steel bracket method for supporting heavy kitchen island overhangs**, detailed in our comprehensive guide. Proper anchoring not only prolongs the life of your installation but also enhances safety.
Finally, always keep a detailed plan or diagram of your storage setup. Digital tools like SketchUp or even a simple spreadsheet can help track modifications, support zones, and future plans, making maintenance easier.
Don’t forget to explore innovative storage solutions periodically. For example, installing vertical dividers or adjustable shelving can dramatically improve usability, as discussed in our post on maximizing space with smart storage. Try implementing one of these organizational upgrades this month to keep your built-ins functioning flawlessly for years to come.
Lessons That Took Me Years to Learn About Custom Cabinets and Clever Storage
One of the biggest insights I’ve gained is that the quality of your support system can make or break your entire kitchen upgrade. I once underestimated the importance of solid wall framing, which led to a sagging pantry that took me weeks to fix. Now, I always double-check wall integrity before installing heavy cabinets or shelving, saving myself time and frustration.
Another lesson I’ve encountered is that seemingly simple features, like a pull-out spice rack, can become a nightmare if not designed with accessibility in mind. Over time, I realized that planning for ease of use, especially considering other appliances or hardware, ensures your built-ins are both beautiful and functional. It’s worth spending extra effort on mock-ups before drilling holes in your walls!
Finally, I discovered that not all materials are created equal. Cheap MDF might seem like a bargain, but it often warps or fails in humid kitchens. I shifted to moisture-resistant plywood, which has dramatically increased the longevity of my custom storage. Choosing the right material is truly an investment in your home’s durability, so don’t cut corners here.
Tools and Guides I Depend On for Built-In Success
- **Bosch Digital Angle Finder** – Precision is everything when aligning shelves and doors. This tool keeps me confident in my measurements, especially on tricky walls.
- **SketchUp Design Software** – Visualizing custom solutions helps me avoid costly mistakes. I highly recommend it for anyone planning intricate built-ins or kitchen remodels.
- **Tri-Flow Silicone Spray** – Regular lubrication keeps hinges and slides moving smoothly, preventing jams and squeaks.
- **Industry Blogs and Industry-Focused Websites** – I regularly check out sites like Artisan Cabinetry for inspiration and hidden tricks, especially their tips on reinforcing support structures in high-use areas.
Create Your Space Without Waiting For Perfection
“Building smart, durable, and beautiful storage is a journey, not just a project,” I always say. Don’t let fear or perfectionism hold you back. Start small—perhaps with a single pantry shelf—and implement the invisible cleat method I shared. As you see your skills grow, so will your confidence in creating spaces that truly serve your home’s needs. Remember, every great built-in started as a simple idea, so take that first step today and give your home the upgrade it deserves.