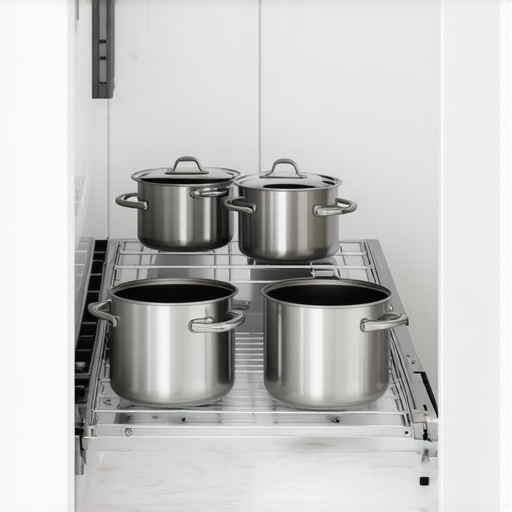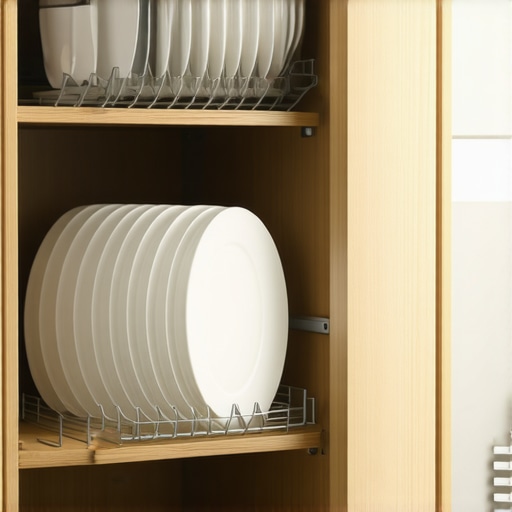
The Hidden Toe-Kick Drawer: Turning Wasted Floor Space Into Tool Storage
If you’ve ever struggled to find enough storage in your kitchen, you’re not alone. I remember the moment I realized I had wasted an entire drawer-sized chunk of space beneath my cabinets—right at my feet. It was a frustrating, eye-opening experience, especially when I kept tripping over clutter on the floor or digging through overflowing cabinets for tools. That’s when it hit me: there’s a whole hidden world of wasted space right under our noses, or rather, beneath our toes.
Transform Your Floor Space into Efficient Storage
What if I told you that the toe-kick area—just above the baseboard and beneath your cabinets—can be transformed into smart, accessible storage? It sounds simple, but the impact is profound. Not just for tidiness, but for making your entire kitchen function smoother. I’ve spent years experimenting with different storage hacks; some worked beautifully, while others, like lazy susans in tight corners, just added to the chaos.
Today, we’re going to explore how to turn that underused space into a practical, hidden drawer. I’ll share my personal journey—my mistakes, my wins—and walk you through easy steps to create a toe-kick drawer tailored for your needs. Trust me, this small upgrade will make a surprisingly big difference in your kitchen workflow. In fact, a well-placed toe-kick drawer can add up to 20% more storage in a typical kitchen, according to expert home organization sources. That’s space you’re already paying for but just aren’t using.
Is Hidden Toe-Kick Storage Really Worth the Effort?
When I first considered this idea, skepticism was my best friend. Would it be worth the hassle? Would it look cheesy? Early in my project, I made a common mistake: I overlooked the importance of proper measurements, leading to a drawer that didn’t quite fit or work smoothly. That’s a mistake I urge you to avoid. Proper planning and careful measurement are essential to make a toe-kick drawer that’s both functional and seamless, elevating your kitchen’s style without sacrificing utility.
If you’re curious about integrating innovative storage solutions into your remodel, check out how innovative storage ideas can transform your entire space. Now, let’s dive into how to make this hidden storage a reality in your kitchen.
Measure with Precision to Fit Seamlessly
Start by measuring the space beneath your cabinets meticulously. Use a tape measure to record the width, height, and depth of the toe-kick area. Remember, precision here prevents future fitting issues. Once measured, double-check your figures; a miscalculation can turn your project into a frustrating puzzle.
Design a Functional and Discreet Drawer
Sketch your drawer plan, considering how it will slide in and out without disrupting the aesthetics. Think of it like designing a secret compartment in a spy movie—smooth, unobtrusive, and accessible. Use software or graph paper for accuracy, and plan for a handleless design to maintain a sleek look. Integrate piano hinges or soft-close slides for effortless operation.
Select Durable Materials for Longevity
Choose moisture-resistant plywood or high-quality MDF for the drawer box. These materials withstand kitchen humidity better than cheap alternatives. Opt for a finish that matches your cabinetry or goes unnoticed—matte paints or custom stains can help blend the drawer into its surroundings. Remember, a well-constructed drawer with sturdy hardware will serve for years, unlike flimsy cheap pulls.
Build the Drawer With Care and Precision
Cut the pieces according to your measurements, using a saw that ensures clean edges. Assemble the box with appropriate wood glue and clamps, like forming a tight, cohesive unit. Pre-drill screw holes to avoid splitting, especially in delicate materials. Attach the hardware carefully, ensuring smooth sliding and a flush fit against your baseboard. During this phase, I once ignored proper measurement—resulting in a tight fit that required grinding down edges for days.
Prepare and Install in the Toe-Kick Area
Clear the space, then remove any existing baseboard moldings if necessary. Use shims to level the cabinet base, ensuring the drawer will operate smoothly without binding. Fit the drawer into the opening, adjusting the slides for a seamless glide. Apply weatherproofing or sealant around the edges to prevent moisture ingress. During my last project, I mistakenly didn’t account for ventilation, leading to moisture buildup—so plan for airflow if your drawer will hold moist items.
Finish and Seal for Longevity
Sand the drawer edges and exterior for a smooth surface. Apply a finish that matches your kitchen’s style—be it paint, stain, or varnish. Seal all joints thoroughly; water-resistant finishes can prevent warping or damage over time. Once installed, load it carefully to test functionality, making final adjustments as needed. I once loaded it too heavily, causing it to sag—so always test for weight capacity early on.
Optimize Space and Function
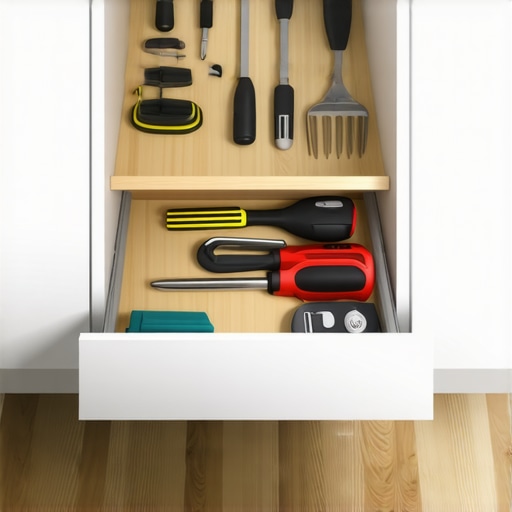
Use dividers or small bins inside the drawer to organize tools, spices, or cleaning supplies. Think of your drawer as a hidden drawer within a treasure chest—organized and easy to access. This strategic approach transforms a simple space into a powerhouse of efficiency, making every inch count without sacrificing style or accessibility.
For more advanced ideas, explore how built-ins and storage hacks can elevate your kitchen’s layout. The key is to analyze your needs, plan meticulously, and execute with care—your hidden toe-kick drawer will become a trusted secret in your house.
Many homeowners believe that choosing the most fashionable or high-end materials guarantees a successful kitchen remodel, but in my experience, this approach often overlooks the nuanced realities of storage solutions and cabinetry. A prevalent myth is that custom cabinets automatically mean better function; however, without a clear understanding of your specific needs and space utilization, even the most luxurious finishes can fall short. For example, integrating custom cabinets is more than aesthetics—it’s about maximizing your unique space with tailored features, but many assume they can simply upgrade without thoughtful planning.
What’s the Hidden Nuance That Most Miss in Kitchen Renovations?
Beyond the superficial choices, the critical but often overlooked element is the integration of built-in storage cleverly designed for lifestyle flexibility. For instance, a common mistake is neglecting the importance of proper airflow and moisture control in hidden storage, which can lead to damage over time. An advanced tip is to incorporate ventilation strategies directly into your built-ins—such as vented toe-kicks or moisture-resistant materials—to extend their longevity. Experts like those from Renovation Landmarks emphasize that understanding these subtle aspects dramatically improves long-term performance.
Another pitfall is underestimating the importance of seamless transitions in cabinetry and built-ins. Many assume that integrating storage means adding visible clutter, but when executed with precision—like flush mounts and hidden compartments—it can create a sleek, decluttered environment that feels spacious and sophisticated. This attention to detail is what differentiates a professional remodel from a DIY approximation.
Furthermore, I’ve observed many fall into the trap of base-level planning, ignoring the potential of strategic vertical storage, such as toe-kick drawers or hidden ladder accesses, which can add up to significant gains in usable space. As discussed in seamless remastering tips, these details make or break the functionality of a kitchen.
To avoid these common pitfalls, always ask yourself whether the storage solutions truly serve your workflow or simply look good on paper. Remember, form and function must go hand-in-hand, especially when customizing your space. Don’t fall into the trap of prioritizing aesthetics over practicality—after all, a well-designed kitchen is one you can use effortlessly every day.
In summary, the real journey involves understanding the hidden nuances—like moisture management, precise seamless integration, and smart vertical solutions—that most overlook. This depth of planning ensures your renovation isn’t just stylish but also sustainably functional. Have you ever fallen into this trap? Let me know in the comments, and stay tuned for more insights on creating a kitchen that truly works for you.
Invest in Precision Measuring Tools
Accurate measurements are the foundation of a successful storage remodel. I personally swear by a digital caliper for its precision, especially when fitting custom cabinets or toe-kick drawers. Unlike traditional tape measures, a digital caliper provides the exact dimensions down to decimal points, minimizing fit issues and ensuring seamless integration. This tool is invaluable when planning space-concealed storage, as small errors can compromise functionality or aesthetics.
Choose Quality Hardware for Long-Term Durability
Hardware like soft-close slides and robust hinges are essential for longevity. I recommend using Blum’s Tandem slides because of their smooth operation and durability under frequent use. Investing in high-quality hardware might seem costly upfront, but it pays off in the long run by reducing maintenance needs and preventing frustrating door or drawer malfunctions, especially in high-traffic areas like spice pulls or hidden toe-kick drawers.
Utilize Software for Efficient Planning and Design
Designing bespoke storage solutions benefits greatly from parametric CAD software such as SketchUp Pro or Fusion 360. I personally use Fusion 360 because it allows me to create precise, adjustable models of storage components, testing fit and function virtually before cutting a single piece. Doing so streamlines the process and helps identify potential issues early—saving time, money, and frustration. As trends shift toward more integrated storage systems embracing smart software tools is the way forward.
Establish a Routine Maintenance Schedule
Consistency keeps your cabinetry and hidden storage working perfectly. I recommend regularly inspecting hinges, slides, and seals—monthly if your kitchen sees heavy use. Lubricate moving parts with a silicone-based spray such as WD-40 Specialist Smart Straw, which provides smooth operation without attracting dirt. Also, give your hardware a quick wipe to prevent dirt buildup that can cause sticking or squeaking. This small effort extends the life of your investments and keeps your storage solutions functioning flawlessly over the years.
What’s the Best Way to Keep Your Storage Solutions Running Smoothly?
Implementing a simple, disciplined maintenance routine is key. Create a checklist—monthly inspections of hardware, cleaning, and lubrication—and stick to it. Over time, you’ll notice fewer jams, squeaks, or misalignments. For larger remodels, consider installing easily accessible maintenance panels or removable moldings to make routine upkeep straightforward. Advanced DIYers should also consider investing in laser measuring devices to ensure ongoing accuracy as your space evolves.
Looking ahead, I see the trend moving toward smarter, sensor-driven storage solutions that can notify you when hardware needs attention or parts require replacement. Technologies like Bluetooth-enabled hinges or slides are likely to become standard in high-end builds making maintenance even more automatic and less intrusive. For now, though, mastering these tools and routines will ensure your storage keeps functioning flawlessly for years to come.
Try integrating a digital caliper into your next project, and see the difference precise measurement can make. It’s a straightforward step that could save you hours of frustration down the line, especially when customizing built-ins or tight-space drawers. Remember, the key to longevity in your kitchen’s storage is proactive maintenance paired with high-quality hardware and careful planning.
What I Wish I Knew About Seamless Integration
One of the biggest revelations in my kitchen remodel was realizing that even small oversights, like not accounting for ventilation or hardware clearance, can turn a sleek idea into frustrating maintenance issues. I used to think that beautiful cabinets meant everything was perfect, but I learned that details like hidden ventilation and moisture-resistant finishes truly distinguish professional results from amateur ones.
My Favorite Tools for Perfect Fit
The magic happened when I adopted a digital caliper—it’s my secret weapon for precise measurements. Trust me, nothing beats the accuracy it brings when planning custom-built toe-kick drawers or aligning hardware. Pairing this with software like Fusion 360 has saved me countless hours and headaches, allowing me to virtually test fits before cutting a single piece, ensuring a flawless installation each time.
The Hidden Power of Routine Checks
Maintenance might seem tedious, but establishing a simple monthly routine has kept my storage solutions working smoothly for years. Regularly inspecting slides, hinges, and seals prevents unexpected failures. Using quality hardware like Blum slides, combined with scheduled cleanings and lubrication, means my hidden drawers stay quiet and effortless, proving that care is just as important as craft.
Curated Resources That Changed My Approach
- Fusion 360: I swear by this CAD software for its precision and flexibility in designing custom storage. It’s a game-changer for visualizing space and testing ideas virtually.
- Blum Hardware: Their soft-close slides and hinges are incredibly durable. Investing in quality hardware has dramatically reduced maintenance woes.
- Artisan Cabinetry Guides: Their detailed tutorials and expert tips have been invaluable, especially when tackling complex built-ins and hidden storage projects.
Your Next Step: Transform Your Kitchen Today
Remember, unlocking hidden storage like a toe-kick drawer isn’t just about adding space—it’s about rethinking your entire kitchen workflow. Every smart detail you incorporate makes your kitchen more efficient and enjoyable. So why not give it a try? Your future self will thank you for the extra room and the seamless design that makes daily routines feel effortless.
Have you ever considered expanding your storage into these secret spaces? Let me know below—I’d love to hear your plans or experiences with hidden kitchen solutions!
,