4 Matte Finishes That Actually Hide Messy Kitchen Fingerprints
I remember the first time I finally finished my kitchen remodel, feeling so proud of those sleek, matte cabinets I carefully selected. But within days, I noticed something that many homeowners dread—fingerprints, smudges, and water spots turning my beautiful finish into a constant battle zone. It was a lightbulb moment for me: I needed a solution that didn’t demand endless wiping sessions every time someone touched the cabinets. Sound familiar?
Why Matte Finishes Can Be Your Kitchen’s Best Friend
Oh, how I wished I had known sooner that not all matte finishes are created equal. Early on, I made the mistake of thinking a matte black was a perfect choice—until I realized how easily fingerprints showed up and how challenging it was to keep clean. That experience taught me a lesson: if you want your kitchen to stay looking pristine without constant maintenance, you need the right matte finish from the start. Today, I’ll share the four matte finishes that truly hide messes and keep your space looking fresh, long after your renovation.
Is a Matte Finish Actually Worth the Hype?
Many folks are skeptical about matte—thinking it might be dull or high-maintenance. I get it. I’ve been there, too. But after trying various finishes, I’ve found that some mattes are specifically engineered to mask fingerprints and smudges—saving you both time and frustration. A common mistake I made early in my journey was assuming all matte finishes are the same, which isn’t true. If you’re tired of spending your weekends wiping down surfaces, trust me, choosing the right matte can be a total game-changer. According to recent research, matte surfaces tend to hide surface imperfections better than glossier finishes, making them especially suitable for busy kitchens (source: Kitchen & Bath Business). Now, let’s explore the finishes that can help you reclaim your time and keep your kitchen looking flawless.
Identify Your Most Challenging Stains and Touchpoints
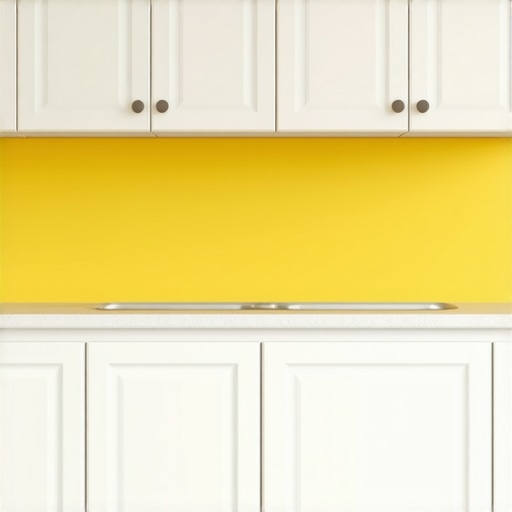
Start by observing your kitchen: where do fingerprints and water spots most frequently appear? I recall my experience with a particularly busy breakfast rush—my kids’ little hands left smudges on the fridge and cabinet handles. Before hacking away at cleaning routines, I pinpointed these hotspots to determine which matte finishes could hide messes effectively. This step is crucial because different finishes respond differently to daily wear; knowing your pain points will guide your choices. For detailed insights, check out our article on modern kitchen remodels with custom cabinets.
#IMAGE_PLACEHOLDER_B#
Assess the Options and Material Compatibility
Choose Matte Finishes with Hide-and-Seek Skills
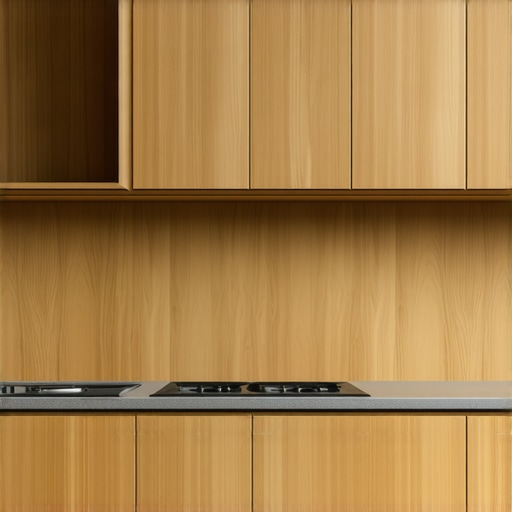
Not all matte finishes are equal. Look for varieties engineered with special texturing or coating technologies that mask fingerprints and smudges. When I selected a matte marble effect for my island, I opted for a finish specifically designed to hide surface imperfections. Testing a small sample under your kitchen lighting can reveal how well it conceals messes. Remember, the substrate material matters; MDF, plywood, or solid wood all react differently to matte coatings. For innovative ideas on integrating these choices into your space, review custom cabinet ideas for home transformation.
#IMAGE_PLACEHOLDER_B#
Apply the Finish Methodically
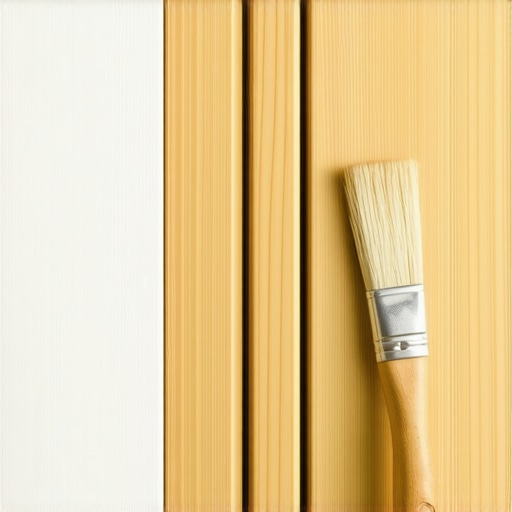
Once you’ve selected the optimal matte finish, prepare your surfaces thoroughly. Clean all cabinetry with a gentle degreaser to remove grease and dust—this ensures a smooth application. Use painter’s tape to mask off adjoining surfaces and prevent drips. If you’re choosing a spray-applied finish, practice on scrap pieces to perfect your technique. During my first DIY attempt, I found that multiple light coats yielded a more even, durable surface. Patience is key; rushing can lead to streaks or uneven patches. For a detailed application guide, visit how to clean matte cabinets.
#IMAGE_PLACEHOLDER_B#
Maintain and Protect Your Finish
Post-application, establish a maintenance routine that preserves the matte look. Use microfiber cloths and gentle cleansers—avoid abrasive pads or harsh chemicals. Regularly wipe down high-touch areas, which prevents dirt buildup and minimizes the risk of smudging. Consider installing soft-close hinges and high-quality pulls to reduce contact pressure and prevent fingerprints. For storage and organizational tips that complement your matte finish, explore built-ins that elevate your storage. Remember, the goal is to keep your cabinets looking flawless with minimal effort over time.Many homeowners assume they understand the ins and outs of custom cabinets, but in reality, there’s a lot more complexity beneath the surface. A common myth is that choosing high-end materials automatically guarantees durability and style, but what many miss is the importance of proper installation and material choice based on your specific environment. For example, selecting plywood with the wrong grade can lead to warping or moisture issues, especially in humid climates—an overlooked nuance that can compromise your entire remodeling project. In my experience, rushing the decision process without considering these subtleties often results in costly mistakes and rework.
Beware of the trap of relying solely on aesthetic trends; while they might look appealing now, they can quickly become outdated or impractical. A notable mistake is installing built-ins without accounting for access to plumbing, electrical wiring, or ventilation — details that are crucial for functionality but often ignored during planning stages. For more in-depth insights on avoiding these pitfalls, check out our article on how custom cabinets can transform your kitchen.
Another advanced consideration is the architectural style harmony between your cabinets and the rest of your home. Mismatched styles can detract from the overall aesthetic, leading to a disjointed look rather than a cohesive design. Customization allows for bespoke solutions, but understanding the nuances of style, scale, and proportion is essential. For instance, integrating built-in storage solutions that blend seamlessly with your architecture requires meticulous planning and expert input. For innovative ideas on this, explore built-ins that elevate your living space.
Let’s talk about advanced mistakes—many overlook the importance of future-proofing their storage. Installing shallow cabinets in high-use areas may seem practical initially but can hinder accessibility as your needs evolve. Instead, consider deeper drawers or pull-out shelves, which provide better ergonomics and maximize storage. An expert tip is to design with layering in mind, creating zones that adapt over time. Research supports that well-designed storage can improve not only functionality but also the perceived spaciousness of your kitchen, as explained in a comprehensive guide to storage solutions.
Finally, don’t forget about the importance of detailed planning around hardware, finishes, and structural support. A seemingly minor oversight, like ignoring the weight of a heavy countertop, can cause sagging or damage over time. Reinforcing cabinets and choosing robust hardware isn’t glamorous but is essential for longevity. In my projects, I always emphasize these details to ensure a seamless and durable finish. Want to learn more about these technical aspects? Visit how built-ins and storage hacks can revolutionize your kitchen.
Remember, your kitchen is a complex system that benefits from thoughtful, nuanced design. Skip these hidden considerations, and your renovation might not deliver the longevity and style you expect. Let me know in the comments—have you ever fallen into this trap? Let’s discuss.
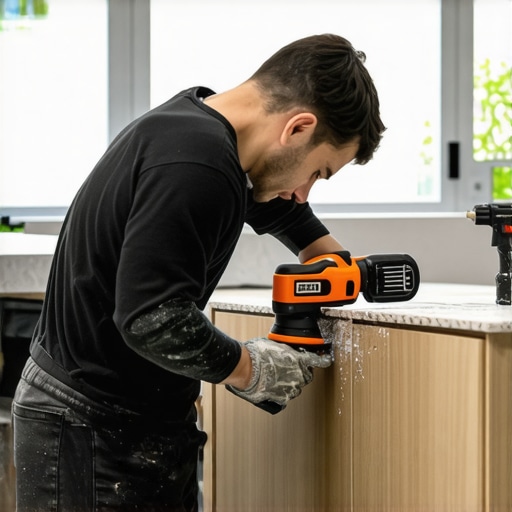
Maintaining your custom kitchen investments requires more than just periodic cleaning; it involves using the right tools and adopting effective methods to ensure longevity and optimal performance. Over the years, I’ve refined my toolkit to include specific equipment and software that make maintenance routine and scaling projects seamless. For instance, I rely heavily on a high-quality cordless detail sander, like the Fein MultiMaster, which allows me to gently sand and refinish cabinet surfaces without removing entire panels. The precision and control it offers help preserve the integrity of delicate finishes while addressing minor scratches or wear. Additionally, I utilize a microfiber polishing pad attachment, ensuring my finishes remain pristine and free from streaks during cleaning or touch-up tasks.
On the digital side, a well-designed project management tool such as Trello or Asana is invaluable. I create dedicated boards for each client project, breaking tasks down into maintenance schedules, upcoming scaling needs, or long-term upgrades, ensuring nothing falls through the cracks. For measurements and planning, I use laser distance meters like the Bosch GLM 50 C, which provide quick, accurate readings—crucial when adjusting built-ins or expanding storage solutions in existing structures. These tools help me execute modifications with confidence and minimal disruption.
How do I keep my cabinets and storage solutions performing over time?
Regular inspection is key. I schedule bi-annual checkups, during which I look for loose hardware, warping, or signs of moisture damage. Applying protective coatings such as a clear, water-based lacquer can also help shield surfaces from daily wear. For hardware maintenance, I use a silicone-based lubricant to keep soft-close hinges and slides operating smoothly, preventing stiff mechanisms or misalignments. Integrating smart sensors into storage systems, like hallway or pantry lights that activate when opened, not only enhances usability but also signals when parts need cleaning or realignment. Looking ahead, the trend is shifting towards smart-maintenance tools, incorporating IoT devices that alert you before issues escalate, sparing you costly repairs.
If you want your custom cabinetry and built-in storage to stand the test of time, I recommend trying out a dedicated cleaning and lubrication routine with high-quality ares tools, combined with digital project tracking. These methods ensure your kitchen remains functional and beautiful for years to come. To explore innovative storage solutions that are easy to maintain, visit smart storage solutions for small kitchens. Staying proactive with these strategies means fewer surprises and more enjoyment of your space.
What I Wish Someone Told Me About Custom Cabinets and Built-Ins
- I underestimated how crucial precise measurements are before purchasing materials—tiny errors can lead to big frustrations down the line. Now, I always double-check every dimension and rely on high-quality laser tools to ensure perfection.
- Choosing finishes solely based on looks without considering durability was a mistake. Some matte finishes hide fingerprints beautifully, but only if they’re engineered with special coatings—do your research to find truly practical options.
- I later discovered that investing time in understanding your home’s architectural style makes a world of difference. Seamless integration of built-ins and cabinetry enhances both aesthetic appeal and long-term value.
- Attempting DIY installation without mastering the technical details led to uneven surfaces and loose hardware. Now, I consult trusted resources or professionals for complex steps, saving time and stress.
Tools and Resources That Changed My Approach
- Treeline Design Software: It’s intuitive and helped me visualize custom cabinet layouts, ensuring every inch was maximized and cohesive with my space.
- Bosch Laser Distance Meter: Accurate measurements are the backbone of perfect fit—this tool has saved me from costly errors during scaling and adjustments.
- Benjamin Moore Aura Paint: Its durability and rich finish make it my go-to for sealing and finishing, especially for matte cabinets that need to stand up to daily life.
- Expert Blogs and Forums: Regularly reading detailed guides and community tips keeps me inspired and informed on the latest trends and technical insights for storage solutions and remodels.
Your Next Step Toward a Flawless Kitchen
The journey to mastering custom cabinets, built-ins, and storage solutions is ongoing, but every lesson learned brings you closer to a space that truly reflects your lifestyle and taste. Embrace the process, leverage the right tools, and stay curious. Your dream kitchen is within reach—don’t let mistakes hold you back. I encourage you to start today, experiment with innovative ideas, and remember that every bit of effort will pay off in the joy of a beautifully executed remodel. Which aspect of your current kitchen setup do you think needs the most attention right now? Share your thoughts below—I’d love to hear your plans or struggles on this exciting journey.