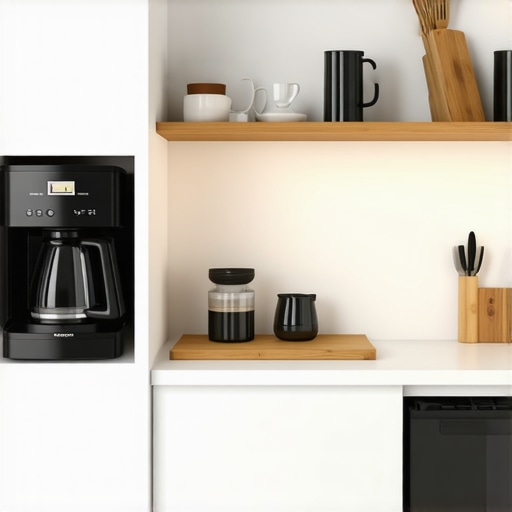
3 Retractable Coffee Station Ideas for Small Kitchen Layouts
Ever stood in your tiny kitchen, trying to pour that morning brew, only to knock over a stack of baking supplies or squeeze past your cluttered countertops? I’ve been there more times than I care to admit. It was a lightbulb moment when I realized that my beloved coffee station, which I desperately wanted accessible, was also the biggest space hog. That realization set me on a journey to find clever solutions that don’t just save space but also add style and convenience.
Transforming Small Kitchens with Retractable Coffee Stations
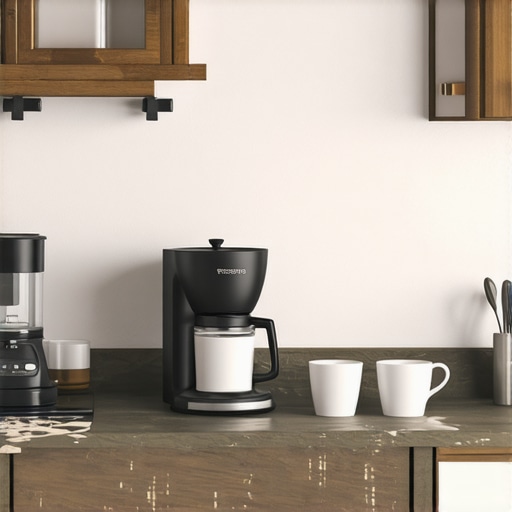
Today, I’m excited to share three retractable coffee station ideas that have completely changed my mornings—and I believe they can do the same for you. These innovations aren’t just about saving space; they’re about creating an efficient, clutter-free environment where your daily routine feels smoother and more enjoyable. Whether you live in a compact apartment or just want to maximize every inch of your kitchen, these ideas are practical, stylish, and surprisingly simple to implement. Want to turn your small kitchen into a caffeine haven without sacrificing precious countertop space? You’re in the right place. Let’s explore how you can make this a reality.
Is Retractable Kitchen Storage a Foolproof Solution?
Before you dive into these tips, I must admit I once made the mistake of installing bulky shelves that looked great but made my kitchen feel cramped. My oversight was thinking more storage was always better, but in reality, strategic, retractable solutions can give you the best of both worlds—ample space when needed and hidden convenience when not. If you’re skeptical about whether retractable setups truly work or just add to the clutter, I get it. But trust me, with proper planning, these ideas can be game-changers. According to experts, smart storage solutions can increase perceived space significantly, sometimes even making a small kitchen feel twice as large (source: Expert Tips on Selecting Storage Solutions).
Now that I’ve shared my slip-ups and successes, let’s move on to the exciting part — how you can replicate these ideas in your own home, turning a cramped coffee nook into a sleek, functional feature.
.
Design Your Retractable Coffee Niche
Start by assessing your kitchen layout—measure available wall space and identify areas near outlets for power. Think of this step as sketching a map for treasure hunting; knowing your terrain prevents surprises later. I once cleared a section of my backsplash, removing old hooks and small shelves, creating room for a custom pull-out unit. This initial cleanup simplified the entire installation process. Visit built-in storage ideas for inspiration on how to integrate your space seamlessly.
Choose the Right Materials and Hardware
Select durable materials like plywood or MDF with water-resistant finishes, especially since kitchens are high-humidity environments. Think of your cabinet as a sturdy boat that must withstand turbulent waters; quality makes all the difference. I opted for marine-grade plywood, which held up beautifully over time. Use heavy-duty, soft-close drawer slides—these are the lifelines preventing your coffee station from slamming shut—and ensure they can support the weight of your appliances. Check out storage solution tips for selecting hardware that balances weight and smooth operation.
Build or Customize the Retractable Unit
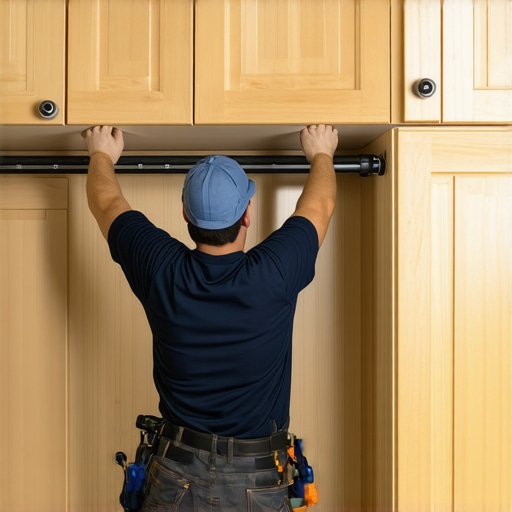
Decide whether to buy a pre-made pull-out or custom-build one. If you’re handy, framing your own with high-quality plywood, like I did, allows for perfect sizing and styling. Think of this as building a custom wardrobe—precision and tailored fit ensure it functions flawlessly. I measured my coffee maker and accessories, then crafted a snug-fitting insert using custom cabinets. To prevent wobbling, reinforce the frame with metal brackets and use adjustable feet or shims for leveling, especially on uneven floors.
Install Electrical Components Safely
Make sure your electrical wiring is done by a professional or follow strict safety protocols. Use GFCI outlets to prevent water-related hazards—think of it as installing a fire alarm for your electrical system. During my project, I temporarily wired my unit to an outlet, but later upgraded to a dedicated circuit after consulting an electrician. This step ensures your coffee station is both functional and safe. For detailed wiring techniques, visit storage and built-in installation guides.
Integrate with Your Kitchen Decor
Finishing touches involve choosing handles, paint, and pull-out hardware that match your style. Think of this as accessorizing an outfit; details elevate the overall look. In my kitchen, brushed nickel pulls complemented white cabinetry, creating a sleek modern aesthetic. If you want a seamless look, opt for handleless push-to-open mechanisms. For ideas on stylish finishes, browse cabinet finishing ideas.
Test and Fine-Tune
Once assembled, slowly open and close the unit to check for smooth operation and any obstructions. Load your coffee supplies gradually, inspecting for wobbling or misalignment. I found that tightening a few hinges and shimming my unit slightly improved function dramatically. Think of this as tuning a musical instrument—small adjustments yield perfect harmony. For troubleshooting tips, see built-in and storage solutions.
When transforming your kitchen with built-ins and custom cabinets, it’s tempting to focus on visual appeal and immediate storage gains, but there’s a often-overlooked nuance that can trip up even experienced remodelers. Many believe that installing state-of-the-art, wide-open shelving or shiny new drawers automatically guarantees a sleek and functional space. However, the truth is, not all solutions are created equal, and common misconceptions can lead to costly mistakes. For example, a frequent myth is that standard cabinet hardware and off-the-shelf designs suit every kitchen. In reality, these generic options often fail to account for unique space constraints or your specific workflow needs. Advanced homeowners understand that tailored hardware and bespoke design increase both usability and longevity, especially in high-traffic areas. Moreover, many underestimate the importance of meticulous planning regarding the weight distribution of built-ins—particularly when heavy appliances or pantry items are involved. Using inadequate hardware or neglecting reinforcement strategies can cause sagging or failure over time, undermining your renovation efforts. A crucial mistake often made is neglecting proper moisture management, especially with wood-based materials in kitchens prone to humidity. For instance, not sealing or finishing plywood correctly can lead to warping, mold, or structural degradation. Expert sources emphasize that choosing materials with suitable moisture resistance, like HMR-rated MDF or properly sealed plywood, extends the lifespan of your storage solutions. Additionally, choosing the wrong installation technique can be a silent culprit for future issues. Overlooking the use of metal brackets, shims, or proper anchoring can make built-ins unstable or unsafe. Remember, integrating your storage with existing structural elements—like uneven walls or unique ceiling heights—demands advanced techniques such as scribing or custom framing. Ever wonder why some high-end kitchens still have cabinets that don’t quite fit? This is often due to a failure to account for nuances like wall irregularities, which can only be addressed through detailed measurements and custom fitting. Don’t forget, the key to a truly professional outcome lies in understanding these subtleties rather than relying solely on standard plans or DIY tutorials. For those interested in elevating their projects, consulting expert guides on custom cabinetry can provide invaluable insights. Click here to explore how expert-level thoughtful design makes all the difference. Have you ever fallen into this trap? Let me know in the comments. Remember, a well-executed built-in isn’t just about aesthetics—it’s about crafting a durable, efficient space that’s built with attention to detail from the start.
Invest in Quality Tools for Long-Term Success
When it comes to maintaining and caring for your custom cabinets and built-ins, having the right tools can make all the difference. I personally rely on a high-quality cordless drill with adjustable torque settings, such as the Makita XFD12Z, which allows me to tighten hinges and handles with precision without risking over-tightening or damaging delicate surfaces. A set of fine-grade microfiber cloths is invaluable for daily cleaning, preventing scratches and streaks on finishes. For deeper maintenance, I use a soft-bristled brush to clean hard-to-reach corners and ensure dust and debris don’t compromise moving parts or finishes.
My Favorite Maintenance Methods
Regular inspections are key. I recommend quarterly check-ups—tightening loose screws, lubricating hinges with a silicone-based spray likeFurniture Spritz, and checking for moisture exposure, especially near sinks or cooktops. To keep cabinet interiors fresh, I use natural products like white vinegar solutions for cleaning surfaces, avoiding harsh chemicals that can degrade finishes over time. Additionally, applying a furniture wax—such as Howard Feed-N-Wax—every six months can preserve wood’s luster and provide an extra layer of protection against humidity fluctuations.
Tools I Recommend for DIY Upkeep
Beyond basic hand tools, certain specialized equipment enhances maintenance. A shrink wrap applicator can be used to create a moisture barrier on vulnerable areas, protecting against humidity-induced warping. An angle grinder with abrasive pads can gently remove any stubborn grime or old finishes from hardware, preparing them for re-polishing. For periodic touch-ups or minor repairs, I keep a kit containing matching touch-up stains, clear finishes, and fine-grit sandpaper. These tools empower you to handle everyday repairs without waiting for professional help, saving money and minimizing downtime.
How do I keep my built-ins functional over time?
Consistent care is essential. Incorporate a maintenance schedule that includes checking hardware, sealing surfaces, and cleaning intricate joints—especially in high-use areas. Also, address minor issues like loose handles or squeaky hinges immediately before they develop into bigger problems. Moisture management is critical; ensure proper ventilation, and avoid spills or leaks that can warp plywood or MDF components. For more detailed guidance, explore expert tips on storage maintenance to extend your cabinet’s lifespan and performance.
One advanced tip I recommend is applying a tailored nano-coating to interior surfaces, which repels water and prevents stain absorption—perfect for kitchen environments. This technology is gaining popularity among professional cabinet makers and can be a game-changer for preserving your investment. For detailed instructions and product suggestions, consult industry pros or visit this resource.
What I Wish I Had Known Before Diving Into Built-Ins
One of the most valuable lessons I learned was the importance of tailoring storage solutions to my actual lifestyle rather than relying solely on trendy designs. Sometimes, minimalist looks can hide hidden inconveniences, like difficult access or hidden clutter, which defeat the purpose. Additionally, I underestimated the power of choosing materials with the right moisture resistance; a small oversight here led to warping in my cabinet frames—something I only realized after costly repairs. The biggest eye-opener was realizing that hardware supports are just as crucial as the design itself; robust, well-installed supports prevent sagging and improve durability, especially when heavy appliances are involved. Lastly, I discovered that proper electrical planning isn’t just a technical detail but the backbone of a safe and functional space, saving me from future headaches and hazards.