The Magnet Trick for Keeping Hidden Access Panels in Place
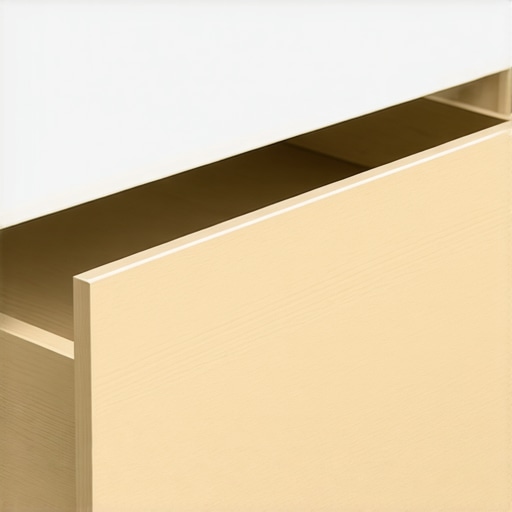
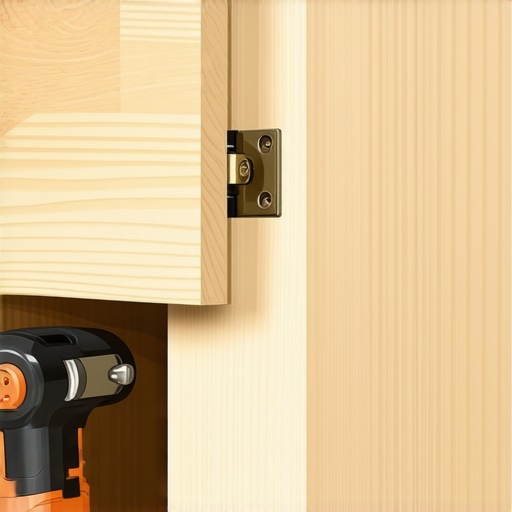
One evening, I reached into a seemingly seamless cabinet panel in my kitchen, only to find it swinging open under my hand. Suddenly, what was supposed to be an invisible access point revealed itself, leaving me frustrated and questioning my entire approach to hidden storage. I realized that without a reliable way to keep these panels in place, my sleek design was compromised, and the functionality was suffering. That moment was a lightbulb—there had to be a better way to keep those hidden access panels securely in position.
The Struggles of Hidden Access in Custom Cabinets
If you’ve ever tackled a kitchen remodel or built-in project, you know the challenge well. These concealed panels are fantastic for discreet storage or maintenance access, but keeping them flush and secure can be a persistent headache. Nothing is more frustrating than a panel that shifts or sags every time you open or close it, disrupting the clean aesthetic you’ve worked hard to achieve. It’s a problem that many DIY enthusiasts and professionals encounter, and frankly, it can undermine all your efforts for a seamless look.
Over the years, I experimented with various solutions—double-sided tape, magnets, and even tiny catches—yet nothing really stuck or held up under repeated use. That was until I discovered the simple yet powerful trick involving [magnets](https://artisancabinetworkz.com/smart-storage-ideas-to-maximize-your-kitchen-space-this-year). Early on, I made the mistake of relying solely on adhesive magnets that eventually lost their grip or shifted, leading to more disappointment. The key is understanding how to leverage magnets effectively within your cabinetry, creating a solution that’s both discreet and reliable.
Does the Magnet Trick Really Work? Is It Worth the Hype?
I’ll admit, I was skeptical at first. How could small magnets keep a panel in place without risking it becoming a permanent fixture or damaging the cabinet? But after some testing, I found that with proper placement and proper magnet strength, this approach is not only effective but also reduces wear and tear over time. Plus, magnets are easy to install, don’t compromise the cabinetry’s integrity, and remain hidden from view—perfect for maintaining a sleek, modern look.
So, if you’re tired of panels shifting or sagging, and if you want a solution that is both simple and proven, I promise that mastering the magnet trick is worth the effort. In the sections ahead, I’ll guide you through the step-by-step process to implement this method in your own projects, turning a common nuisance into a design feature—robust, discreet, and reliable.
Getting Started with Magnet Placement
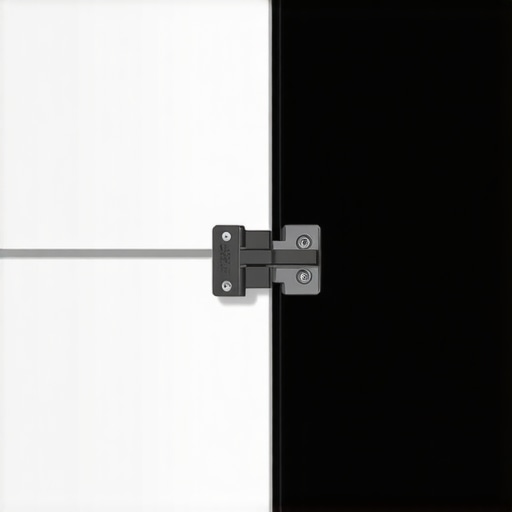
During my latest kitchen upgrade, I used a handheld magnet to test the ideal spot on the panel where it would naturally align with a hidden metal strip embedded in the cabinet frame. Think of it like pairing a magnet to a tiny treasure chest—the goal is to find that perfect sweet spot where the magnet holds securely but isn’t overly tight. I started by placing the magnet along the edges of the panel, gently pressing until I felt resistance, which indicated contact with the metal strip, then marked that spot with a pencil.
Embed Magnets Without Damaging Cabinets
To keep the look sleek, I drilled shallow, precise holes using a ¼-inch drill bit, ensuring I didn’t puncture through the cabinet face. I then glued small neodymium magnets into these holes with a strong, waterproof adhesive like epoxy. It felt a bit messy at first—dripping glue everywhere—so I used painter’s tape to control excess. After pressing the magnets in, I held them in place with clamps for 10 minutes, giving the adhesive time to set firmly.
Secure Magnet Alignment for Consistency
Aligning the magnets across the panel and the frame was crucial. I marked their positions with a ruler and used painter’s tape to temporarily hold the magnets in place, then tested the panel’s fit repeatedly. This process reminded me of tuning a guitar—small adjustments lead to perfect harmony. Once satisfied, I let the adhesive cure overnight, ensuring maximum strength and alignment. As I closed the panel, I appreciated how it snapped shut with authority, no wobbling or sagging.
Refining Magnet Strength and Placement
If the panel isn’t holding firmly, upgrade to stronger magnets or relocate them closer to the edge. Conversely, if removal becomes difficult, use slightly weaker magnets or move them away from the edge. For my project, I used N52 grade neodymium magnets, which strike a good balance—powerful enough to hold but easy to disengage when needed. This approach proved to be both discreet and durable, maintaining the sleek aesthetic while offering reliable functionality.
Test and Finalize Your Hidden Panel
Once all magnets were set, I tested the opening and closing multiple times, mimicking daily use. I found that slight adjustments to magnet positions improved the hold strength significantly. Remember, patience is key—like tuning a fine instrument, the perfect setup ensures your panels stay flush without sacrificing ease of access. If you want more ideas to optimize your kitchen or bathroom storage with custom cabinetry, check out custom cabinet ideas.
Many homeowners and even some professionals tend to oversimplify the complexities involved in designing custom cabinets and integrated storage. One widespread myth is that all custom cabinets are created equal, but in reality, the devil is in the details. For example, the type of joinery used can significantly affect durability and longevity, especially in high-humidity environments. A study by the Cabinet Makers Association highlights that premium joinery techniques, such as dovetail or Mortise and Tenon, enhance the structural integrity of cabinetry over time, countering the misconception that quality is solely about aesthetics.
Another often-ignored nuance involves the placement of storage components. Many believe that more storage means better design, but cramming a space without considering accessibility can lead to inefficiency and frustration. For instance, installing deep pantry shelves or high upper cabinets might seem appealing visually, but they can be challenging to reach and use daily. An expert tip is to incorporate adjustable shelves and pull-out systems, which allow customization and ease of access, transforming a simple storage space into a genuinely functional area.
**Are built-ins and concealed storage truly the best use of space?** The truth is, not always. If poorly planned, they can turn into dust traps and areas difficult to clean. For example, blind corner cabinets are often underutilized, leading to wasted space. However, innovating with hidden toe-kick drawers or secret compartments can maximize functionality without sacrificing style. Implementing such solutions requires a nuanced understanding of cabinetry architecture. As noted in a recent survey by Professional Remodeler, homeowners who work with experienced designers benefit from tailored storage that balances aesthetics with usability.
Beware of the trap of choosing materials based solely on appearance. While a high-gloss finish may look stunning, it can be susceptible to fingerprints and scratches. Conversely, matte finishes, though often overlooked, excel at hiding fingerprints—making them a practical choice for busy kitchens.
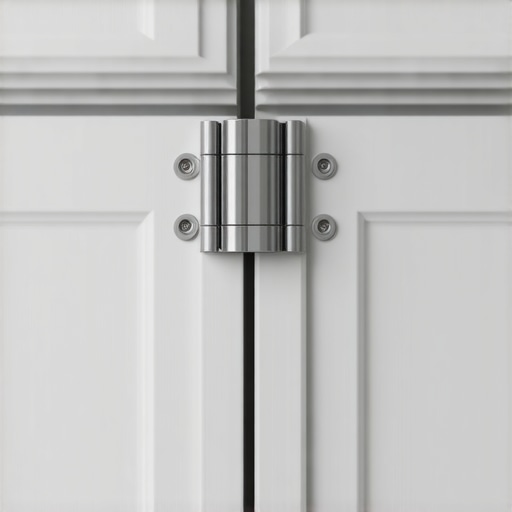
Lastly, ensure that your cabinet hardware and hinges are of high quality. Soft-close hinges and push-to-open mechanisms, for example, don’t just add luxury—they also prevent slamming, extend cabinet life, and contribute to a quiet, sophisticated environment. For tips on selecting the right hardware, consult guides like ‘Why-Soft-Close Cabinets Matter,’ which delve into these advanced details.
Ultimately, designing custom cabinets and hidden storage isn’t just about choosing beautiful materials; it’s about understanding the nuanced interplay of function, accessibility, and durability. Avoid common pitfalls by engaging with seasoned professionals and exploring innovative solutions—like those showcased in seamless built-in storage ideas. This approach guarantees your cabinets will serve not only as stylish features but also as highly functional spaces. Have you ever fallen into this trap? Let me know in the comments.
Maintaining the longevity and functionality of your custom cabinetry requires more than just careful installation—you need reliable tools and consistent practices. Over the years, I’ve refined my toolkit to include specific hardware and software solutions that ensure my projects stand the test of time. The right equipment not only speeds up the process but also guarantees precision, reducing errors that can lead to long-term issues like sagging, misalignment, or wear and tear.
First and foremost, I swear by a high-accuracy digital caliper for measuring reveals and joint gaps. Precise measurements are critical, especially when aligning built-ins or installing soft-close hinges. Using a digital caliper reduces human error and allows for quick recalibration if things don’t look right during the process. Paired with a reliable laser levels—my favorite is the Bosch GLL 3-300—ensuring plumb and level installations across multiple cabinets becomes effortless, resulting in a unified, professional appearance. For software, I rely on SketchUp Pro to model my designs beforehand. Visualizing the space helps catch potential conflicts early, preventing costly adjustments during or after installation. This foresight saves time, money, and frustration, especially when scaling projects or customizing storage solutions for different rooms.
To keep cabinet doors and drawers functioning smoothly over time, I install high-quality soft-close hinges like Blum’sotion series and heavy-duty full-extension slides from Accuride. These components are worth the investment because they reduce wear on the cabinetry and create a quiet, premium experience for homeowners. I often recommend using a dedicated soft-close hinge jig during installation, which guarantees consistent placement and tension across all doors. Proper alignment is non-negotiable; even minor deviations can cause squeaks or uneven closures that detract from the overall look.
Another tool I consider indispensable is a cordless router with multiple bits, including a flush trim bit for fine edge detailing and a 1/4-inch straight bit for dado cuts. Carefully preparing edges and joinery helps maintain structural integrity and aesthetic quality. For ongoing maintenance, I set a quarterly schedule to inspect hinges and slides, lubricating them with a silicone-based spray like WWW. This simple step prevents squeaks and ensures smooth operation for years to come. Also, periodically tightening screws and checking for warping keeps everything aligned, especially in climates with high humidity where wood expansion and contraction are common.
Looking ahead, advancements like smart hinge systems that monitor usage and alert you to issues are on the horizon. Integrating these with home automation could revolutionize how we approach long-term cabinetry care, making maintenance proactive rather than reactive. It’s worth staying updated by following industry leaders and testing new solutions on smaller projects first to see how they fit into your workflow.
How do I maintain custom cabinetry over time?
Regular inspections combined with quality hardware and precise tools are your best allies. Implementing a routine—quarterly hinge checks, lubrication, and cleaning—can extend the life of your cabinetry and keeps everything operating as seamlessly as day one. For large-scale projects or scaling your storage solutions, investing in versatile software like SketchUp simplifies planning and adjustments before the actual work begins. To streamline your next upgrade, consider exploring innovative storage solutions and see how integrating smart technology could make maintenance even easier. Don’t forget—the right tools make a measurable difference, so try incorporating a digital caliper and laser level into your toolkit today to elevate your craftsmanship.
Lessons the Hard Way: What I Initially Overlooked
The most valuable insights often come from mistakes. Early in my journey, I underestimated the importance of precise magnet placement, thinking a rough estimate would suffice. But experience taught me that even small misalignments could compromise reliability. Patience and meticulous measurement are essential, especially when working with delicate magnetic components—this realization has saved me countless headaches in subsequent projects.
Another lesson was not to overlook the significance of selecting the right magnet strength. Using magnets too weak led to panels that failed to stay flush, while overly strong magnets made removal difficult. Finding that sweet spot requires testing and adjusting, which ultimately resulted in a seamless blend of form and function. Embracing this iterative process has deepened my understanding of how subtle hardware choices impact daily usability.
Finally, I learned that creative problem-solving often involves rethinking standard approaches. For example, embedding magnets within the cabinet frame rather than relying solely on surface-mounted solutions preserved the sleek look while maximizing hold strength. This insight reinforced the value of customizing solutions rather than settling for off-the-shelf fixes, ensuring each cabinet serves both aesthetic and practical purposes optimally.
Tools and Resources That Changed My Approach
To elevate my cabinetry projects, I rely on several trusted tools. First, the Bosch GLL 3-300 laser level has been a game-changer for ensuring perfect alignment across multiple cabinets, reducing setup time and preventing cumulative errors. Paired with my digital caliper, I achieve measurement precision that makes all the difference when positioning magnets or hinges, emphasizing the importance of quality tools in fine craftsmanship.
SketchUp Pro has transformed how I plan and visualize projects. It allows me to foresee potential issues before breaking ground, saving time and material costs. For learning and inspiration, I turn to industry blogs like Artisan Cabinetry’s resources on custom solutions—these offer real-world advice that resonates more than generic guides. Additionally, I trust epoxy adhesives like West System for embedding magnets securely; their strength and durability are unmatched for long-term reliability.
Embrace the Art of Thoughtful Customization
Designing concealed storage isn’t just about hiding spaces—it’s an art form that balances aesthetics, accessibility, and durability. Every tweak—be it magnet placement or material choice—contributes to a harmonious, functional kitchen. Remember, a little extra time invested upfront in planning and testing can lead to extraordinary everyday convenience and satisfaction. If you’re eager to take your storage solutions to the next level, explore smart storage ideas that optimize every inch of your space.