Why Inset Cabinet Doors Stick in the Summer and the Simple Planing Move
I vividly remember the first sweltering summer after finishing my custom kitchen. I opened my elegant inset cabinet doors, only to find them sticking painfully—like they were angry at me personally. It was a lightbulb moment. I realized that the very craftsmanship I loved was reacting to the summer heat and humidity. If you’ve experienced similar frustrations with your built-ins, you’re not alone. Many homeowners face this pesky problem, especially when weather shifts. But fear not! Today, I’m going to share a simple, effective plan that I personally used to fix sticking inset cabinet doors without calling in costly help or settling for less stylish solutions.
Understanding the Summer Stickiness: Why the Heat Affects Your Cabinets
During hot summer months, the moisture content in wood fluctuates. This causes the wood to expand, especially in humid environments. Inset cabinet doors, which are cut precisely to fit within their frames, are particularly sensitive to these changes. When they expand, they might rub against the frame or even warp slightly, making them hard to open or close smoothly. I learned early on that ignoring these natural changes leads to a frustrating cycle of misalignments and sticking hinges. A key step is recognizing that this isn’t a defect but a normal response of wood to environmental conditions. To prevent long-term warping or damage, simple adjustments can go a long way. For more insights on how weather impacts cabinetry, check out this comprehensive guide to custom cabinets for a modern kitchen upgrade.
Feeling skeptical about fixes? So was I!
When I first faced this issue, my mistake was applying generic solutions that didn’t account for the seasonal changes. I assumed a quick tightening of hinges or sanding would fix everything, but that only made my cabinets worse. Trust me, understanding the causes makes all the difference. A properly executed plan involves seasonal adjustments and some basic tools, which I’ll share with you next. If you’re curious how I transitioned from constant sticking to smooth operation, stay tuned!
Adjust Hinges for a Clear Path
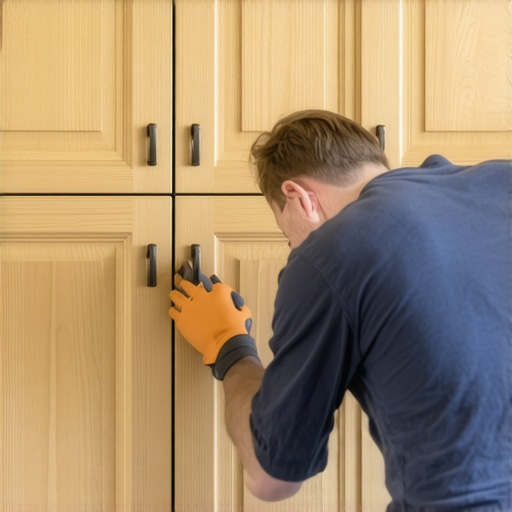
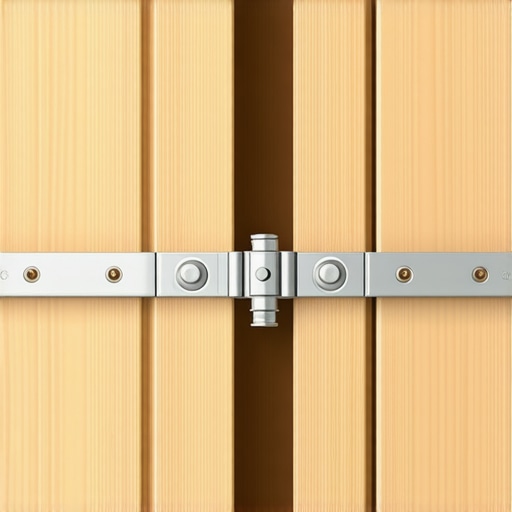
Start by inspecting your cabinet hinges. Loosen the screws with a Phillips-head screwdriver and gently push the door to see where it binds. Make small adjustments by shifting the hinge slightly inward or outward to align the door properly. When I did this for my kitchen, I found the top hinge was slightly off-center. After a minor tweak and tightening the screws back, the door glided smoothly—no more sticking, even during the hottest months. This simple step is like tuning a musical instrument; small tweaks make a big difference.
Seal the Gaps with Filler Strips
Sometimes, expansion causes the door to rub against the frame. To fix this, install thin wooden or felt filler strips along the edge where rubbing occurs. Use a drill to make tiny pilot holes for nails or screws, and secure the strip. During my DIY project, I noticed a slight rub on the bottom corner; a quick addition of a felt strip solved that problem instantly. This is akin to adding a buffer in a machine to prevent parts from grinding—small but effective.
Realign the Inset Door
If the door isn’t flush, you might need to reposition it entirely. Loosen the mounting screws and gently shift the door to touch the cabinet frame evenly. Use a level to verify. When I adjusted my inset door, I marked the new position with painter’s tape, then re-secured the hinges, ensuring a perfect flush that looked professional.
Sand and Refinish to Combat Humidity
Wood expands and contracts with moisture. Lightly sanding the edges can reduce friction. Once sanded, reseal the wood with a quality finish or furniture oil to minimize swelling during high humidity. I learned this the hard way when my cabinet doors started sticking again mid-summer—sanding and sealing the edges kept the doors functioning smoothly through seasonal changes. Think of it as giving your wood a protective suit against the weather.
Periodic Seasonal Checks
Make it a habit to reassess hinge tightness and door alignment a few times a year, especially in areas with high humidity swings. Think of this process as regular tune-ups for your car; it keeps everything running smoothly. During one inspection, I discovered a hinge screw had loosened slightly, which caused a misalignment—tightening it restored proper operation, preventing future issues.
Tools You’ll Need
Gather a Phillips-head screwdriver, a small hammer, a level, filler strips, and fine-grit sandpaper. Having these on hand allows quick fixes without the need for a professional. When I tackled my sticking doors, I kept all tools nearby, making the process smooth and efficient. For more ideas on maximizing your storage and cabinetry, check out this article on smart storage solutions.
Pro Tip
If your door continues to stick despite adjustments, consider replacing the hinges with soft-close models. They not only improve operation but also help absorb expansion forces, reducing future misalignments. Upgrading hinges can turn a sticky door into a whisper-smooth passage—one of the simplest upgrades for a modern kitchen makeover.
 Many homeowners assume that custom cabinets and kitchen remodels are straightforward processes focused solely on aesthetics and material choices. However, a critical nuance often overlooked is the misconception that more cabinets or elaborate storage always equates to better functionality. In reality, overbuilt or poorly planned storage solutions can hinder accessibility and disrupt workflow rather than enhance it. For example, installing deep, full-height cabinets might seem efficient, but unless carefully considered, they can result in inaccessible upper shelves, leading to wasted space and frustration. Advanced designers emphasize the importance of strategic placement, considering user habits and ergonomic principles, which are often missing from DIY projects or superficial renovations. In fact, a study from the National Kitchen and Bath Association highlights that thoughtful layout and storage planning significantly increase a kitchen’s usability and homeowner satisfaction. Moreover, many believe that the most expensive materials guarantee durability, but without proper environmental considerations—like humidity-resistant finishes or appropriate wood choices—even premium materials can fail prematurely. Avoid falling into the trap of equating cost with quality; instead, focus on the suitability and craftsmanship. Additionally, a common myth is that built-ins automatically increase home value, but if they’re not aligned with the home’s overall style or are poorly executed, they can detract rather than add value. To sidestep these pitfalls, consult detailed guides on custom cabinet planning and explore innovative storage options that maximize space without sacrificing style. Remember, even expert designers recommend periodic assessments of your storage solutions, especially when climate changes influence wood movement—something that many overlook and leads to misalignments or sticking doors. By understanding these nuances, you ensure your remodeling project delivers lasting satisfaction instead of costly regrets. Have you ever fallen into this trap? Let me know in the comments.
Maintaining the longevity and functionality of your custom cabinets and built-ins requires the right tools and a strategic approach. Over time, environmental changes, frequent use, and minor wear can lead to issues like sticking doors, misaligned drawers, or loose hinges. To stay ahead of these problems, I rely on specific equipment and disciplined routines that prevent small issues from becoming costly repairs. By investing in quality tools and adopting good maintenance habits, you ensure your dream kitchen remains as functional as it is beautiful.
How do I maintain my cabinetry over time?
One indispensable tool I recommend is a high-quality electric drill with adjustable torque settings. This allows precise tightening and loosening of hinges and drawer slides without damaging the wood or hardware. I personally use the DeWalt Atomic 20V Max Drill, appreciating its compact size and powerful performance, ideal for detailed adjustments in tight cabinet spaces. Another essential is a digital feeler gauge, which I use to measure gap sizes and ensure even clearance, especially important after seasonal wood expansion or contraction.
For cleaning and routine upkeep, I rely on a soft microfiber cloth and mild, non-abrasive cleaner to keep surfaces free of fingerprints and dust—especially crucial on matte or dark finishes that show smudges quickly. Regularly lubricating hinges and slides with a silicone-based lubricant prevents squeaks and sticking without attracting dirt, a task I perform semi-annually with a small spray applicator. These simple tools and practices have saved me countless hours and prevented many common issues, proving that proper maintenance is a worthwhile investment.
What tools are emerging trends in cabinetry upkeep?
One promising development is the use of magnetic maintenance panels, which simplify accessing hardware for quick adjustments. Additionally, some brands now offer smart hinge systems integrated with sensors—these communicate with smartphones to alert you of misalignments or wear, facilitating proactive care. As technology advances, I predict an increased emphasis on smart, app-connected hardware that makes long-term maintenance more precise and less invasive.
To future-proof your cabinets, consider upgrading to soft-close hinges and drawer slides like the heavy-duty slides. Not only do they enhance operation, but they also distribute wear evenly, extending hardware life. Remember, using premium tools, adopting routine checks, and staying informed about new tech can dramatically improve your cabinetry’s performance and lifespan. Why not try adjusting your hinges with a torque-controlled drill today and see immediate improvements? It’s a simple step that can prevent many long-term issues and keep your custom cabinets functioning flawlessly.
The Unexpected Lessons I Gained from Temperature-Tuned Cabinets
One of my most surprising realizations was that minor tweaks during seasonal shifts can save you from major headaches down the line. I once dismissed routine adjustments as unnecessary fuss, only to find myself battling sticking doors every summer. That lightbulb moment taught me that proactive planning—like checking hinges and sealing edges before humidity spikes—can dramatically improve longevity and function. Now, I see seasonal maintenance not as a chore, but as essential to preserving the craftsmanship and beauty of my custom kitchen.
Tools and Tricks That Keep My Kitchen Singing
The key to maintaining enduring, smoothly functioning cabinetry lies in selecting tools that make adjustments effortless. I swear by a quality torque-controlled drill for precise hinge tightening, and a digital gap gauge to monitor expansion. Additionally, sealing edges with a fine finish prevents moisture intrusion, which is critical during damp months. Investing in these tools fosters confidence and keeps my kitchen operating seamlessly year-round. For more insights into innovative storage solutions, this resource helped me rethink my approach.
Blazing a Trail Beyond Basic Fixes
Beyond routine adjustments, exploring emerging hinge technology amazes me. Smart hinges with built-in sensors can alert you when alignment drifts—a game-changer for busy households. Upgrading to soft-close hardware also prevents noise and reduces wear, extending the life of my cabinetry. Remember, embracing new tools and technologies isn’t just about convenience; it’s about honoring your investment and ensuring your custom cabinets stand the test of time and seasons. Have you tried any innovative hardware that transformed your kitchen? Share your experience below!