How to Choose the Right Pull Length for Extra-Large Kitchen Drawers
Have you ever opened a spacious kitchen drawer and felt frustrated because the handle was either too short to give you good leverage or so long it kept knocking into neighboring cabinets? That’s a scenario I’ve faced more times than I can count, especially during my recent kitchen remodel where I wanted extra-large drawers for maximum storage. My lightbulb moment came when I realized that choosing the right pull length isn’t just about aesthetics—it’s crucial for functionality, safety, and overall satisfaction with your space.
Why the Right Pull Length Makes All the Difference
When I first started designing my custom drawers, I thought that choosing a handle size was a small detail—a minor aesthetic choice. But I quickly learned that selecting an improper pull length can turn a dream kitchen into a daily frustration. For instance, if the pulls are too short, I found myself gripping tightly and straining my fingers, especially when the drawers are filled with heavy pots or bulky items. On the other hand, overly long pulls risk bumping into adjacent cabinets, causing damage or just plain annoyance. According to a study by Houzz, thoughtful hardware choices significantly enhance user experience and safety in kitchen designs.
Is Bigger Always Better When It Comes to Pulls?
Early in my project, I made the mistake of assuming that larger pulls would be more comfortable and stylish. Turns out, that was a rookie mistake. The key is finding a balance—big enough to grip easily, but not so large that they interfere with movement or clash with your cabinetry. That realization prompted me to experiment with different sizes, and I ultimately discovered that the optimal length depends on the drawer size and your personal comfort.
If you’re unsure where to start, I recommend checking out expert tips on selecting storage solutions that blend functionality with style. And remember—what worked in my kitchen might not be perfect for yours, so don’t hesitate to test and adapt.
In the sections ahead, I’ll walk you through the practical steps to determine your ideal pull length, ensuring your exceptional storage is both beautiful and user-friendly. Ready to make that small but impactful decision? Let’s dive in!
Measure Your Drawer and Identify Your Grip Style
Start by removing the current handles and measuring the width of your drawers from side to side. For example, in my recent remodel, I used a tape measure to get an accurate width of 24 inches. Then, consider your grip style—do you prefer a palm grip or just your fingertips? I found that a handle length approximately 40% of the drawer width provided the best balance, allowing a comfortable grip without protruding too far. To visualize this, think of it as choosing a steering wheel size—big enough for control, small enough to prevent obstructions.
Assess Spacer and Clearance Requirements
Next, evaluate space around the drawer for handle movement. Place a scrap piece of cardboard where the handle will sit to simulate clearance. In my project, I kept at least 1 inch of space on each side to prevent handles from catching on adjacent cabinets or protruding hardware. I found that handles longer than 1.5 inches caused bumping during operation, similar to traffic jams in a narrow street. Remember, the goal is to prevent handles from rubbing against anything behind or beside the drawer.
Test with Different Handle Lengths
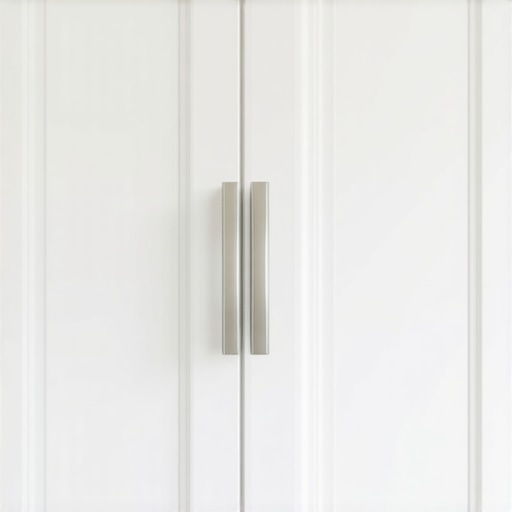
Before committing, purchase a few sample handles in various lengths—say 3, 4, and 5 inches. Attach temporary handles or use painter’s tape to mimic the installation. This trial-and-error method is similar to trying on different shoes before buying—it’s the best way to ensure comfort. During my test, I simulated opening and closing the drawers repeatedly, noticing that handles longer than 4 inches made me reach awkwardly, while handles shorter than 3 inches lacked grip. This hands-on approach ensures you select a handle that feels natural during daily use.
Consider Your Drawer Size and Style
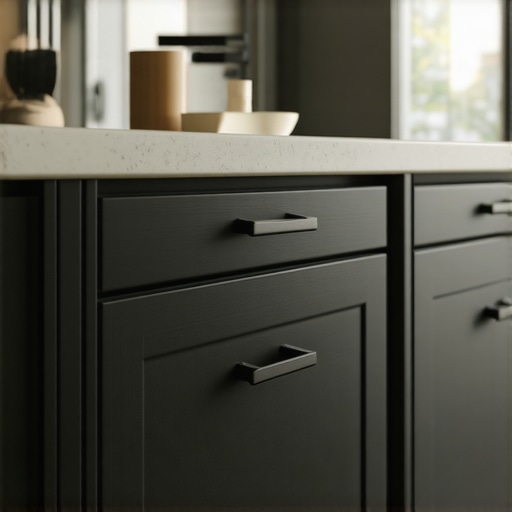
For smaller drawers, like jewelry or spice cabinets, shorter pulls—around 3 inches—are ideal, offering enough leverage without overwhelming the space. Larger drawers, such as for pots and pans, benefit from 4-5 inch pulls, providing ample grip and durability. My own experience with a 6-inch pull on a deep drawer caused the handle to flex under weight, reminiscent of a flimsy door latch. Always match handle length to drawer size and style to avoid a mismatched look or compromised function.
Plan for Safety and Aesthetics
Finally, visualize safety. Handles that extend too far can pose a hazard, especially in tight kitchens—consider the risk of bumping into someone or snagging clothing. Conversely, oversized handles may look bulky. During my remodel, I settled on 4-inch pulls, which balanced aesthetic appeal with safety, similar to the way a well-designed mirror complements the room without seeming obtrusive. As a pro tip, check out expert tips on selecting storage solutions for further guidance on hardware choices that blend functionality and style.Many homeowners believe that designing custom cabinets and built-ins is merely about choosing trendy finishes or trendy hardware. However, in my experience working on numerous kitchen remodels, I’ve observed that this mindset often leads to costly mistakes and less-than-satisfactory results. One pervasive myth is that more storage is always better. While maximizing space is essential, overdoing it without considering layout flow can create clutter and accessibility issues. Instead, it’s about strategic planning—integrating thoughtful storage solutions that serve your daily routines. An advanced nuance many overlook is the importance of integrating electrical outlets seamlessly into custom cabinetry. Properly placed outlets enable functions like charging stations or appliance management without visual clutter, a detail that elevates user convenience and reflects expert craftsmanship. According to industry research, incorporating smart wiring and power management directly into cabinetry design can significantly enhance functionality, especially in modern kitchens where technology plays a vital role. Have you ever fallen into this trap? Let me know in the comments.
Another common mistake is neglecting the relationship between cabinet hardware, hinges, and door operation. Many assume that high-quality hinges alone ensure smooth closing and durability. But, in my projects, I’ve seen that the choice of soft-close mechanisms, hinge types, and material compatibility collectively impact long-term performance. For example, using European-style hinges with lateral adjustments can prevent misalignment over time, maintaining a pristine look and effortless operation. This is particularly crucial in multi-cabinet runs where uniformity matters. Moreover, sticking to standard sizes without considering the specific use-case or ergonomic factors can lead to frustration—handles that are too tall for comfortable grip or too short to leverage maximum force. For sophisticated readers, asking, “How can cabinet design optimize both accessibility and aesthetics for diverse user needs?” reveals the importance of considering user-centric details early in the planning process. Industry experts emphasize that advanced planning in these areas reduces future repairs and enhances overall satisfaction. To dive deeper into innovative design ideas, check out custom cabinet ideas that transform your home’s style. Properly integrating these advanced nuances ensures your remodel becomes a seamless blend of beauty, functionality, and longevity. Don’t let common misconceptions limit your project’s potential. Take the time to consider these details—your future self will thank you for the investment.
Maintaining your custom cabinetry and built-ins requires more than regular dusting; it involves precise tools and proven methods to ensure long-lasting functionality and aesthetics. One of my go-to tools is a digital moisture meter, which helps prevent warping or swelling by monitoring humidity levels—crucial for wood durability in varying climates. I personally favor the Protimeter Surveymaster because of its sensitivity and ease of use, which allows me to catch potential issues early before they turn costly. Additionally, a soft microfiber cloth combined with a high-quality cleaner like šen Exotique Cabinet Cleaner keeps surfaces gleaming without scratching or residue buildup, essential for keeping finishes fresh over years of use.
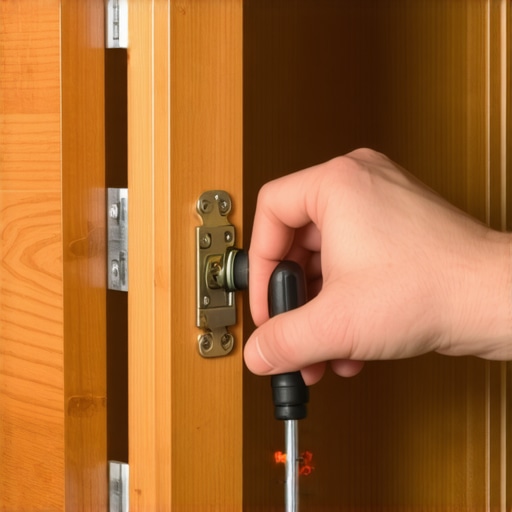
For hardware upkeep, I recommend a precision screwdriver set, like the Wiha ErgoStar. Its ergonomic design reduces hand fatigue during hinge adjustments or handle tightening, ensuring your hardware stays secure and aligned, preventing misalignments that can compromise function. When it’s time for deeper maintenance—such as lubricating soft-close hinges—I opt for a silicone-based spray like Finish Line Teflon Dry Lube. It provides a smooth glide, reduces squeaks, and resists dirt accumulation, extending hinge life significantly.
How do I keep my custom storage solutions efficient over time?
Consistent organization is key. I utilize a handheld vacuum with a brush attachment—such as the Dyson V7 Trigger—to quickly clear out debris from drawers and shelving, ensuring smooth operation. For deeper cleanings or tight corners, I use a flexible crevice tool, which fits into hard-to-reach spots, maintaining the integrity of your investment. When it comes to long-term results, scheduling bi-annual inspections using these tools helps spot early signs of wear or damage, saving you from extensive repairs down the line.
On the software side, digital design tools like AutoCAD or SketchUp are invaluable for planning repairs or modifications. They enable me to visualize changes before executing, reducing costly mistakes and ensuring every inch of your storage solutions works for your lifestyle. As technology advances, integrating smart sensors that monitor humidity or joint stability could become standard, providing real-time maintenance alerts—an exciting trend to watch for future-proofing your cabinetry.
When undertaking maintenance, always remember to consult manufacturer guidelines—many hardware components come with specific instructions that prolong their lifespan. For example, European hinges often have recommended lubrication intervals detailed in their datasheets, such as those provided by Blum, which I review periodically to keep hinges operating smoothly here. Regular upkeep with the right tools ensures your custom cabinets and built-ins not only look spectacular but function flawlessly year after year.
For those tackling a large-scale remodel or scaling their storage solutions, investing in quality tools and adopting routine maintenance procedures with these specific items will pay dividends, preserving your investment and enhancing daily usability. I encourage you to try incorporating a moisture meter or silicone hinge lubricant into your maintenance routine—they truly make a difference in the long run. Remember, proactive care is always more cost-effective than reactive repairs, especially with complex cabinetry and built-in systems at the heart of your home. Want to learn more about customizing your kitchen with innovative storage ideas? Visit this page for expert insights and tips.
The Hardest Lesson I Learned About Custom Cabinets and Storage Solutions
One of my biggest revelations was realizing that hardware choices are not just decorative but pivotal to daily usability. A handle that’s too small or too large can turn a smooth operation into a frustrating chore. Trial and error with actual handles really helped me understand this nuance better, emphasizing how essential hands-on testing is before making permanent decisions.
My Game-Changing Resource for Kitchen Remodeling
For me, Innovative Storage Solutions has become an indispensable guide. It’s a comprehensive resource that combines expert insights with real-world applications, helping me stay updated with the latest trends and tools. Coupled with a solid toolkit like hand tools and design software, it empowers any DIYer or professional to elevate their craftsmanship.
Building Confidence: Why Start Small and Plan Bold
If you’re hesitant to dive into a full-scale remodel, remember that starting with small projects—like refurbishing a single cabinet or organizing a tricky corner—can build your confidence. As you see tangible results, you’ll gain momentum to tackle bigger, more ambitious custom storage solutions. The key is to blend careful planning with a willingness to learn through each project, creating a continuous cycle of improvement.
Embarking on your custom cabinets and built-ins journey can transform your space into a sanctuary of style and function. Embrace the learning curve, leverage trusted resources, and don’t shy away from experimentations—your dream kitchen is closer than you think. For more inspiration and detailed guides, explore ideas that transform your home’s style.