Why Full-Extension Slides Are Worth the Extra Cost for Pot Drawers
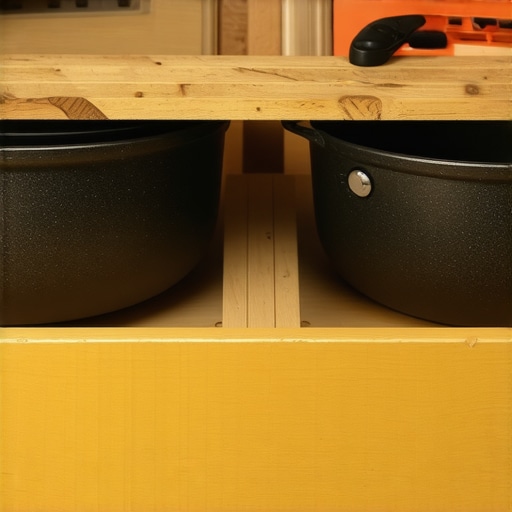
Ever open a kitchen drawer and find half the contents spilled onto the floor because the bottom of the drawer gave out? That frustrating experience hit me early in my remodeling journey. I had splurged on standard slides, thinking anything would do, only to realize my pots and pans were too heavy for those basic mechanisms. The disappointment was instant—and costly. It took me realizing that investing in full-extension slides for my pot drawers could have saved me a lot of trouble and money in the long run.
Discovering the Real Value of Full-Extension Slides
When I first decided to upgrade my kitchen storage, I assumed all slides were created equal. After all, how different could they be, right? It wasn’t until I added a few full-extension slides that I truly understood the difference. These slides allow the drawer to glide all the way out, revealing every corner of your storage space. No more reaching, squeezing, or blindly rummaging around. It’s like suddenly finding years of lost space tucked behind a stubborn door. Honestly, this upgrade shifted my entire approach to kitchen organization and made my everyday cooking experience so much smoother.
Investing in quality hardware might seem like an unnecessary splurge at first glance—especially when budget-friendly options are tempting. But consider this: according to industry experts, full-extension slides are designed to handle heavier loads and provide more durability, often lasting twice as long as standard alternatives. For a kitchen that sees regular use, especially with heavy pots and pans, they’re truly worth the extra cost. Whether you’re remodeling your space or just rethinking your storage solutions, the benefits aren’t just convenience—they’re about creating a sustainable, long-term system that works for you.
Now, if you’re wondering whether these premium slides are really a game-changer, I’ve got you covered. I’ll share the reasons why this upgrade is often overlooked but should be at the top of your list. Plus, I’ll guide you through choosing the right hardware and installing it properly to maximize your investment. Ready to rethink your kitchen storage and avoid the common pitfalls I faced? Let’s dive in.
Is All Hardware Created Equal? Here’s Why You Shouldn’t Cut Corners
Looking back, one of my initial mistakes was installing cheap slides without considering their weight capacity or extension length. I thought I was saving money, but in reality, I was setting myself up for failure. This is a common mistake that many homeowners make—believing that all cabinet hardware is interchangeable. In reality, choosing inferior slides can lead to premature wear, misalignment, or even damage to your cabinetry. For a comprehensive understanding of selecting the best storage solutions, I recommend visiting Expert Tips on Selecting Storage Solutions. Trust me, the right hardware can make a world of difference. Ready to learn how to pick hardware that lasts? Let’s explore the options and what they mean for your remodeling project.
Identify Your Storage Needs
Begin by assessing what you store most frequently. For example, I once measured my largest pots and pans and realized standard drawers couldn’t accommodate them. Use a tape measure and note the dimensions, then translate these into drawer and cabinet sizes. This step eliminates guesswork and ensures your custom storage fits perfectly, much like fitting puzzle pieces together.
Design Built-In Storage That Fits Like a Glove
Sketch with Precision
Start with rough sketches, then refine using design software or graph paper. Think of your space as a micro-city where each storage unit has a purpose—pantry shelves, spice racks, utensil drawers. For a seamless look, consider integrating built-in solutions that match your cabinetry style. This approach not only maximizes space but also creates a cohesive aesthetic, similar to tailoring a suit specifically for your body.
Select the Right Materials and Hardware
Choose durable materials like plywood or HDF for drawer bottoms—these resist moisture and wear over time. When selecting hardware, prioritize full-extension slides with high weight capacity, especially for heavy-duty drawers. For instance, I installed these slides in my pantry, which allowed me to access every corner effortlessly, akin to opening a treasure chest.
Precise Measuring and Cutting
Accurate measurements are critical—measure twice, cut once. Use a framing square and level to ensure straight cuts and proper alignment. I once cut a shelf too short, causing gaps; learning from it, I always double-check measurements before cutting. This meticulousness prevents wasted materials and frustration, much like honing a craft with steady hands.
Construction and Assembly Techniques
Assemble with high-quality fasteners, such as pocket-hole screws, which create strong, clean joints. When installing drawers, use a jig for consistent handle placement and alignment. I once used a makeshift template, which led to uneven handles; upgrading to a proper jig made my drawers look professional—like a bespoke piece of furniture.
Installation for a Seamless Look
Securely attach cabinets and built-ins to studs, ensuring weight distribution is even. Use shims to level units, preventing gaps and misalignments. I recall one side was slightly off, causing misaligned doors; a quick shim correction solved it instantly. Think of this process as tuning a musical instrument—precision yields harmony.
Integrate Smart Storage Accessories
Incorporate pull-out trays, lazy Susans, or spice organizers within your cabinets to improve functionality. For example, I added a pull-out tray for baking sheets, making my process more efficient—saving time, reducing clutter. These accessories turn your storage into a well-oiled machine, much like customizing a toolset for specific tasks.
Final Adjustments and Finishing Touches
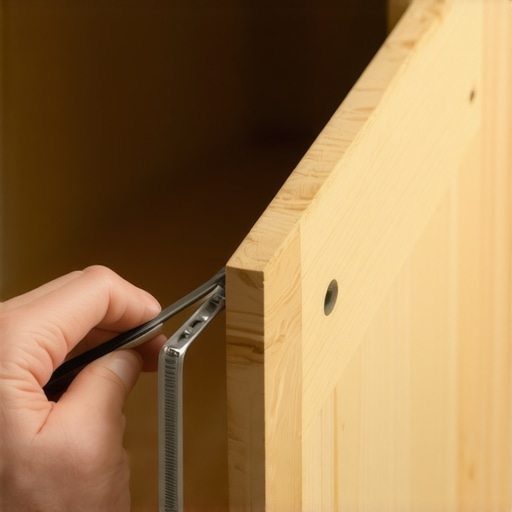
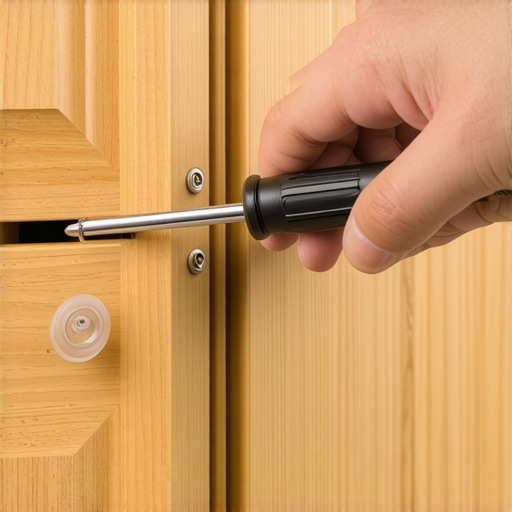
After installation, adjust hinges and slides for smooth operation. Use a screwdriver and test each drawer and door: it should open and close effortlessly without gaps. I once ignored this step, resulting in squeaky doors; fine-tuning resolved the issue. Finish with paint or stain that matches your aesthetic, ensuring your storage merges flawlessly with the rest of your kitchen. Remember, details like these elevate the entire remodel—think of it as framing a masterpiece.
When it comes to storage solutions in a kitchen remodel, many homeowners fall into common myths that hinder their success. One widespread misconception is that investing in custom cabinets is unnecessary because off-the-shelf options are perfectly adequate. However, expert insights show that custom solutions can optimize space, fit awkward areas, and enhance aesthetics better than generic units, ultimately adding value and functionality. Another trap is the belief that built-ins are only for high-end renovations, while in reality, they provide practical storage without sacrificing style, making your kitchen more organized and accessible.
Are DIY Tricks Doing More Harm Than Good?
Many assume that implementing storage hacks they’ve seen online will suffice, but improper installation or lack of precision can lead to damage, misalignments, or unsafe structures. For example, installing floating shelves without proper reinforcement might cause the shelves to sag or fall, risking costly repairs. According to a study by the National Kitchen and Bath Association, precise measurements and professional-grade hardware are crucial for durability. Therefore, engaging experienced craftsmen and investing in quality materials ensures a long-lasting, safe, and beautiful storage system. Don’t underestimate the nuances—small details like hinge placement, material selection, and airflow considerations can significantly impact your project’s outcome. To avoid pitfalls, consult detailed guides such as our expert tips on choosing storage solutions. Remember, shortcuts now can lead to costly regrets later. Have you ever fallen into this trap? Let me know in the comments and share your experiences!
Keep Your Kitchen Running Smoothly with the Right Tools
Achieving a flawless kitchen remodel isn’t just about good design and quality materials; it hinges on using the right tools and maintaining them properly. From precision measuring devices to robust hardware, I’ve found that investing in reliable equipment streamlines the process and ensures long-lasting results. For example, I swear by my digital calipers—they allow me to measure cabinet openings and panel thicknesses with an accuracy of hundredths of an inch, which is critical for perfect fits and alignments. This eliminates guesswork and rework, saving time and reducing waste.
In addition, a high-quality drill like the DeWalt DCD991P2 cordless impact driver is indispensable for assembling built-in storage solutions. Its power and ease of use make installing heavy-duty hardware, such as full-extension slides or reinforcement brackets, straightforward. Remember, the quality of your tools directly impacts the quality of your craftsmanship. Investing in durable, professional-grade equipment pays off over time, especially when handling projects that involve thick plywood, custom cabinetry, or delicate finishes.
Another tool I frequently use is a CNC router for custom cutouts and intricate detailing. While it may seem advanced, a compact model like the Shapeoko Pro can be a game-changer, allowing you to create precise, repeatable cuts for hardware templates or decorative accents. Leveraging digital fabrication tools is a trend I see gaining momentum, providing homeowners and remodelers with precision that was once only accessible to large-scale manufacturing.
How do I maintain my tools over time to ensure longevity?
Proper maintenance involves cleaning cuts and debris after every use, lubricating moving parts, and storing tools in climate-controlled environments. Calibration is key—digital measuring devices and CNC machines require periodic checks with calibration blocks and software updates to maintain accuracy. I recommend creating a maintenance schedule annotated with reminders, which keeps your tools performing at their best and extends their lifespan. Documenting your tool care routine also helps identify performance issues early, reducing downtime and repair costs.
Looking ahead, the trend points to smart, connected tools that self-diagnose and optimize performance. Imagine impact drivers that alert you when battery health drops below a certain threshold or CNC machines with predictive maintenance capabilities—progress that will make DIY projects more accessible and dependable. To stay ahead, I suggest exploring features that integrate with digital project management apps, streamlining your workflow from planning to execution.
If you haven’t already, try calibrating your impact driver’s torque settings to match specific hardware requirements. For instance, setting the correct torque prevents overdriving screws into delicate veneer panels, protecting your cabinetry during assembly. Small adjustments like this can significantly improve your finish quality and prevent costly mistakes, solidifying your reputation as a skilled DIYer or professional. For more detailed guidance on tool calibration and maintenance, visit our comprehensive guide.
The Hidden Pitfalls That Can Derail Your Plans
One of the toughest lessons I learned was about underestimating the importance of weight-rated hardware. I initially installed cheap slides for my heavy pots and was lucky they didn’t fail immediately—but it was only a matter of time. Investing in high-quality, full-extension slides with proper weight capacities was a game-changer, preventing costly repairs and accidents. This taught me to prioritize durability and load capacity over price, a realization that’s reshaped how I approach every hardware choice in my remodels.
Small Details That Make a Big Impact
Something I overlooked at first was the significance of proper alignment and leveling. A tiny miscalculation in measuring or a slight tilt can lead to cabinetry that looks off or operates squeakily. I discovered that meticulous measuring, double-checking, and using shims made my built-ins function smoothly and look professionally installed. Paying attention to these details turned a good project into a great one, reminding me that precision is essential for flawless results.
Why Customization Is Worth the Extra Thought
Initially, I thought off-the-shelf solutions would suffice, but I quickly realized that custom-built storage maximizes every inch and suits my specific needs perfectly. For example, tailored pull-out trays and corner drawers made better use of awkward spaces, making my kitchen far more functional. The lesson here is to view customization as an investment—not just in aesthetics but in long-term usability and satisfaction, especially when working with unique spaces or heavy-use areas.
Emotional Lessons from the Remodel Experience
Perhaps the most profound realization was how patience and willingness to learn transform a stressful project into an empowering journey. When I encountered a mistake—like mismeasuring or installing hardware upside down—I embraced it as a learning moment. Each challenge became an opportunity to improve my skills and gain confidence. My advice to anyone undertaking a kitchen remodel is to welcome setbacks as part of the process—they’re the true teachers in this craft.
Mindset Shift for Future Projects
After this experience, I now approach remodeling with a more strategic mindset: plan meticulously, invest in quality, pay attention to the details, and don’t rush. This shift has saved me time, money, and frustration, and has elevated my work from amateur to professional-grade. If you’re eager to elevate your storage solutions and create a kitchen that truly works for you, remember that these personal lessons can accelerate your journey—so embrace every step as part of mastering your craft.