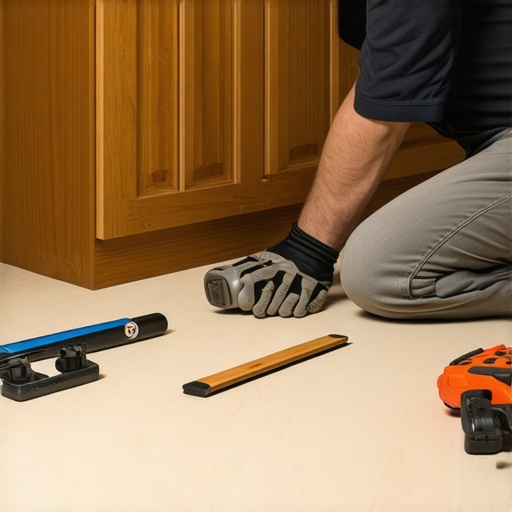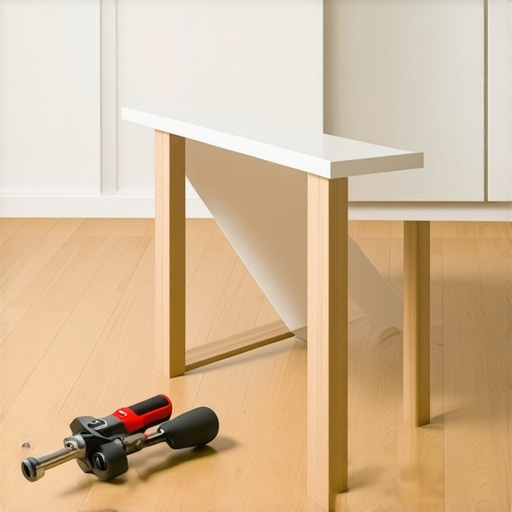
How to Level Base Cabinets on a Sloping Floor Without Shims
I’ll admit it—there was a moment during my kitchen renovation when I stared at my uneven floor and wondered if I had seriously underestimated the importance of perfectly level cabinets. It was a frustrating realization that my carefully selected custom cabinets wouldn’t sit right without some creative solutions. That lightbulb moment led me down a path of experimentation, and I came out the other side with techniques to level base cabinets on a sloping floor—without relying on those troublesome shims everyone warns about.
Why Not Just Use Shims? Let’s Rethink That
Shims seem like the go-to answer for uneven floors, right? But in my experience, they’re more of a band-aid than a real fix. Shims can cause persistent wobbling, squeaks, and an unstable feel that just doesn’t sit well with me, especially when you’re aiming for a sleek, professional look in your home. Plus, shims often require constant adjustments and can look messy if not installed perfectly. As I learned early on, the key to a truly stable, level cabinet setup is understanding the underlying issue and addressing it with smarter solutions.
According to a study by the National Association of Home Builders, proper foundation and flooring considerations are crucial for cabinetry stability, especially on uneven surfaces. So, instead of fighting the floor, I decided to adapt my approach. That’s what I’ll share with you today—how to achieve a level and secure cabinet installation without the pitfalls of shims.
Is Leveling Cabinets on an Uneven Floor Really Worth It?
Yes, and here’s why. Properly leveled cabinets not only look better but also function longer, preventing issues like doors that won’t close or drawers that stick. Early in my project, I made the mistake of assuming a quick shim fix would do. It did for a while, but eventually, I faced sagging doors and uneven counter levels. Trust me—it’s worth investing time in the right method upfront, so your beautiful remodel stays that way for years to come. Curious about creative storage solutions that complement your level cabinets? Check out innovative storage ideas for inspiration.
Now, let’s dive into how you can level your base cabinets confidently, even on floors with a relentless slope. The secret lies in understanding the foundation of your cabinets and using techniques that provide long-term stability—methods I wish I had known before starting my project. Ready to get your cabinets sitting perfectly without the fuss of shims? Let’s go!
Pinpoint the Floor’s Slope and Prepare Your Space
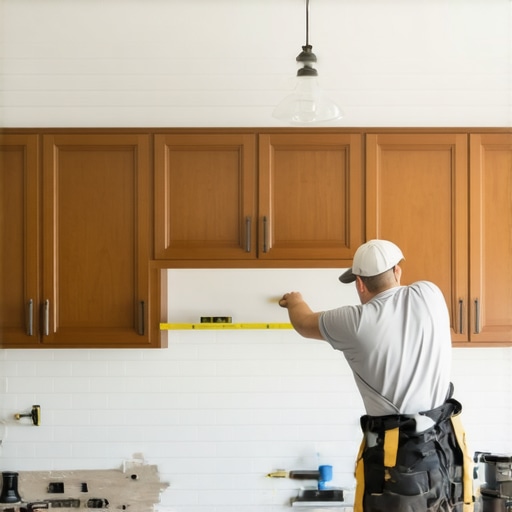
Begin by measuring the extent of the floor’s unevenness across the cabinet footprint. Use a long spirit level to identify the high and low points, marking them with painter’s tape. As I did during my project, walking through this initial step saved me from guesswork later—be precise, as this data guides your entire approach.
Decide Your Cabinet Level Line
Establish a reference elevation for your cabinets, typically at the highest point to avoid shimming to the floor, which can lead to instability. Think of it like setting the foundation of a building—your cabinets should sit firmly on this level line. For my kitchen, I drew a chalk line on the wall at the chosen height, which served as my guide for mounting the cabinets. This method ensures the top aligns uniformly regardless of the floor slope.
Use a Support System to Achieve a Flat Surface
Construct or Install a Platform
One effective solution is to build a sturdy platform or ledger board at the level line, acting as a temporary template or permanent support for your cabinets. In my case, I anchored a 2×4 ledger along the wall at the chalk line, providing a stable backing. This approach distributes the load and prevents sagging, especially on floors with a steep slope.
Secure a Level Base Frame
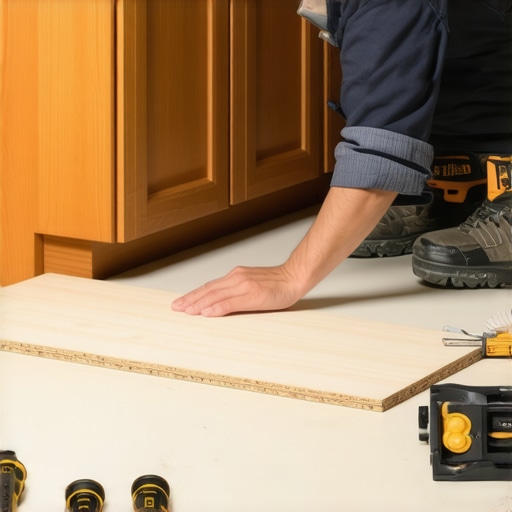
Place a frame or ledger that matches your measured elevation on the floor itself—this can be done with shims or custom-cut plywood pieces. I used a sheet of ¾-inch plywood cut to size, secured with construction adhesive and screws, sitting on the low points of the floor. This frame acts as a true base for your cabinets, effectively bridging uneven spots.
Adjust Your Cabinets Accordingly
With the support system in place, mount your cabinets onto this level surface or ledger. During installation, use a level to ensure each cabinet sits perfectly. For example, when I installed my base cabinets, I shimmed the cabinets’ bottoms to align with the support frame, eliminating the need for shims at floor level. This method keeps the cabinets stable and prevents future sagging or wobbling.
Double-Check and Fine-Tune
Once all cabinets are mounted, do a final check with a spirit level across multiple points. If adjustments are needed, slightly loosen cabinet screws and tweak their position before tightening again. My experience shows that patience here pays off; the difference in stability and appearance is immediately noticeable.
Seal and Finish the Support System
If you used plywood or similar materials beneath your cabinets, consider sealing or painting them to match your decor. This not only enhances aesthetic appeal but also protects against moisture. During my project, painting the plywood kept everything looking clean and professional, akin to a built-in fixture.
By focusing on creating a level and stable support, you avoid the common pitfalls of relying solely on shims, ensuring your cabinets stay perfectly aligned over years of use. For more insights on custom cabinet installation and how to optimize your storage, visit custom cabinets that elevate your home’s style.
 When it comes to designing storage in a kitchen or living space, many assume that adding more cabinets or built-ins automatically solves clutter issues. However, this oversimplification ignores critical nuances that can make or break the functionality and longevity of your remodel. **Contrary to popular belief, not all storage solutions are created equal, and misconceptions can lead to costly mistakes.** For example, a common myth is that standard-sized cabinets fit everything perfectly; in reality, each home has unique spatial quirks that demand tailored approaches. Relying solely on off-the-shelf options can result in wasted space or frustratingly inaccessible storage.
**Beware of the trap of using shallow or narrow cabinets in hopes of maximizing space without considering usability.** Studies have shown that poorly planned storage not only hampers daily routines but also diminishes home value. Moreover, many homeowners overlook the importance of integrating built-ins with existing décor — a subtle detail that elevates the overall aesthetic and functional harmony. For instance, seamless built-ins that match your wall’s depth and finish create a cohesive look, as discussed in our comprehensive guide on built-ins that elevate your living room’s functionality.
### Why does focusing solely on cabinet size often lead to failures?
Many think that expanding cabinet dimensions or adding extra units guarantees more storage, but this can backfire if you ignore the flow and accessibility. Overstuffed cabinets hinder efficient use and can strain the framing over time. **Designing with meticulous attention to detail, like incorporating deep drawers or custom pull-outs, ensures that every inch counts.** A study by the National Kitchen and Bath Association highlights that thoughtful, user-centric storage design boosts satisfaction and reduces clutter. For advanced insights on optimizing space, explore space-maximizing storage solutions.
**Mistake number two is underestimating the importance of planning for future needs.** Whether you’re considering aging-in-place considerations or potential reconfigurations, flexible storage options save trouble down the line. Built-ins with adjustable shelves or modular components adapt to changing lifestyles, preventing the need for costly overhauls.
In summary, understanding the nuanced interplay between design, functionality, and future-proofing is essential for successful kitchen remodels or custom cabinets. You must think beyond immediate aesthetics and consider how storage solutions will serve your daily life in the long term. Have you ever fallen into this trap? Let me know in the comments, and share your experiences or questions about perfecting your storage plan.Maintaining your kitchen’s custom cabinets and built-ins is crucial to ensuring they stay beautiful and functional over time. I personally rely on a few specialized tools that make routine care much easier, along with a disciplined schedule for inspections and cleaning. One tool I swear by is a high-quality microfiber cloth combined with a gentle, pH-balanced cleaner designed for wood surfaces. This duo not only leaves my cabinetry spotless but also helps preserve the finish, preventing dullness and damage. Additionally, a flexible silicone scraper comes in handy for removing stubborn grime without scratching the surface, especially in tight corners and around hardware.
For ongoing maintenance, I recommend inspecting hinges, slides, and seals every six months. Using a precision screwdriver, I tighten loose screws, and with a silicone-based lubricant, I keep moving parts operating smoothly. It’s surprising how quickly hinges or drawer slides can degrade if left unchecked. Regular lubrication prevents squeaks and ensures long-term durability. To streamline this, I use a syringe applicator for the lubricant, allowing precise application without excess mess.
Software-wise, if you’re managing a large project or multiple built-in features, a project management app like Trello or Asana helps track maintenance schedules, upcoming upgrades, or repair needs. Setting recurring tasks reminds you when it’s time to service or clean specific areas. This proactive approach can save you from costly repairs down the line and extend the lifespan of your investment.
Looking ahead, I believe smart home integration will increasingly influence maintenance routines. Imagine cabinets with built-in sensors notifying you when hinges need lubrication or when drawers are misaligned—technology pulling double duty to protect your cabinetry. The future is about smarter, more connected spaces that help us take care of our homes effortlessly.
How do I keep my built-ins looking their best over time?
Maintaining your cabinetry involves routine cleaning, inspecting hardware, and applying protective finishes when needed. Regularly wiping surfaces with a microfiber cloth plus a wood-safe cleaner removes dust and prevents buildup. Also, check hinges, drawer slides, and seals for signs of wear; a little lubrication here can prevent squeaks and prolong component life. For deeper upkeep, resealing or refinishing exposed surfaces every few years helps fend off moisture and scratches.
If your project includes intricate built-ins or customized features, consider consulting a professional for periodic assessments. For instance, a study in the *Journal of Wood Science* emphasizes that protective coatings and timely repairs significantly extend cabinetry service life. Don’t hesitate to reach out to experts—sometimes a professional touch ensures your investment retains its beauty for decades. You can get in touch via this contact page.
Ready to take your maintenance game to the next level? Try applying a high-quality silicone lubricant to your hinges and drawer slides this month. It’s a simple step that offers immediate benefits, reducing squeaks and improving function. Incorporate this into your routine and enjoy smoother operation and longer-lasting cabinetry! For more in-depth guidance, explore expert tips on cabinetry maintenance.
Embarking on a kitchen remodel filled with custom cabinets and built-ins is an exciting journey, but the road can be fraught with surprises—especially when it comes to ensuring everything stays level and functional over time. From my experience, one of the most underestimated aspects is understanding that flawless installation goes beyond the initial fit; it involves deep insight into the nuances of your space and the longevity of your choices.
The Hidden Lessons That Changed My Approach to Custom Cabinets
- Measure Before You Mount: I learned early that relying solely on visual checks leads to mistakes. Precise measurements of your floor’s slope and future use significantly impact how you support your cabinets. What’s more, establishing a level reference line avoids the recurring shim woes I once faced.
- Choose Support Over Shims: Instead of quick fixes, building a robust support system—like a custom support frame—ensures stability on uneven floors. This method not only prolongs the life of your cabinets but also saves time in the long run.
- Think Beyond Aesthetics: While seamless design is appealing, integrating hidden support behind your cabinetry can increase durability, especially in heavily used kitchens. It was a game-changer in my renovation, blending function with form seamlessly.
- Plan for Future Needs: Incorporating adjustable elements and flexible storage options creates a space that adapts to your lifestyle, avoiding costly reconfigurations later. My redesign incorporated these ideas, making daily routines smoother and more enjoyable.
Your Trusted Toolkit for a Lasting Kitchen Makeover
- Laser Level: Precise, quick, and essential for establishing level reference lines—trust me, investing in a good laser level like the Bosch CrossLine is worth every penny.
- Sturdy Building Materials: Plywood sheets at least ¾-inch thick for support frames provide peace of mind, thanks to their durability and ease of customization.
- Quality Hardware: Soft-close hinges, heavy-duty brackets, and adjustable drawer slides from brands like Blum ensure your cabinets function flawlessly over the years.
- Protective Finish and Sealants: To preserve your cabinetry, using proper finishing products and sealants can prevent moisture damage and maintain aesthetic appeal, aligning with the tips in our guide on creating seamless kitchen remasters.
Your Next Step in Crafting a Dream Kitchen
Designing and installing custom cabinets and built-ins that stand the test of time requires patience, insight, and a willingness to think beyond quick fixes. Approach your project as a holistic process, focusing not only on immediate aesthetics but also on long-term stability and adaptability. Remember, every successful renovation begins with detailed planning, quality materials, and thoughtful execution. If you’re ready to revolutionize your kitchen, explore innovative storage ideas at this resource or reach out for professional guidance here. Your perfect kitchen is within reach—start now!