How to Install Heavy-Duty Shelving in a Reach-In Pantry
It was one of those mornings when I reached into my reach-in pantry and finally hit my limit. The shelves groaned under the weight of mismatched containers, half-empty boxes, and a frustrating lack of order. That moment of frustration became my lightbulb moment: why am I still fighting with flimsy shelves that can’t handle the load? If you’ve ever experienced the panic of heavy items threatening to crash down or wondered how to maximize those tiny, awkward spaces, you’re not alone. Today, I’m here to share the proven way I finally tackled this challenge—installing heavy-duty shelving in my pantry—and how you can do it too.
Why Trash the Wobbly Shelves? Discovering the Power of Heavy-Duty Storage
Conventional pantry shelves can be misleading. They’re often designed for light use, but when you start stacking your canned goods or stacking bulk items, they bow, sag, and sometimes fail altogether. I learned this the hard way early in my remodeling journey—installed standard shelves, only to be scraping things off the floor later. The mistake? Underestimating the importance of supporting weight and choosing the right materials. Since then, I’ve explored heavy-duty solutions that not only hold a week’s worth of groceries but also stand the test of time and daily use. Upgrading to robust shelving isn’t just about storing more; it’s about maintaining your sanity and keeping your kitchen organized. To truly reap the benefits, understanding the best materials and installation techniques makes all the difference. Ready to ditch those fragile shelves? Let’s dive into the crucial steps to install shelves that can handle your heaviest pots and tallest bottles with confidence. For further inspiration on how storage solutions can redefine small kitchens, check out this article on smart storage ideas for small kitchens. Anytime you take on a project that involves supporting significant weight, a little planning goes a long way. But before we jump into the DIY process, let’s address some common skepticism.
Assess Your Space and Identify Support Points
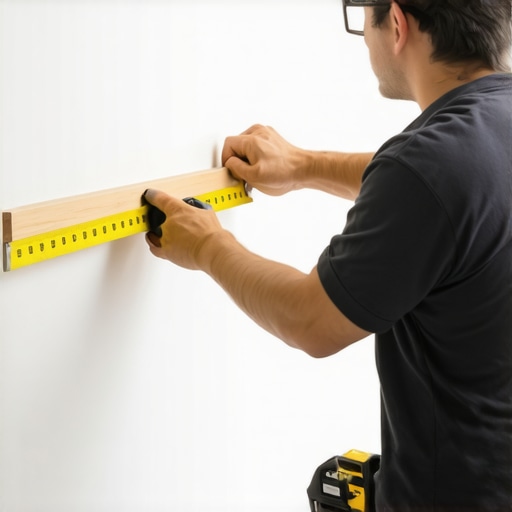
Start by removing all items from your pantry and examining the area. Measure the width, depth, and height of the space to determine the size of shelves needed. Locate wall studs using a stud finder—mark their positions clearly—since heavy-duty shelves require anchoring into these solid points. I once installed shelves in my tiny pantry, and miscalculating stud locations led to an unstable setup, causing frustration and rework.
Choose the Right Materials and Hardware
Select heavy-duty shelving materials like steel or high-grade plywood, which can handle substantial weight without sagging. Use strong support brackets—preferably steel with multiple mounting holes—and heavy-duty anchors rated for the load. For added stability, consider using ledger strips—long wooden or metal strips attached horizontally, providing a sturdy backbone for the shelves. I opted for steel brackets and ¾-inch birch plywood, which held even my heaviest cast iron pots without bending.
Prepare Your Shelving Supports and Cutting
Cut the plywood or steel shelves to size, ensuring precise measurements for a snug fit. Sand edges smooth to prevent splinters or cuts. Lay out the support brackets along the marked stud locations, spacing them evenly—usually 16 inches apart—to distribute weight evenly. When I measured for my pantry shelves, I doubled-checked each dimension to avoid wasteful mistakes.
Install Support Structures and Mount Shelves
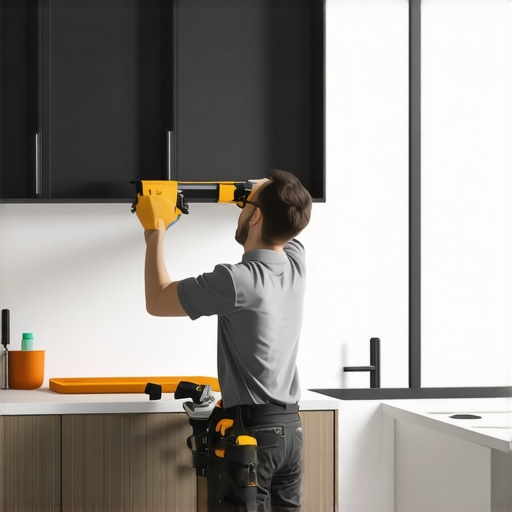
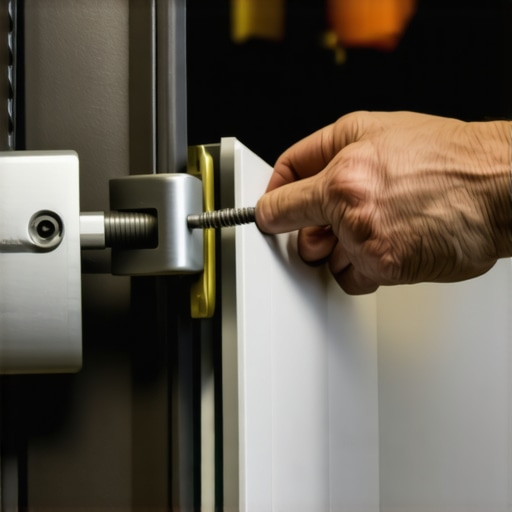
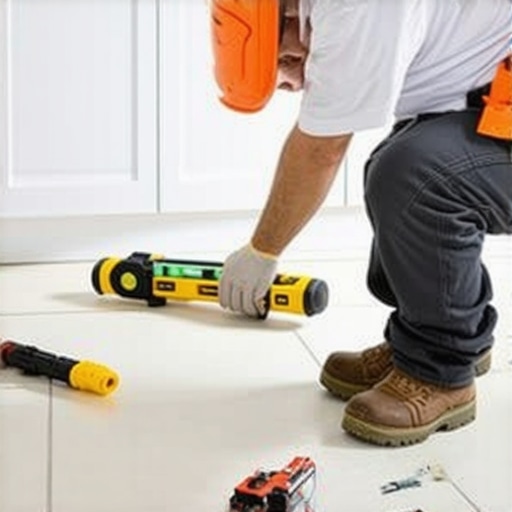
Attach ledger strips securely into wall studs using lag bolts or heavy-duty screws—these act as a support ledge for the shelves, reducing sagging. Hang support brackets into the ledger or directly into studs with appropriate anchors. Use a level to ensure each bracket is perfectly horizontal, preventing sloped shelves. Once brackets are secured, set the shelves on support brackets or ledger strips, fastening as needed to prevent movement. I use a spirit level during each step to keep everything aligned, avoiding future instability.
Test and Reinforce Your Shelves
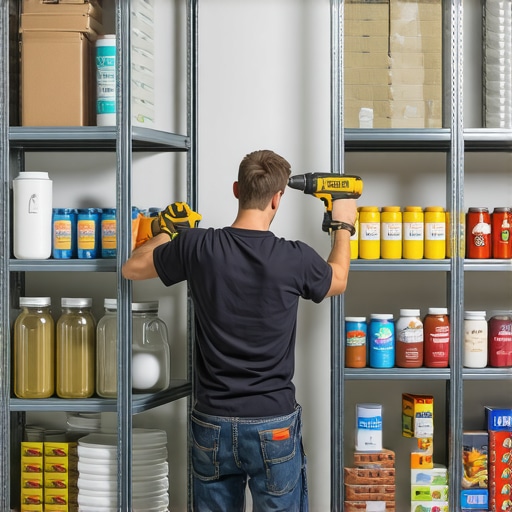
Gradually load the shelves with weight, starting with lighter items and gradually adding more. Check for any signs of sagging or instability. If necessary, add additional support brackets or cross braces for extra reinforcement—especially for longer shelves. For my setup, adding a center support bracket improved load capacity dramatically. Remember, heavier items like canned goods or bulk containers require more robust support than lightweight kitchen tools.
Organize and Secure Heavy Items Properly
Arrange your stored items efficiently, placing the heaviest at the bottom for stability. Use storage bins or baskets to prevent items from tipping or falling during opening and closing. When I organized my pantry, I placed 5-gallon water jugs and large pots on lower shelves, ensuring both safety and easy access. Proper organization not only prolongs shelf life but also prevents accidents.
Many homeowners believe that choosing standard, off-the-shelf built-ins will seamlessly elevate their kitchen’s functionality and style, but in reality, this misconception can lead to costly mistakes. One widespread myth is that all built-ins are created equal; however, the quality and customization options vary significantly. Relying solely on pre-fabricated solutions often results in storage gaps and aesthetic compromises, especially in complex or uneven spaces. Instead, understanding the nuances of custom cabinetry can make a profound difference, as detailed in our comprehensive Ultimate Guide to Custom Cabinets.
A common oversight when planning a kitchen remodel involves underestimating the importance of precise measurements and tailored support structures. Many assume that installing standard shelving or cabinets will suffice, but overlooking wall irregularities or load-bearing support leads to instability and future damage. Advanced homeowners know that integrating structural supports and custom solutions is essential for long-term durability.
Can Standard Cabinets Handle Heavy Loads Without Warping?
Experts highlight that cheap, mass-produced cabinets often warp or sag under weight, especially when improperly supported. According to a recent study by the National Kitchen and Bath Association, well-designed custom cabinets with reinforced framing and support systems can last decades without issues. Skipping these crucial steps might seem like a time-saver initially but results in higher repair costs later.
Another nuance many miss involves the selection of storage solutions that maximize space without sacrificing accessibility. For instance, corner cabinets, often neglected or poorly utilized, can be transformed with innovative storage hacks that turn dead space into prime storage. However, the mistake is to assume that one-size-fits-all solutions work equally well for every layout, underscoring the importance of custom planning.
Furthermore, many think that aesthetics should take precedence over function. But blending form and function—such as with integrated pull-outs, quiet-close mechanics, and tailored finishes—ensures your remodel is both beautiful and highly practical. Incorporating these subtle yet impactful details can elevate your kitchen from average to exceptional. For ideas on achieving this, check our expert guide to transforming your kitchen.
Finally, recognizing that every space is unique and avoiding cookie-cutter approaches is vital. Overlooking the importance of detailed planning, precise measurements, and tailored support might seem minor but often leads to frustrating compromises. The key is to work with professionals who understand the intricate differences that impact durability, usability, and style—this is where true expertise shines. Do you think you’ve fallen into common remodeling traps? Share your experiences in the comments and let’s discuss how to stay ahead of these pitfalls!Maintaining your custom cabinetry and built-in storage systems ensures their longevity and continued functionality. I personally rely on a set of specialized tools and methods that have proven their worth over years of remodeling projects. A high-quality microfiber cloth, for instance, is indispensable for dusting delicate surfaces without scratching, especially when dealing with high-gloss finishes where fingerprints are more visible. For deep cleaning, I prefer a gentle, pH-balanced cleaner combined with a soft-bristled brush to reach into intricate moldings and corner joints. When it comes to hardware, I use a magnetic bit driver to quickly tighten or replace fixtures without stripping screw heads, saving time and preserving the integrity of the materials.
Gear Up with the Right Equipment for Long-Term Results
Ensuring your built-ins stay looking pristine involves more than just surface cleaning. Regularly inspecting support brackets and hinges helps catch wear before it causes sagging or misalignment. I recommend checking these every six months using a torque wrench to ensure hardware is still properly fastened, especially for heavy-duty cabinets supporting kitchens or laundry areas. An impact driver with adjustable torque settings is also valuable for quick repairs or adjustments, reducing the risk of over-tightening and damaging delicate wood or metal components. Incorporating these practices prevents minor issues from evolving into costly repairs.
Planning for Growth: Scaling Your Storage
As your needs evolve, so should your storage solutions. Modular systems are gaining popularity for their flexibility, enabling homeowners to expand or reconfigure their storage without new installations. I foresee a trend toward smart cabinets equipped with sensor-based LED lighting and integrated power outlets—these innovations facilitate access and keep everything powered and illuminated. To stay ahead, invest in high-quality, adjustable shelving supports and brackets that can accommodate larger or heavier items as your collection grows. Regularly updating your hardware and cleaning routines preserves the appearance and performance of your built-ins over decades.
How do I keep my custom cabinetry in top shape over the years?
Maintaining your cabinetry involves consistent cleaning, periodic hardware checks, and timely refinishing when needed. Applying a protective finish or polish designed for your cabinet material can shield surfaces from moisture, heat, and everyday wear. For example, surfaces with lacquer finishes benefit from a light buffing with a non-abrasive polish every six months—avoiding harsh chemicals that can dull the sheen. Additionally, inspecting joints and supports regularly allows you to tighten screws or replace worn components before they fail. Implementing these simple but effective strategies can significantly extend the life of your cabinetry and ensure your investment continues to serve your needs for years to come. For a comprehensive overview, see our Ultimate Guide to Custom Cabinets. If you’d like a hands-on approach, try adjusting your support brackets using a torque wrench—then observe how much more stable your shelves feel. Remember, proactive maintenance today can save you a lot of headaches tomorrow.
The Unseen Risks of Overlooking Support Details
One major lesson was how subtle support placement can drastically impact shelf stability. Initially, I thought evenly spaced brackets were enough, but I learned that anchoring into sturdy studs and adding cross-braces prevented sagging under heavy loads. These details aren’t just technicalities—they’re the backbone of a reliable storage system.
Why Customization Trumps Off-the-Shelf Convenience
Using standard shelves seemed simple, yet they quickly proved insufficient for my bulky, oddly shaped items. Embracing custom-cut plywood and bespoke support solutions transformed my pantry from cluttered to cohesive. My biggest takeaway: investing in tailored solutions pays dividends in functionality and longevity.
The Power of Precise Measurements and Planning
Rushing measurements led to misaligned shelves and wasted materials. Taking extra time to double-check dimensions and visualize support points made installation smoother and more durable. This patience upfront saved me from stress and costly rework later on.
Lightbulb Moment: Strength Is Built, Not Bought
Purchasing heavy-duty materials was only part of the equation; secure installation is what truly matters. Reinforcing brackets, ledger strips, and proper anchoring into studs created a system capable of handling heavy, everyday items with ease. This reinforced my belief that quality materials and solid installation are inseparable for real strength.
Curated Gems for Your Storage Journey
To elevate your built-ins, I recommend exploring built-in and storage hacks that combine aesthetics with durability. For detailed guidance on custom cabinetry, the full guide to custom cabinets is a game-changer. And if you’re considering innovative storage ideas, check out smart storage solutions for small kitchens.
Your Next Step, Bold and Bright
Remember, transforming your storage space isn’t just about installing shelves; it’s about crafting a resilient, personalized system that grows with your needs. Embrace the process, stay patient with measurements, and don’t be afraid to get creative with support structures. Your perfect pantry is within reach—start building it today! How have you tackled support challenges in your storage projects? Share your experiences below—I’d love to hear them.