Why Soft-Close Dampers Fail Early and the Heavy-Duty Fix
I’ll never forget the first time my kitchen cabinet soft-close dampers gave up on me—just a year after installation. That satisfying, whisper-quiet close suddenly turned into a clang, startling everyone and making me question my decision to upgrade. It was frustrating, especially because I believed these dampers were built to last, providing that sleek, modern touch we all desire in our homes. But the harsh reality hit me: not all soft-close dampers are created equal, and many start failing much sooner than they should.
Facing the Downside of Cheap Dampers
Will Soft-Close Failures Ruin Your Remodel?
Initially, I thought I had just been unlucky. But after some digging, I discovered a common mistake many homeowners make—trusting budget-friendly dampers without considering their heavy-duty potential. Early failure isn’t just inconvenient; it can compromise your entire cabinet system, leading to costly repairs or replacements. According to a study by the Cabinet Hardware Institute, poor-quality dampers often exhibit failure within 18 months, which is far below the expected lifespan of high-quality hardware. Knowing this changed how I approached my repair project, and I want to share these insights to help you avoid the same pitfalls.
Have you experienced soft-close dampers dying prematurely? If so, you’re not alone. Fortunately, there’s a way to upgrade to heavy-duty solutions that stand the test of time and daily use. Let’s dive into why these failures happen and how you can fix your cabinets with a load-bearing approach that lasts.
Is Heavy-Duty Fix Worth It? The Myths and Reality
Reinforce Your Cabinet Hardware for Longevity
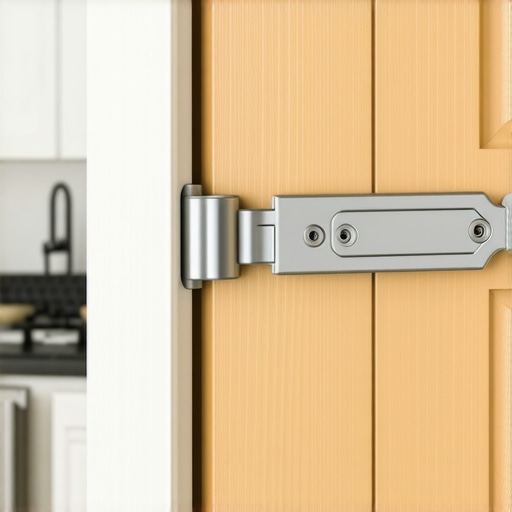
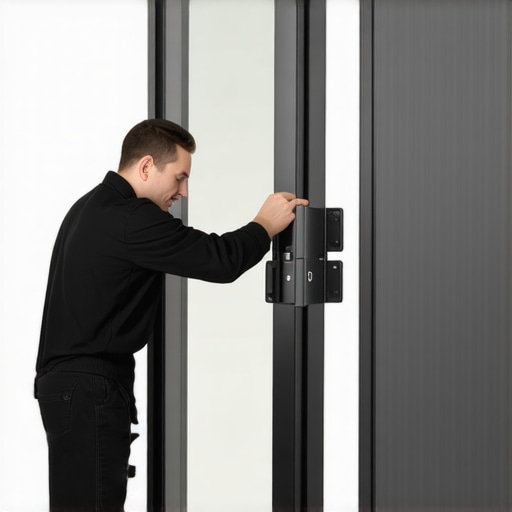
Start by removing the existing dampers from your cabinet doors. Use a screwdriver to carefully detach the current hardware, ensuring you keep all screws and mounting plates for reuse. When installing the new heavy-duty dampers, align them precisely with the mounting holes. Think of this process as replacing a worn-out hinge with a sturdy, load-bearing bridge; precision ensures smooth operations and lasting performance.
Secure the dampers firmly but avoid overtightening, which could damage the mounting plates or the cabinet material. Test each door by opening and closing several times, observing the dampers’ action. Proper installation guarantees that each soft-close function is consistent across all cabinets, preventing that unfortunate clang we want to avoid.
Adjust Dampers for a Flawless Close
After securing the dampers, adjust their tension to match your cabinet’s weight and door size. Most dampers come with an adjustment screw—use a small Allen wrench or screwdriver to tweak the tension. As I once did when upgrading my own cabinets, I found that slight tightening or loosening significantly impacted the closing feel. The goal is to achieve a gentle, controlled close that mimics a whisper, rather than a thud or slam.
Settle the door in its closed position and observe the movement. If it still slams shut or closes too slowly, refine the damper tension accordingly. Remember, each cabinet door may require a unique setting, especially if they differ in weight or size.
Fine-Tuning for a Seamless Look
Once your dampers are adjusted, recheck all installations to ensure consistency. Use a spirit level to confirm that cabinet doors are perfectly aligned, as uneven doors can cause uneven damper performance. Proper alignment is like creating a sleek, seamless fabric of cabinetry—nothing catches the eye but everything functions flawlessly. For a comprehensive understanding of custom cabinetry benefits and design tips, explore this guide on custom cabinets.
If you encounter resistance or uneven closing, revisit the damper tension and alignment adjustments. Small tweaks make a big difference, ensuring your investment in quality hardware truly pays off over time.
Test, Tweak, and Maintain Your Hardware
Final step: open and close each door multiple times over the course of a few days. Pay attention to any inconsistencies or resistance. Regular maintenance—cleaning the dampers from dust and debris and periodically checking their tension—will extend their lifespan, much like tuning an instrument for optimal sound. Remember, heavy-duty dampers are designed to endure, but they still benefit from gentle care and occasional adjustments.
When embarking on a kitchen remodel or designing built-ins, many assume that grabbing the latest trendy options or the most affordable hardware guarantees success. However, **the real nuance lies in understanding how these solutions integrate with your home’s unique architecture and your daily habits**. For example, a common myth is that standard-sized cabinets fit all spaces perfectly. In reality, bespoke measurements are often necessary to avoid awkward gaps or overutilized corners, especially in older homes with uneven walls. Expert designers focus on *precision craftsmanship*—a detail that’s overlooked by DIY enthusiasts, leading to costly fixes down the line.
Why is customization more than just aesthetics? It’s about function and longevity.
Research indicates that improperly customized storage can reduce usability by up to 40%, making your kitchen feel cluttered rather than organized. According to a 2022 study by the Kitchen & Bath Industry Show, homeowners who invest in tailored built-ins report higher satisfaction with their space and fewer frustrations with storage inefficiencies. This aligns with the principle that **well-planned storage is an investment, not just an upgrade**. One critical mistake many make is ignoring *accessibility and ergonomic flow*. For instance, placing heavy pantry items at the top or bottom shelves forces unnecessary strain. Instead, strategic placement based on usage frequency improves daily functionality and prolongs cabinet life. Developers recommend a *load-bearing approach*—considering weight distribution from the start—similar to how heavy-duty dampers are a smarter choice for durability, as I discussed earlier. Innovative storage ideas can drastically change the way your space feels and functions, but only if they’re designed with nuance and precision. Having an expert evaluate your specific layout prevents common pitfalls like overcrowding or underutilized spots. Remember, in cabinetry, it’s the *hidden details*—like proper clearance, joint alignment, and door swing—that make or break the long-term success of your remodel.
Have you ever fallen into this trap? Let me know in the comments.
How do I maintain my built-in cabinets over time?
The durability of your custom cabinetry and storage solutions depends heavily on regular maintenance and proper tools. I personally rely on a few select pieces of equipment to keep everything operating smoothly and extend their lifespan.
First, a high-quality cordless drill with a set of precision screwdriver bits is indispensable. I use mine not only for initial installations but also for periodic tightening of hinges and handles. Over time, hardware can loosen due to daily use, and having a reliable drill allows me to address these issues swiftly without damaging the wood or hardware.
Next, I swear by a soft microfiber cloth combined with a gentle, pH-balanced cleaner for routine cleaning. Keeping dust and debris off surfaces prevents premature wear and keeps finishes looking fresh. For sticky spots or accumulated grime around hinges and sliders, a small brush and a mild degreasing solution do wonders.
As for adjustable tools, a digital level and a carpenter’s square are crucial for ensuring your built-ins and cabinets stay perfectly aligned. This is especially important when scaling or remodeling—misalignments can cause hardware to fail earlier and diminish aesthetic appeal. I calibrate my installations regularly using these tools to make sure everything is square and level.
In the future, automation and smart tools are set to revolutionize maintenance. For example, smart sensors integrated into cabinetry can alert you to hinge misalignments or door misclosures before they become noticeable issues. As technology continues to evolve, expect to see more intelligent systems that help prolong the life of your storage investments.
If you’re serious about longevity, I recommend investing in a cordless multi-tool. It’s versatile enough to handle a variety of touch-up tasks, like adjusting trim or removing stubborn screws without risking damage. For a comprehensive look at modern kitchen innovations and how they incorporate such tools, explore this guide to modern kitchen renovations.
What tools are most effective for scaling and remodeling your storage spaces?
When planning a larger scope project, precision and efficiency are your best allies. I typically employ an laser distance meter for accurate measurements across multiple rooms, which helps prevent costly mistakes during scaling. Paired with a digital planner or design software, I can visualize modifications before executing them, ensuring seamless integration with existing layouts.
For example, when enlarging a built-in wardrobe or adding custom storage, I double-check clearances and door swing paths with these tools. This not only saves time but also enhances the final result’s functionality and appearance.
Looking ahead, I believe automation tools such as robotic measurement devices will become more commonplace, drastically reducing manual errors. Incorporating such technology will be particularly beneficial for bespoke projects requiring high levels of precision, like custom cabinets or niche storage systems.
Now’s a great time to try out advanced maintenance routines—like using a digital level regularly to check alignment or employing smart sensors for early detection of hardware issues. These practices may seem minor, but they make a significant difference in ensuring your storage solutions keep performing flawlessly for years to come. For more detailed insights on maximizing your space, check out this article on innovative storage ideas.
Hidden Traps I Fell Into During My Kitchen Remodel
One of the biggest lessons I learned was the importance of precise measurements. Trusting generic dimensions led me to realize that every inch counts, especially when installing custom cabinets or built-ins. A small oversight can ripple into costly adjustments later, emphasizing the need for tools like laser distance meters and detailed planning. Additionally, I underestimated the necessity of considering weight distribution in heavy cabinetry, which resulted in sagging doors until I incorporated load-bearing solutions—something heavy-duty dampers taught me firsthand. Finally, I discovered that regular maintenance and gentle handling extend the lifespan of your hardware, transforming a simple cleaning routine into a long-term preservation strategy.