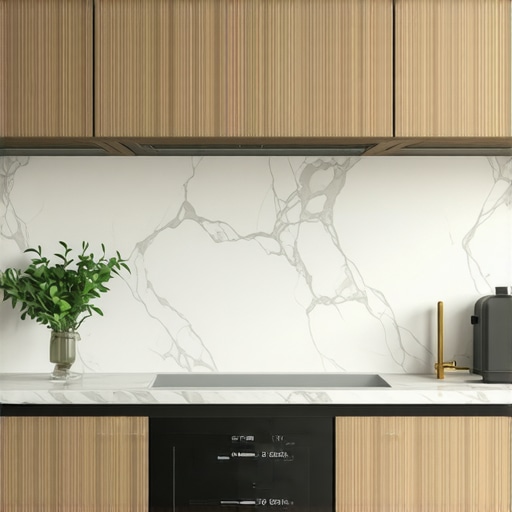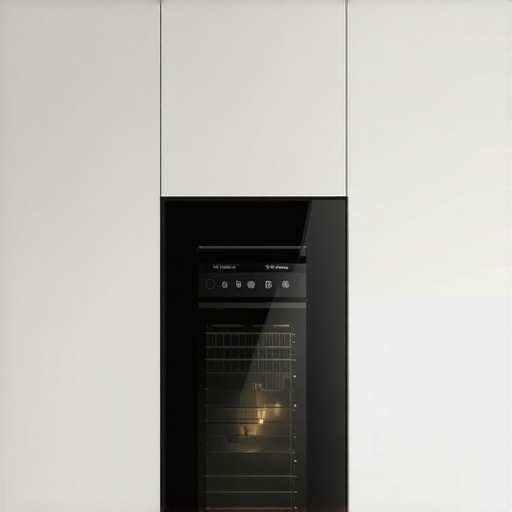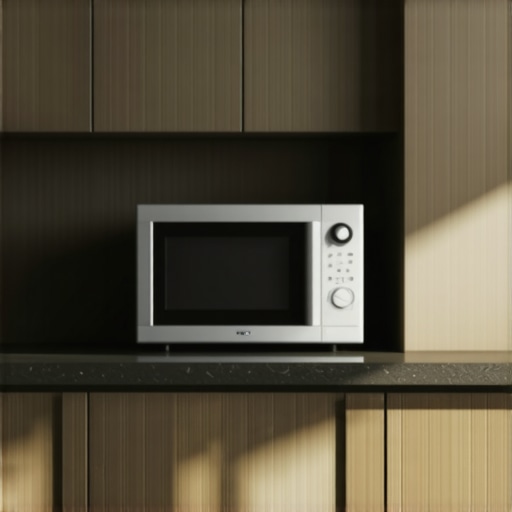
The Hidden Microwave Nook Move That Reclaims Counter Space
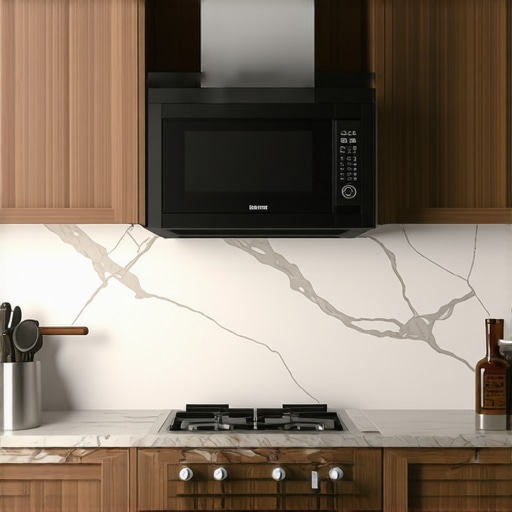
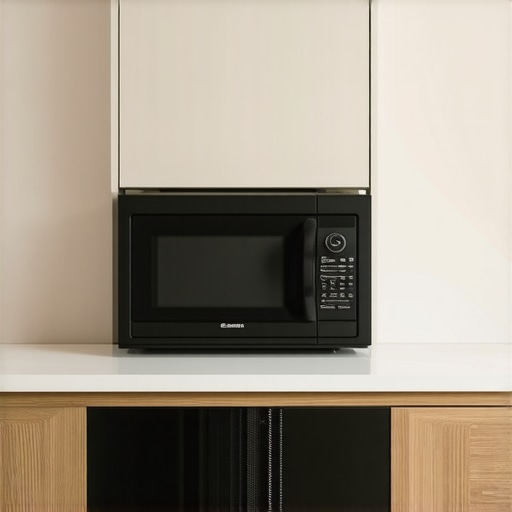
There was a moment in my kitchen remodeling journey when I realized something crucial. I stood in front of my cluttered countertop, my microwave awkwardly jammed in a corner, taking up precious space and making everything else feel cramped. That flicker of frustration turned into a lightbulb moment—what if I could reclaim that lost space by relocating my microwave to a smarter spot? It’s a simple tweak, but it transformed my entire kitchen experience. If you’ve ever fumbled around trying to fit your microwave somewhere inconvenient, then you know exactly what I mean.
Turning Hidden Corners into Functional Spaces
Most of us underestimate the potential of empty nooks and crannies—those forgotten spots behind doors or in unused corners. When I first contemplated my own kitchen, I never suspected a tiny, overlooked wall or a corner cabinet could hide a perfectly functional microwave nook. But I learned that with a little creativity and some tailored built-ins, you can turn these underutilized spaces into efficient command centers. Curious? Keep reading—I’ll show you how I did it and how you can, too.
Is a Hidden Microwave Nook Worth the Hype?
In my early days, I was skeptical. Would a customized nook be worth the investment? Would it look good, or just cluttered? Honestly, I made the mistake of rushing into building a shelf without considering airflow or accessibility, which made me regret the project. But once I refined my approach, I saw how a well-designed hidden nook could streamline my workflow and keep my counters tidy. Trust me, a tailored storage solution isn’t just pretty—it’s practical, especially when space is tight. Want to see how I navigated these pitfalls? Check out this guide for expert tips on creating seamless, built-in storage.
Start with Precise Measurements
My first step was to measure the space meticulously, using a tape measure and a level to note every detail of the wall and floor irregularities. I remember laying out masking tape on the wall to sketch the proposed nook dimensions, ensuring I left enough clearance for airflow and access. Think of this step as setting the foundation—without it, everything else risks being off, leading to misaligned cabinets or cramped spaces. For complex spaces, consider consulting a professional to avoid costly mistakes.
Design with Functionality and Style in Mind
I used design software to visualize my microwave nook within the overall kitchen aesthetic, ensuring it complemented my existing cabinetry. Remember, a well-designed built-in not only saves space but also elevates the look of your kitchen. For instance, I matched the cabinet doors’ finish to my existing decor, yet added a subtle crown molding to give it a seamless appearance. This step is crucial for creating a unified look that maximizes usability.
Choose the Right Materials and Hardware
For my project, I selected plywood with a hardwood veneer for durability and a premium feel. I also sourced soft-close hinges and push-to-open hardware to minimize clutter and improve usability. Think of these choices as selecting the armor and accessories of your custom piece—quality materials resist wear and look good through the years. When selecting hardware, consider the weight and frequency of use to ensure longevity, especially for built-in drawers or shelves.
Build or Commission Your Cabinetry
I opted to hire skilled craftsmen, sharing my detailed sketches and measurements, which they translated into a custom cabinet that fit perfectly. If you’re comfortable with DIY, framing and assembling with pre-finished panels can work, but precision is key. When building or ordering, specify airflow space and clearance, and double-check for fit before installation. Remember, proper support and alignment prevent future issues like sagging or sticking doors.
Prepare and Install with Precision
Installing the built-in in my kitchen involved securing it firmly to wall studs—using a stud finder—and ensuring level placement to avoid door misalignment. I used a shims during installation to correct minor unevenness, much like leveling a picture frame. This step benefits greatly from a helper or a level to ensure perfect alignment, which is essential for smooth operation and aesthetic appeal. Pay attention to electrical access if your microwave has a cord—plan your wiring route before final mounting.
Finish and Seal for Durability
I applied a matching paint and sealant to protect the cabinetry from heat, moisture, and everyday wear. An airtight seal also prevents moisture intrusion that can cause warping or mold. If your project involves open shelving, consider adding a backing panel to prevent dust accumulation and enhance sturdiness. Finishing touches like trim molding or decorative hardware can elevate the look from functional to stylish, tying your custom unit seamlessly into your kitchen design.
Bottom Line on Custom Space Optimization
Applying these core steps—measuring, designing, material selection, building, installation, and finishing—transformed my kitchen. It turned an awkward corner into an elegant, efficient space that boosts workflow. The key is attention to detail at every phase, ensuring each element functions harmoniously. Interested in exploring innovative storage options or specific custom cabinet ideas? Check out this guide for expert insights and tailored solutions that match your unique needs.
Many homeowners believe that installing custom cabinets or built-ins automatically guarantees optimal storage, but this is a misconception rooted in oversimplified assumptions. In my experience, one of the most pervasive myths is that more storage space equals better organization. However, without thoughtful planning and nuance, increasing storage can result in cluttered, inefficient spaces rather than streamlined solutions. For example, simplistic expansion of cabinet capacity without considering accessibility often leads to wasted space or hard-to-reach areas, a mistake I’ve seen frequently in kitchen remodels.
Are All Built-Ins Created Equal, or Is There an Advanced Strategy?
It’s tempting to think that any built-in is a step forward, but experts caution that bespoke design tailored to your specific use patterns is key. Overly deep or narrow cabinets, for instance, can cause frustration rather than convenience, which you can read more about in this guide. Additionally, many overlook the importance of integrating electrical wiring and ventilation, especially for appliances and microwave stations, which is a nuanced aspect often skipped in DIY projects. Failing to consider these technical details can turn a beautiful built-in into a maintenance nightmare, a mistake that can be avoided with expert consultation. Moreover, there’s a widespread belief that more hardware or decorative elements will enhance functionality—this is not necessarily true. Heavy hardware or ornate finishes might look appealing but can hinder accessibility or durability over time. Prioritizing function alongside style is crucial for long-lasting storage solutions. Interestingly, a study by the National Kitchen & Bath Association indicates that customized storage approaches, when paired with expert advice, improve user satisfaction significantly compared to generic solutions. So, understanding these nuances is essential to avoid costly redesigns or compromises after installation. In the realm of advanced kitchen remodeling, ‘less is more’ often applies; strategic planning ensures that every shelf, drawer, or niche serves its purpose efficiently. Whether it’s a hidden corner nook or a tall pantry, the devil is in the details. Want to master your own storage design? Explore innovative strategies or reach out via our contact page to discuss your custom project. Remember, a well-thought-out plan results in more than just space—it’s about creating harmony and ease of use in your everyday life. Don’t fall for myths—dig deeper and design smarter. Have you ever fallen into this trap? Let me know in the comments.
Maintaining your thoughtfully designed kitchen storage solutions is key to ensuring their longevity and optimal functionality. From routine cleaning to fine-tuning mechanisms, having the right tools at hand makes all the difference. One indispensable device I rely on is a digital caliper, which allows me to measure cabinet openings and shelf depths precisely, ensuring every component fits perfectly—this prevents misalignments that can cause drawers to stick or doors to misfire. Pair it with a magnetic screwdriver set, specifically those with interchangeable bits, such as the Wiha Kraftform series, which offers the flexibility to adapt to different screws without stripping or damaging the hardware. These tools are my go-to for quick adjustments during installation or maintenance. Reaching out for expert help can be beneficial if you encounter persistent issues that DIY can’t resolve, especially with complex cabinetry.
How do I keep my built-ins running smoothly over the long haul?
Regular preventative maintenance is essential. I schedule quarterly checks to tighten loose hardware, lubricate sliding mechanisms with silicone-based sprays, and inspect seals or weatherstripping around built-in units. For example, applying a small amount of silicone lubricant to drawer slides prevents squeaks and ensures smooth operation for years to come. Also, cleaning surfaces with a soft cloth and mild cleaner preserves finishes and prevents grime buildup, which can affect hinges or latches. Looking ahead, I predict that as smart home integration becomes more prevalent, maintenance will extend into software updates and sensor calibrations to keep your storage smart and responsive. To streamline this, I use a Bluetooth-enabled multimeter to troubleshoot electrical components—an underrated but powerful tool that helps catch issues early before they escalate. Curious to learn more? Check out this resource for advanced maintenance routines tailored for custom cabinetry and built-ins.
LEARN FROM THE PRO: Rely on specialized hardware and software
In my experience, investing in quality hardware, like soft-close hinges from Blum, combined with maintenance software such as Cabinet Vision, saves time and money over the long term. These hinge systems include built-in lubrication points, making routine upkeep straightforward and reducing wear. Furthermore, using project management tools like Trello or Asana helps me track maintenance schedules, upcoming repairs, and upgrades. As technology advances, I see the trend moving toward AI-powered diagnostic tools that can detect hinge misalignments or hardware failures automatically through sensor data, similar to what Home Depot’s smart tool selection demonstrates. Incorporate these practices now to extend the lifespan of your custom solutions and avoid costly repairs down the line. Why not try calibrating your hinges or slides with a digital level and lubricant this weekend? It’s an easy step that pays off immensely by keeping your storage solutions working flawlessly for years to come.
The Hidden Lessons That Transformed My Kitchen Remodel Journey
- Embracing Flexibility: I realized early on that rigid plans often lead to frustration. Being willing to adapt measurements and designs after careful evaluation saved me from costly mistakes and gave my kitchen a seamless look.
- The Power of Small Details: It’s the little things—like choosing soft-close hardware or precision fitting—that elevate a cabinetry project from good to exceptional, proving that perfection is in the details.
- Prioritizing Accessibility Over Aesthetics Alone: While looks matter, I learned that easy access, especially in hidden corners and pull-out drawers, is crucial for daily convenience, changing how I think about beauty versus function.
- Thinking Ahead About Maintenance: Selecting durable materials and planning for regular upkeep ensures that my custom solutions continue to serve well over time, avoiding future headaches and repairs.
Tools and Resources That Gave Me a Leg Up
- Cabinet Vision: This software helped me visualize the final design and catch potential issues before building—saving time and avoiding rework.
- Quality Hardware from Blum: Trusted for their reliability and smooth operation, these hinges and slides made daily use a breeze and increased durability.
- Online Design Inspiration Platforms: I frequently browsed [this guide](https://artisancabinetworkz.com/creating-seamless-kitchen-remasters-with-built-in-storage-solutions) for expert tips and ideas that sparked my creativity and kept me on track.
- Professional Consultation: When in doubt, reaching out to specialists through [this contact page](https://artisancabinetworkz.com/contact-us-2) provided tailored advice that I couldn’t get from generic resources.
Your Next Step in Crafting Clever Storage
Remember, every successful kitchen remodel hinges on thoughtful planning, attention to detail, and a willingness to learn from experience. Crafting custom cabinets and built-ins isn’t just about maximizing space—you’re creating a harmonious environment that makes everyday life smoother and more enjoyable. Why not start today by sketching out a corner or niche you’ve overlooked before? With the right mindset and resources, you can transform even the trickiest spaces into functional works of art. What has been your biggest learning moment in your kitchen storage journey? Share your stories below—we’d love to hear how you’ve turned challenges into opportunities.