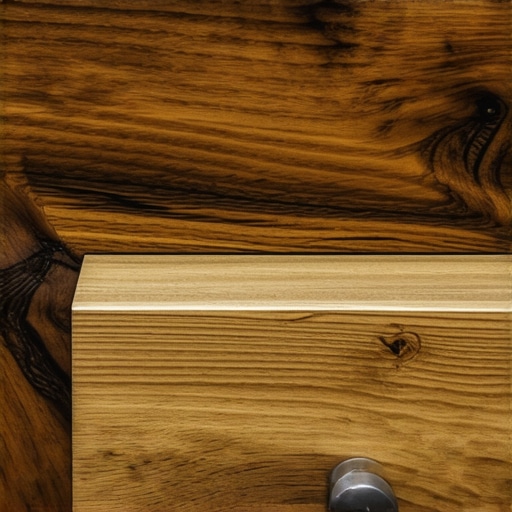
Why Wood Grain Direction Matters for Your Custom Drawer Fronts
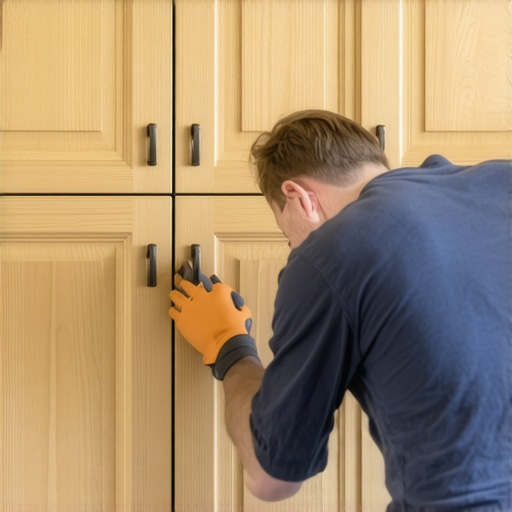
It was a chilly Saturday morning when I finally cracked open my new custom cabinet order and realized something was off. The grain of the wood on my drawers didn’t match—at all. What seemed like a minor detail turned into a major eye-sore, throwing off the entire kitchen’s aesthetic. That lightbulb moment made me wonder: how come I didn’t catch this during the planning phase? After all, I had always thought of wood grain as a pretty background detail, not a decision that could make or break the look of my entire project.
Getting Real About Wood Grain: Why It Can Make or Break Your Custom Cabinets
As I dived into the world of cabinet making, I quickly learned that wood grain direction isn’t just an aesthetic choice—it’s a crucial factor that influences the overall style, durability, and visual harmony of your cabinets. Misaligned grain can create a jarring effect, making your beautiful project look cheap or poorly finished. Conversely, proper grain matching and direction can elevate your cabinets to a whole new level, giving them a seamless and professional look.
I remember early on making the mistake of assuming all woods are created equal in appearance. That mistake cost me later, when uneven grain directions made my cabinet fronts look mismatched, even though they were from the same batch. It’s a common slip-up, but one that can be avoided with a bit of knowledge before ordering or installing your custom woodwork.
According to a study by the Forest Products Laboratory, the visual appeal of wood surfaces significantly contributes to homeowner satisfaction, so paying attention to grain alignment isn’t just surface-deep—it’s about creating a truly cohesive space. If you’re tackling a remodel or building a new set of cabinets, understanding the ins and outs of grain direction will save you time, money, and a lot of frustration.
If you’ve ever faced the disappointment of mismatched wood on your custom cabinets, you’re not alone. It’s a problem that sneaks up on many homeowners, especially when they’re eager to save costs or skip the detailed planning. But don’t worry—I’m here to guide you through the essentials, so you can make confident decisions and achieve that flawless, high-end look.
Now, let’s explore why this detail really matters and how you can ensure your wood grain aligns perfectly, starting with some common misconceptions and mistakes I made early on.
Assess Your Wood and Design Before Ordering
Start by selecting the wood type that matches your project’s aesthetic, considering grain pattern and color. Lay your sample pieces side by side to identify natural grain direction and visual consistency. During my last kitchen remodel, I ordered samples and arranged them on my workbench, mimicking the final layout to see how the grains aligned and adjusted my order accordingly. This simple step prevented future mismatches and saved me rework time.
Plan Grain Direction During Cut and Assembly
Once you’ve chosen your wood, sketch your cabinet layout and decide on the grain flow. For faced surfaces like doors or drawer fronts, ensure each piece’s grain runs consistently from top to bottom or side to side, matching adjacent panels. When cutting, pay close attention to grain orientation; I used a sharp marker to outline cut lines aligned with the grain pattern, which minimized surprises during assembly. Remember, consistent grain direction enhances visual flow and structural stability.
Use Proper Techniques to Maintain Grain Alignment
During assembly, handle each piece carefully to preserve the planned grain flow. Use clamps and spacers to keep panels aligned, and verify orientation before fastening. When applying adhesive, avoid twisting panels, which can disrupt the grain flow. In my project, I used a square to double-check alignment before screwing panels together, ensuring a seamless look. Maintaining this discipline guarantees professional-quality results that look cohesive and polished.
Match Grain Patterns in Finishing
After assembly, consider the finishing process. Sand consistently to avoid uneven surfaces that highlight mismatched grain. Applying stain or finish in the direction of the grain enhances pattern visibility and depth. In my last cabinet, I stained panels with a brush following the grain’s flow, which intensified the natural markings and gave a rich, unified appearance. Proper finishing ties all the grain matching efforts together, elevating the overall aesthetic.
Review and Adjust Before Final Installation
Before installing the cabinets, double-check grain continuity and alignment in place. If mismatches are visible, small adjustments with a sander or re-alignment of panels may be necessary. During installation, handle with care, ensuring panels stay oriented correctly. This attention to detail pays off, as I once repositioned a panel slightly and re-sanded the corner for a perfect match, avoiding a noticeable seam. Correctly aligned grain patterns create a seamless, high-end look that transforms your space.
Many homeowners assume that the simplest storage options are always the best choice, but in my experience, this is a dangerous misconception that can lead to costly mistakes. A prevalent myth is that standard modular cabinets or pre-made shelving will meet all needs without issue. However, these off-the-shelf solutions often neglect the nuanced demands of a functional, long-lasting kitchen. For example, relying solely on generic cabinets can result in inefficient use of space, especially when it comes to corner areas or accommodating large appliances. Custom cabinets, when designed with an understanding of these nuances, can optimize every inch and improve accessibility.
Are My Storage Choices Sabotaging My Kitchen Efficiency?
An advanced mistake I frequently see is overlooking the importance of tailored storage in relation to workflow. Standard solutions tend to prioritize aesthetics over function, which can cause clutter and impede movement. For instance, not planning for dedicated zones for prep, cooking, and cleanup can turn your kitchen into a maze, defeating the purpose of a remodel. Experts like those at Artisan Cabinetworkz emphasize the importance of integrating storage solutions that align with daily routines, such as pull-out spice racks or vertical pantry organizers, which maximize reachability and organization.
In fact, a study published in the Journal of Interior Design highlights that personalized storage arrangements significantly increase user satisfaction and efficiency. This underscores the need to look beyond surface appearances and consider the intricacies of design that influence usability.
Another common trap is neglecting the long-term durability of materials. Opting for cheaper, low-quality finishes or hardware might seem cost-effective initially, but these can lead to frequent repairs or replacements, disrupting the aesthetic and function over time. Instead, investing in high-quality hardware and finishes can save money and headache in the long run, ensuring your storage remains sleek and functional for years.
Moreover, many overlook the potential of built-ins as a transformative element. Built-in storage not only saves space but also offers a seamless look that complements a cohesive design. For example, incorporating a built-in wine rack or custom pull-out trays can elevate the functionality and style of your kitchen. Check out modern kitchen remodels with built-ins to see inspiring ideas that blend form with function.
Finally, don’t fall into the trap of overcomplicating your storage system. While advanced features like motorized lifts or smart organization gadgets are attractive, they can become unnecessary complications without proper planning. It’s best to start with fundamental essentials that fit your lifestyle and expand gradually as needed. This approach ensures longevity and adaptability of your storage solutions.
Have you ever fallen into this trap? Let me know in the comments. Remember, understanding the nuances of storage solutions—such as planning for durability, workflow, and customization—can make all the difference in creating a kitchen that truly works for you.Maintaining the beauty and functionality of your custom cabinets requires more than just initial installation; it demands the right tools, consistent techniques, and an eye for long-term durability. One of my favorite tools for keeping cabinets in top shape is a microfiber cleaning cloth combined with a gentle, pH-balanced cleaner. I personally swear by the microfiber to prevent scratching delicate finishes and using a cleaner that won’t strip away protective sealants. When it comes to hardware, I recommend periodically tightening screws with a precision screwdriver to avoid wobbly pulls or knobs, especially in high-use areas.
What tools do I recommend for long-term cabinet care?
Beyond basic cleaning, a soft-bristled brush can help remove debris from concealed areas like corners and hinges. For more stubborn stains or scratches, I use a wood touch-up pen matching the cabinet’s finish, which is a quick fix and preserves the seamless look. Investing in a quality lubricant, like nano-technology-based sprays, for hinges and slides can dramatically reduce squeaks and ensure smooth operation over years. Personally, I use the [Lubriplate No. 105](https://artisancabinetworkz.com/experttips-on-selecting-storage-solutions-for-a-perfect-kitchen-upgrade) for its long-lasting, odorless qualities.
Future trends suggest smart maintenance might become the norm
As technology evolves, expect to see sensors integrated into cabinetry for real-time monitoring of humidity and structural integrity, alerting you before issues escalate. This proactive approach could save thousands in repairs and keep your investment looking pristine longer.
How do I maintain my custom cabinets over time?
Regularly inspect hinges, drawer slides, and hardware, tightening and lubricating as needed. Schedule deep cleaning with gentle cleaners every few months, and address scratches or water spots promptly to prevent long-term damage. For smoother functionality and prolonged life, consider applying a high-quality furniture wax or polish designed specifically for cabinetry finishes. These coatings create a protective barrier, making cleanup easier and keeping your cabinets shining like new.
Proper preventive maintenance not only extends the lifespan of your storage solutions but also preserves their beauty, ensuring your remodel remains impressive for years to come. If you’re interested in elevating your cabinetry care routine, try incorporating a quality lubricant like nano-technology-based sprays, which I personally find indispensable. For more expert insights on long-term cabinet care and innovative storage tips, explore the [Ultimate Guide to Custom Cabinets](https://artisancabinetworkz.com/the-ultimate-guide-to-custom-cabinets-for-a-stylish-kitchen-overhaul). Remember, regular upkeep is the secret to sustained style and function.
The Hidden Lessons Behind Perfect Grain Matching
One of my most eye-opening realizations was that even small inconsistencies in grain direction can significantly affect the overall look of custom cabinets. I learned that meticulous attention during the planning phase can prevent costly rework later, saving both time and frustration. Over time, I discovered that understanding the natural flow of wood and planning cuts accordingly creates harmonious results that elevate a kitchen remodel from good to stunning.
Another key lesson was the importance of selecting the right wood species and grain pattern from the start. It’s tempting to choose based on color or texture alone, but I found that aligning grain directions is equally crucial. Reworking mismatched panels after assembly is a lesson best learned through experience—one that underscores the value of detailed pre-order analysis and sample layout testing.
Lastly, I was amazed at how finishing techniques can accentuate grain flow. Staining or sealing along the grain’s natural pattern enhances depth and cohesiveness, making the entire project look custom and professional. These insights transformed my approach, turning a once-overlooked detail into a defining element of high-quality cabinetry.
My Essential Toolkit for Cabinet Mastery
To keep my cabinetry projects tip-top, I rely on trusted tools like a high-precision square and straightedge to verify grain alignment during assembly. A quality moisture meter helps me choose wood with consistent moisture content, ensuring stable grain patterns over time. I also swear by a fine-tipped wood touch-up pen, which quickly fixes minor blemishes and keeps the finish flawless. These tools are invaluable for maintaining quality throughout the build process.
For more on creating seamless kitchen remodels, check out this guide on custom cabinets as a game-changer. It offers detailed strategies to elevate your cabinetry, emphasizing the significance of grain harmony and craftsmanship.
Take Your Kitchen Remodel to Heart
Remember, the most meaningful kitchen upgrades come from attention to detail—like matching wood grain. As you plan your next project, embrace each step as an opportunity to craft something truly special. Small decisions made with care lead to spectacular results that not only look beautiful but stand the test of time. Now’s the time to nurture your vision—your perfect kitchen awaits.