The Best Way to Reinforce a Floating Shelf for Heavy Cookbooks
I still remember the 2:00 AM crash that sounded like a gunshot in my kitchen. I rushed out, heart pounding, to find my prized collection of French cookbooks scattered across the floor, mixed with the jagged remains of what I thought was a sturdy floating shelf. My mistake was one I see way too often in the world of DIY kitchen remodel projects: I trusted standard toggle bolts and drywall anchors for a cantilevered load. It was embarrassing, messy, and expensive. Today, I’m going to show you how to avoid that heartache by reinforcing your shelving the right way—the way professional cabinet makers do it. We’re moving beyond the basics and looking at how to integrate these into your smart storage ideas so your hardcovers stay on the wall where they belong.
Your Drywall Is Failing the Physics Test
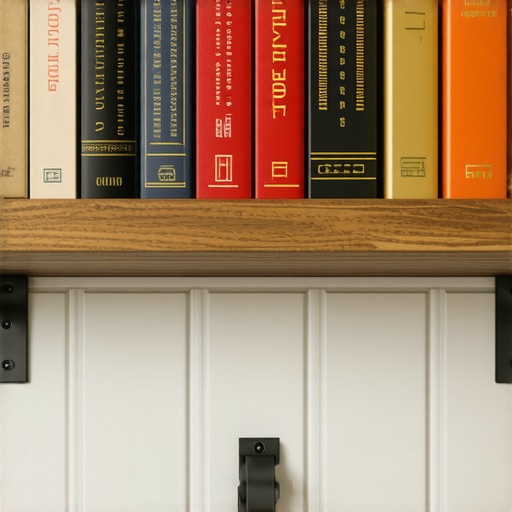
Putting up a shelf for a few spice jars is one thing, but cookbooks are incredibly dense. A single foot of shelving packed with vintage volumes can easily weigh 20 to 30 pounds. When that weight is hanging off the wall without a bracket underneath, it acts like a lever, trying to pry the screws right out of the studs. This leverage is exactly why your wall cabinets are pulling away or your shelves start to sag after just six months of use. I learned the hard way that ‘good enough’ is a recipe for disaster. According to engineering data from the Forest Products Laboratory, the mechanical properties of fasteners mean that the pull-out resistance is only half the battle; the real enemy is the rotational torque of a deep shelf.
Will This Make My Kitchen Look Like a Warehouse?
Many of my neighbors ask me if reinforcing a shelf means they have to lose that sleek, minimalist look they spent so much money on. They worry about bulky brackets or visible steel ruining the vibe of their modern kitchen remodels. The answer is a firm no. You can have the aesthetic of a floating masterpiece while maintaining the structural integrity of a bank vault. We are going to talk about internal steel armatures and the secret of using structural timber screws that hide completely inside the wood. Have you ever noticed a slight gap forming at the top of your shelves and just hoped it would stop growing? Let me know if you’ve ever dealt with the dreaded ‘floating shelf lean’ before.
Find Your Studs Before You Find a Disaster
The most common mistake I see is a blind reliance on drywall. Drywall is just compressed gypsum and paper; it is not a structural element. To hold weight, you must treat your wall studs like the skeleton of your kitchen. Use a high-quality stud finder, but don’t stop there. I always use a tiny finishing nail to poke holes and find the exact left and right edges of the timber. Once you find the center, you need to use fasteners that won’t snap under tension. This is precisely why your base cabinets should be secured with 3-inch rugged screws instead of standard drywall screws. Structural screws have a higher shear strength, meaning they can handle the downward ‘chopping’ force of a heavy shelf without snapping.
The Internal Steel Rod Trick
For that true ‘floating’ look in modern kitchen remodels, I ditch the brackets entirely and go for steel armatures. You drill a hole directly into the center of the stud and epoxy a 1/2-inch or 3/4-inch threaded steel rod into the wall. Then, you bore a matching hole into the back of your shelf. This transfers the weight directly into the home’s framing. I used this exact method for a client who wanted a ‘wall of books’ over her prep station. She was terrified it would fall, but after we anchored six steel rods into the framing, I literally hung my own body weight off the shelf to prove it wouldn’t budge. 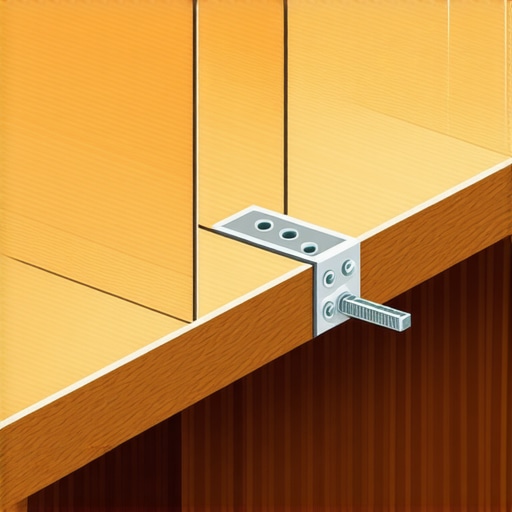
Combat Wood Sag with Torsion Boxes
Even if your wall connection is solid, the shelf itself can fail by bowing in the middle. Think of a shelf like a bridge; the longer the span, the more it wants to dip. This is a common issue when people try to implement innovative storage solutions without considering material thickness. If you are using a span longer than 30 inches, you need to use a torsion box construction—a hollow core shelf with internal ribbing—or move to a dense hardwood like white oak. It’s the same logic used when learning how to stop your pantry shelves from bowing under heavy cans. By increasing the vertical thickness of the shelf, you make it exponentially harder for the wood fibers to compress and bend.
The Invisible Cleat Method
If you aren’t ready to drill steel rods into your studs, the ‘hidden cleat’ is your next best friend. You screw a 1×2 strip of hardwood directly into the studs and then slide a hollow-box shelf over it. This provides a continuous line of support along the entire back edge of the shelf. I once had a project where the walls were so wavy that a standard shelf looked like a rollercoaster. I had to scribe the cleat to the wall first. This level of detail is what makes custom cabinets as a game-changer in your kitchen remodel journey because it allows for a level surface on a crooked foundation. Always glue the shelf to the cleat and add a few trim head screws from the top to ensure it never slides forward.
Stop Obsessing Over Infinite Adjustability
Most homeowners I work with insist on having every single shelf in their new custom cabinets be fully adjustable. It sounds like the peak of convenience, right? But here is the contrarian truth: the more adjustable a system is, the less structurally sound it becomes over time. Every time you drill a line of shelf-pin holes, you are technically removing material from the vertical gables of your cabinet box. In modern kitchen remodels, I often see these ‘Swiss cheese’ panels fail under the weight of heavy stand mixers or sets of ceramic plates because the pins eventually wallow out the holes. I prefer to design with a ‘hybrid’ approach where we lock in specific heights based on your actual inventory.
Why Is Your High-End Pantry Still Sagging Under Load?
This is the advanced reader’s dilemma. You spent the money on a perfect kitchen upgrade, yet the shelves are bowing like a tired bridge. This usually happens because people overlook the deflection limits defined by the Woodwork Institute in the Architectural Woodwork Standards. These standards state that a shelf should not deflect more than 1/8 of an inch under a load of 50 pounds per square foot. If you are using standard 3/4-inch melamine for a 36-inch span, you are going to fail that test every single time. This is exactly why every tall pantry needs a fixed middle support shelf to act as a structural tension member, keeping the sides from bowing outward and letting the other shelves collapse. 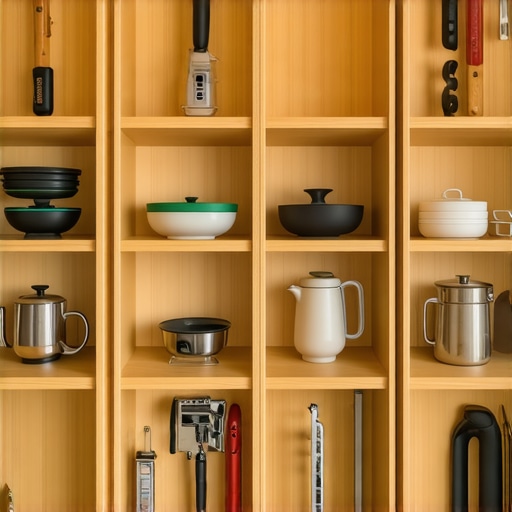
The Trap of Choosing Aesthetics Over Material Density
There is a common myth that ‘all plywood is created equal.’ It isn’t. I have seen ‘custom’ shops use low-density particle board with a thin veneer and call it luxury. If you want innovative storage solutions that actually last, you have to look at the core. In my shop, I always argue that pre-finished maple interior is better than melamine because the screw-holding power of a domestic maple ply is nearly double that of a composite board. I once visited a client whose ‘luxury’ cabinets were literally crumbling at the hinges because the material couldn’t handle the weight of the solid wood doors. It was a five-figure ‘oops’ factor that could have been avoided by asking one simple question about the substrate density.
Commit to Fixed Heights for Heavy Appliances
If you’re planning for heavy-duty smart storage ideas, like a pull-out for a 25-pound Le Creuset pot, don’t trust a plastic shelf pin. Use a fixed shelf that is stapled, glued, and screwed into the box. This turns the shelf into part of the cabinet’s skeleton. It makes the entire unit more rigid and prevents the ‘racking’ or leaning that happens when a kitchen settles over time. Have you ever fallen into this trap of prioritizing flexibility over strength? Let me know in the comments if you’ve ever had a shelf pin fail on you at the worst possible moment.
After decades in the shop, I’ve realized that a high-end build is only the first 70% of the journey. The remaining 30% is the long-term maintenance and the specific tools you keep in your toolbox to ensure that investment doesn’t degrade. You cannot just walk away from a modern kitchen remodel and expect it to behave perfectly forever. Houses settle, wood moves, and mechanical hardware requires attention to stay smooth.
The One Tool That Stops Wonky Handles Forever
If you are planning to handle the finishing touches yourself, please put down the plastic template from the big-box store. I always recommend investing in a professional-grade, CNC-machined hardware jig like the True Position. This is the one tool you need for perfectly aligned cabinet knobs every time. When you are working with custom cabinets for a stylish kitchen overhaul, a handle that is even 1/16th of an inch off center will haunt your peripheral vision every time you walk into the room. A metal jig ensures that the drill bit never wanders, protecting your expensive door fronts from catastrophic errors.
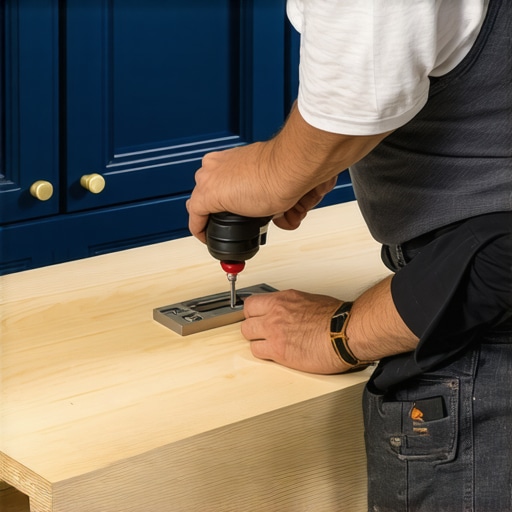
Clean Your Slides Before They Grind to a Halt
Drawer slides and hinges are mechanical assemblies with ball bearings and high-viscosity lubricants. Over time, flour dust and aerosolized cooking grease create a sticky, abrasive paste that wreaks havoc on these systems. If your drawers feel gritty, check the real reason your cabinet drawer slides are grinding before you buy replacements. According to the Blum Technical Support Manual, high-end hardware is tested for 200,000 cycles, but that rating is based on a clean environment. I use a dry PTFE spray once a year on my slides to keep them gliding like they are on ice. It is a five-minute job that adds a decade to the life of your kitchen.
How do I keep my custom kitchen looking brand new for a decade?
The secret is proactive adjustment. Wood is a living material that expands and contracts with the seasons. Every six months, I take a screwdriver and perform the 5-minute hinge adjustment for fixing wonky cabinet reveals. If you wait until a door is rubbing against the frame, you have already caused permanent finish damage. Keeping things aligned prevents the leverage effect from stressing the mounting screws. Looking forward, I predict that smart storage solutions for small kitchens in 2025 will include integrated load-cell sensors. We are already seeing prototypes of shelves that can track inventory by weight, which will revolutionize how we plan innovative storage solutions. If you are feeling overwhelmed by the technical side, you can always contact us for a professional hardware audit. Take a look at your heaviest drawer today; if it is not sliding perfectly, it is time to clean those rails.
The Hardest Lesson I Learned About Heavy-Duty Shelving
If there is one thing that years of sawdust have taught me, it is that gravity never takes a day off. I used to think that a few extra screws were enough to call a job ‘reinforced,’ but I was wrong. The real breakthrough came when I stopped viewing shelves as individual pieces of wood and started seeing them as extensions of the home’s framing. In every perfect kitchen upgrade, the invisible work—the bracing behind the drywall—is what actually determines the lifespan of your design. Don’t be fooled by the ‘Instagram look’; if the bones aren’t solid, the beauty is temporary. I have seen countless DIY projects fail because the installer prioritized a clean photo over a structural stud connection.
My Essential Kit for Lasting Cabinetry
To get professional results, you need to step away from the basic hardware store aisle. I always keep three things in my truck: professional-grade structural fasteners, a high-accuracy jig, and a deep understanding of material limits. Using the one tool you need for perfectly aligned cabinet knobs every time ensures that your finishing touches match the quality of your structural work. I also highly recommend looking into the truth about pre-finished plywood before you start your next build; the factory-bonded layers offer a level of stability that on-site finishes simply can’t touch. These aren’t just tools; they are the insurance policy for your hard work. #IMAGE_PLACEHOLDER_E#
Build a Kitchen That Stands the Test of Time
At the end of the day, your kitchen remodel should be a source of pride, not a source of anxiety. Whether you are installing a hidden coffee station or a wall of heavy floating shelves, remember that doing it right the first time is always cheaper than fixing a disaster at 2:00 AM. You have the knowledge now to move beyond ‘standard’ and create something truly exceptional. If you ever feel stuck or need a second pair of eyes on your blueprints, you can always contact us for expert guidance. Have you ever experienced the ‘shelf lean’ after filling up your pantry with heavy jars? Let me know your worst DIY storage horror story in the comments below!