How to Hide a Microwave Without Creating a Fire Risk
Have you ever tried to hide your microwave behind a cabinet door or within a custom-built wall unit, only to realize that the fan or vent gets blocked? I remember the moment vividly—after a long day of remodeling, I attempted to tuck my microwave into a sleek, custom cabinet, thinking it would give my kitchen a minimalist look. But within minutes, I smelled burning plastic and heard the fan struggling to push air. It was a lightbulb moment—hiding appliances isn’t just about aesthetics, it’s about safety.
Why Hiding Your Microwave Can Be Tricky—And Dangerous
Modern appliances like microwaves are designed with ventilation in mind. Blocking airflow can lead to overheating, potential fires, and even damage to the unit itself. According to the U.S. Fire Administration, improper appliance installation or obstructed ventilation accounts for a significant number of household fires. So, prior to designing that perfect hidden spot, I had to learn the hard way that concealment shouldn’t compromise safety.
Is Concealing a Microwave Really Worth the Risk?
It’s a common dilemma—wanting a clutter-free kitchen but worried about safety hazards. Early on, I made the mistake of thinking I could modify surrounding cabinetry to enclose the microwave completely. That was a mistake. Ventilation must be a priority. For a safer approach, I discovered there are design solutions that hide your microwave without risking fire hazards. Curious? Keep reading, because I’ll share practical tips and ideas, plus how to incorporate built-in storage solutions to maximize your space, like those discussed in creating seamless kitchen remasters.
So if you’ve faced this issue or dread creating a fire hazard every time you think about hiding your appliance, you’re in the right place. We’re going to explore solutions that balance sleek design with safety, all backed by tried-and-true techniques and expert advice. Let’s make your kitchen both beautiful and safe—no compromises.
Create a Ventilated Space for Your Microwave
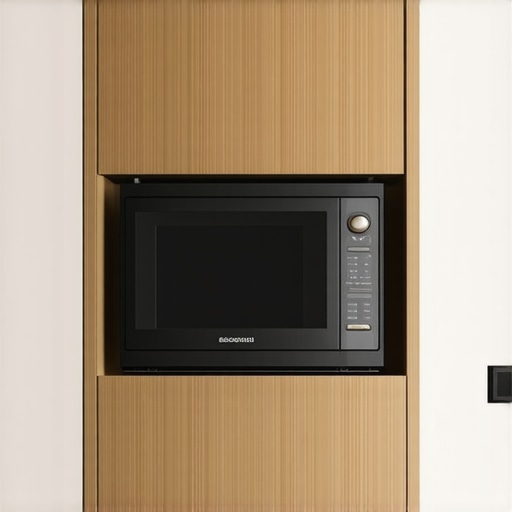
Precision is key when designing a built-in enclosure for your microwave. Start by measuring your appliance accurately, accounting for clearance on all sides to ensure proper airflow. I once cut the opening slightly larger than the microwave’s dimensions, leaving about half an inch on each side, which allowed air to circulate freely. Using a high-quality, perforated panel or vent grille at the back or sides helps maintain ventilation, preventing overheating and potential fire risks. Think of it like designing a breathable jacket—comfort and safety depend on proper airflow.
Install a Supporting Frame and Proper Venting
Construct a sturdy frame within your cabinetry using ¾-inch plywood, securely anchored into wall studs with heavy-duty screws. This supports the microwave and prevents sagging over time. Include vent openings at the back or sides—these can be cut into the framing or existing cabinetry—to allow continuous air exchange. When I built my own microwave niche, I added a small exhaust fan with a vent duct to an exterior wall, dramatically improving airflow. This setup mimics an HVAC system, ensuring your appliance runs safely and efficiently.
Design a Seamless Look with Custom Cabinets
Custom cabinets are a game-changer; they allow you to tailor the size, shape, and finish to match your kitchen’s style. I opted for a built-in cabinet with a flush overlay door, creating a sleek, integrated appearance. To hide the appliance completely, incorporate a lift-up or pocket-door mechanism that swings open smoothly—a technique detailed in this guide. Keep in mind that the hinge placement and internal clearance are critical for a flawless finish.
Maximize Storage with Hidden Compartments
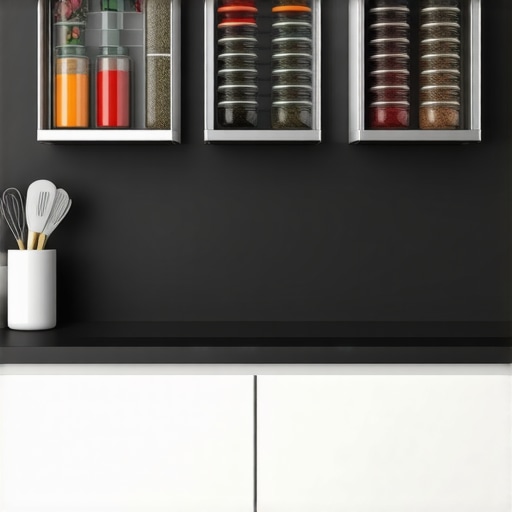
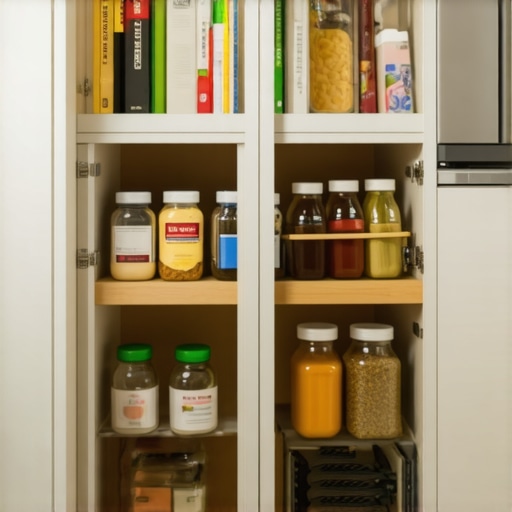
Use the extra space around your microwave for additional storage—like a pull-out shelf for spice jars or baking supplies. I installed a sliding tray above my appliance so I could store matching plates or cookbooks, making full use of vertical space. Incorporate soft-close drawers and concealed hinges to maintain a clean aesthetic. Check out storage hacks that help you squeeze maximum functionality into your design.
Ensure Easy Access and Safety
Design the opening with a generous clearance, so you can remove or slide out the microwave easily for cleaning or maintenance. I added a pull-out mechanismin my setup, which allowed me to pull the appliance outward without straining—reducing in-cabinet noise and accidental bumps. Test all hinges and sliding components thoroughly before sealing the cabinet. Remember, safety isn’t just about ventilation; ease of use prevents accidents and spills, especially when dealing with hot or heavy items.
Seal and Finish for a Professional Look
Use quality edge banding and a durable finish to match your cabinetry. Sand all surfaces smoothly to prevent snagging and apply a specialized cabinetry paint or veneer that resists moisture. In my project, I used a matte laminate that mimics oak grain, which complemented my existing cabinets while providing a protective layer against kitchen splashes. Proper sealing keeps the enclosure looking seamless and reduces maintenance over time.
Test and Adjust Before Finalizing
Before permanently installing your built-in microwave, do a test run by placing the appliance inside the enclosure. Check for proper ventilation, accessibility, and clearance. I discovered my vent openings were slightly obstructed, so I enlarged them to improve airflow. Making these adjustments ensures your setup functions correctly and maintains safety standards, turning a DIY project into a professional-looking feature.
Many homeowners assume that installing custom cabinets and built-ins automatically guarantees maximum functionality and aesthetic appeal, but that’s a misconception worth busting. A prevalent myth is that all custom cabinetry is created equal; in reality, poor planning can lead to wasted space and compromised usability. For instance, neglecting to consider door swing clearances or access to deep corners often results in awkward drawer and shelf placement. Expert designers emphasize that understanding the nuances of storage ergonomics—not just size—is crucial for a truly efficient kitchen.
One often overlooked aspect is the importance of detailed space analysis—knowing exactly how you use your kitchen daily helps prevent costly mistakes. Many fall into the trap of overestimating space for bulky items or underestimating the need for specialized storage, like spice racks or narrow niches. Taking advantage of innovative solutions like pull-out trays or vertical dividers can transform underutilized areas into highly functional zones.
Beware of the trap of assuming that high-end materials and fancy finishes compensate for poor layout. In truth, the material quality is secondary to the clever arrangement of storage elements. For example, integrating smart accessories such as soft-close hardware and hidden compartments not only keeps your kitchen sleek but also enhances durability. A noteworthy insight from industry experts is that investing in carefully planned built-ins increases home value and efficiency, rather than just aesthetic appeal—see the comprehensive guide on creating seamless kitchen remasters with built-in storage solutions.
Another common mistake is neglecting future needs. Planning for today’s storage requirements without considering potential lifestyle changes can render your cabinetry obsolete in a few years. Adjustable shelves, modular units, and extendable systems allow for adaptable configurations that grow with your family. Moreover, integrating hidden storage within your cabinets—like toe kicks or under-bench compartments—maximizes space without cluttering the visual appeal.
Now, addressing the question that even advanced homeowners stumble over: How can you design custom cabinets that truly serve your long-term needs without sacrificing style? Leveraging insights from experts can help you strike this balance—review strategies in this expert guide. Remember, the key isn’t just having beautiful cabinets but ensuring they’re thoughtfully planned for practical use.
Have you ever fallen into this trap? Let me know in the comments.
Tools I Depend On for Durable Kitchen Cabinets
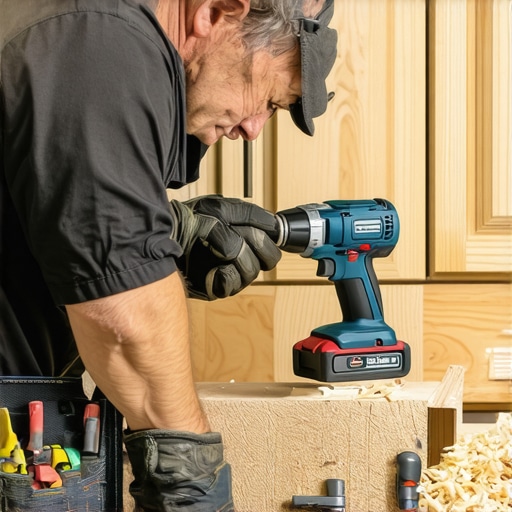
Achieving lasting results with your custom cabinets and storage solutions hinges on using the right equipment. I swear by a high-quality cordless impact driver for assembling frames—it offers the perfect balance of power and maneuverability, preventing stripping or damaging wood like particle board. When installing hinges or attaching accessories, a specialized clamp system—such as corner or edge clamps—ensures precise alignment and tight joints, saving time and avoiding misfits. For finishing, a professional-grade sprayer, like an HVLP machine, provides smooth, even coats of paint or veneer, which is crucial for a polished look that lasts for years.
In addition, I regularly rely on a digital moisture meter before cutting or sealing wood, especially in variable climates. Excess moisture can cause warping or swelling, nullifying your effort over time. Pairing this with a good-quality sander—preferably random orbital—helps achieve a flawless surface, reducing future maintenance. Don’t forget a set of custom jigs and templates; they streamline repetitive tasks like drilling shelf holes or aligning hardware, ensuring consistency across your project.
The Power of Software and Planning
While old-school tools remain essential, modeling your project with design software—like SketchUp or Cabinet Vision—has revolutionized my workflow. These programs allow me to visualize storage solutions precisely, test different configurations, and catch potential issues before the saw cuts are made. Planning meticulously with 3D renders helps prevent costly mistakes, especially when incorporating built-ins or maximizing storage capacity. As technology evolves, expect even smarter tools—like augmented reality apps—that let you virtually walk through your remodel and make real-time adjustments.
How do I keep my kitchen storage solutions running smoothly over time?
Regular maintenance is the secret to longevity. I suggest inspecting hinges, slides, and soft-close mechanisms biannually—applying lubricant like silicone spray prevents squeaks and ensures smooth operation. Cleaning out vents and air spaces behind appliances, especially if you hide microwaves or other heat-generating gear, keeps ventilation clear. Installing and periodically testing a small, dedicated exhaust fan—even if you’ve already built venting into your cabinetry—can extend the life of your appliances and prevent overheating. For the ultimate in upkeep, I recommend sealing your wood surfaces with durable, moisture-resistant finishes; they guard against kitchen splashes and temperature fluctuations.
Future Trends in Kitchen Maintenance and Storage
Looking ahead, I believe automation and smart hardware will become standard in maintenance routines. Think self-lubricating hinges or sensors that alert you when a slide needs adjustment—saving time and preventing larger problems. As IoT integration advances, your cabinets could notify you of environmental issues like humidity spikes or pest intrusions, enabling proactive measures. Embracing these innovations now can slash long-term repair costs and keep your kitchen looking pristine for years.
Ask Yourself How to Keep Custom Cabinets in Top Shape
Start by committing to regular inspections and maintenance routines. Using the right tools and planning software makes DIY upkeep manageable and effective. If you’re eager to expand your knowledge, visit this guide for more advanced storage ideas and techniques that will serve your space well into the future. Why not pick one tip—like installing a small, dedicated exhaust fan—and give it a try today? It might just save you a costly repair down the line.
The Biggest Lesson I Had About Perfect Storage Solutions
One of the most eye-opening lessons I learned was that good design isn’t just about looks — it’s about function and safety. Early in my remodeling projects, I underestimated how crucial proper ventilation is, especially when hiding appliances like microwaves. Blocking airflow can lead to overheating and even fire hazards, which is a risk no homeowner should take. This realization pushed me to prioritize airflow in every built-in design, ensuring safety without sacrificing style.
Tools and Resources That Change The Game
Over the years, I’ve relied on a handful of tools and sources that transform my approach to custom cabinets and storage. A high-quality impact driver makes assembly smooth and prevents damage, while design software like SketchUp helps me visualize every detail before cutting. For finishes, I trust HVLP sprayers for a flawless coat and moisture meters to protect against warping. These tools, combined with expert guides linked throughout my process, have been invaluable in creating durable, beautiful solutions that stand the test of time.
Your Adventures in Custom Cabinets Await
Designing and building custom cabinets and integrated storage is more than a project—it’s an opportunity to reinvent your space in ways that truly serve your lifestyle. Every challenge I faced pushed me to learn, adapt, and innovate. I encourage you to embrace the process, experiment with ideas, and remember that safety and function should never be compromised for aesthetics. Now’s your chance to craft a kitchen that’s not just gorgeous but tailor-made for your needs. Why not start today and turn your vision into reality?