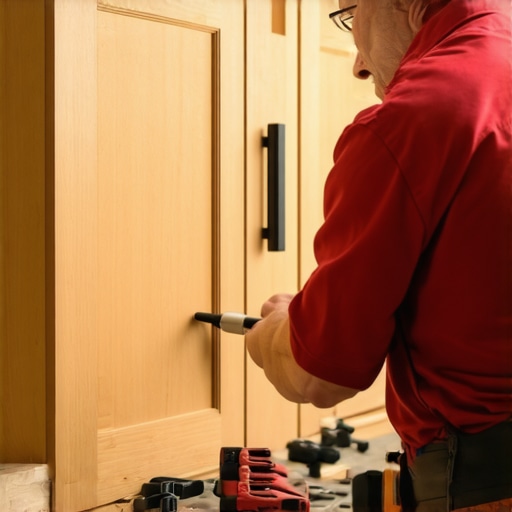
How to Align Inset Cabinet Doors That Won’t Close Flush
I remember the first time I installed inset cabinet doors in my kitchen, feeling pretty confident about the project. But then, as I stepped back to admire my work, I noticed something irritating—those doors just wouldn’t close flush. Instead of a sleek, seamless look I was aiming for, I was left with uneven gaps that made my entire remodel look unfinished. Talk about a moment of realization! It was one of those lightbulb moments that made me dive deep into understanding how to get those inset doors to align perfectly.
Why Flushing Doors Make or Break Your Kitchen’s Style
There’s something undeniably high-end about inset cabinet doors that are perfectly flush with the face frame. It’s like the difference between a good pair of shoes and an expensive bespoke pair—you notice the craftsmanship immediately. But achieving that clean, seamless look is easier said than done, especially if you’re new to cabinet adjustments. If you’ve ever struggled with doors that refuse to close evenly, you’re not alone. I’ve wasted hours tweaking hinges, only to end up frustrated, questioning if I’d ever get it right.
Is It Worth the Effort for the Perfect Flush?
Honestly, early on I made a mistake that many beginners do—assuming all cabinet hinges are the same and that alignment is straightforward. Turns out, small miscalculations can cause big misalignments, making doors stick out or gap unevenly. After some trial and error, I discovered that paying attention to hinge placement and using the right tools makes a huge difference. Don’t let the fear of fiddling with hinges deter you; with patience, you’ll see remarkable improvements. Want to learn the best tricks for perfect alignment? Check out this guide for detailed tips on custom cabinetry.
Understanding why doors don’t close flush is the first step toward mastering your cabinets. Getting it right elevates your entire kitchen, giving it that polished, professional look. Ready to stop fighting with your doors and start fooling everyone with your craftsmanship? Let’s get into the practical steps that will make your inset doors close just like a pro’s.
Secure the Hinges Properly to Achieve Perfect Flushness
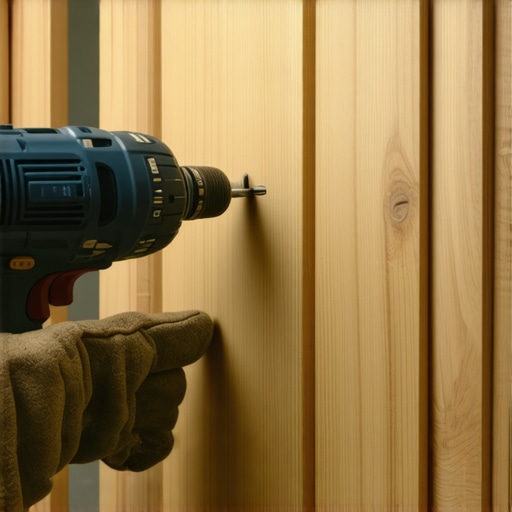
Start by loosening all hinge screws and positioning the doors roughly where you want them. Using a depth gauge, ensure the hinges are mounted at the correct depth to prevent the doors from protruding or sinking. Tighten the screws in small increments, alternating sides, to maintain even positioning. I once used a shim to hold a door in perfect alignment while tightening, which prevented sagging and made adjustments smoother. This step is vital, like tuning a guitar string, ensuring each hinge supports the door evenly for a seamless look.
Adjust the Door Position with Precision Tools
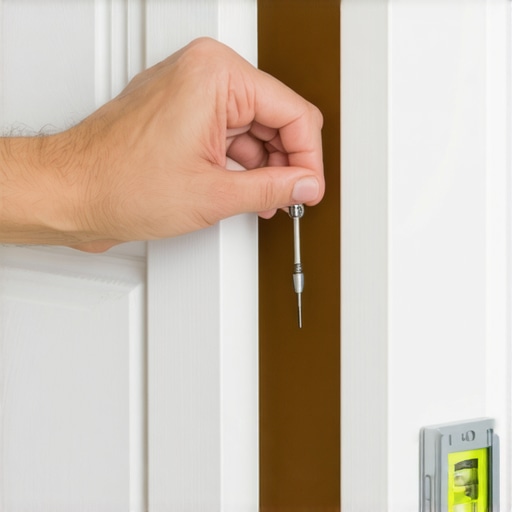
Once hinges are secured, use a Phillips screwdriver or a hinge adjustment tool to make micro-adjustments. Focus on three key planes: horizontal, vertical, and depth. For example, if a door is slightly leaning outward, turn the lateral adjustment screw clockwise to pull it inward. During my last project, I spent an hour tweaking and checking each door’s gap until they sat perfectly flush—an extra step that transformed the overall aesthetic. Think of this process like fine-tuning a camera lens—small tweaks make a significant difference.
Align Doors Using a Straightedge and Spacer Blocks
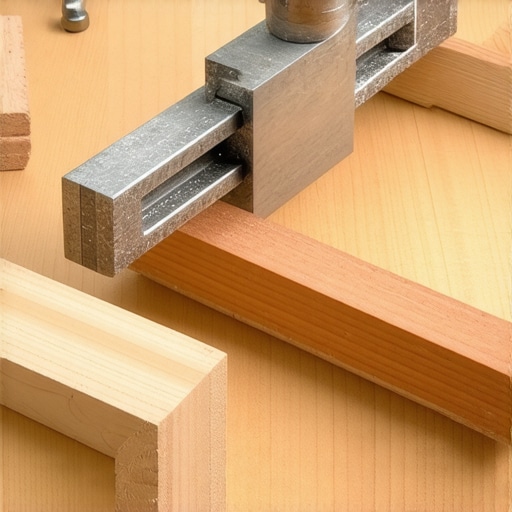
Place a straightedge across the tops of adjacent doors to see if they align perfectly. Spotting uneven gaps often requires a visual aid; I used scrap pieces of hardwood as spacer blocks to compare distances. If a door sits too high or low, loosen the hinge and reposition it slightly, then tighten again. Remember, consistency is key—the gap should be uniform along the entire length. This method reminds me of laying tiles, where even spacing creates a professional finish.
Fine-Tune Gaps and Level Doors for a Sleek Look
After the main adjustments, check the gaps between doors—aim for equal spacing, usually around 1/16 inch. Use feeler gauges or a ruler for precision. For uneven door heights, adjust the leveling screws at the hinge side. I once encountered a door that kept drooping after installation; by inserting a shim behind the hinge and re-tightening, I corrected the alignment. This step is akin to adjusting a window sash to eliminate drafts—small changes produce a clean, polished appearance.
Lock in the Settings with Proper Hardware Checks
Finally, open and close the doors several times to ensure they swing smoothly and stay flush. Tighten all hinge screws securely to prevent shift over time. Double-check the spacing and make minor tweaks if needed. I recommend marking your adjustments with a pencil on the hinge plate before tightening, so you can revisit them if needed. This final check is your assurance that the inset doors will maintain their sleek profile, reducing future repair work and keeping your kitchen looking impeccable. For more insights on custom cabinetry adjustments, visit this detailed guide.
Many homeowners assume that selecting storage solutions or custom cabinetry is straightforward—just choose the style you like and install it. However, this oversimplification overlooks nuanced details that can make or break your remodel. A prevalent myth is that more storage always equals better organization, but in reality, poorly designed spaces can lead to clutter and inefficiency. For example, stacking shelves without considering access points can result in hard-to-reach items, defeating the purpose of added space. Advanced insiders know that understanding the intricacies of niche storage, like pull-out spice racks or custom corner cabinets, adds significant value and usability.
Why Do Many Custom Cabinets Fall Short and How Can You Avoid It?
A common mistake is neglecting to account for actual usage patterns during design. For instance, installing high upper cabinets without considering the reach of all household members can turn into a persistent source of frustration. Experts recommend detailed planning that aligns cabinet function with family workflow, which improves efficiency. Additionally, overlooking ventilation and moisture considerations—especially in kitchen and bathroom cabinets—can lead to warping or mold issues over time. According to the National Kitchen and Bath Association, integrated features like moisture barriers and proper airflow pathways can extend cabinet lifespan and maintain aesthetic appeal.
Another sophisticated aspect often missed is the importance of seamless integration between built-ins and existing architecture. Achieving cohesion requires meticulous attention to details such as crown molding, alignment, and finish matching. For example, mismatched paint or inconsistent levels in built-ins can diminish the sleek, custom appearance you aim for. To master this, consult comprehensive guides like this resource, which explores best practices for integrating custom cabinets into your home’s unique style.
Beware the trap of choosing generic hardware or finishes without considering long-term durability and ease of maintenance. Matte finishes, for example, tend to hide fingerprints better than polished options, reducing cleaning time. Similarly, selecting high-quality hinges and soft-close mechanisms can prevent annoying sagging or malfunctions later. Remember, a well-thought-out storage plan considers not just aesthetics but also functionality, longevity, and user experience. Innovative storage ideas can optimize every nook of your space, but only if integrated thoughtfully from the start. Do you incorporate advanced features or stick to standard options? Share your experiences!
In conclusion, understanding these nuanced aspects elevates your project from average to expert-level. Making informed choices about custom cabinets and built-ins involves more than just selecting preferred styles—it’s about aligning every detail with your lifestyle and future needs. So, next time you plan a renovation, remember that deliberate, nuanced design is your secret weapon. Have you ever fallen into this trap? Let me know in the comments.
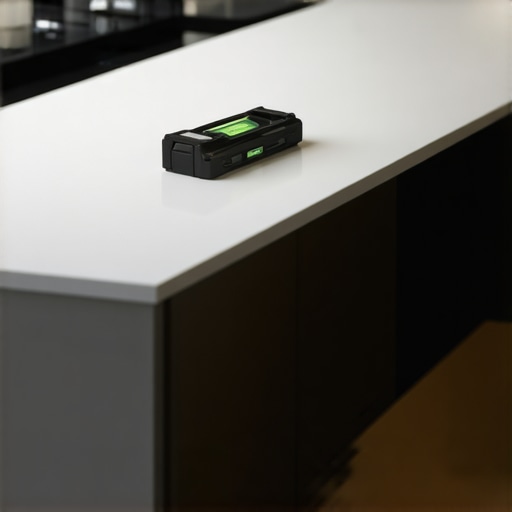
Maintaining your custom kitchen cabinets and built-ins over time requires more than just good design; it demands the right tools, consistent practices, and a strategic approach. One of my go-to tools for precision cabinet adjustments is the DeWalt DWHT55188 T-Handle Allen Wrench Set. I prefer this set because its ergonomic design and durable bits allow me to make fine-tuned adjustments to hinges and handles without slipping, ensuring that doors stay aligned and flush long-term. For measuring gaps and leveling, I rely on a Bosch Digital Spirit Level, which provides accurate readings and aids in detecting subtle misalignments that can become glaring over time.
When it comes to software, I recommend custom kitchen design apps like SketchUp. These allow you to visualize adjustments, space planning, and potential issues before implementing physical changes, saving time and future headaches. My top tip is to regularly revisit your storage configurations using these tools to tweak for efficiency and functionality as your needs evolve.
For long-term upkeep, routine inspections employing a Moisture Meter ensure that areas prone to humidity, such as under sinks or near dishwashers, remain dry. Regularly updating your sealants and applying light lubricants like silicone spray on hinges can prevent squeaking, rust, and wear. These simple maintenance routines extend the lifespan of hardware and materials, keeping your cabinetry looking polished for years.
How do I maintain custom cabinets and built-ins over time?
Adopting a scheduled maintenance plan is key. This includes cleaning surfaces with gentle, non-abrasive cleaners, inspecting hinges and handles monthly, and addressing any loose screws or shifts promptly. Additionally, using smart storage hacks like adjustable shelves ensures you can adapt your storage for changing needs without ripping out entire units. As technology advances, expect new smart tools, such as IoT-enabled moisture and temperature sensors, to help monitor your cabinetry’s health continuously.
Moving forward, the trend points toward integrating maintenance automation into homeowners’ routines. Devices that send alerts when humidity or structural shifts are detected are becoming more affordable and user-friendly. Incorporating these innovations can drastically reduce long-term repair costs and preserve your investment in quality cabinetry.
Start by trying out a dedicated adjustment tool, like the DeWalt Allen wrench set, to fine-tune your hinges this week. Small, consistent tweaks can make a significant difference in extending the life of your kitchen storage. Remember, proactive maintenance is your best strategy to keep everything working smoothly—and looking great—year after year.
Three Unexpected Truths That Changed My Approach to Custom Cabinets
- My biggest realization was that meticulous hinge adjustments save hours in future maintenance—it’s like giving your cabinets a personal trainer. Once I started paying attention to even the tiniest misalignments, I noticed a dramatic difference in how smoothly my doors operated and stayed flush, making my entire kitchen look more polished.
- Embracing premium hardware was a game-changer. Initially, I thought that saving a few dollars on standard hinges wouldn’t matter—big mistake. Upgrading to soft-close, high-quality hinges prevented sagging and frustration, proving that premium hardware is an investment in longevity and style.
- Designing with future flexibility in mind can prevent costly overhauls down the line. I learned the hard way that adjustable shelves and modular configurations allow you to adapt your storage as your needs evolve, saving time and money while keeping your space functional and beautiful.
My Toolbox for Lasting Kitchen Beauty and Functionality
- DeWalt DWHT55188 T-Handle Allen Wrench Set: I rely on this for precise hinge adjustments because its ergonomic grip and durable bits make micro-tweaks easier and more comfortable, ensuring my cabinets stay perfectly aligned over years.
- Bosch Digital Spirit Level: Spotting uneven doors is simple with this tool, helping me achieve that flawless flush look I initially struggled with. Its accuracy keeps my projects looking professional and consistent.
- SketchUp Software: Visualizing storage and cabinetry plans in this program has saved me countless headaches by allowing preemptive tweaks—making sure every inch is optimized before installation.
- Smart Moisture Monitoring Devices: Regular checks on humidity levels prevent warping and mold, extending the life of my cabinets and preserving their beauty.
Your Next Move in Creating Custom Kitchen Perfection
Transforming your space with custom storage and cabinetry is an ongoing journey of discovery and refinement. Remember, every small adjustment and smart decision today can elevate your kitchen into a timeless masterpiece tomorrow. The key is to stay curious, invest in quality tools, and embrace a mindset of continuous improvement. Are you ready to turn your dream kitchen into reality? Share your plans or challenges below—I’d love to hear your story!
}# The