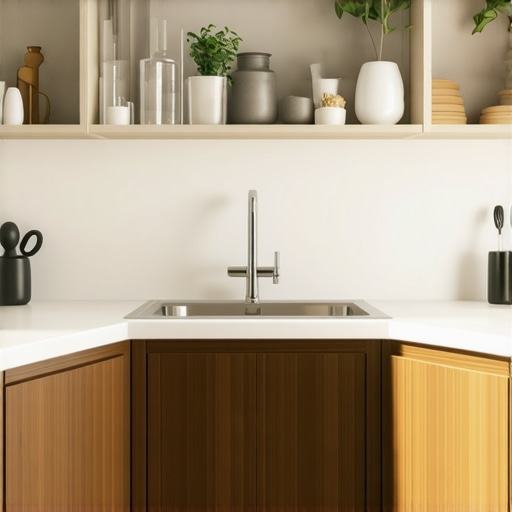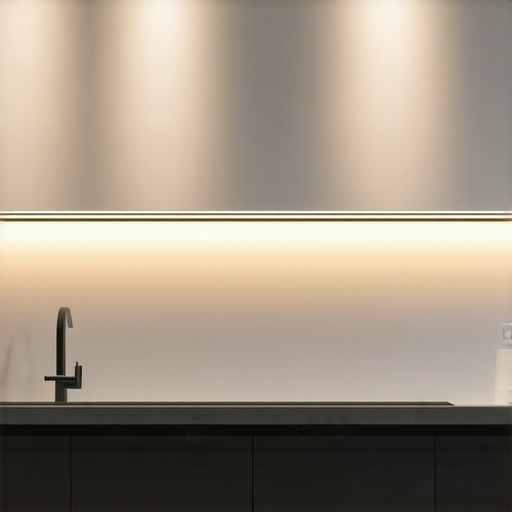
Why Under-Cabinet Lighting Should Always Be Recessed
I remember the moment clearly—midway through a kitchen renovation, I stood in my new space, admired the stunning custom cabinets, but something felt off. The under-cabinet lighting I chose was shiny and bright, but it cast unflattering glare on my countertops, creating more shadows than illumination. I realized too late that I had overlooked an essential detail: the type of lighting installation. That light fixture, although seemingly minor, impacted the entire functionality and ambiance of my kitchen. It was a lightbulb moment—pun intended—that taught me the importance of recessed under-cabinet lighting.
The Hidden Power of Recessed Under-Cabinet Lighting
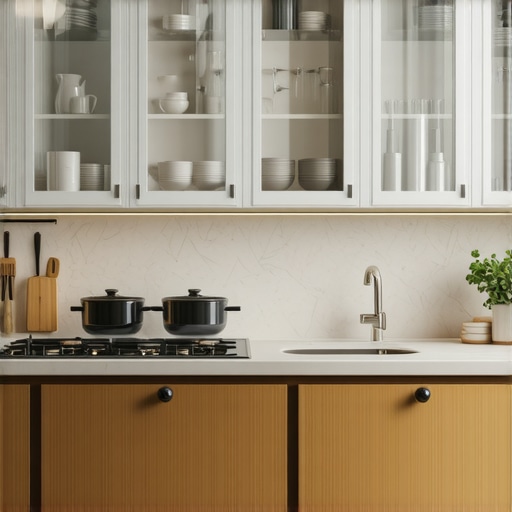
Choosing the right lighting can transform a space from merely functional to truly inviting. It’s not just about brightness; it’s about creating a warm, balanced glow that enhances your kitchen’s beauty and usability. For years, I’ve experimented with various lighting styles, but I keep coming back to recessed under-cabinet lighting as the gold standard. It provides a seamless, clean look and directs light exactly where you need it—without glare or shadows.
Many homeowners make the mistake of picking standard fixtures without considering their placement or style. Early in my renovation journey, I installed surface-mounted lights that looked bulky and distracted from the sleek lines of my cabinets. Not only did they clutter the space visually, but they also created uneven light distribution, making it harder to see what I was chopping or reading recipes. That was my first lesson: the method of installation matters.
Is All Under-Cabinet Lighting Equally Effective?
Absolutely not. Eager to save money, I initially bought budget-friendly LED strips that claimed to be easy to install. Turns out, many were not designed for flush mounting, resulting in uneven light distribution and difficulty in keeping fixtures hidden. I learned that professional-grade recessed lighting, installed carefully into the cabinet soffits, can offer superior illumination while maintaining a minimalist, modern aesthetic. To see how to seamlessly integrate built-in lighting into your cabinetry, check out [this comprehensive guide](https://artisancabinetworkz.com/revolutionize-your-kitchen-remodel-using-built-ins-and-creative-storage).
Trust me, the mistake of choosing obtrusive fixtures early on made me appreciate how recessed lighting not only elevates your kitchen’s style but also significantly improves functionality. When your light fixtures are out of sight, there’s less distraction, and your space feels more open and organized.
So, before you settle on any under-cabinet lighting, ask yourself—have I considered how my choice will affect both the look and the usability of my kitchen? If you’re already facing this dilemma or curious about achieving a seamless vibe, you’re in the right place. Let’s explore the reasons why recessed under-cabinet lighting should be your go-to choice, and how to avoid the common pitfalls that can undermine your design.
Measure and Plan Your Lighting Layout
Start by assessing your cabinet dimensions and countertop layout. Use a tape measure to determine the distance from the cabinet edge to where you want the light to cast illumination. Sketch a simple diagram to visualize the placement, ensuring even coverage across your workspace. I once spent an entire afternoon adjusting LED strips in my kitchen, only to realize I hadn’t accounted for cabinet height, which caused uneven light distribution. By mapping out the exact positions beforehand, I saved time and achieved a professional look.
Choose Ideal Recessed Fixtures
Opt for dedicated recessed LED fixtures designed for under-cabinet use. These fixtures typically come with adjustable trims and mounting clips that make installation straightforward. Avoid generic downlights, which may cast unflattering shadows or create glare. When I upgraded my kitchen, I selected matte-finish trim rings to reduce unwanted reflections. This small detail made a noticeable difference in how evenly my countertops reflected light, making tasks safer and more comfortable.
Prepare the Cabinet and Wall Surfaces
Clear out the area beneath your cabinets and ensure surfaces are clean and dry. Mark the desired fixture locations with a pencil, utilizing your earlier layout plan. Use a level to ensure your markings are straight, avoiding crooked fixtures. During my first attempt, I failed to double-check alignment, resulting in skewed lights that distracted from the sleek cabinetry. Attention to detail here guarantees a tidy, cohesive look with minimal adjustments during installation.
Cut Necessary Openings Carefully
If your fixtures require holes or notches, drill with a combination of patience and precision. Use a hole saw designed for drywall or wood, depending on your cabinet material. I once made a mistake by forcing a larger hole; the edges chipped, leading to extra sanding. Take your time, and test fit fixtures before final mounting.
Install and Wire with Precision
Connect your fixtures according to the manufacturer’s instructions, ensuring secure wiring. Use wire connectors and electrical tape for safety, and consider installing a dimmer switch to control ambiance. I noticed that my first dimmer flickered; I realized I had mixed incompatible components. After replacing with a compatible fixture, the lighting became smooth and controllable, enhancing the kitchen’s atmosphere.
Hide and Protect Wiring Ends
Conceal wiring within cabinet cavities or along the wall, using cable clips or raceways to keep everything tidy. Avoid leaving exposed wires that could accumulate dust or become damaged. When I hidden my wiring behind crown molding, it not only looked cleaner but also prevented accidental pulls or snags, ensuring longevity of the setup.
Test and Adjust for Best Effect
Once installed, turn on your lighting system and evaluate the coverage. Adjust fixture angles or positions if needed to minimize shadows or glare. A practical tip: sit down at your main workspace and observe the lighting from your typical vantage point. I once discovered a glare issue that made chopping vegetables uncomfortable; a slight repositioning fixed it instantly. Fine-tuning ensures your lighting enhances your workflow and aesthetic.
Maintain Your Investment
Regularly clean fixtures and check connections to prevent dust buildup or loose wires. Recessed fixtures are low-profile but still require occasional attention. After a year, I found that a quick wipe with a damp cloth restored the brightness and clarity of my under-cabinet lighting, keeping my kitchen looking pristine and functional.
Many homeowners assume that choosing high-quality materials and trendy designs guarantees a perfect kitchen remodel, but the reality is far more nuanced. In my years of working with custom cabinets and innovative storage solutions, I’ve learned that most people overlook subtle yet critical details that can make or break the entire project. A common myth is that built-ins are always more expensive and complicated, but in fact, when planned correctly, they can be surprisingly cost-effective and straightforward. The real challenge lies in understanding the hidden factors, like proper framing, moisture barriers, and precise measurements, which many DIYers ignore, leading to costly mistakes down the line.
What Advanced Homeowners Get Wrong About Built-Ins and Custom Cabinets
One of the most pervasive misconceptions is that built-in furniture seamlessly fits regardless of existing structures. However, every home has unique framing, wall irregularities, and historical quirks that require tailored solutions. Neglecting these nuances results in gaps, misalignments, or even structural damage. For instance, improper scribing of cabinets to uneven walls is a mistake I see often, which compromises both appearance and durability. Experts recommend precise measurements and flexible design adjustments—something that standardized plans usually overlook. To ensure your project hits the mark, consulting resources like [this expert guide](https://artisancabinetworkz.com/expert-tips-on-selecting-storage-solutions-for-a-perfect-kitchen-upgrade) can be invaluable.
Another misconception is that built-ins are inherently inflexible. In reality, choosing adjustable shelving or movable components can significantly enhance functionality and longevity. This nuance is rarely discussed in mainstream design tips but is crucial for adapting to changing needs. Additionally, many assume that high-end finishes automatically mean better durability, but neglecting proper sealing, protective coatings, and maintenance can lead to premature wear—as pointed out by renovation specialists in [this detailed article](https://artisancabinetworkz.com/why-textured-laminates-are-often-more-durable-than-real-wood).
Beware the Compatibility Trap with Modern Storage Systems
Advanced homeowners often dive into storage solutions like pull-out pantries, corner drawers, or integrated charging stations without considering compatibility with existing electrical, plumbing, or framing systems. The mistake here is to assume ‘plug-and-play’ will suffice, but custom installations often require modifications that aren’t immediately obvious. Misjudging these factors can lead to delays and additional expenses. For example, installing an under-cabinet coffee station without checking power source locations might seem trivial but ends up complicating the project. To avoid these pitfalls, review technical specifications thoroughly and consider consulting professionals early. Find practical tips in [this article on expert storage solutions](https://artisancabinetworkz.com/innovative-storage-solutions-for-modern-kitchen-remodels).
Finally, many overlook the importance of airflow and moisture control in enclosed cabinets and built-ins. Failing to incorporate proper ventilation can cause warping or mold growth, especially in humid environments. Advanced design involves integrating vent panels or utilizing moisture-resistant materials—details that are often missed until issues arise. A study published in the Journal of Building Science emphasizes the impact of moisture management on cabinet longevity, underscoring the importance of these subtle design choices.
Have you ever fallen into this trap? Let me know in the comments. Mastering these nuanced aspects ensures your kitchen remodel not only looks stunning but also stands the test of time, blending aesthetic appeal with functional excellence. For more insights, check out [this comprehensive guide](https://artisancabinetworkz.com/revolutionize-your-kitchen-remodel-using-built-ins-and-creative-storage) to elevate your project from ordinary to extraordinary.
Maintaining your custom kitchen elements over time requires the right tools and techniques to ensure durability and continued beauty. I rely heavily on high-quality spirit levels and laser levels to guarantee precise alignments during installation and adjustments, preventing misalignments that can lead to functional issues or aesthetic displeasure. My preferred laser level, the Bosch GLL 3-80, offers excellent accuracy and range, which helps me verify even the slightest discrepancies in cabinet heights or shelving levels, saving me countless headaches down the road.
Another essential tool I recommend is a cordless oscillating multi-tool. Brands like the Oscillating Multi-Tool allow for quick and precise sanding, trimming, and removing old caulk or adhesive, especially useful when refinishing or repairing built-ins. Its versatility means I can handle multiple tasks without switching equipment, streamlining the maintenance process and minimizing the risk of damaging delicate finishes.
For ongoing maintenance, I utilize microfiber cloths combined with gentle cleaning solutions—avoiding harsh abrasives that can damage finishes. Regular dusting and wiping with a damp cloth keep surfaces looking fresh, while also preventing buildup that could cause warping or mold. When I spot minor scratches or wear, I use a wood touch-up pen matching the cabinetry’s finish, which offers a quick fix without the need for costly refinishing.
To ensure long-term integrity of built-ins, I frequently check hinges, drawer slides, and pulls. Applying a small amount of silicone-based lubricant to moving parts helps maintain smooth operation and prevents squeaks or sticking. This simple step can extend the lifespan of hardware significantly, especially in kitchens with high usage.
How do I maintain my kitchen integrations over time?
For ongoing upkeep, scheduling annual inspections of critical components—like soft-close hinges and drawer slides—is vital. Pay attention to moisture levels; in humid environments, I use moisture-resistant sealants on wood joints and avoid moisture traps around sinks or cooktops. Additionally, I keep a toolkit on hand with spare screws, replacement hinges, and sealants, so minor repairs don’t turn into major renovations.
Predictably, as trends lean toward smart integrations, I see a future where maintenance tools will be integrated with IoT sensors that alert you about hardware wear or moisture issues before they become problematic. To start implementing this mindset, consider installing smart sensor kits as part of your cabinetry—these can notify you when door closures aren’t optimal or when humidity exceeds recommended levels, extending your built-ins’ lifespan.
For example, incorporating [smart moisture sensors](https://artisancabinetworkz.com/creating-seamless-kitchen-remasters-with-built-in-storage-solutions) can help catch leaks early—saving money and preserving your investment. I highly recommend trying out a few targeted maintenance tips like lubricating hinges or inspecting hardware annually; they can dramatically prolong your cabinetry’s beauty and utility.
Surprisingly, simple, routine inspections combined with specific tools make a huge difference in maintaining the structural integrity of your kitchen investments. Regular care ensures that your built-ins and custom cabinets continue to work seamlessly, remaining both functional and beautiful for years to come. To explore more in-depth strategies, visit this expert guide on selecting durable storage solutions.
The Hardest Lesson I Learned About Kitchen Remodels and Built-Ins
One insight that transformed my approach was realizing that every detail, from cabinet thickness to lighting placement, plays a pivotal role in the final look and functionality. Overlooking small aspects, like moisture barriers or alignment precision, can lead to costly fixes later. Embracing a culture of meticulous planning early on prevented many mishaps, emphasizing that patience and thorough measurements are the backbone of successful custom cabinetry projects.
3 Myths About Storage Solutions That Held Me Back
Believing that hidden compartments and high-end finishes automatically mean better performance was my first mistake. I learned that choosing adjustable, modular storage options and investing in quality materials tailored to my home’s climate greatly enhanced durability. Exploring resources like expert tips on storage solutions revealed how flexibility in design often surpasses static aesthetics, especially for busy households.
What Experts Won’t Tell You About Seamless Built-Ins
One overlooked aspect was understanding the nuances of wall irregularities and framing constraints. I discovered that custom scribing and adaptive framing techniques can turn imperfect walls into perfect backdrops for sleek built-ins. Consulting professional guides helped me adapt standard plans to real-world imperfections, ensuring that my cabinets fit snugly without gaps, creating a cohesive and high-end look that feels utterly tailored.
My Essential Toolkit for Kitchen and Cabinet Perfection
Precision levels like the Bosch GLL 3-80 laser level and versatile tools such as an oscillating multi-tool are indispensable. They not only ensure accurate measurements and smooth finishes but also save time during adjustments. High-quality touch-up pens and microfibers help maintain the pristine appearance over years. Using these tools consistently has made the process more enjoyable and results more professional.
Your Turn to Innovate in Your Kitchen Space
Transforming your kitchen with custom cabinetry and clever storage is an exciting journey rooted in curiosity and attention to detail. Don’t hesitate to experiment with layout and materials—your personalized oasis awaits. Remember, each small upgrade builds toward a space that reflects your style and meets your needs. Ready to take the first step? Share your vision or questions below, and let’s craft your dream kitchen together.