How to Use T-Bar Pulls Without Them Catching Your Pockets
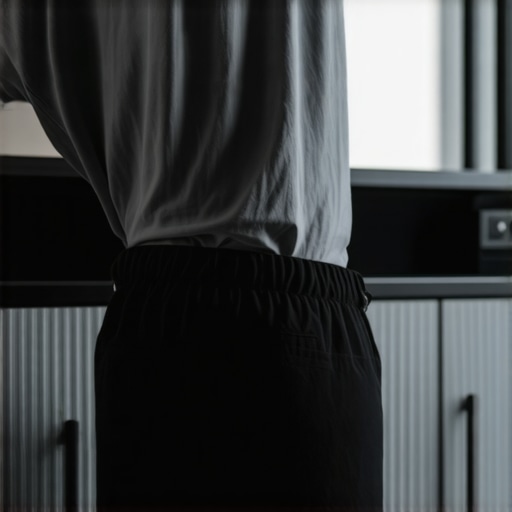
I was rushing through my kitchen with a fresh cup of steaming coffee, thinking about nothing more than my morning toast, when the hook happened. Literally. A sharp, unforgiving tug at my hip followed by the sickening sound of denim tearing. My favorite pair of jeans had been claimed by the sleek, modern T-bar pull on my utensil drawer. It is a classic kitchen remodel tragedy. We spend thousands on custom cabinets as a game-changer for our homes, only to have the hardware turn into a series of tiny, metallic traps. If you have ever been jolted backward because your pocket caught a cabinet handle, you know the specific brand of rage I am talking about. Today, I am going to show you exactly how to keep the look you love without sacrificing your wardrobe or your sanity.
Why Your Kitchen Hardware is Plotting Against Your Pants
When I first started helping neighbors with their kitchen upgrades, I made a massive rookie error. I recommended the longest, pointiest T-bar pulls available because they looked incredible in the catalog. I thought I was being a design genius. Fast forward two weeks, and I was helping that same neighbor patch their drywall because they had been jerked so hard by a drawer pull they hit the opposite wall. It is the hardware mistake that makes expensive cabinets look cheap and, frankly, dangerous. The reality is that T-bars have overhangs—those little ends that stick out past the screw posts—and they are perfectly sized to snag belt loops, pocket flaps, and even headphone cords. According to a study on residential ergonomics by the National Kitchen & Bath Association (NKBA), improper hardware clearance is one of the top five most overlooked functional flaws in DIY renovations. A kitchen should be a place where you glide from the fridge to the stove, not a place where you feel like you are walking through a thicket of brambles. When I renovated my own space, I was so focused on the look of the pulls that I ignored how they actually interacted with my body. I learned the hard way that design is not just how something looks; it is how it works when you are moving fast on a Tuesday morning.
Do T-bars actually belong in a busy kitchen?
You might be wondering if you should just scrap the idea entirely and go with something boring like a standard knob. I get it. The frustration is real, especially when you are trying to navigate modern kitchen remodels that prioritize sharp aesthetics. But you do not have to settle for mediocrity. We are going to look at the geometry of your kitchen and how a few simple installation tweaks or hardware choices can change everything. If you are really fed up, you might even consider why finger pull channels are replacing traditional handles in so many high-end designs lately. Have you ever had a close encounter with your cabinet hardware that left you more than just a little annoyed? Let me know in the comments, because I am convinced there is a secret support group for people who have lost their pants to their pantries. Setting the right height and choosing the correct tail length on your pulls is the difference between a functional workspace and an obstacle course. I promise that by the time we are done, you will know exactly how to audit your hardware for snag-potential before you ever pick up a drill.
Stop the Snag with Smarter Hardware Choices
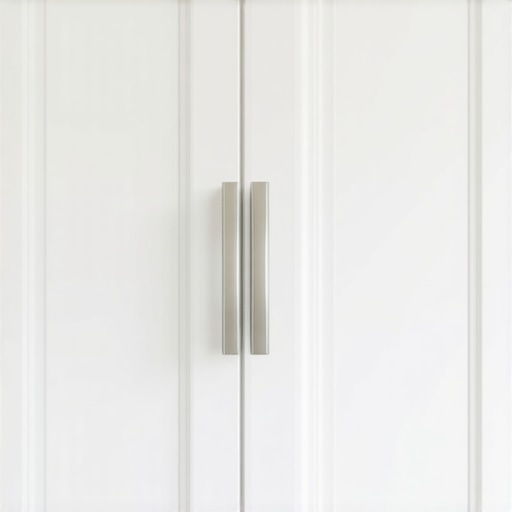
If you want to end the kitchen-pocket-snag-war, you have to look at the geometry of your hardware. Most T-bar pulls fail because they have ‘tails’—those extra bits of metal extending past the screw holes. These tails are basically hooks designed by the universe to catch loose clothing. The most direct fix is transitioning to ‘D’ or ‘C’ shaped pulls. These are closed loops where the handle returns flush to the cabinet surface, leaving no gap for a pocket or a belt loop to slide into. When you are looking for expert tips on selecting storage solutions for a perfect kitchen upgrade, always look for hardware that forms a continuous bridge rather than a pier. I once spent eight hours in a client’s kitchen replacing every single T-bar with a rounded ‘D’ pull because the homeowner had ruined three pairs of expensive yoga pants in a single week. We had just finished a high-end kitchen remodel and the look was flawless, but the functional reality was a nightmare. Every time she turned from the cutting board to the trash, a handle would snag. It was a humbling reminder that in a busy kitchen, ergonomics will always win over trends eventually.
Ditch the Overhang for a Closed-Loop Design
Unlike T-bars, ‘D’ pulls create a smooth bridge for your clothes to glide over. Think of it like a highway overpass versus a dead-end street with a giant spike at the end. One allows your fabric to slide over the surface, while the other is an intentional trap. This is especially important for custom cabinets located near high-movement areas like the sink or the stove. If you have children running around, these overhangs also sit at the perfect height for forehead bumps, making the closed-loop design a safety win as well as a wardrobe saver.
Apply the 5-Inch Rule for Proper Scale
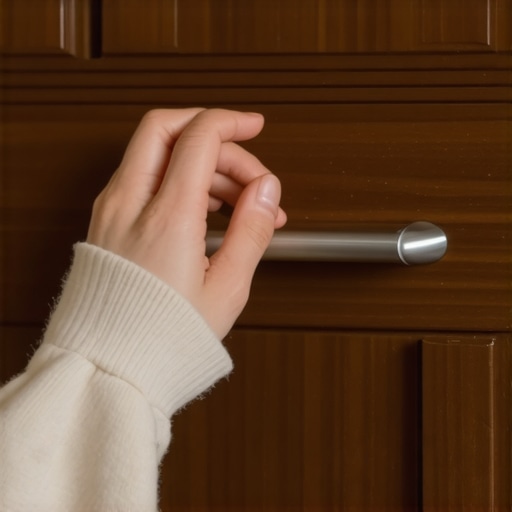
Size matters just as much as shape. If your pull is too small for a heavy drawer, you will find yourself gripping it awkwardly, which increases the chance of your hand slipping and your clothes catching on the edges. I always recommend following the 5-inch rule for choosing the right size cabinet pulls for large drawers. This ensures you have enough clearance for your fingers to fit comfortably without having to jam them in, which is a common hardware mistake that makes expensive cabinets look cheap and clunky. If you cannot fit three fingers comfortably into the pull, it is too small, and you are going to end up frustrated. 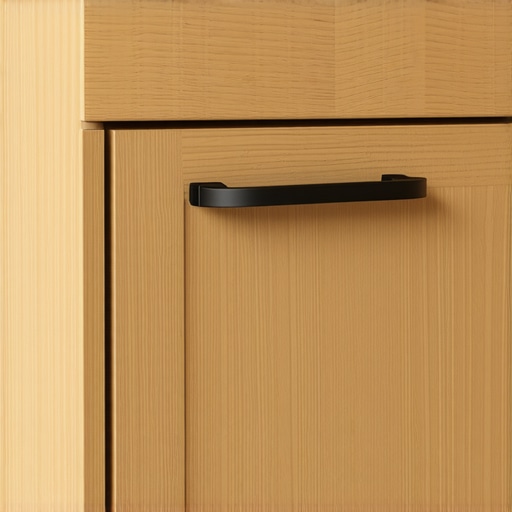
Switch to Built-in Finger Pulls for a Flush Finish
If you are really over the whole handle thing entirely, there is a better way. In many modern kitchen remodels, designers are moving toward integrated hardware. This is where the cabinet door itself is notched or channeled. It is easy to see why finger pull channels are replacing traditional handles in high-traffic zones. There is literally nothing to catch on. I once worked on a galley kitchen where the space between the island and the wall was so tight that T-bars would have been a death trap. We used recessed built-ins and storage hacks to keep everything flush. The result was a kitchen that felt two feet wider simply because nobody was afraid of getting snagged. Positioning is the final piece of the puzzle. For base cabinets, aim for the top corner of the door, but keep a consistent distance from the edge. For drawers, center the hardware vertically and horizontally unless you are using two pulls for a very wide drawer. Proper placement prevents you from leaning into the hardware and catching your clothing while you work.Most homeowners believe that ‘more space’ is the ultimate goal of a kitchen remodel, but as someone who has spent years in the sawdust, I’m here to tell you that volume is a lie. The biggest mistake you can make is requesting the deepest cabinets possible. Deep shelves are effectively a graveyard for dry goods. In my experience, a 24-inch deep pantry shelf is an organizational disaster unless it’s a pull-out. This is precisely why a pull-out pantry beats deep walk-in shelves for visibility every single time. If you can’t see the jar of honey, you’re going to buy a second one, and then a third.
Stop building deep shelves that hide your groceries
Beyond the depth trap, there is a fundamental misunderstanding of material science in the kitchen. Many ‘high-end’ showrooms will try to sell you on the density of furniture-grade particle board, claiming it resists warping. While that might be true in a climate-controlled showroom, your kitchen is a battlefield of steam, heat, and occasional leaks. I have seen the most beautiful custom cabinets swell like a sponge because the base was made of particle board. This is why I insist that why plywood box construction still wins over furniture board in wet areas is not just a preference—it is a longevity requirement. According to the Architectural Woodwork Institute (AWI), plywood offers superior fastener-holding power and structural integrity when exposed to moisture, making it the only choice for sink bases. 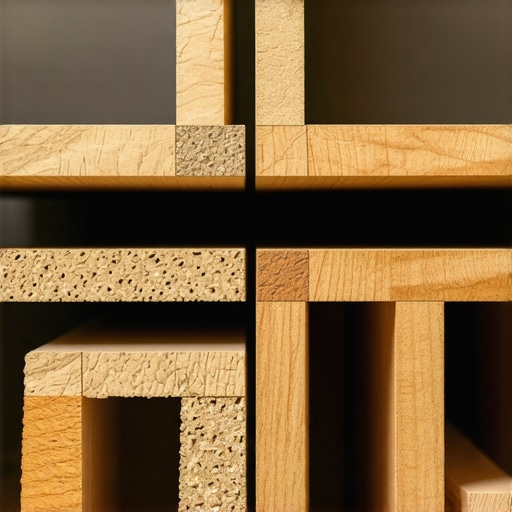
Can your cabinet layout survive a 10-year humidity cycle?
Another advanced nuance most people overlook is wood movement. If you’re going for a painted look, choosing the wrong species is an expensive ‘oops’ factor. Homeowners often ask for oak because it’s ‘classic,’ but why painted maple beats oak for a smooth cabinet finish becomes obvious once the paint dries. Oak’s open grain will telegraph through the paint, leaving it looking textured and cheap, whereas maple remains glass-smooth. Furthermore, many people make the butcher block mistake why you should never bolt it directly to cabinets. Wood expands and contracts seasonally; if you pin it down with rigid bolts, it will crack. You must use expansion fasteners to allow the wood to ‘breathe.’
The weight trap most DIYers fall into
When you are planning innovative storage solutions for modern kitchen remodels, you have to consider the weight of your lifestyle. I once visited a client whose gorgeous wide drawers were sagging after only six months. They had used standard slides for a 36-inch drawer filled with cast-iron pans. Always check the load rating of your hardware. If you are doing a heavy-duty storage overhaul, the cabinet screw mistake that causes heavy drawers to fail is usually using the wrong length or type of screw for the slide. Have you ever fallen into this trap or noticed your ‘deep’ storage becoming a black hole for spices? Let me know in the comments. We’re going to dive into the final touches that separate a ‘good’ kitchen from a truly bespoke masterpiece next.Once you have dodged the hardware traps and the deep-shelf graveyards, you are left with the most important part of the journey: making sure it stays perfect. I have seen 50,000-dollar renovations look like junk in three years because the owner did not know how to maintain the moving parts. If you want your space to last, you need to stop treating your cabinets like static furniture and start treating them like the high-performance machines they are.
How do I keep my custom cabinets looking new for decades?
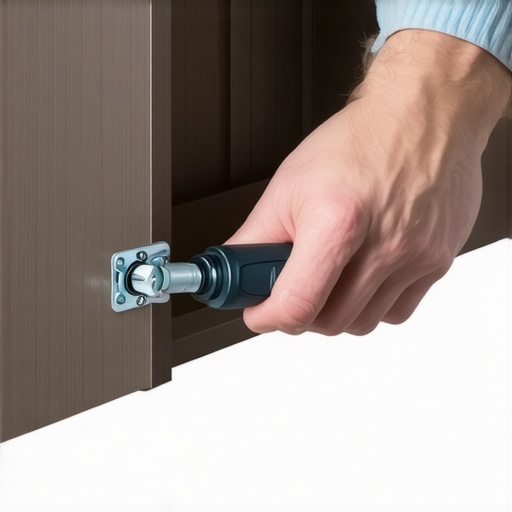
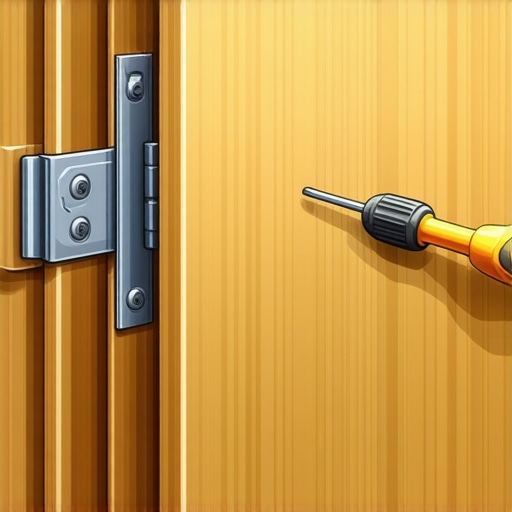
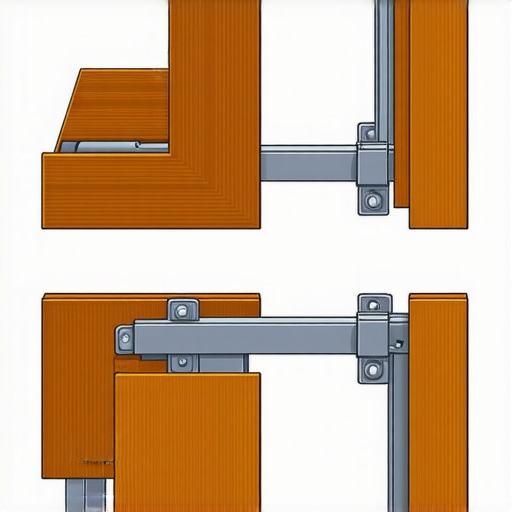
The secret is in the hinges and the slides. Every six months, I tell my clients to do a ‘sweep’ of their hardware. If you notice a door is hanging a fraction of an inch low, do not wait for it to scrape the frame. Learning how to adjust european hinges when your doors are crooked is a ten-minute skill that saves you from a thousand-dollar refinishing bill later. Most people ignore it until the paint is chipped, but by then, the damage is done. According to the technical manuals from Blum, the global leader in hinge technology, these components are designed for over 200,000 cycles, but only if they are aligned correctly to prevent lateral stress on the mounting plates. If you feel resistance, why your slow-close hinges are suddenly sluggish and how to clean them should be your first research topic. Dust and aerosolized cooking grease are the silent killers of soft-close pistons.
The tools I never step onto a job site without
To keep things running like a dream, you need more than just a standard screwdriver. I personally swear by a digital inclinometer for checking drawer level. If a drawer is off by even half a degree, the weight of your pots will eventually cause the real reason your cabinet drawer slides are grinding and eventually failing. For DIYers, I recommend grabbing a high-quality Kreg cabinet hardware jig. It takes the guesswork out of the ‘5-inch rule’ we talked about earlier and ensures that every pull is perfectly parallel. Precision in the beginning means less maintenance in the end. 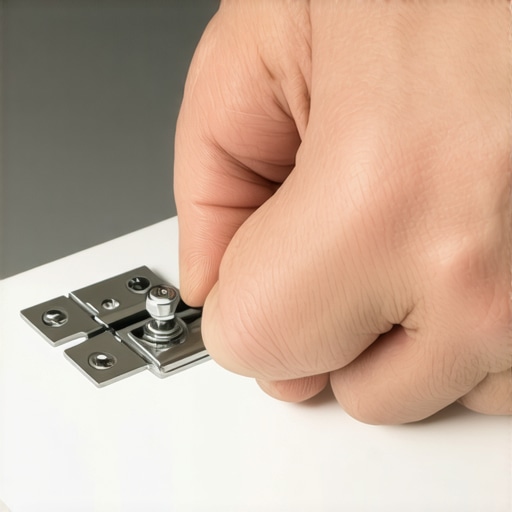
Keep your sliders gliding like they are on ice
Beyond the tools, you have to be honest about the ‘junk drawer’ phenomenon. Overloading a drawer is the fastest way to blow out a ball-bearing slide. When you are looking for expert tips on selecting storage solutions for a perfect kitchen upgrade, always factor in the dynamic load capacity. If you have already noticed a dip in performance, check why soft-close hinges fail and the simple tension adjustment that can often fix the problem without a full replacement. In the next few years, I predict we will see a massive shift toward ‘active’ hardware—sensors built into the hinges that alert your phone when a door is out of alignment or when a sink base detects moisture. We are moving toward the ‘Smart Kitchen 2.0’ where maintenance is proactive, not reactive. For now, take ten minutes this weekend to check your hinge tension; your future self (and your wallet) will thank you.
The Hardest Lesson I Learned About Hardware and Sanity
After years of fixing “finished” kitchens, I realized that the most expensive choice isn’t always the best one. Here is the insider truth: if you can hear your cabinets closing, something is already failing. I always point people toward the ultimate guide to custom cabinets for a stylish kitchen overhaul to ensure they aren’t skipping the silence of high-end dampening. Lighting is the second great equalizer; budget cabinets look bespoke when you use the under cabinet lighting trick for a high end kitchen look. Finally, remember that storage is a strategy, not just square footage. When you maximize space with innovative storage solutions for every room, you are actually buying back time and reducing the friction of daily life.
The Essential Resources I Trust for Every Project
To keep your workspace performing like a high-end machine, you need more than just a screwdriver. I rely on the Blum Technical Library for hinge specifications and always use a digital inclinometer to prevent drawer grinding. Before you sign any contract, ensure you know how to tell if your cabinet maker is using low grade plywood, as this is the single biggest factor in long-term durability. I also recommend keeping a small ‘kitchen first aid kit’ with a Kreg hardware jig for those inevitable seasonal adjustments.
Build a Kitchen That Finally Works With You
Building a kitchen that accommodates your life shouldn’t feel like an uphill battle against your own wardrobe or your pantry’s layout. By implementing these expert storage solutions and maintenance habits, you turn a simple utility room into a functional sanctuary. Your custom cabinets are more than just furniture; they are the backdrop to your life, so treat them with the precision they deserve. Have you ever had to redo a kitchen project because of a tiny detail like a snagging handle or a sagging shelf? Let me know in the comments below!