The Real Reason Your White Painted Cabinets are Turning Yellow
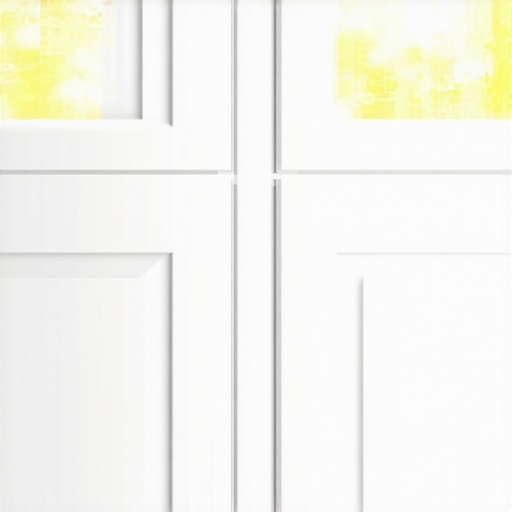
I’ll never forget the morning I walked into my kitchen, sun streaming through the window, and realized my expensive white cabinets looked like they’d spent the last decade in a smoky bowling alley. It was heartbreaking. I’d spent thousands on a custom cabinets upgrade only to have them turn a sickly shade of buttered popcorn within three years. I tried scrubbing them with every degreaser under the sun, but the yellowing wasn’t on the surface—it was coming from inside the finish itself. If you’re seeing that weird amber tint creep across your shaker doors, you aren’t crazy, and you’re definitely not alone.
The Real Culprits Behind the Yellowing Effect
Most people assume it’s just grease or maybe a lack of cleaning, but the science is a bit more frustrating than that. One of the biggest mistakes I made early in my career was assuming all ‘white’ paint was created equal. I once used a heavy oil-based enamel on a set of built-ins because I wanted that rock-hard durability. Within eighteen months, they looked like a 1970s basement. The truth is that older oil-based paints and even some modern low-quality lacquers contain resins that naturally amber over time, especially when they aren’t exposed to light. Ironically, keeping your cabinets in the dark can actually speed up the yellowing of certain oil-based finishes. Another major factor is UV exposure. According to the Wood Components Manufacturers Association (WCMA), ultraviolet light can break down the chemical bonds in clear coats and paints, causing a visible color shift. If one side of your kitchen remodel looks bright and the other looks aged, your windows are likely the delivery system for those yellowing rays. Before you run out and buy more paint, you need to know the proper way to prep Indianapolis kitchen cabinets before the first coat of paint to ensure you aren’t just sealing in the problem.
Will a Fresh Coat of Paint Actually Save My Cabinets?
I get this question from my neighbors all the time: ‘Can I just slap a new layer of white over the yellow?’ My honest answer? Maybe, but probably not without the right prep. If you don’t address the underlying resin or the why your cabinet paint bubbles near the stove issues caused by heat and grease, that yellowing will bleed right through your new ‘Snowbound’ or ‘White Dove’ finish in no time. It’s about more than just color; it’s about the chemistry of the custom cabinets ideas that transform your homes style and choosing the right topcoat. Have you noticed your cabinets changing color more near the windows or the stove? Let me know in the comments, because the location usually tells us exactly which chemical reaction is winning the war in your kitchen.
Stop the Ambering Before It Starts
To fix the yellowing, you have to treat your cabinets like a medical patient—diagnose the chemistry before applying the cure. If your custom cabinets are turning yellow from the inside out, the culprit is almost certainly the topcoat. I remember working on a high-end kitchen remodel where the homeowner insisted on a specific oil-modified finish. I warned them, but we went ahead. Within two years, I was back there stripping the doors because the ‘eggshell’ white had turned into a ‘harvest gold.’ That’s when I realized that for a white finish to stay crisp, you must use non-yellowing acrylic or waterborne coatings.
Seal the Problem with Shellac
If you’re repainting over existing yellowed surfaces, a standard latex primer is a waste of time. The resins that caused the yellowing will simply migrate through the new paint. This is why Novi painters always use a shellac primer for dark wood cabinets and yellowed finishes—it acts as a physical shield. Think of shellac as a microscopic sheet of glass; nothing gets through it. During that harvest gold disaster, I spent three days sanding back to the base and applying two thin coats of white-pigmented shellac. It’s thin, it smells like a chemistry lab, but it’s the only thing that guarantees your custom cabinets won’t bleed through in six months.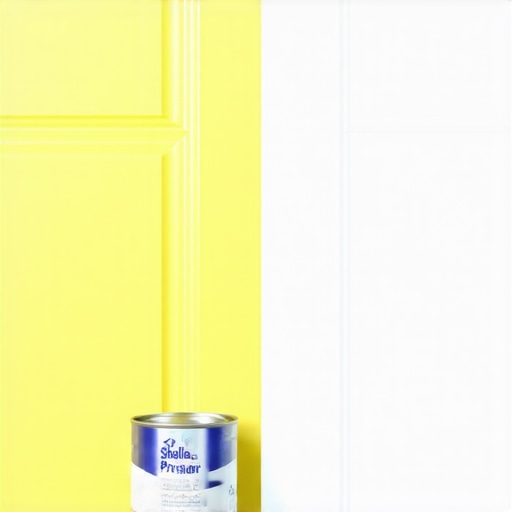
Pick the Right Chemical Bond
When selecting your final finish, you need to understand the difference between pre-catalyzed and post-catalyzed cabinet lacquer. For white finishes, post-catalyzed conversion varnishes are often preferred by pros because they offer a harder shell and higher UV resistance. However, if you are a DIYer, high-quality waterborne alkyds are the way to go. They behave like oil paint—leveling out beautifully—but they don’t have those nasty resins that amber over time. When you’re choosing materials for built-ins or islands, always ask for the ‘non-yellowing’ technical data sheet. When I was first starting out, I tried to skip the shellac step on a set of pantry built-ins. I thought a high-quality water-based primer would be enough. I was wrong. The knots in the wood and the old ambered finish started peeking through like a bad bruise within a week. I had to sand the whole thing down—which is twice the work of doing it right the first time. Now, I never touch a white cabinet project without a stack of high-grit sandpaper and a fresh gallon of white shellac.
Control the Kitchen Environment
Heat is a silent accelerator of chemical aging. If your yellowing is concentrated around the range, it’s often a combination of grease buildup and heat-induced oxidation of the clear coat. This is another reason why your kitchen workflow needs a dedicated baking zone away from high-heat burners; it keeps your delicate white finishes away from the thermal stress of the oven. Also, consider your storage solutions. Keeping high-UV items or heat-generating appliances inside closed custom cabinets helps, but if the room gets direct afternoon sun, you might need UV-filtering window film. It’s a lot cheaper than a $15,000 repaint.
Deep Shelves are Where Good Groceries Go to Die
Most homeowners assume that a massive walk-in pantry is the ultimate goal of a kitchen remodel. In my experience, that is a complete myth. Deep, static shelves are actually black holes for your groceries; if you cannot see that jar of pesto, you will buy another one, and the original will rot in the dark. I always tell my clients that why a pull-out pantry beats deep walk-in shelves for visibility is all about the mechanics of the human eye. We are far more likely to use items when we can see them from a top-down or side-profile view rather than digging through three layers of cans. When planning smart storage solutions for small kitchens in 2025, prioritize full-extension hardware over raw square footage every single time. A study by the National Kitchen & Bath Association (NKBA) highlights that ergonomic access—not just cabinet volume—is the primary driver of long-term kitchen satisfaction. 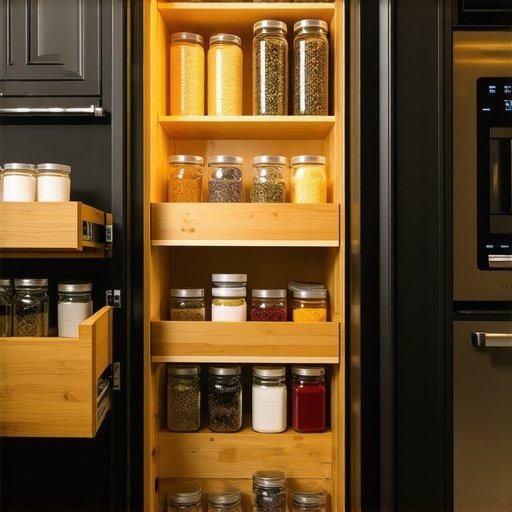
Why is Plywood Construction Still King for Wet Areas?
I often hear the argument that modern melamine or particle board is ‘just as good’ as plywood because it is flatter and cheaper. While that might be true for a dry bedroom closet, it is a dangerous gamble in the kitchen. This is exactly why plywood box construction still wins over furniture board in wet areas like the sink base or near the dishwasher. If a pipe leaks, particle board acts like a sponge, expanding and crumbling within hours. Plywood can take a hit and dry out without losing its structural integrity. Furthermore, I’ve found that why pre-finished maple interior is better than melamine comes down to the ‘feel’ of the home; a real wood interior reflects light better and doesn’t have that sterile, plastic hospital vibe. Have you ever had a cabinet swell up after a minor spill? Let me know in the comments, because that is the ‘oops’ factor most big-box stores won’t tell you about.
Stop Putting the Trash Next to Your Range
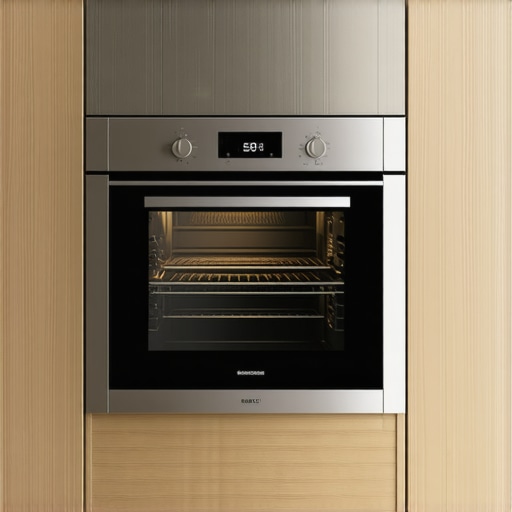
One of the most common layout traps I see involves placing the waste pull-out directly next to the oven. It seems convenient, right? You prep on the counter and sweep the scraps right into the bin. However, this is a major functional error. Heat transfer from the oven can accelerate the decomposition of organic waste, leading to a localized ‘swamp smell’ that no amount of cleaning can fix. This is a primary reason why your garbage pull-out should never be next to the oven. Beyond the odor, the constant thermal expansion and contraction can cause the slides to bind over time. When you invest in custom cabinets as a game-changer in your kitchen remodel journey, you are paying for a layout that works with your biology, not against it. Real expertise isn’t just about picking a pretty paint color—it’s about knowing where the heat, moisture, and light will be in five years. Have you ever fallen into this trap? I’d love to hear your kitchen horror stories below.Even after the sawdust settles and the check is signed, a kitchen is a living machine. One of the biggest mistakes I see homeowners make is assuming that because they paid for high-end custom cabinets, they are maintenance-free. They aren’t. I personally keep a dedicated toolkit in my pantry specifically for cabinet tuning. If you don’t have a cabinet hardware jig, you’re playing a dangerous game with your drill. Using the one tool you need for perfectly aligned cabinet knobs every time ensures that you don’t end up with slightly lopsided pulls that will drive you crazy every time the light hits them. Blum, a global leader in cabinet hardware, specifies in their technical documentation that their hinges are tested for 200,000 opening and closing cycles, but that performance relies entirely on proper alignment and the absence of abrasive dust. 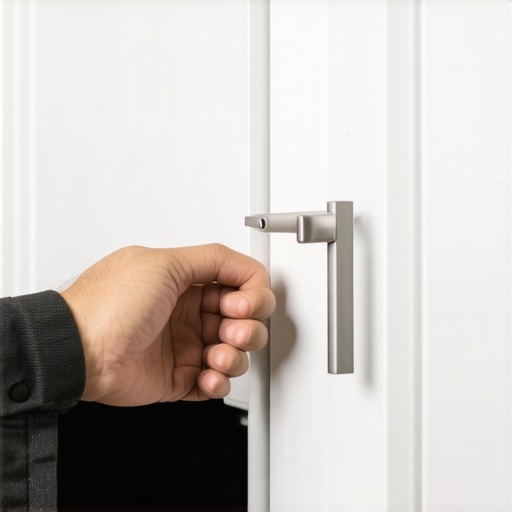
How do I maintain my custom cabinets over the long haul?
Most people wait until a door is sagging or a drawer is sticking to do anything. I recommend a hinge hike every six months. Grab a screwdriver and check your reveals. Learning how to adjust European hinges for a perfectly level door reveal is a skill that takes five minutes to learn but saves you from permanent wood damage caused by doors rubbing against the frame. If you hear a noise, don’t ignore it. Understanding why your soft-close slides grind and the quick lubrication fix is usually a matter of using a little silicone spray or simply clearing out a stray breadcrumb that found its way into the ball bearings. When I build these units, I never rely on standard drywall screws. This is why your base cabinets should be secured with 3-inch rugged screws. They have a higher shear strength, meaning your heavy granite counters won’t eventually pull the boxes off the wall. It’s these small, invisible choices found in expert tips on selecting storage solutions for a perfect kitchen upgrade that separate a five-year kitchen from a thirty-year kitchen. Looking ahead to 2026, I expect we will see built-in sensors integrated into the hardware itself. Imagine a cabinet that sends a notification to your phone when a hinge is out of alignment or when moisture levels rise under the sink. We are moving toward smart maintenance where the furniture tells us what it needs before it breaks. Go to your kitchen right now and check the drawer under your most-used prep area. If it’s making a grinding sound, grab a vacuum and clear those tracks before you wear out the soft-close mechanism for good.
What a Decade of Sawdust and Paint Spills Taught Me
After years of installing custom cabinets expert guide for 2025 suggests, I’ve realized that the most expensive materials don’t always equal the best result. First, never underestimate the power of your kitchen’s lighting. I’ve seen beautiful white finishes look green because of a poor choice in LED bulbs. Second, your kitchen is a high-traffic zone; if you treat it like a museum, you’ll be miserable. Design for the lifestyle you actually have, not the one you see on social media. Third, remember that wood is a living material. This is exactly why solid wood door panels still need room to breathe in summer humidity. If you trap them with glue or tight tolerances, they will crack. Finally, a small investment in a high-quality primer is worth more than five coats of premium paint if the prep isn’t right.
My Go-To Kit for Maintaining a Professional Finish
I don’t just build these units; I live with them. To keep your kitchen looking like day one, I recommend keeping a few things on hand. The Blum Technical Library is my bible for any hardware issues; it provides the exact specs you need to prevent the hardware mistake that makes expensive cabinets look cheap. For cleaning, skip the harsh chemicals and stick to a slightly damp microfiber cloth—it’s the only way to avoid micro-scratches on a lacquer finish. I also highly recommend picking up a cabinet hardware jig if you plan on doing any DIY adjustments. It’s the simplest way to ensure every pull is perfectly centered without the guesswork.
Building a Kitchen That Outlasts the Trends
At the end of the day, your kitchen should be a place of joy, not a source of maintenance-induced stress. Whether you are fixing a yellowing finish or planning a full-scale custom cabinets installation, the goal is always longevity. Quality isn’t just about what you see on the surface; it’s the structural integrity of the boxes and the precision of the layout. If you focus on the fundamentals—good prep, the right hardware, and a layout that breathes—you’ll have a space that serves your family for decades. If you’re feeling overwhelmed by the technical details, don’t hesitate to reach out to us for a professional perspective on your project. Have you ever noticed your white cabinets starting to turn yellow in specific spots, or have you managed to keep them bright? Let me know your experience in the comments below!