How to Adjust European Hinges for a Perfectly Level Door Reveal
I stood there with my morning coffee, the sun streaming through the kitchen window, staring at the pantry doors I’d spent three weekends building. From a distance, they looked fantastic. But as the light hit the seam, I realized the shadow between the doors wasn’t a straight line—it was a jagged, wandering mess. It looked like my kitchen was literally winking at me. It is amazing how a tiny, uneven gap can make even the most expensive custom cabinets look like a clearance aisle mistake. I remember my first ‘pro’ install years ago where I over-tightened the depth screw so hard the hinge plate snapped right off the frame. I was mortified, but it taught me that these hinges are all about finesse, not force. Today, I am going to show you exactly how to master the three-way adjustment so your doors sit perfectly level and your kitchen looks like a million bucks. Have you ever spent hours trying to get one door straight, only to have the one next to it suddenly look crooked? Drop a comment and tell me I am not alone in that frustration!
Your Kitchen Shouldn’t Look Like a Funhouse Mirror
When your doors are out of alignment, it’s not just an aesthetic nightmare; it’s a functional one. A door that hangs too low will eventually scrape the bottom of the cabinet box, ruining that expensive finish you worked so hard on. When we talk about a ‘reveal,’ we are talking about that consistent gap around the perimeter of the door. If that gap is inconsistent, the whole room feels ‘off.’ I’ve seen beautiful modern kitchen remodels ruined simply because the installer didn’t take the ten minutes needed to dial in the hinges. According to the experts at Fine Woodworking, even a slight misalignment in cabinet doors can lead to premature wear on the hinge mechanisms because the weight of the door isn’t distributed evenly across the pivot points. This is especially true if you are dealing with cabinet doors that hit each other in the middle, which is usually a sign that your lateral adjustment is way out of whack.
Is This Level of Precision Actually Necessary?
You might be thinking, ‘It’s just a cabinet, who cares about two millimeters?’ But trust me, your eyes care. Your brain picks up on horizontal and vertical lines instantly. This is the hardware mistake that makes expensive cabinets look cheap more often than anything else. When you ignore these small tweaks, you end up with doors that bounce back when you try to close them or soft-close hinges that fail because they are fighting against a twisted mounting plate. If you want that high-end, seamless look, you have to embrace the screwdriver. Let’s look at the three specific screws that control your door’s destiny and how to use them without losing your mind.
The Three Screws That Rule Your Kitchen Aesthetic
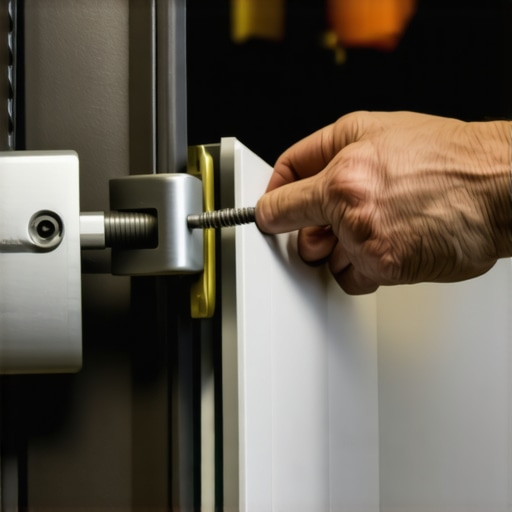
To get those modern kitchen remodels looking sharp, you need to understand that most European-style hinges are mechanical puzzles. There are usually three screws: one for side-to-side (lateral), one for up-and-down (vertical), and one for in-and-out (depth). If you treat these like a standard wood screw and just crank them down, you will strip the threads and end up needing a whole new hinge. Think of these adjustments as tuning a guitar. You want small, half-turn increments until the door sits in place perfectly. I remember a job in a century-old house where the walls were so bowed that every door looked like it was trying to escape. I spent four hours chasing my tail until I realized the cabinet box itself was twisted because of the need for adjustable feet on uneven concrete. Once the base was level, the hinges finally started behaving.
Stop Your Doors From Hitting Each Other
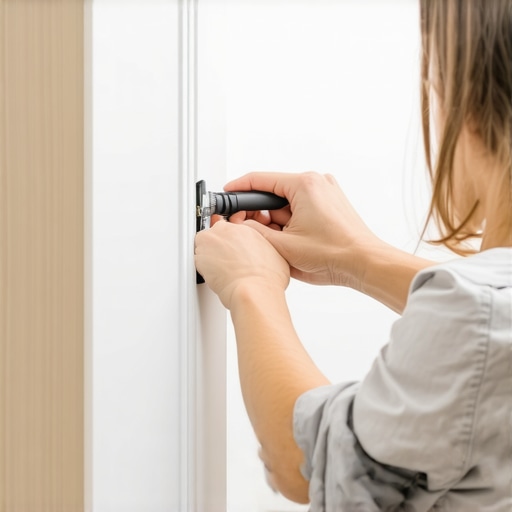
The front-most screw on the hinge arm is your lateral adjustment. This is the one you turn when you need to fix cabinet doors that hit each other in the middle. Turning it clockwise usually moves the door toward the hinge side of the cabinet, increasing the gap between a pair of doors. Turning it counter-clockwise pushes it toward the center. The goal is a perfectly uniform vertical line between the doors. If you have inset cabinet doors, this step is even more critical because the gap is framed by the cabinet itself. One tiny turn can be the difference between a high-end look and a door that sticks every time it rains.
Fix That Annoying Vertical Sag
If your door looks like it is drooping, you need to look at the mounting plate screws—the ones that hold the hinge to the cabinet box. Some hinges have a dedicated vertical screw, while others require you to slightly loosen the two screws holding the plate and physically slide the door up or down. I like to use a small block of wood or a stack of playing cards as a shim under the door to hold the height while I tighten the screws back down. This prevents the door from slipping the second you let go. This is especially vital when you are integrating built-ins and creative storage, where multiple doors need to align across a long horizontal run.
Stop the Door From Bouncing or Rattling
The back-most screw controls the depth—how close the door sits to the cabinet face. If the top of your door is touching the frame but the bottom has a massive gap, your depth is off. This is often why cabinet doors slam despite soft-close hinges; the door is physically bound against the frame and cannot complete its slow-close cycle. Adjust this screw so there is a consistent 1/16th inch gap between the door back and the cabinet face. It ensures the soft-close mechanism has the clearance it needs to engage smoothly without any grinding or friction.But here is the thing: you can spend all day with a laser level and a Phillips head, but if the bones of your project are wrong, you are fighting a losing battle. A common myth in modern kitchen remodels is that ‘solid wood’ is the only mark of quality. I used to believe that until I saw a set of solid oak shelves sag like a wet noodle under a heavy dish set. Now, I advocate for a more nuanced approach. In my experience, choosing plywood shelves over solid wood is almost always better for long spans because they don’t have the same internal stresses that cause natural timber to bow. If you are investing in custom cabinets, don’t get blinded by the label—look at the engineering behind the build.
Why Do My Perfectly Aligned Doors Move Every Six Months?
The answer isn’t a loose screw; it’s physics. Wood is a hygroscopic material, meaning it’s essentially a giant sponge. According to the USDA Forest Products Laboratory’s ‘Wood Handbook,’ wood can expand or contract significantly based on the relative humidity of your home. This is why solid wood door panels still need room to breathe in summer. If you or your installer glued those panels tight into the frames to stop them from rattling, you’ve created a ‘trap.’ When the wood expands, it has nowhere to go but out, which twists the entire door frame and throws your hinges out of whack. I once had to replace six doors in a high-end project because the homeowner had caulked the panel gaps shut to make it easier to clean. It was a costly mistake that could have been avoided by understanding wood movement. Have you ever fallen into this trap of over-fixing things only to have it backfire? Let me know in the comments!
Don’t Ignore the Foundation of Your Storage
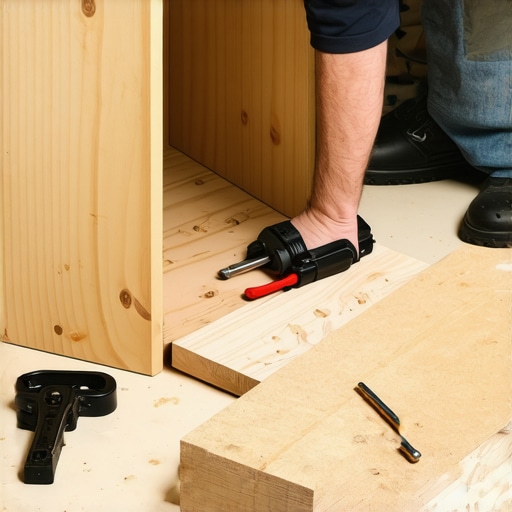
Another ‘oops’ factor I see constantly involves built-ins and creative storage. People focus on the doors but ignore the box construction. In my professional opinion, plywood box construction is non-negotiable, especially in wet areas. If your cabinet base is even slightly unstable, your doors will never stay aligned. I’ve seen small kitchen remodels fail within a year because the installer used cheap furniture board that swelled the first time the dishwasher steamed. If you’re planning an expert kitchen upgrade, start from the floor up. Ensure your base is level and your materials are suited for the environment, or you’ll be chasing that ‘perfect gap’ with a screwdriver for the rest of your life.But even with a rock-solid foundation, the longevity of your kitchen comes down to the gear you use and the maintenance you perform. I’ve seen homeowners drop five figures on the ultimate guide to custom cabinets for a stylish kitchen overhaul only to let the hardware fail because of a little dust and neglect. If you’re serious about doing this yourself, you need a dedicated hardware jig. I personally use a pro-grade aluminum template because plastic ones flex under pressure, and a tiny 1/32nd-inch error at the hinge becomes a glaring 1/8th-inch gap at the handle. It truly is the one tool you need for perfectly aligned cabinet knobs every time. Without it, you’re just guessing with a tape measure, and in my experience, the tape measure always finds a way to lie to you when you’re tired.
The Jig I Never Go To A Job Without
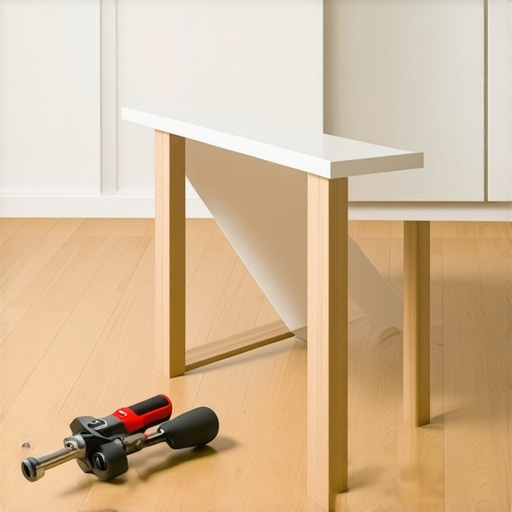
Using a physical template isn’t ‘cheating’; it’s engineering consistency. When you are installing dozens of pulls in modern kitchen remodels, muscle memory fails, but a locked-in metal guide does not. I remember my first big kitchen where I tried to ‘eye-ball’ the center point on a shaker door. By the time I reached the tenth cabinet, I was nearly half an inch off. Now, I clamp the jig, drill, and move on with zero anxiety.
How do I keep my custom storage over time?
Maintenance isn’t about deep cleaning with harsh chemicals; it’s about preventative ‘tuning.’ Once a year, I recommend going through your kitchen with a Pozi-drive screwdriver—which is specifically designed for European hinges to prevent stripping—and checking the tension on every mounting plate. According to technical documentation from Blum, the industry leader in hardware, most high-end hinges are rated for 200,000 open-and-close cycles, but that rating assumes they stay clean and properly aligned. If you start hearing a ‘click’ or feel resistance, that’s the hinge crying for help.
Stop Your Soft-Close Slides From Grinding Like A Gravel Pit
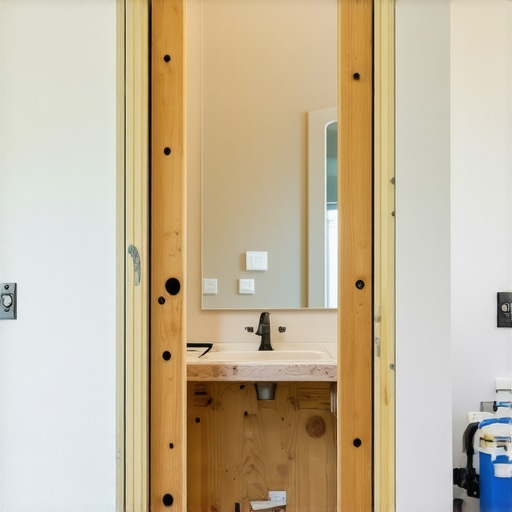
If you notice the real reason your cabinet drawer slides are grinding is a build-up of kitchen grease and household dust, don’t just spray a penetrating oil in there. That’s a rookie mistake that actually attracts more debris. Instead, use a dry PTFE lubricant that creates a slick barrier without the sticky residue. This simple step is how to fix soft-close slides that are failing prematurely and keeps the action feeling like butter. I also advocate for the ‘plumber’s insurance’ move: installing waterproof liners for custom sink bases. It isn’t just for major pipe bursts; it protects your high-end plywood from the slow, silent damage caused by damp sponges and leaky detergent bottles.
The Future of Modular Kitchen Systems
Looking ahead, I predict a massive shift toward ‘smart hardware’ in innovative storage solutions for modern kitchen remodels. We are already seeing the integration of modular inserts that can be swapped out as your family’s needs change. Imagine a cabinet that transitions from a baby-bottle station to a wine-connoisseur’s rack with just a few clicks. For now, the best thing you can do is stay proactive. Go grab your screwdriver right now and check the top hinge of your most-used pantry door. If it’s loose, give it that quarter-turn I mentioned earlier. It takes five seconds but saves you a $200 service call later. If you’re feeling overwhelmed by the technical side of creating seamless kitchen remasters, don’t hesitate to contact us for a professional walkthrough.
Hard-Won Truths from a Decade of Cabinet Installs
Over the years, I’ve learned that the difference between a frustrating weekend project and a stunning success often comes down to these realizations:
- Check your work in different lighting: Shadows are far more honest than a tape measure. A gap that looks fine at noon might look like a canyon under under-cabinet LEDs at night.
- Don’t fear the screw: Most people assume a door is ‘broken’ when it’s actually just shifted. You have far more control over the aesthetics of your kitchen than you think.
- Gravity never takes a day off: If you are constantly adjusting the same hinge, the problem isn’t the hinge—it’s likely the cabinet box settled because of poor support. Check those base shims!
- Respect the environmental cycle: I’ve seen homeowners panic when a door sticks in July, not realizing solid wood door panels still need room to breathe in summer. Patience is often the best tool in your box.
The Gear That Separates Pros from Hobbyists
If you want to move beyond basic DIY and achieve that showroom-quality look, these are the items I keep in my truck at all times:
- A Dedicated Pozi-Drive Screwdriver: European hinges aren’t standard Phillips. Using the right bit prevents stripping and keeps your hardware looking pristine.
- Plywood Over Particle Board: When planning your build, remember that plywood box construction still wins over furniture board in wet areas because it holds screws better over time.
- Waterproof Sink Liners: I always recommend waterproof liners for custom sink bases to protect your investment from the inevitable slow leak.
- Blum Technical Guides: Even the pros look up the specs. Keeping the official hardware manuals on hand ensures you never over-torque a delicate mechanism.
Take the First Step Toward Your Dream Kitchen
Setting those final gaps is the bridge between a construction site and a home. It takes a little patience and a steady hand, but seeing those lines snap into perfect alignment is incredibly rewarding. Whether you are tackling a full custom cabinets project or just giving your current space a much-needed tune-up, remember that you have the power to create a high-end feel without the high-end price tag. Your attention to detail is what will turn creating seamless kitchen remasters from a dream into a daily reality. #IMAGE_PLACEHOLDER_E#
Have you ever spent way too long trying to fix a single crooked door, or did you find a ‘cheat’ that worked for you? Let me know in the comments below!