The Difference Between Pre-Catalyzed and Post-Catalyzed Cabinet Lacquer
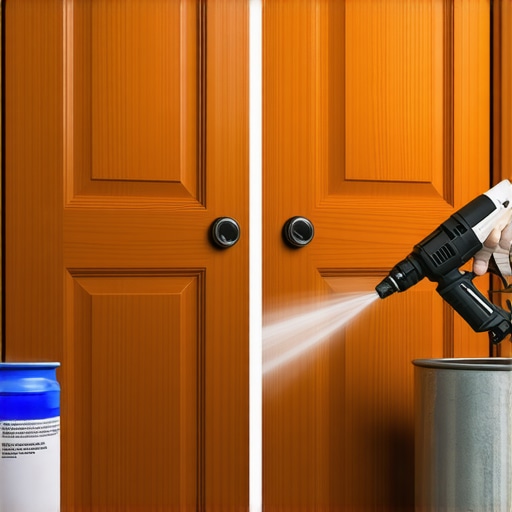
I stood in my client’s kitchen, staring at the sticky, amber-colored mess around the dishwasher handle, and felt that familiar pit in my stomach. I’d spent weeks on those custom cabinets, but I’d made the classic amateur mistake: I chose convenience over chemistry. I used a pre-catalyzed lacquer for a high-moisture zone because I didn’t want to deal with the “pot life” of a true post-cat finish. Now, six months later, the finish was literally melting away under the heat and humidity of a standard kitchen cycle. It’s a heartbreaking realization when you find out your hard work is being undone by the very coating meant to protect it. I remember trying to wipe it clean, only to have the paper towel stick to the wood like tape. That was the day I realized that finish isn’t just about looks; it’s about engineering. If you are investing in custom cabinets for a stylish kitchen overhaul, you deserve a finish that doesn’t surrender to a spilled glass of wine or a steamy dishwasher. [image_placeholder_1]
Why Your Finish Choice Dictates the Life of Your Kitchen
In the world of professional cabinetry, we talk a lot about wood species and dovetail joints, but the finish is the actual frontline soldier. When you are planning a modern kitchen remodel, the debate between pre-catalyzed (pre-cat) and post-catalyzed (post-cat) lacquer isn’t just shop talk—it’s the difference between a kitchen that looks great for three years and one that looks great for twenty. Early in my career, I assumed “lacquer was lacquer.” I quickly learned that while painted maple beats oak for a smooth finish, that smoothness won’t last if the chemical bonds aren’t strong enough to resist household cleaners. According to the Kitchen Cabinet Manufacturers Association (KCMA), finishes must pass rigorous tests involving vinegar, lemon juice, and even fruit juices for 24 hours without staining or softening. A cheap or improperly chosen lacquer will fail those tests every single time, leading to that gummy texture we all dread. We want surfaces that can take a beating from kids, pets, and the occasional cooking disaster without flaking off or discoloring.
Is Post-Catalyzed Lacquer Really Worth the Trouble?
I get this question all the time: “Neighbor, is it really worth the extra cost and the specialized equipment?” If you’ve ever noticed why your cabinet paint bubbles near the stove, you already know the answer. Post-catalyzed lacquers are a two-part system that you mix right before spraying. This creates a much harder, more durable cross-linked film than its “one-part” pre-cat cousins. Think of it like concrete versus gravel; one is just sitting there, while the other has a chemical bond holding everything together. Pre-cat is great for things like built-ins that elevate your living room, where people aren’t splashing boiling pasta water or using heavy degreasers. But for a kitchen? You need the heavy hitters. Have you ever noticed your cabinet finish getting “gummy” near the handles or the stove? Let me know in the comments, because that’s usually the first sign of a finish that wasn’t up to the task. Today, we’re going to break down exactly when to use each one so you don’t end up with a sticky mess on your hands.
Master the Mix for a Lifetime Finish
Getting the chemistry right is the most critical part of any high-end project. When you are looking at custom cabinets as a game-changer in your kitchen remodel journey, you aren’t just buying wood; you are buying a chemical shield. Post-catalyzed lacquer requires a specific ratio of catalyst to base, usually around 3% to 5%. If you eye-ball this, you’re asking for a disaster. I remember a humid Tuesday in my shop when I was rushing to finish a set of innovative storage solutions for modern kitchen remodels. I skipped the 15-minute ‘sweat-in’ period after mixing the catalyst. I thought it looked fine in the bucket, but once it hit the wood, it developed a hazy, white blush that looked like a thin layer of frost. I had to sand the entire set back to bare wood. That one mistake cost me two days and three hundred dollars in wasted material. Now, I use a digital scale for every single batch to ensure the cross-linking happens exactly as the manufacturer intended.
The Chemistry of the Perfect Pot Life
Unlike standard paints, post-cat lacquer has a ‘pot life’—a window of time, usually 8 to 24 hours, where the chemical reaction is active. After that, the mixture is junk. You might think it looks liquid, but the molecular bonds have already started to form. If you spray ‘dead’ lacquer, the finish will feel soft and will never reach its full hardness. This is why professionals often prefer it over pre-cat for high-traffic zones. While Novi painters always use a shellac primer for dark wood cabinets to block tannins, the topcoat must be the heavy lifter. You have to plan your spray schedule around your mix times to avoid wasting expensive product. If you’re tackling a stylish kitchen overhaul, ensure your finisher is mixing fresh batches daily rather than using leftover material from the day before.
Avoid the Cloudy Disaster of High Humidity
Environmental control is the silent killer of great finishes. Lacquer is incredibly sensitive to moisture in the air. If the humidity is over 60%, the solvent can trap water molecules under the surface as it evaporates. This results in ‘blushing’—that milky white appearance I mentioned earlier. To prevent this, we use ‘retarder’ thinners that slow down the drying process, giving the moisture time to escape before the film locks over. This is especially vital when dealing with the 30-inch clearance rule for ovens and your upper cabinets, where heat and steam are constant threats. A slow-dried, properly cured finish creates a glass-like barrier that won’t peel when the pasta pot starts boiling directly underneath it.
Precision Spraying Beats the Brush Every Time
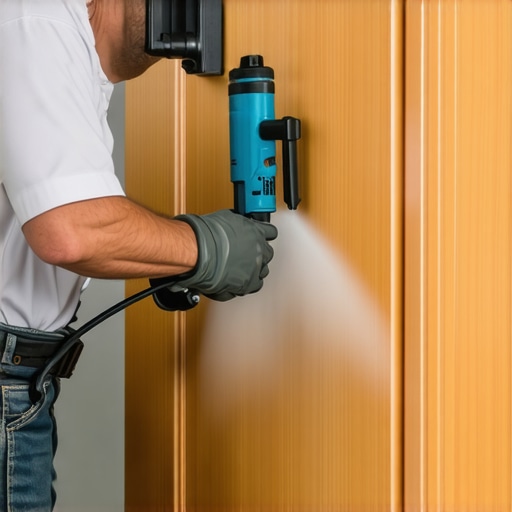
You simply cannot achieve a factory-grade finish with a brush or a roller when using catalyzed products. These coatings are designed to flow out and level themselves through high-volume, low-pressure (HVLP) spray systems. A brush leaves micro-grooves that act like valleys for grease and grime to settle in. When we build built-ins and storage hacks for a sleek functional kitchen, the goal is a seamless surface. By atomizing the lacquer into a fine mist, we create a uniform thickness across every door and drawer front. This consistency is what allows the finish to expand and contract with the wood throughout the seasons without cracking at the joints. It’s the difference between a DIY look and a high-end architectural installation that lasts for decades.
Beyond the finish, there’s a trap I see even the most seasoned homeowners fall into: the ‘more is better’ storage philosophy. Everyone assumes that a wall of floor-to-ceiling cabinets is the peak of efficiency. In my experience, this actually kills the ergonomics of a modern kitchen remodel. You end up with deep, dark ‘caverns’ where the back row of cans goes to die. I’ve had clients beg for more boxes, only to realize later that a pull-out pantry beats deep walk-in shelves every single time because it brings the items to you. It’s about accessibility, not just cubic inches.
Stop Obsessing Over Total Shelf Inches
When you are designing custom cabinets as a game-changer in your kitchen remodel journey, focus on ‘active’ versus ‘passive’ storage. Passive storage is where things sit for months; active storage is the 20% of items you use 80% of the time. The biggest mistake? Building for the 100-item grocery haul rather than the Tuesday night dinner. According to research by the National Kitchen & Bath Association (NKBA), a kitchen’s efficiency isn’t measured by volume but by the distance traveled between ‘work centers.’ Over-packing with cabinets can actually increase your steps and make a large kitchen feel cramped.
Will Your Heavy Drawers Hold Up for Ten Years?
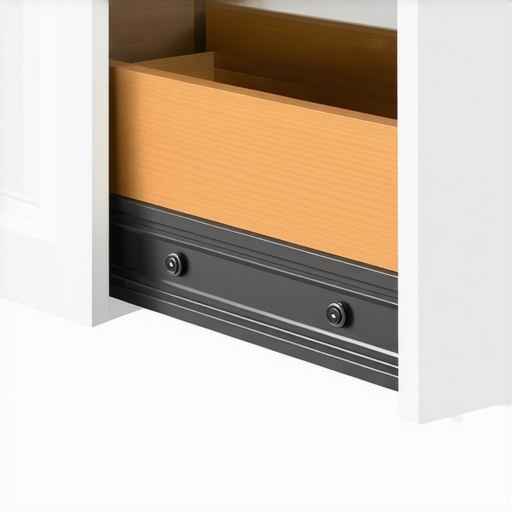
Here is the ‘oops’ factor that haunts high-end builds: the hardware bypass. I recently consulted on a remodel where the client installed massive 36-inch wide drawers for cast-iron pans. They looked beautiful, but the builder used standard-duty screws and slides. This is the cabinet screw mistake that causes heavy drawers to fail—the sheer weight of the contents literally pulls the hardware out of the wood over time. For these ‘heavy hitters,’ we always upgrade to 100lb or 150lb rated slides and use specialized fasteners. If you don’t account for the dynamic load of a moving drawer, your custom cabinets will be sagging within eighteen months. Have you ever fallen into this trap where a drawer suddenly feels ‘crunchy’ or won’t close? Let me know in the comments.
Why Do Your Inset Doors Suddenly Bind in the Summer?
Advanced readers often ask about the ‘perfect’ flush look of inset cabinetry. It’s the gold standard for a stylish kitchen overhaul, but it comes with a hidden nuance: wood movement. If your shop doesn’t account for seasonal expansion, those tight 3/32 inch gaps will disappear when the humidity hits 70%. This is the inset cabinet gap issue that catches DIYers off guard. You must understand that solid wood door panels still need room to breathe. We often design with a slightly wider gap in winter to ensure the door doesn’t bind and ruin that expensive finish when the air gets thick in July. It’s not a defect; it’s nature, and planning for it is what separates a master cabinetmaker from an amateur.
The Secret Weapon in My Tool Kit: The Pinless Moisture Meter
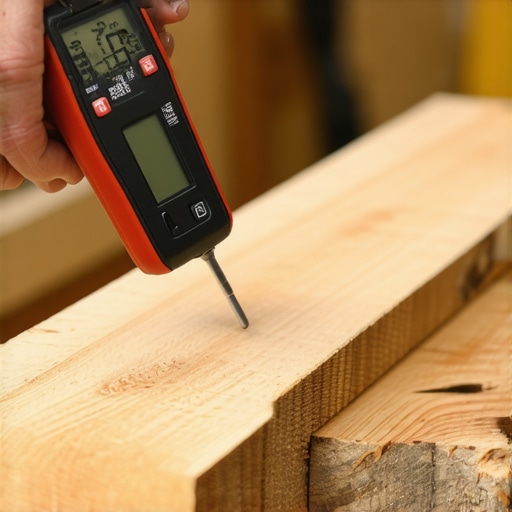
If you’re serious about high-end woodworking, your most important tool isn’t a saw—it’s a moisture meter. I never start a build without checking the relative humidity of the lumber. According to the technical documentation from Wagner Meters, failing to verify the Equilibrium Moisture Content (EMC) of your lumber before assembly is the number one cause of failed joints and warping in custom cabinetry. When I’m building custom cabinets, I aim for a reading between 6% and 8%. If the wood is too wet, it will shrink in your climate-controlled home, leaving gaps that no amount of wood filler can fix. This is especially true when we recommend plywood shelves over solid wood for long spans, as plywood offers much more dimensional stability in fluctuating environments.
How do I keep my high-end hardware working like new?
Even the most expensive kitchen components require a little TLC to survive the daily grind. Many people assume that the real reason your cabinet drawer slides are grinding is a mechanical failure, but it’s almost always just kitchen dust and grease buildup. To keep things smooth, I recommend a quick blast of compressed air in the tracks every few months. If you find that your slow-close hinges are suddenly sluggish, don’t reach for the WD-40. Use a dry PTFE lubricant instead; it won’t attract the dust that creates that nasty black sludge. Taking ten minutes to understand why your soft-close slides are failing and the quick cleaning fix can save you hundreds in replacement costs down the road.
Don’t Let Your House Settle Into Your Design
Houses are living things; they shift and breathe. This is why every base cabinet needs adjustable feet on uneven concrete. I’ve seen beautiful modern kitchen remodels ruined because the cabinets were shimmed with scrap wood that eventually rotted or compressed. Professional-grade leveling feet allow you to make micro-adjustments years after the installation if the floor settles. This ensures that your stylish kitchen overhaul remains perfectly aligned, keeping those reveal lines between doors crisp and professional.
The Kitchen of 2030 Is All About Integrated Tech
Looking forward, the trend in custom cabinets as a game-changer in your kitchen remodel journey is moving toward total technological integration. We are seeing a massive shift toward built-in charging stations that finally clear your countertops. In the next few years, I predict that ‘smart’ storage won’t just mean clever hinges, but cabinets with built-in LED sensors and inventory tracking. Homeowners are already demanding smart storage ideas to maximize your kitchen space this year, focusing on utility that disappears when not in use. Try this today: Go through your current cabinets and identify the ‘dead zones’ where things get lost. Replacing one fixed shelf with a high-quality pull-out tray will change your workflow more than a new coat of paint ever could.
Lessons from the Sawdust That You Won’t Find in a Manual
After years of trial and error in the shop, I’ve realized that the small details carry the most weight. First, always test your finish on a scrap piece of the exact same wood species—not just any wood. Tannin reactions can vary wildly even within the same board. Second, the ‘sniff test’ is real; if your cabinets still smell strongly of chemicals after three weeks, the finish didn’t cure properly, likely due to a catalyst mixing error. Finally, never settle for ‘close enough’ when it comes to leveling. A cabinet that is even slightly off today will result in a door that won’t close or a drawer that binds in three years.
The Gear That Saves My Projects and My Sanity
If you want to move beyond basic DIY and achieve a professional result, you need a few specialized items in your arsenal. I always keep a copy of the NKBA Kitchen & Bath Planning Guidelines nearby; it’s the definitive resource for expert tips on selecting storage solutions that actually make sense for your specific workflow. For hardware maintenance, a can of PTFE Dry Lubricant is non-negotiable for keeping slides silent without attracting grit. I also recommend a Wagner Pinless Moisture Meter if you are doing your own assembly; knowing your wood’s moisture content is the only way to prevent seasonal warping. Lastly, when choosing your look, remember that why black cabinet hardware shows every speck of dust applies to dark finishes too—sometimes the most stylish choice is the most demanding to maintain.
Your Vision for the Perfect Kitchen Starts Now
Deciding to revolutionize your kitchen remodel using built-ins and custom details can feel like a massive undertaking, but the result is a home that fits your life like a glove. Don’t be afraid to push for the higher-grade finish or the heavy-duty hardware. These aren’t just luxuries; they are the structural integrity of your daily life. When you invest in high-quality custom cabinets, you are building a legacy of craftsmanship that your family will enjoy for decades. What’s the one thing in your current kitchen that drives you crazy every time you open it? Let me know in the comments below!