The Best Way to Organize Your Small Appliances
I remember the morning I finally snapped. I was trying to roll out a simple pie crust, and I ended up knocking my bulky air fryer onto the floor because there was exactly four inches of usable counter space left. My kitchen looked like an appliance showroom, but I couldn’t even make a sandwich without moving three things first. It’s a common frustration in any modern kitchen remodel—we buy these incredible tools to save time, only to have them steal our sanity and our workspace. Today, we’re going to fix that. I’m going to show you how to tuck away the bulk without making your daily coffee a chore. Have you ever felt like a guest in your own kitchen because the stand mixer took over the prime real estate? Let me know!
Stop Letting Your Blender Bully You Out of Your Own Kitchen
Most people think the solution to a cluttered counter is just more cabinets. I used to think that too. Early in my DIY days, I installed a massive set of standard upper cabinets, thinking I’d just shove the blender and the crockpot up there. I was wrong. I ended up with a strained shoulder and appliances I never used because they were too heavy to pull down. The real secret isn’t more space; it’s smarter access. When you look at smart storage solutions for small kitchens in 2025, the trend is moving toward bringing the storage to you. For instance, the deep drawer move for storing blenders and food processors changed my life. Instead of reaching up, I look down, and everything is at my fingertips.
Is custom storage actually worth the investment for a few gadgets?
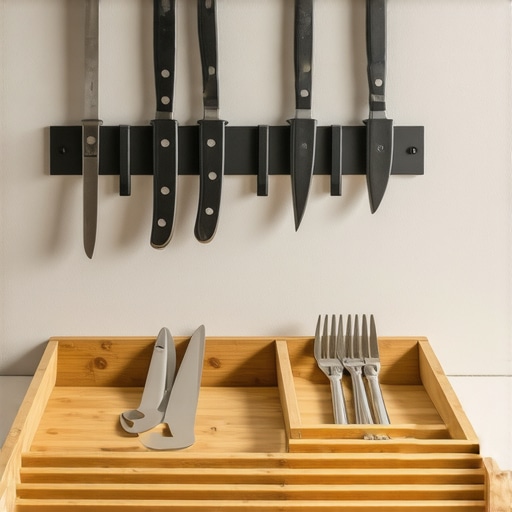
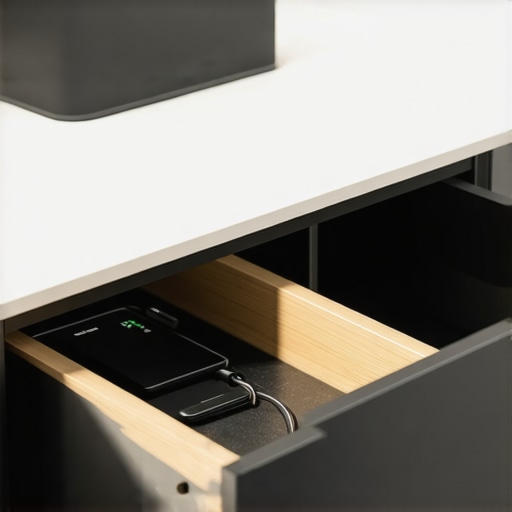
It’s a fair question. Why spend extra on a kitchen overhaul just to hide a toaster? Well, the data shows I’m not the only one who feels this way. According to the National Association of Home Builders, nearly 80% of homeowners prioritize clutter-free countertops in their design plans. Beyond the aesthetics, there’s a functional reality: a kitchen that’s hard to use is a kitchen that doesn’t get used. By integrating a flush-mount outlet inside your toaster garage, you remove the visual noise of cords and the physical weight of moving heavy machinery every morning. [image1] We’re going to dive into exactly which zones of your kitchen should handle which tools, ensuring your workflow feels like a breeze rather than a hurdle.
Map Out Your High-Traffic Activity Centers
Think of your kitchen like a professional workshop. You wouldn’t put a table saw in the middle of a paint booth, and you shouldn’t put your toaster next to the dishwasher. When you start planning expert tips on selecting storage solutions for a perfect kitchen upgrade, the first step is identifying your ‘Cold Zone’ (coffee, toast, smoothies) and your ‘Hot Zone’ (baking, roasting, frying). I once tried to keep my air fryer near the sink, and every time I drained pasta, the steam hit the electronics. It was a disaster that ended in a short circuit and a very expensive lesson in kitchen geography. Now, I advocate for grouping appliances by their thermal output and frequency of use.
Put Gravity to Work with Lift Mechanisms
If you have a stand mixer that weighs as much as a small dog, you know the struggle of dragging it out of a lower cabinet. This is where custom cabinets as a game changer in your kitchen remodel journey truly shine. A spring-loaded mixer lift allows the appliance to swing up to counter height with zero effort. Because these mechanisms hold significant weight, why your base cabinets should be secured with 3-inch rugged screws becomes a safety necessity rather than a suggestion. In my own kitchen, I installed one for my heavy-duty KitchenAid, and it transformed my Sunday baking from a chore into a joy. No more back strain, and no more mixer-sized footprint on my prep space. 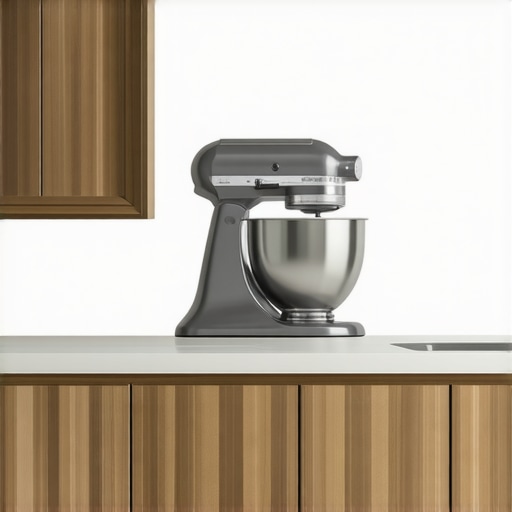
Stop Fighting the Deep Dark Corners
Traditional lazy Susans are the ‘junk drawers’ of the appliance world; things go in and never come out because they get stuck behind the pole. Instead, why you should skip the lazy susan and install lemans pull-outs instead should be your mantra. These kidney-shaped shelves glide out entirely, bringing that heavy food processor or slow cooker directly to you. It turns a dead corner into the most efficient square footage in the room. Pair this with the best way to organize heavy dutch ovens in a deep drawer, and you’ve effectively removed the physical barriers that make cooking feel like a workout.
Streamline the Morning Routine with Appliance Garages
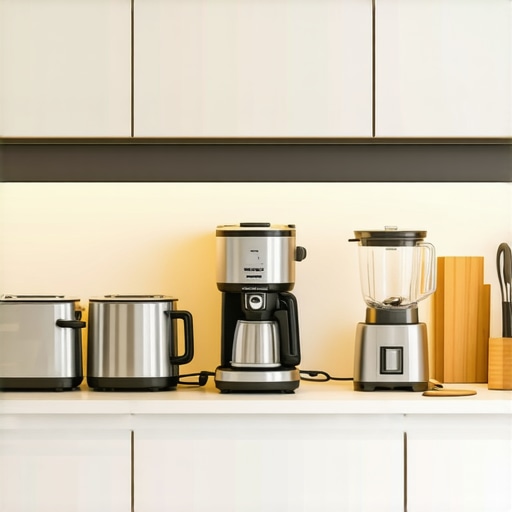
The goal of a sleek, built-ins and storage hacks for a sleek functional kitchen is to have the room look ‘reset’ in under five minutes. An appliance garage with a tambour door or a flip-up front allows you to hide the coffee pot, grinder, and toaster without unplugging them. To make this work, you need to ensure your island or perimeter has the right support systems. For instance, why every kitchen island needs a dedicated prep sink becomes apparent when you realize how much more efficient you are when the blender is right next to the water source. By placing a why you need a vertical spice drawer next to your range, you’re not just storing things; you’re creating a workflow where your tools are invisible until the exact second they are needed.
Look Behind the Doors to See If You Are Getting Scammed
Most homeowners assume that if a cabinet fits perfectly against the wall, it is high-quality custom work. But here is the contrarian truth: a pretty face often hides a weak spine. Many contractors cut corners on the ‘bones’ of the cabinetry to save on material costs, hoping you will only notice the hardware. In my experience, the biggest mistake is prioritizing adjustable shelving over structural integrity. When you are planning innovative storage solutions for modern kitchen remodels, you have to look at the assembly. If the boxes are held together with just staples and glue, they will eventually rack and sag under the weight of your heavy stand mixers. This is why your cabinet boxes should be stapled, glued, and screwed to ensure they last as long as the house itself.
Why Your White Cabinets Might Turn Yellow by Next Season
Here is an ‘oops’ factor that ruins more dream kitchens than anything else: the wrong paint. I have seen countless DIYers and even some ‘pros’ use high-end interior latex paint on kitchen cabinets. It looks great for six months, but it is a disaster waiting to happen. The grease and heat of a working kitchen are brutal. According to the National Kitchen & Bath Association (NKBA), the finish on a kitchen cabinet must meet specific chemical resistance standards that house paint simply cannot match. This is why using standard interior paint on your kitchen cabinets is a five-year mistake. Without a proper conversion varnish or catalyzed finish, the oils from your hands will eventually soften the paint, leading to a sticky, peeling mess. Furthermore, the real reason your white painted cabinets are turning yellow is often a reaction between the wood’s natural tannins and an inferior topcoat. 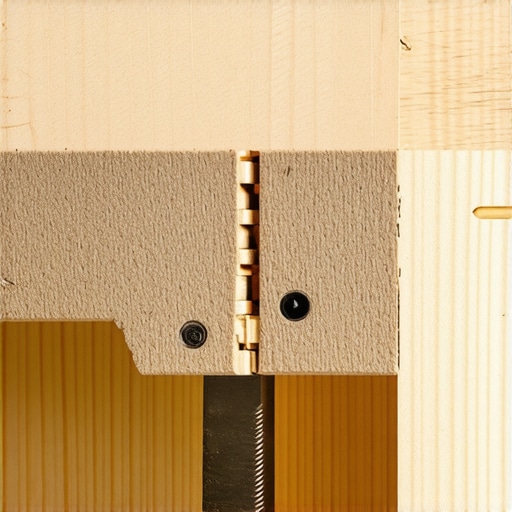
Is it actually possible to have too much storage?
It sounds like a joke, but ‘over-storing’ is a real design trap. When you maximize every square inch with deep cabinets, you often create ‘dead zones’ that actually make your kitchen harder to navigate. The nuance most people miss is material movement. If you choose a wood that is too reactive to humidity, those beautiful inset doors will swell and stick the first time the weather gets humid. I always tell my clients to focus on the best wood species for painted cabinets that will not crack at the joints, like maple or high-density fiberboard (HDF), rather than just stuffing the room with more boxes. Have you ever fallen into the trap of choosing aesthetics over structural durability? Let me know in the comments! If you are ready to build a kitchen that stays beautiful and functional for decades, feel free to contact us to discuss your project.Now that the structure is solid, we have to talk about the ‘living’ parts of your kitchen. Even the most comprehensive custom cabinets expert guide for 2025 won’t save your sanity if your hardware fails three years down the road. I’ve stepped into many $100,000 kitchens where the heavy pantry doors started sagging because the homeowner—or the installer—ignored the fundamental rules of hardware load limits.
Stop Your Drawers from Grinding Before the Bearings Pop
I am obsessed with high-end drawer slides, but even the best gear can get ‘gunked up’ with flour, sugar, or household dust. If you notice a change in the sound or a slight resistance, you need to know why your drawer slides are grinding and how to clear the ball bearings. I personally keep a can of dry PTFE lubricant in my utility drawer. Unlike standard WD-40, which attracts dust like a magnet and creates a sticky mess, dry PTFE leaves a slick film that keeps things moving without the grit.
How do I keep my custom pull-outs gliding like new?
It all comes down to the load. Most high-end under-mount slides, like the Blum TANDEM series, are rated for a dynamic load capacity of 75 to 100 lbs (as specified in Blum’s technical documentation). If you are stacking four heavy cast-iron skillets in a single drawer, you are redlining the hardware. My rule of thumb is simple: if the drawer hesitates for even a millisecond before the soft-close kicks in, it is overloaded. This is where the 5-minute hinge adjustment for fixing wonky cabinet reveals comes in handy. A simple turn of a screwdriver can realign a door that has drifted due to humidity or heavy use, preventing the door from clipping the frame. 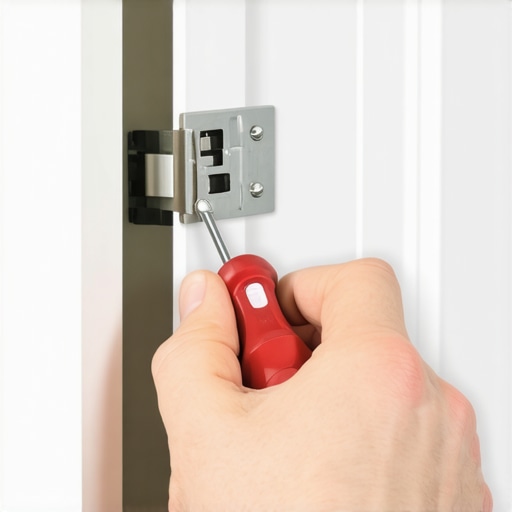
Why the Future is Touch-Activated and Handle-Free
Looking ahead, the trend in modern kitchen remodels featuring custom cabinets and built-ins is moving away from physical pulls entirely. I am seeing a massive surge in requests for how to install a hidden magnetic catch for touch-to-open doors. It creates a seamless, monolithic look, but it requires extreme precision. Because these systems have no ‘handle’ to mask slight misalignments, you must master the proper way to shim cabinets on a high spot in the floor during the initial install. If the cabinet box is even 1/16th of an inch out of square, those touch-latches will fail to engage, leaving your sleek kitchen looking broken.
Small Details That Prevent Decade-Long Headaches
The final piece of the maintenance puzzle is the ‘invisible’ gaps. If you have a space between your base units and the floor, you are essentially creating a sanctuary for moisture and dust. I always recommend learning the best way to seal the gap between your cabinet and the floor. It’s a small, boring detail that most people skip, but it’s the difference between a kitchen that looks great for a year and one that stays pristine for twenty. Go check your cabinet doors right now—if they look even slightly crooked, grab a screwdriver and try that 5-minute adjustment tip; it’s the easiest maintenance ‘win’ you’ll ever get.
What I Wish I Knew Before the Saw Dust Settled
Looking back at my first few projects, there are three hard truths I learned about managing a modern kitchen remodel that you won’t find in a standard manual. First, never underestimate the weight of your own habits; if you drink three smoothies a day, don’t hide the blender behind two doors. Second, cheap hardware is the most expensive mistake you can make. If a drawer slide fails, the most beautiful cabinet box becomes a useless wooden crate. Finally, remember that every extra inch of storage needs a purpose. I once built a massive pantry only to realize half of it was ‘dead air’ because I didn’t plan for the height of my tallest cereal boxes. This is exactly how to revolutionize your kitchen remodel using built-ins and creative storage without falling into the ‘more is better’ trap. It’s about making the space work for your unique rhythm, not a showroom catalog.
My Essential Toolkit for a Stress-Free Remodel
If you are planning to tackle this yourself or want to speak the language of your contractor, these are the resources I swear by. I always specify Blum TANDEM slides because they handle the heavy lifting of mixers and crockpots without flinching. For anything being painted, I refuse to use anything but the best wood species for painted cabinets that will not crack at the joints, which is typically a high-grade HDF or maple. To keep things moving long-term, keep a can of dry PTFE lubricant handy; it’s the secret to keeping those built-ins and storage hacks for a sleek functional kitchen gliding like they did on day one. Lastly, I always keep a copy of the NKBA Kitchen & Bathroom Planning Guidelines nearby—it’s the bible for ensuring your clearances and ‘hot zones’ are actually safe.
Build a Space That Finally Feeds Your Soul
At the end of the day, a kitchen isn’t just a place to store tools; it’s the heart of your home. When you take the time to implement innovative storage solutions for modern kitchen remodels, you aren’t just buying cabinets—you are buying back your peace of mind. Imagine a Saturday morning where you aren’t fighting for space to crack an egg or move a toaster. That clarity of space leads to a clarity of life. If you’re ready to stop compromising and start building, contact us to turn these blueprints into your reality. Your dream kitchen is waiting, and it starts with a single smart storage decision. Have you ever had a heavy appliance that simply refused to fit into your storage plan? Let me know in the comments below!