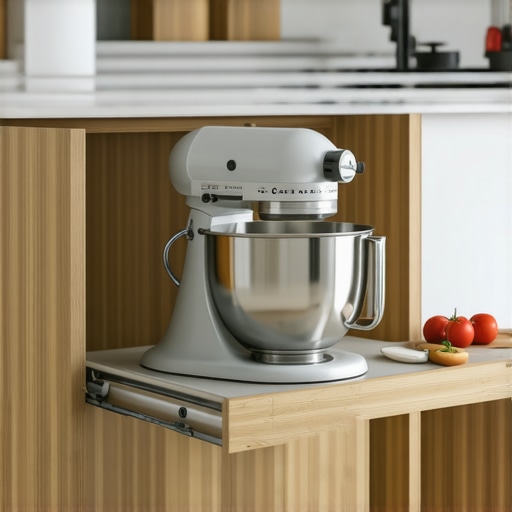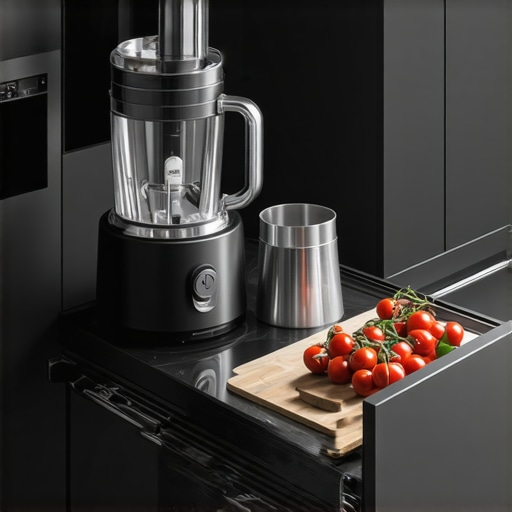
The Deep Drawer Move for Storing Blenders and Food Processors
I will never forget the morning I nearly shattered my food processor. It was buried at the very back of a base cabinet, tucked behind three nesting bowls and a heavy ceramic Dutch oven. As I reached in and performed what I like to call the ‘cabinet yoga’ stretch, my hand slipped. The machine didn’t fall, but my lower back definitely felt the strain of lifting fifteen pounds at a weird angle. That was my breaking point. I realized that my kitchen remodel wasn’t just about new colors; it was about stopping the appliance shuffle once and for all. If you have ever felt like you need a flashlight and a hard hat just to find your blender, we are going to fix that today. I am showing you exactly why deep drawers are the superior move for your heavy hitters.
Stop Losing Your Heavy Appliances to the Back of the Abyss
Early on in my DIY journey, I made the classic mistake of thinking more shelves meant better storage. I was wrong. Standard shelves in deep cabinets are where appliances go to die—or at least where they go to be forgotten for three years. When you switch to a deep drawer system, you bring the back of the cabinet to you. No more kneeling on the floor. No more bruised shins. This is a core part of selecting storage solutions for a perfect kitchen upgrade that actually works for your body. According to the National Kitchen & Bath Association (NKBA), ergonomic accessibility is a top priority for modern homeowners because it significantly reduces physical strain during daily tasks. Have you ever avoided making a healthy smoothie just because you didn’t want to dig the blender out of a dark hole?
Can a Drawer Actually Handle All That Weight?
This is the number one concern I hear from neighbors. They worry the bottom will fall out or the slides will grind. I’ll be honest: if you use cheap, thin-bottomed drawers, they absolutely will fail. I learned this the hard way with a budget vanity that buckled under the weight of just a few towels. For kitchen appliances, you need robust construction. You have to ensure your base cabinets are secured with 3-inch rugged screws and that your drawer boxes are built with thick plywood bottoms. When you use heavy-duty, full-extension slides, a drawer can easily handle a Vitamix, a KitchenAid mixer, and a food processor without even a squeak. It’s about building for the weight you actually have, not the weight the manufacturer hopes you have. I want to help you move past the fear of ‘breaking’ your cabinets and start enjoying the ease of a kitchen that actually serves you. We’re about to dive into the technical specs that make this possible.
Map Your Movement Before You Measure Your Boxes
Think of your kitchen like a professional workshop. You wouldn’t store a heavy table saw in a spot that requires you to move three other tools just to reach it. The same logic applies to your smart storage solutions. Start by grouping your appliances by frequency of use. If you make bread every weekend, your stand mixer belongs in the prime real estate zone—usually right below your main prep area. I call this the ‘Active Zone’ strategy. When I was planning my own kitchen workflow, I realized I was walking across the entire room to get my food processor. By moving it into a deep drawer directly under the island, I shaved minutes off every meal prep session. This is the first step in creating seamless kitchen remasters that actually improve your life.
Assign Every Appliance a Permanent Home
Measure your tallest appliance, then add two inches. That is your minimum drawer clearance. Don’t guess. I once built a beautiful set of deep drawers only to find my blender was a half-inch too tall because of the lid. It ended up back on the counter, defeating the entire purpose of the built-ins and storage hacks I’d worked so hard on. Use the cabinet depth secret to ensure you aren’t leaving dead space behind the drawer box. Every square inch is a victory against clutter.
The Architecture of a Weight-Bearing Drawer
If you want to store a 20-pound Dutch oven and a heavy-duty mixer in the same space, you have to build for it. Standard retail cabinets often use 1/4-inch bottoms that are simply grooved into the sides. For a high-capacity drawer, that’s a recipe for disaster. I remember the sound of my first ‘custom’ drawer bottom snapping—it sounded like a gunshot. Now, I always insist on 1/2-inch or even 3/4-inch plywood bottoms. We prioritize why we use solid maple for drawer boxes because it holds fasteners better than softer woods and won’t warp under the localized pressure of heavy appliance feet.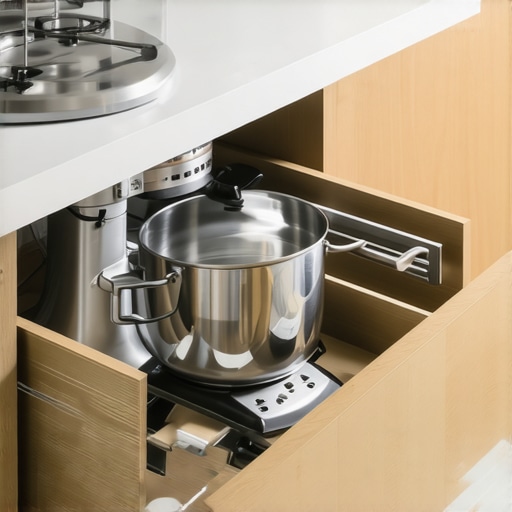
Don’t Skimp on the Slides
The slides are the ‘engine’ of your drawer. For heavy appliances, you need full-extension, under-mount slides rated for at least 100 pounds. Side-mount slides are okay, but they eat into your horizontal storage space and often lack the smooth ‘glide’ of high-end hardware. If you feel resistance when you pull, the real reason your cabinet drawer slides are grinding is likely weight-overload or poor alignment. I’ve seen homeowners try to save fifty bucks here, only to have the drawer fail within six months. It’s also why I recommend bottom mount slides for better weight handling when you are dealing with concentrated loads.
Lock It Down So It Stays Put
Once the drawer is built, the way you secure the cabinet to the wall is your final safety net. A drawer holding 80 pounds of cast iron acts as a lever when fully extended. If your cabinet isn’t anchored properly, the whole thing can tip forward. This is why your base cabinets should be secured with 3-inch rugged screws directly into the studs. Avoid the cabinet screw mistake that causes heavy drawers to fail by ensuring your screws have a wide head to prevent pulling through the cabinet back. To finish it off, use the 5-inch rule for choosing the right size cabinet pulls so you have enough leverage to open those heavy drawers comfortably.I’ve seen dozens of ‘high-end’ kitchens where the homeowner insisted on pull-out shelves behind traditional doors. Everyone says they look cleaner, but in my experience, they are an ergonomic nightmare. This is the ‘double-motion’ trap. To get your mixer, you have to swing a door open—hoping you don’t hit the dishwasher or block the walkway—and then pull the shelf. In modern kitchen remodels featuring custom cabinets and built-ins, we eliminate that extra step. One fluid pull reveals everything. If you are going through the effort of a renovation, don’t settle for yesterday’s compromises. This is the nuance that separates a basic upgrade from innovative storage solutions for modern kitchen remodels that actually save you time and physical effort.
The clearance trap that ruins custom drawers
A common mistake I see even seasoned DIYers make is failing to account for ‘racking.’ When a drawer is wider than it is deep, it tends to twist or ‘rack’ if you don’t pull it from the exact center. If you’re storing a 30-pound meat slicer in a 36-inch wide drawer, that uneven weight distribution will eventually torque the hardware. I once saw a gorgeous island where the drawers were so wide they began to bind within three months of installation. This is often why your soft-close slides grind and the quick lubrication fix won’t save you if the geometry is fundamentally flawed. You need to ensure your drawer box is perfectly square and the slides are mounted with zero tolerance for error to prevent long-term failure. 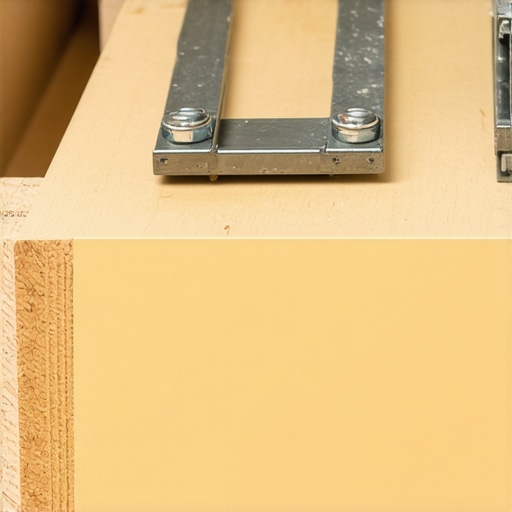
Why do heavy-duty slides still feel sticky under load?
Many people assume that if a slide is rated for 100 pounds, it will glide like butter when carrying 99 pounds. That’s rarely the case in the real world. Professional hardware manufacturers, such as Blum or Hettich, often differentiate between ‘static’ and ‘dynamic’ load capacities. A slide might hold 100 pounds while sitting still, but its performance and lifespan drop significantly once it starts moving under that weight. According to industry standards for high-performance cabinetry, for heavy appliances, you should always select hardware rated for at least 25% more than the actual weight you plan to store. If you ignore this, you’ll end up wondering about the reason your cabinet doors are slamming despite having soft-close hinges or why the drawers feel like they are dragging through wet sand. Beyond the hardware, don’t forget the finish; sometimes the hidden costs of choosing custom colors for your cabinetry include extra thickness in the finish coat that can interfere with tight tolerances if not professionally applied. Have you ever fallen into this trap of over-estimating what your hardware could handle? Let me know in the comments below.
Precision Tools Stop the Guesswork Before You Drill
If you’ve ever spent an afternoon trying to eye-ball a slide mount, you know that a fraction of a millimeter is the difference between a drawer that floats and one that fights you. When I’m installing these high-capacity systems, I stop relying on a standard tape measure and switch to the Blum T65.1000 drill template. It’s a specific jig that ensures your locking devices and rear hooks are perfectly indexed every single time. This is the one tool you need for perfectly aligned cabinet knobs every time and for ensuring your drawer boxes aren’t fighting the physics of their own weight. Professional installers use these because they eliminate the ‘drift’ that happens when you mark with a pencil. In my shop, we’ve found that using dedicated jigs is what allows us to transform your kitchen with custom cabinets into a space that feels industrial-grade but looks like a showroom.
How do I keep these heavy drawers from getting sluggish?
Maintenance is where most homeowners drop the ball. You can’t just install 100-pound slides and forget them for a decade. Over time, flour dust, pet hair, and kitchen grease find their way into the ball bearings. I recommend a twice-yearly ‘slide-and-wipe’ session. Do not—and I cannot stress this enough—use WD-40 or any silicone-based sprays. According to technical documentation from Hettich, these attract more grit and eventually turn into a grinding paste that eats the metal. Instead, use a dry microfiber cloth to wipe the tracks clean. If you notice a change in the ‘feel,’ check why your slow-close hinges are suddenly sluggish and how to clean them to see if the issue is simple debris or a mechanical failure. 
The Future of Accessible Kitchen Remasters
Looking ahead to the next few years, I predict we are going to see a massive shift toward motorized assistance in base cabinets. As we design for ‘aging in place,’ the physical effort of pulling an 80-pound drawer will be replaced by ‘touch-to-open’ technology. We are already seeing this in modern kitchen remodels featuring custom cabinets and built-ins, where a simple hip-nudge opens a trash pull-out. This isn’t just a luxury; it’s a movement toward universal design that makes the kitchen accessible to everyone, regardless of grip strength or mobility. This level of automation is the natural evolution of smart storage solutions for small kitchens in 2025.
Tweak Your Alignment for a Flawless Finish
If you’ve already installed your drawers and they look a little ‘wonky,’ don’t panic. High-quality undermount slides usually have three-way adjustment built in. You can move the drawer front up, down, left, right, and even tilt the depth to get those seams perfectly parallel. It’s similar to the 5-minute hinge adjustment for fixing wonky cabinet reveals, just applied to the drawer box. Take ten minutes this weekend to check your clearances. If you find one drawer is rubbing, I want you to try one advanced tip: back out the mounting screws half a turn, cycle the drawer three times to let the hardware find its natural center, then tighten them back down. It’s a small move that solves 90% of ‘phantom’ grinding issues.
The Brutal Truth About Why My First Three Drawers Failed
The first time I built these, I thought I could cut corners by using particle board sides. Big mistake. Over time, the vibration from a heavy mixer turns those screw holes into sawdust. Always opt for why plywood box construction still beats particle board for kitchens. It’s also tempting to use a thin lacquer, but the truth about pre-finished plywood is that it handles the weight and friction of heavy appliances much better than on-site staining ever could. I also learned that the best way to store baking sheets is often right next to these heavy hitters to maximize your prep efficiency.
The Gear That Separates Amateurs From Pros
I rely on the Blum T65 drill jig for every single install. It’s the only way to ensure 100% accuracy. For those looking for design inspiration, checking out custom cabinets ideas that transform your homes style can help you visualize how these deep drawers fit into your overall aesthetic. Finally, don’t forget the small details, like the vertical cookie sheet divider to complement your heavy appliance storage. These specific tools and design choices ensure that your kitchen remodel is built to last a lifetime, not just a few seasons.
Your New Kitchen Is Waiting for a Brave First Step
Deciding to maximize space with innovative storage solutions for every room is about more than just organization—it’s about loving the space you live in. Your custom cabinets as a game-changer will pay dividends every time you prep a meal without the ‘cabinet yoga’ routine. Don’t be afraid to invest in the heavy-duty hardware that your kitchen deserves. Have you ever had a kitchen cabinet drawer fail because it was just too heavy for the hardware? Let me know in the comments below.