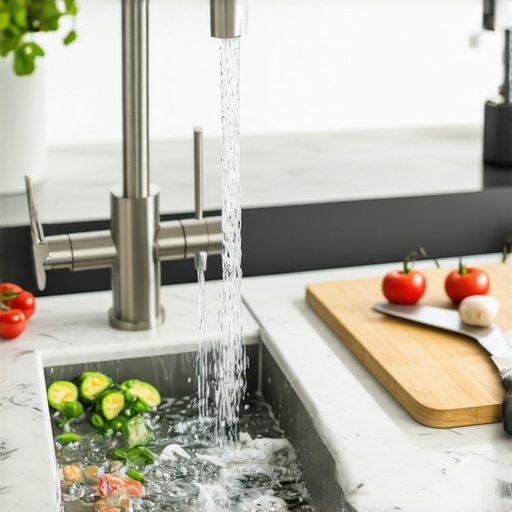
Why Every Kitchen Island Needs a Dedicated Prep Sink
I remember standing in my kitchen three years ago, clutching a bunch of muddy leeks while staring at the back of my husband’s head. He was elbow-deep in suds, scrubbing a scorched lasagna pan in our only sink. I had to wait. Then I had to wait some more. My beautiful new island was right there, mocking me with its vast, empty surface. I had the space, but I lacked the utility. I’d invested heavily in custom cabinets, yet I was still trapped in a bottlenecked workflow that felt like a 1950s apartment. That was the moment I realized that a kitchen island without a prep sink is basically just a very expensive table.
Stop the Frustrating Kitchen Traffic Jam Before it Starts
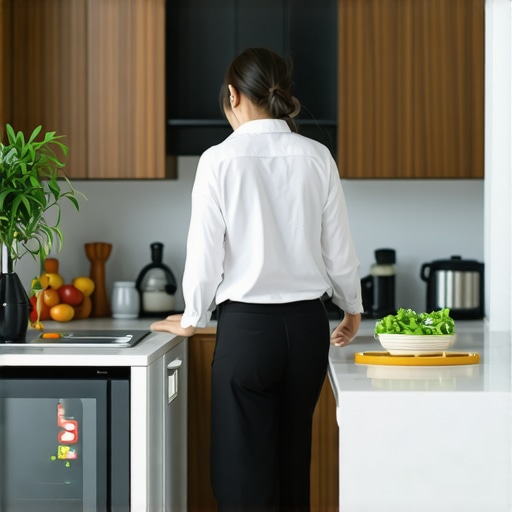
If you are planning a modern kitchen remodel, you’ve likely heard about the ‘work triangle.’ Forget it. The triangle is dead. Today’s best layouts are about zones. When you add a dedicated prep sink to your island, you aren’t just adding a bowl; you are creating a secondary workstation that allows two people to actually cook together without a collision. I made the mistake of skipping this in my first house to save a few hundred dollars on plumbing. It was a five-year regret. I eventually learned that custom cabinets can house the most beautiful innovative storage solutions, but if the water source is ten feet away and blocked by a pile of dirty dishes, your efficiency dies. According to a recent study by the National Kitchen & Bath Association, homeowners now prioritize ‘multiple cook’ environments, and a prep sink is the single most effective way to achieve that flow. Have you ever found yourself bumping hips with a family member just to rinse a single piece of fruit?
Is a second sink really worth the loss of counter space?
It is the most common fear I hear: ‘I don’t want to lose my prep area.’ But here is the reality—you aren’t losing space; you are gaining a purpose for it. By integrating the sink near your garbage pull-out and your chopping area, you turn the island into the functional heart of the room. It stops the ‘drip trail’ across the floor from the main sink to the island. We often focus so much on choosing legs over a solid base for aesthetics that we forget the plumbing that makes the daily grind easier. Today, we are going to dive into how to size these sinks and why they are the secret weapon for anyone who actually uses their kitchen for more than just reheating takeout.
Keep Your Prep Zone Within Three Steps of the Range
To make a prep sink actually work, it needs to be the ‘wingman’ to your stove, not a distant cousin. I once worked with a homeowner, Dave, who insisted on placing his prep sink on the far north corner of a massive 12-foot island while his range was tucked in the south corner of the kitchen. After three months, he admitted he only used it to water a single orchid because the walk was too long. In successful modern kitchen remodels, the ideal placement is directly across from or adjacent to your primary cooking surface. This creates a tight, efficient pivot. You want to be able to grab a bell pepper, rinse it, and have it in the pan without taking more than two steps. This is especially vital if you are designing a dedicated baking zone, where water is needed for doughs and quick cleanups but the main sink is usually buried under dinner prep dishes.
Choose a Basin That Doesn’t Eat the Counter
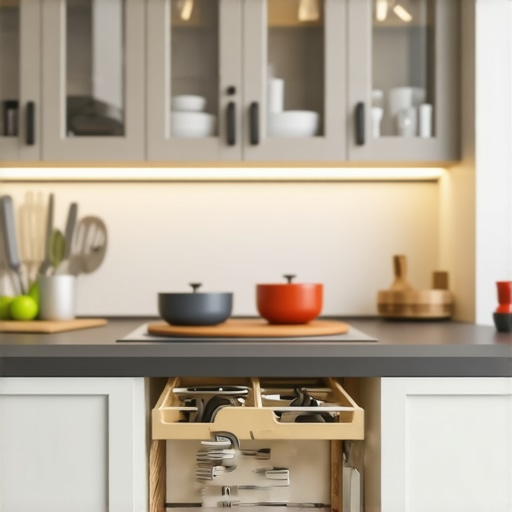
The biggest mistake is buying a sink that is too large. You aren’t washing turkeys in here; you are rinsing parsley and filling pots. A 15-inch to 18-inch square basin is the ‘Goldilocks’ size. It provides enough depth to prevent splashing but leaves plenty of room for your innovative storage solutions like pull-out cutting boards or knife blocks. If you go too big, you lose the very workspace the island was designed to provide. Think of it like a spare tire; it needs to be functional and ready, but it shouldn’t take up the whole trunk. 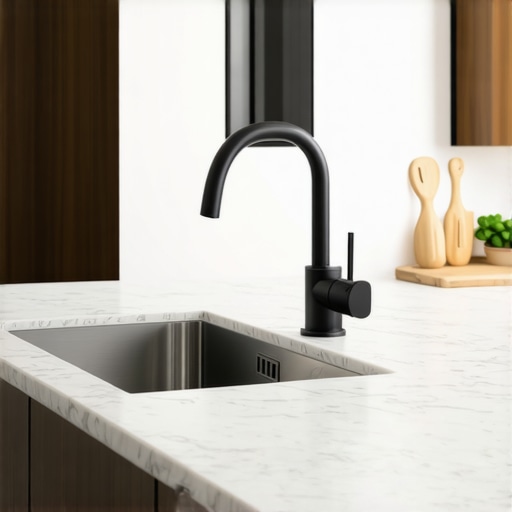
Reinforce the Box or Risk the Sag
Water is heavy, and cast iron or stone sinks are even heavier. When you integrate a sink into custom cabinets, you must ensure the base cabinet is structurally sound. Standard cabinet boxes can buckle under the combined weight of a full basin and a heavy countertop. You should know how to reinforce a sink base cabinet by adding 2×4 bracing or internal plywood cleats. I remember a project where we skipped the extra bracing on a farmhouse-style prep sink, and within six months, the cabinet doors started rubbing because the frame had shifted a fraction of an inch under the load. It is a tiny step during installation that saves a massive headache later.
Reclaim the Dead Space Under the Drain
Most people assume the cabinet under a prep sink is ‘lost’ to plumbing. That is only true if you let the plumber run the pipes right through the center. By using the simple pivot that reclaims your under-sink plumbing space, you can push the P-trap to the back or side of the cabinet. This opens up enough room for a specialized ‘U-shaped’ drawer that wraps around the pipes. Suddenly, you have a place for sponges, veggie brushes, and soap that isn’t cluttering the marble. This level of detail is what separates a basic renovation from a professional-grade culinary space.
Why Chasing Perfect Symmetry Often Kills Your Workflow
We have been conditioned by glossy magazine covers to believe that a kitchen island must be a mirror image from left to right. It is a trap. I have seen countless homeowners insist on centering their prep sink perfectly in the middle of an island because it ‘looks right.’ In reality, this often leaves you with two small, useless strips of counter on either side. In my experience, shifting that sink to one side—closer to the refrigerator—creates a massive, uninterrupted ‘landing zone’ for groceries and heavy prep. A 2024 report from the Resilient Design Institute found that kitchens utilizing ‘zone-based’ logic rather than strict geometric symmetry reduced physical fatigue and step-count by up to 25%. If you are creating seamless kitchen remasters with built-in storage solutions, you must prioritize where your body actually stands, not just how the blueprint looks from a bird’s-eye view.
Stop Worshiping the All Wood Myth
One of the most expensive mistakes I see is the ‘solid wood’ obsession. While solid wood is great for doors, using it for the interior cabinet boxes is often a functional step backward. Solid wood expands and contracts with the humidity of your dishwasher and stove. For the structural ‘bones’ of your kitchen, why plywood box construction still beats particle board—and even solid planks—is down to dimensional stability. Plywood’s cross-grain layers prevent warping and provide a far superior surface for the heavy-duty screws that hold your drawer slides. 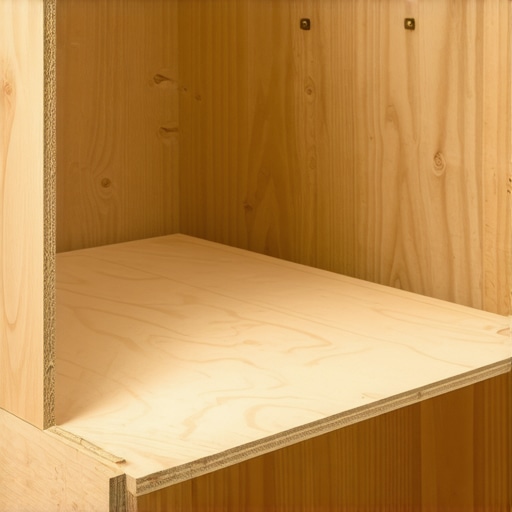
Does Your Dream Color Come With a Nightmare Price Tag?
I always tell my clients that the paint choice is where the budget often starts to bleed. It isn’t just about the gallon of paint; it is about the labor of the finishing process. When you start looking at the hidden costs of choosing custom colors, you are often paying for the extra booth time, custom mixing, and the risk of touch-up mismatches later. If you want a high-end look without the premium surcharge, look for ‘curated palettes’ from custom builders that offer pre-tested, durable finishes. Have you ever fallen into the trap of picking a color from a tiny swatch only to hate it once it covered forty feet of cabinetry?
Avoid the Most Common Trash Placement Error
Here is the ‘Oops’ factor that ruins a thousand-dollar island: putting the trash pull-out where it blocks the cook. Most people think, ‘I’ll put the trash next to the oven for easy cleanup.’ But why your garbage pull-out should never be next to the oven is simple: it is a high-traffic obstacle. When the oven door is down or the cook is standing there, the trash is inaccessible to everyone else. The trash belongs in the ‘prep zone’ under the island, ideally within arm’s reach of your prep sink. By following expert tips on selecting storage solutions for a perfect kitchen upgrade, you ensure that the person cleaning up isn’t constantly asking the person cooking to move out of the way. Have you ever fallen into this trap? Let me know in the comments.After three years of heavy cooking, the ‘new kitchen’ smell fades, and the reality of steam and grease sets in. I’ve found that the difference between a kitchen that looks ‘renovated’ and one that looks ‘bespoke’ a decade later is the maintenance of the hardware and the precision of the initial install. If you are doing any of the installation yourself or even just making minor updates, I cannot scream this loud enough: buy a professional-grade aluminum hardware jig like the True Position Drill Guide. I wasted so much time with flimsy plastic templates before realizing that the one tool you need for perfectly aligned cabinet knobs every time is a hardened steel bushing guide. It prevents the drill bit from ‘walking’ across the wood grain, ensuring every handle is identical to the millimeter. It’s the difference between a handle that feels slightly ‘off’ every time you grab it and a finish that looks like it was done by a master carpenter.
How Do I Keep My Custom Cabinets Looking New After Three Years?
The biggest enemy of your modern kitchen remodels featuring custom cabinets and built-ins isn’t actually use—it’s improper cleaning chemicals. I once saw a client use a heavy-duty degreaser on a beautiful matte finish, and it stripped the topcoat right off within seconds. You need to understand the difference between pre-catalyzed and post-catalyzed cabinet lacquer before you ever grab a sponge. Most high-end custom shops use post-cat lacquer because it creates a much harder, more durable chemical bond, but it’s still susceptible to abrasive cleaners. My personal rule? A slightly damp microfiber cloth and a single drop of mild dish soap is the only thing that should touch your doors. If you notice a change in color, it might be environmental; for instance, the real reason your white painted cabinets are turning yellow is often a combination of UV exposure and older oil-based topcoats that haven’t aged well in the sun. 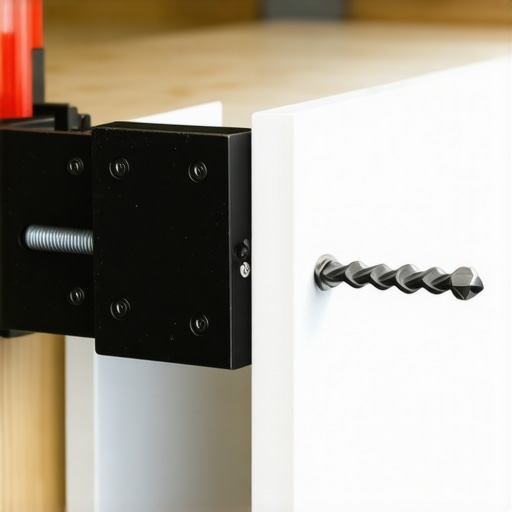
Stop Letting Gravity Ruin Your Perfect Cabinet Lines
You also have to accept that your house is a living thing. It breathes, it shifts with the seasons, and your cabinet doors will move with it. If a door starts to rub or looks crooked, don’t panic and think your custom cabinets as a game changer in your kitchen remodel journey were a waste of money. Learning the 5-minute hinge adjustment for fixing wonky cabinet reveals is a skill every homeowner should have. Most European hinges have three screws that control the ‘up-down,’ ‘left-right,’ and ‘in-out’ planes. According to technical documentation from Blum, the global leader in furniture fittings, their soft-close hinges are cycle-tested for 200,000 openings—roughly 20 years of average use—but that doesn’t mean the wood screws won’t loosen as the cabinetry expands and contracts. If a door feels loose, you might just need to know how to fix a cabinet door that wont stay closed without replacing hinges by simply tightening the mounting plate screws inside the box. I predict the next decade of kitchen design will move toward fully integrated sensor lighting that alerts you to these alignment issues or moisture buildup under the sink. But until then, stay on top of your expert tips on selecting storage solutions for a perfect kitchen upgrade by doing a quick ‘hardware audit’ every six months. My challenge to you: go to your most-used cabinet—usually the one with the coffee mugs—and check if the gap between the doors is still perfectly even. If it’s not, take five minutes to tweak that middle screw on the hinge. You’ll be amazed at how much more expensive the kitchen looks when the lines are straight again.
The Hardest Lesson I Learned About Workflow
Reflecting on my own journey, the biggest ‘lightbulb moment’ wasn’t about the color of the paint or the stone of the counters. It was realizing that modern kitchen remodels featuring custom cabinets and built-ins only succeed if they solve a problem. Here are a few things I wish someone had whispered in my ear three years ago:
- The ‘Offset’ Secret: Never center your prep sink. By pushing it to one corner of the island, you create a massive, uninterrupted ‘landing zone’ for groceries or rolling out dough. It transformed how I use my space.
- Plumbing is Not the Boss: Use the simple pivot that reclaims your under-sink plumbing space to ensure you don’t lose that valuable cabinet to a mess of pipes.
- Small Wins Matter: Especially in a tight footprint, looking at smart storage solutions for small kitchens in 2025 can provide more functional relief than a high-end appliance ever could.
#IMAGE_PLACEHOLDER_E#
My Essential Toolkit for Lasting Cabinetry
If you want your kitchen to remain a showpiece, you need more than just good intentions; you need the right resources. These are the three things I keep in my own utility drawer to maintain that high-end look:
- The True Position Drill Guide: I’ve mentioned it before, but it is truly the one tool you need for perfectly aligned cabinet knobs every time. It removes the ‘human error’ from the most visible part of your cabinetry.
- Blum’s Technical Library: Even if you aren’t a builder, knowing how to adjust european hinges for a perfectly level door reveal is a game changer for seasonal maintenance.
- High-Quality Microfiber: Avoid the ‘chemical trap’ by sticking to water and microfiber for cleaning custom cabinets ideas that transform your homes style without stripping the finish.
Build a Kitchen That Works as Hard as You Do
A successful remodel isn’t just a collection of expensive parts; it’s the backdrop to your family’s daily life. When you revolutionize your kitchen remodel using built-ins and creative storage, you are investing in your own peace of mind. Don’t be afraid to break the rules of symmetry or challenge a contractor’s standard advice. Your home should reflect how you actually cook, clean, and live. If you’re ready to start your own transformation, you can always contact us for expert guidance on transforming your kitchen with custom cabinets. Have you ever struggled with a kitchen layout that felt like a constant traffic jam? Let me know below.