The 5-Minute Hinge Adjustment for Fixing Wonky Cabinet Reveals
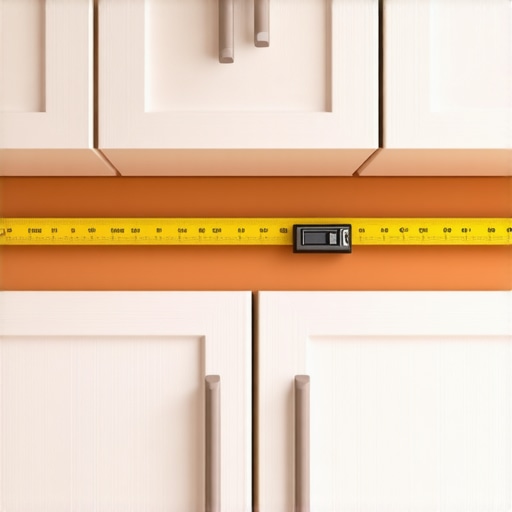
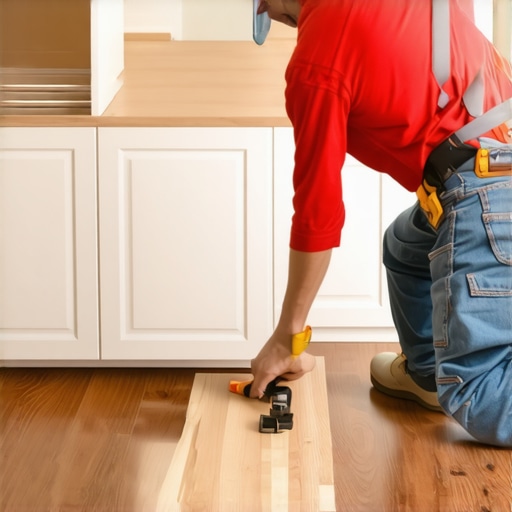
I was standing in my kitchen last Tuesday, coffee in hand, staring at the upper cabinets. My eyes kept twitching toward the pantry door. It wasn’t just slightly off; it looked like it was trying to make a break for the floor. After spending thousands on custom cabinets as a game changer for my home, that one-eighth-inch gap felt like a neon sign screaming “amateur hour.” You know that feeling, right? You spend weeks picking the perfect finish and layout, but one wonky door makes the whole project feel unfinished. [IMAGE_PLACEHOLDER]
Stop Letting Misaligned Doors Cheapen Your Remodel
It’s a tiny detail that carries massive weight. When people walk into your kitchen, they don’t notice the high-end plywood boxes or the soft-close glides immediately. They notice lines. If those lines aren’t parallel, the brain flags it as “broken.” Early in my DIY days, I actually tried to unscrew the entire hinge and move it up a hair. I ended up with a door full of “Swiss cheese” holes and a hinge that was looser than when I started. It was the hardware mistake that makes expensive cabinets look cheap, and I learned the hard way that you don’t need a drill for this. You just need a Phillips head screwdriver and five minutes of patience.
Will I Actually Strip the Screws and Make it Worse?
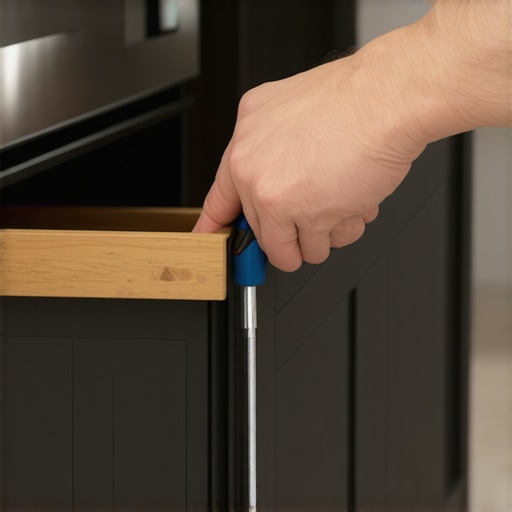
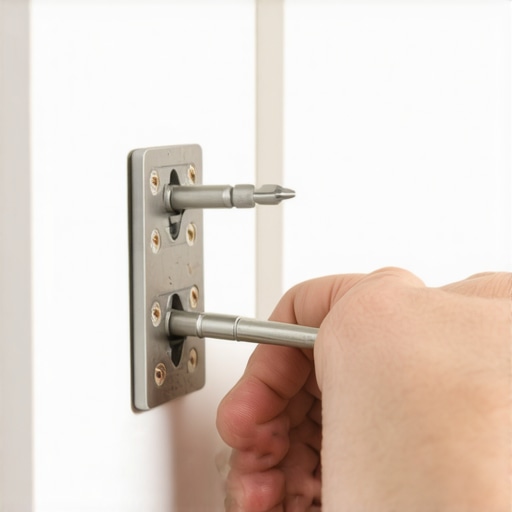
This is the number one fear I hear from neighbors. They think the moment they touch those adjustment screws, the door will fall off and crack the countertop. It won’t. Modern European hinges are designed for this exact purpose. According to the experts at the National Kitchen & Bath Association, proper cabinet maintenance, including hardware adjustments, can significantly extend the lifespan of your cabinetry by preventing unnecessary stress on the wood. Whether you are dealing with how to adjust European hinges for a perfectly level door reveal or just trying to figure out the reason your cabinet doors are slamming, the solution is usually hiding in plain sight behind the door. Have you ever avoided fixing a cabinet because you were worried you’d make the gap even wider? Trust me, I’ve been there, but we’re going to fix it today.First, grab a #2 Phillips head screwdriver. Do not reach for your power drill; you will strip the screw heads faster than you can say ‘oops.’ Open the door and look at the hinge attached to the cabinet box. You will see three distinct screws. Think of these like the X, Y, and Z axes on a graph. One controls left-to-right, one does up-and-down, and the last handles the depth—how close the door sits to the cabinet face.
The Three Screws That Control Your Sanity
Move the Door Left or Right
The screw closest to the door is your lateral adjustment. If your doors are touching in the middle or have a massive gap, this is your target. I remember a kitchen remaster where the homeowner was convinced the house foundation was settling because the pantry doors were overlapping. It wasn’t; the hinges just needed a quarter-turn. Turning it clockwise moves the door toward the hinge side, while counter-clockwise moves it away. Small turns are key here. If you are working with why plywood box construction still beats particle board for long-term stability, you will find these adjustments hold much longer because the wood fibers grip the mounting plate with more integrity. 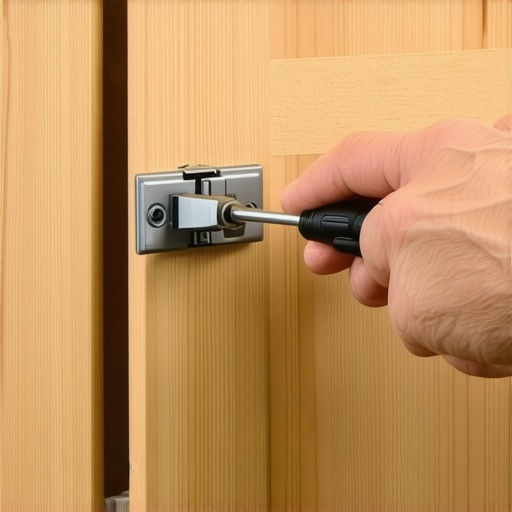
Get Rid of the Sag with Height Adjustments
Vertical alignment is usually handled by the top and bottom screws on the mounting plate (the part attached to the box). Sometimes it is a single center screw. This is what you need for how to adjust European hinges for a perfectly level door reveal. Loosen them slightly, slide the door up or down to match its neighbor, and tighten them back down. A little trick I use is placing a stack of magazines underneath the door to hold it at the exact height while I tighten the screws so I do not have to struggle with the weight.
Eliminate the Gap Between Door and Frame
The screw furthest back—the one tucked deepest into the cabinet—is the depth adjustment. If the top of your door is leaning away from the cabinet like it is trying to escape, or if it is rubbing against the frame when you open it, tighten this screw. This is crucial for custom cabinets as a game changer because a tight, uniform seal is what creates that high-end, seamless look. I once spent two hours on a single laundry room door because I forgot this screw existed. I kept adjusting the height, but the door would not close flush until I tweaked the depth.
Why Your Soft Close Hardware Is Acting Up
If you have adjusted everything and the door still feels ‘off’ or doesn’t close smoothly, check the tension. This is often the reason your cabinet doors are slamming. Some hinges have a small switch or slider to adjust the resistance. If your hinges are older, why your slow close hinges are suddenly sluggish might be as simple as grease buildup. A quick wipe with a microfiber cloth and a drop of silicone lubricant can restore that buttery motion. Once the doors are level, you can finally use the one tool you need for perfectly aligned cabinet knobs to finish the look without worrying about crooked handles ruining your hard work.Now that we’ve tackled the immediate fix for your hinges, let’s dig into the nuances that separate a weekend DIY project from a true professional installation. A common mistake I see in many homes is the ‘more is better’ fallacy. Most homeowners assume that innovative storage solutions for modern kitchen remodels mean filling every available cubic inch with a cabinet box. In reality, over-stuffing your floor plan often leads to a kitchen that feels cramped and lacks visual ‘breathing room.’ It is a classic case of quantity over quality, and it can actually lower the perceived value of your home.
The Myth of Maximum Cabinetry
I’ve walked into high-end homes where the owners were frustrated because their expensive remaster felt like a claustrophobic box. They had ignored expert tips on selecting storage solutions for a perfect kitchen upgrade and instead tried to eliminate every bit of wall space. Sometimes, a well-placed floating shelf or a intentional gap does more for the room’s function than a cabinet you can barely reach. Think of it as ‘storage debt’—if you build it, you have to organize and clean it. If you don’t actually need that space, you are just adding maintenance for the sake of more wood on the wall. 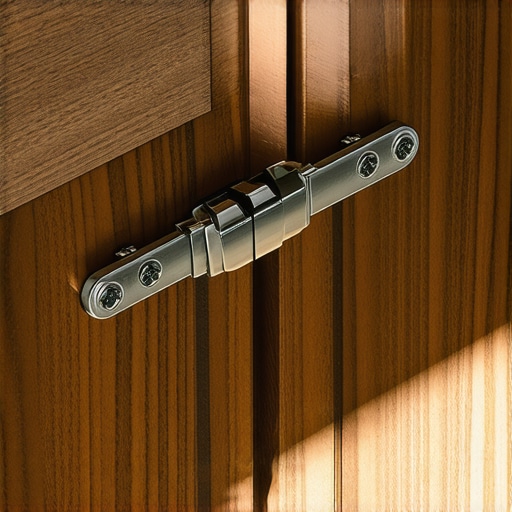
Stop Falling for the Specialized Accessory Trap
Let’s get real about the ‘oops’ factor that almost every homeowner encounters: the specialized pull-out. We all love the idea of a dedicated rack for every single spice or cutting board, but this is one of the biggest traps in high-end design. It is precisely why narrow spice pull-outs are often harder to use than you think. These units often lack the structural rigidity to handle the weight of glass jars over a five-year span, and if a single item falls behind the track, the whole mechanism jams. I always advise my clients to look at the long-term utility. If you are not a professional chef, you do not need a dedicated station for everything. Sometimes, you are just paying for complexity that will require repair in a few seasons.
Why Does My Perfect Alignment Disappear When the Seasons Change?
This is the advanced question that separates the pros from the amateurs. You might spend an hour getting those European hinges perfectly level, only to find the doors rubbing again six months later. This isn’t a failure of your screwdriver skills; it is biology. According to the Architectural Woodwork Institute (AWI), interior woodwork should be maintained in a relative humidity range of 25% to 55% to prevent structural failure. Wood is hygroscopic, meaning it constantly gains and loses moisture to match its environment. This is why solid wood door panels still need room to breathe in summer. When the humidity spikes, the wood expands across the grain, which can actually push the doors out of alignment or cause them to bind. If your project didn’t account for this ‘float’ in the panel, no amount of hinge turning will fix a door that has genuinely warped. Understanding these shifts is also a factor when calculating the hidden costs of choosing custom colors for your cabinetry, as darker, more brittle finishes often show these micro-movements more prominently than natural stains. Have you ever fallen into the ‘more is better’ trap and ended up with a kitchen that felt too cluttered for its own good? Let me know in the comments below.I’ve seen too many people try to measure out 100 different holes for handles with a ruler and a prayer. If you want that high-end look from the ultimate guide to custom cabinets for a stylish kitchen overhaul, you need a dedicated drilling jig. I personally use the True Position Drill Guide. It’s a heavy-duty aluminum tool that clamps onto the door. Unlike those flimsy plastic templates from the big-box stores, it doesn’t flex, which means the hole on the front matches the hole on the back perfectly. This is the one tool you need for perfectly aligned cabinet knobs every single time, especially when working with expensive hardwoods that don’t forgive a misplaced drill bit.
Stop the Grinding Before It Starts
If your drawers start to resist or make a high-pitched squeak, don’t just pull harder. Often, the real reason your cabinet drawer slides are grinding is just a build-up of microscopic construction dust or kitchen grease in the ball bearings. I recommend a two-step fix: first, use a vacuum with a brush attachment to clear the tracks, then apply a dry PTFE lubricant. Unlike standard oil, dry lubricant won’t attract more dust over time. Keeping your hardware clean is just as important as the wood itself when it comes to innovative storage solutions for modern kitchen remodels because these high-tech slides have much tighter tolerances than old-fashioned wooden runners.
How do I keep my custom cabinets looking new for a decade?
Maintenance isn’t just about the wood; it’s about the chemistry of the finish. According to technical bulletins from the Kitchen Cabinet Manufacturers Association (KCMA), finishes are most vulnerable to ‘thermal shock’—rapid temperature changes near ovens or dishwashers. This is why knowing the difference between pre-catalyzed and post-catalyzed cabinet lacquer is vital; the latter is much more resistant to chemical cleaners but requires a more professional touch to repair if scratched. For daily wipes, skip the citrus-based ‘polishes’ that leave a waxy buildup. A slightly damp microfiber cloth followed immediately by a dry one is all you need to maintain that factory glow. 
Handle-Free and Minimalist Kitchen Trends
Looking ahead, I predict a massive shift toward ‘quiet luxury’ in cabinetry. We are already seeing why finger pull channels are replacing traditional handles in modern kitchens. This trend toward a seamless, architectural look means fewer snagged pockets and a much easier surface to wipe down. To truly maximize space with innovative storage solutions for every room, we are starting to integrate motorized touch-to-open systems. Imagine a kitchen where the trash pull-out opens with just a tap of your knee when your hands are full of flour.
Grab Your Screwdriver and Test Your Hinges
If you’re planning modern kitchen remodels featuring custom cabinets and built-ins, don’t let the technical maintenance side scare you off. My challenge for you today is simple: go to that one ‘problem cabinet’ you’ve been ignoring. Use the three-screw method we discussed to get that reveal perfectly straight. It’s the smallest win that makes the biggest difference in how your kitchen feels. If you’re ready to stop the DIY guesswork and want a professional touch on your next project, head over to our contact us page and let’s build something that stays level for years to come.
Hard Lessons from My Most Expensive Cabinet Mistakes
I used to think that once the check was signed, the kitchen was ‘done.’ I was wrong. The biggest realization I had was that even the most expensive custom cabinets are dynamic objects—they react to your cooking, your cleaning, and even the weather outside. Here are a few ‘lightbulb’ moments from my years in the shop:
- The ‘Swiss Cheese’ Disaster: Never drill a new hole for a hinge until you have exhausted every single adjustment screw. I’ve seen beautiful doors ruined because a homeowner didn’t realize they had 5mm of play built into the hardware.
- Don’t Trust Your Eyes Alone: Use a small level or a laser line. Sometimes a door looks crooked, but it’s actually the floor or the ceiling that’s slanting. Adjusting the door to match a crooked wall can actually make it look worse.
- The Weight Factor: If you are planning smart storage solutions for small kitchens in 2025, remember that a door full of heavy spice racks will sag differently than a standard door. Adjust your hinges after the shelves are loaded.
The Three Must-Have Tools for a Lifetime of Perfect Alignment
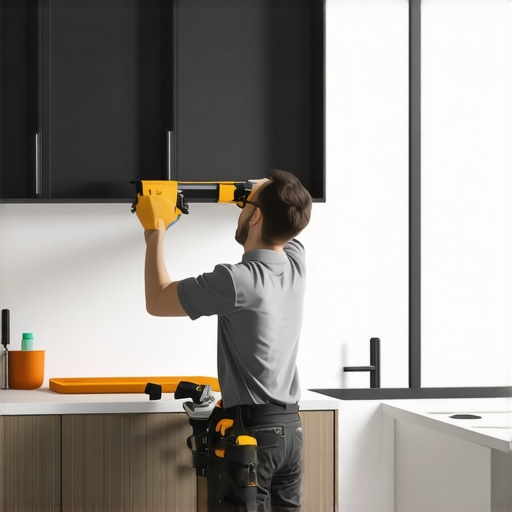
You don’t need a massive workshop to keep your kitchen looking like a showroom. I personally trust these three specific items to keep everything tight and tidy. First, a #2 PoziDriv Screwdriver. Most European hinges use PoziDriv, not standard Phillips; using the right bit prevents stripping and gives you way more torque. Second, a Digital Wood Moisture Meter. I use this to check if my built-ins and storage hacks are expanding due to high humidity before I try to force a stuck drawer. Finally, a PTFE Dry Film Lubricant. It’s a game-changer for slides because it won’t attract hair or dust like standard oil will. [IMAGE_PLACEHOLDER]
Build Your Dream Kitchen One Screw at a Time
There is a profound sense of satisfaction that comes from fixing a nagging issue with your own two hands. Don’t let a tiny gap or a sluggish drawer diminish the joy of your home. Whether you are doing a full modern kitchen remodel or just maintaining your current space, remember that excellence is found in the details. You have the tools and the knowledge now—go ahead and turn that first screw. Which cabinet door in your house has been driving you crazy the longest? Let me know in the comments below, and let’s get it fixed!