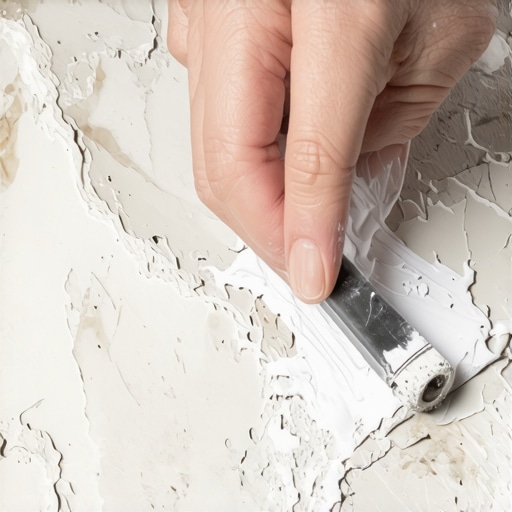
How to Repair a Chipped Corner on a Laminate Countertop
The sharp, sickening *clack* of a heavy ceramic mug hitting the corner of my laminate island is a sound that still haunts my Tuesday mornings. I stood there, coffee pooling slightly on the floor, staring at a jagged, tan-colored crater where a smooth edge used to be. It felt like the entire room was suddenly shouting about that one tiny flaw. When you have put effort into custom cabinets ideas or spent weeks researching built-ins and storage hacks, a physical break in the surface feels like a personal failure. But I have good news for your morning coffee routine. We are not going to replace the whole slab, and we certainly are not going to hide it under a dish towel forever. Today, I am going to walk you through the exact process I used to rebuild that corner so seamlessly that even my mother-in-law could not find the patch.
Stop Stressing and Start Filling
Repairing laminate is not about being a master carpenter; it is about having the right materials and a steady hand. Many people assume that once the top layer of melamine is breached, the particle board underneath will just swell up and ruin everything. While moisture is a concern, if you act quickly, you can seal that wound and restore the structural integrity of the edge. In my early days, I made the mistake of thinking I could just use standard wood filler and a brown marker to ‘color it in.’ It looked terrible—like I had tried to repair my kitchen with a crayon. I learned the hard way that you need a specific color-matched laminate paste that bonds to the substrate. This small fix is often the bridge between a dated, damaged kitchen and the polished look of modern kitchen remodels we all see in magazines.
According to the National Association of the Remodeling Industry (NARI), keeping your kitchen surfaces in ‘like-new’ condition is one of the most effective ways to maintain home value without over-investing in a full gut-job. By taking an hour to address these small chips, you are protecting your investment. Have you ever found yourself staring at a small scratch or chip and wondering if the whole kitchen is starting to fall apart? It is a common fear, but usually, it is just a quick fix away from being perfect again.
Will This Patch Just Fall Out Next Week?
This is the number one thing people ask me. I get the skepticism. The fear usually stems from using the wrong products. If you use a high-quality seam filler, it actually cures into a hard, plastic-like surface that handles heat and moisture almost as well as the original laminate. When you combine this with expert tips on selecting storage solutions to keep your heavy appliances off the vulnerable edges, your counters can last another decade. We are not just slapping goop in a hole; we are chemically bonding a new surface to the old one. If you have been looking for innovative storage solutions to refresh your space, start with the surfaces you already have. Fixing that corner is the first step toward a kitchen you are proud to show off again.
Strip Away the Grease and Grime
Before you even open a tube of filler, you have to be ruthless with cleaning. Laminate is non-porous, but that chipped edge—the exposed particle board—is a giant sponge for cooking oils and dust. If you try to bond your repair paste to a greasy surface, it will pop off within a week. I use a lint-free cloth soaked in pure acetone. It’s aggressive, but it’s the only way to ensure a chemical bond. This mirrors why your Indianapolis kitchen cabinet paint quote includes a mandatory de-greasing step; without a pristine surface, the finish is doomed from the start.
Build a Mold for That Missing Corner
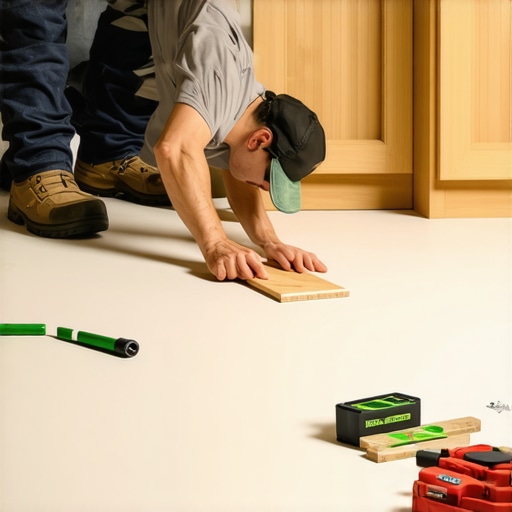
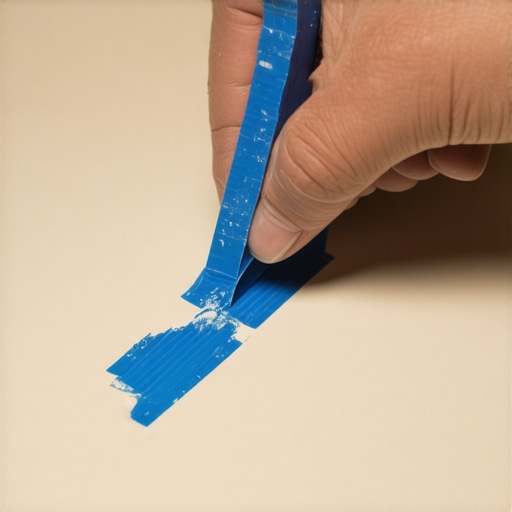
When a corner is missing, the filler has nothing to lean against. It’s like trying to pour a concrete driveway without forms. I use blue painter’s tape to build a little ‘retaining wall’ around the break. I place one piece of tape vertically against the side edge and another along the front edge, making sure they intersect at a perfect 90-degree angle slightly above the height of the counter. This creates a tiny pocket where your repair material can sit and cure in the exact shape of the original corner. This level of detail is what separates a DIY patch from the custom cabinets as a game changer in your kitchen remodel journey because it respects the original geometry of the room.
The Secret to a Perfect Color Match
I learned the hard way that ‘close enough’ isn’t good enough when it comes to color. On my third kitchen project, I tried to repair a ‘Slate Gray’ counter with a generic gray filler. In the shop light, it looked fine. But once the sun hit it from the window, the patch turned a sickly purple-gray. It looked like I had stuck a piece of chewed bubblegum on the corner. I had to use a heat gun to soften the filler, scrape it out, and start over. Now, I always mix my laminate paste on a piece of clear plastic held over the counter. This lets you see the color against the actual surface without committing. If you are looking for innovative storage solutions for modern kitchen remodels, remember that color consistency is just as important as the layout itself.
Precision Sanding Without Damaging the Rest
Once you’ve overfilled the hole and the paste has cured—usually about 24 hours—you have to bring it back to level. This is the danger zone. If you are too aggressive with sandpaper, you will scuff the surrounding laminate, and those scratches are permanent. I use a fresh, sharp razor blade to ‘shave’ the bulk of the filler down first. Hold it at a 90-degree angle and pull it toward you like a cabinet scraper. When you get close to the surface, switch to 600-grit wet sandpaper. It sounds slow, but it gives you total control. Similar to how you would fix a cracked cabinet panel without replacing the door, the goal is to make the repair invisible by blending textures. If you’ve done it right, the seam between the old laminate and the new filler should disappear under your fingertip. Once the texture matches, a quick wipe with a specialized cleaner—much like the best way to clean your new granite countertops—will reveal the final, seamless result.
Fixing that corner chip was a win, but it got me thinking about why that heavy mug fell in the first place. Most of us are taught that ‘more storage’ is the ultimate goal of any kitchen project. But I am going to tell you something controversial: more storage often leads to more damage. When we focus purely on volume, we stop thinking about ergonomics and weight distribution. I have seen homeowners insist on smart storage solutions for small kitchens in 2025 that look great on paper but fail the moment you actually try to cook a Sunday dinner. The secret is not just having a place for everything; it is about the physics of where that place is located.
Stop Obsessing Over Every Square Inch
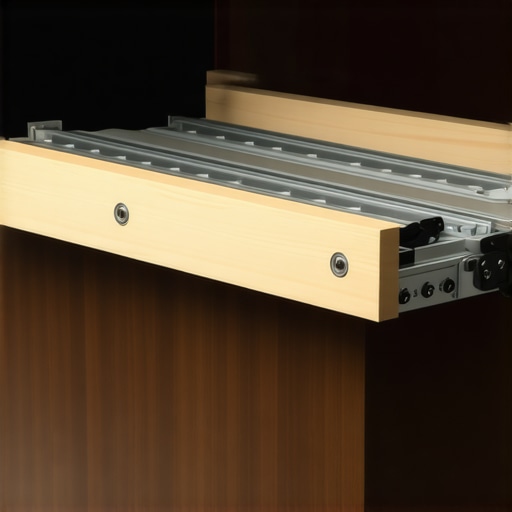
Everyone says you should use every bit of ‘dead space’ in a kitchen, but in my experience, that usually results in clutter you can no longer reach. The ‘Oops’ factor usually hits about six months after the contractor leaves. You realize that your beautiful new deep drawers were only rated for 75 pounds, and your collection of cast iron pans weighs 100. Suddenly, you are looking at why your drawer slides are grinding and wondering why the ‘custom’ experience feels so flimsy. This is why why your kitchen remodel should start with the floor plan, not the cabinet catalog.
According to a recent study by the National Kitchen & Bath Association (NKBA), nearly 30% of kitchen functionality issues stem from poor ‘zone’ planning rather than a lack of space. If you put your heavy storage in a high-traffic corner, you are just asking for another chipped countertop or a bruised hip. We need to move away from ‘storage’ and toward ‘staged access.’ This means prioritizing expert tips on selecting storage solutions that respect the workflow of a real, messy, busy human kitchen.
Does Your Custom Layout Actually Hurt Your Resale Value?
It sounds crazy, right? You are paying for a premium upgrade, but there is a point where hyper-customization becomes a liability. If you build a cabinet specifically sized for one vintage espresso machine, you have essentially created a permanent hole in your kitchen’s future. True expertise lies in creating flexibility. Use adjustable components to maximize space with innovative storage solutions for every room so that when the next homeowner—or your next favorite appliance—arrives, the kitchen adapts instead of requiring a sledgehammer. Have you ever fallen into this trap of over-customizing a space only to regret it a year later? Let me know in the comments.
Stop Fighting Your Drawers
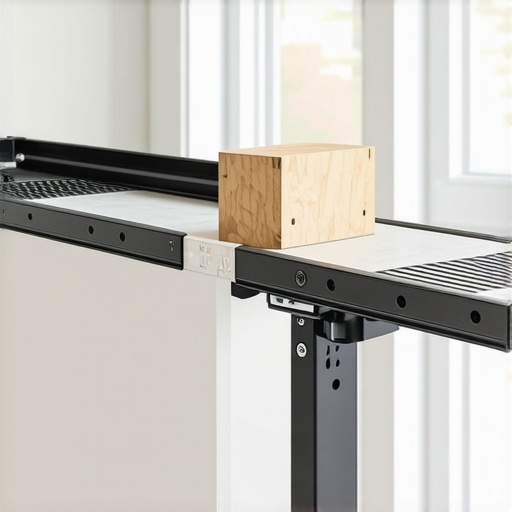
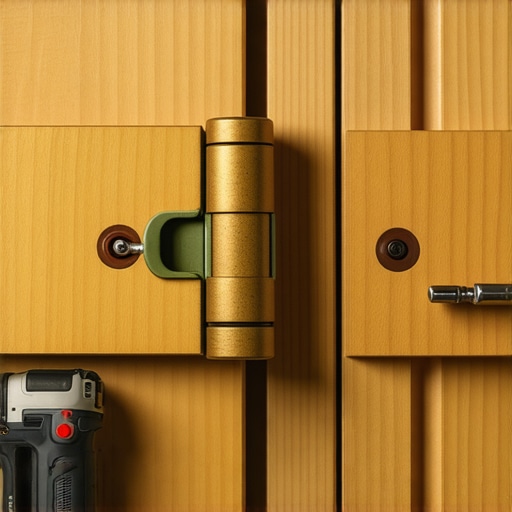
I have seen fifty-thousand-dollar kitchens fail because of a fifty-cent screw. It sounds like an exaggeration, but once the initial excitement of your modern kitchen remodels wears off, you are left with the physics of daily use. Every time you slam a drawer or hang a heavy wet towel over a cabinet door, you are testing the mechanical limits of your hardware. If you start hearing a click or feel a slight resistance, do not ignore it. That is the hardware screaming for a literal adjustment. Dealing with a small alignment issue now prevents the catastrophic failure of the mounting holes later. If you are hearing noises every time you grab a plate, check out how to fix a cabinet hinge that squeaks every time before the internal spring snaps entirely.
How do I keep these cabinets moving like silk for twenty years?
Maintenance is less about deep cleaning and more about ‘mechanical mindfulness.’ According to the Blum Technical Specification Manual, high-quality soft-close hinges are rated for 200,000 opening and closing cycles, but their performance relies heavily on the ‘verticality’ of the installation—meaning a cabinet just slightly out of plumb can cut that lifespan in half. Every six months, I do a ‘lap’ around my kitchen. I check for rubbing, I tighten the mounting screws (just a quarter turn!), and I check the speed of the soft-close mechanisms. If things seem slow, remember the real reason your soft-close drawers are sluggish in winter often has more to do with lubricant viscosity than broken parts. A quick wipe with a dry PTFE spray can work wonders, but stay far away from standard WD-40, which acts as a dust magnet in a flour-heavy kitchen.
The Tool That Replaced My Tape Measure
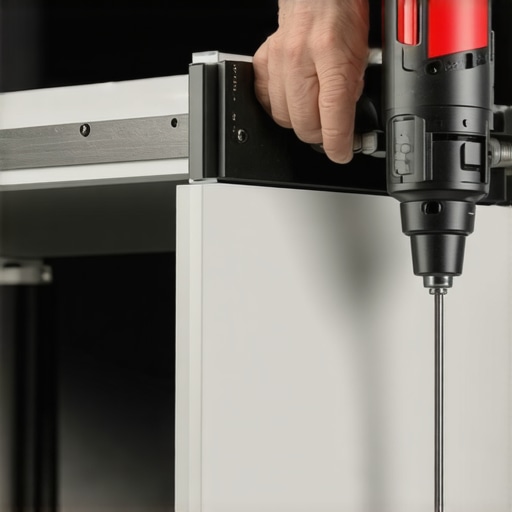
If you are planning to add hardware to custom cabinets ideas you have just brought to life, stop using a tape measure for every hole. I personally use a dedicated cabinet hardware jig—specifically the True Position Drill Guide. It is an investment, but it eliminates the ‘measure twice, cry once’ anxiety that ruins doors. It allows you to set the hardware spacing once and repeat it across twenty doors with sub-millimeter precision. This tool is the secret behind why professional installs look so uniform. When you combine that precision with the secret to a quiet kitchen dampening your cabinet doors, you transition from a ‘nice’ kitchen to a luxury experience that feels solid every time you touch it.
Looking ahead, I suspect we are moving toward ‘smart hinges’ equipped with sensors that notify your phone when a drawer is overloaded or when the humidity levels inside the cabinet box are high enough to cause warping. Until then, we rely on our eyes and the right tools. Scaling your storage doesn’t always mean adding more boxes; sometimes it means upgrading the guts of what you have. For instance, why we recommend 36-inch base cabinets for every modern remodel is because they provide the structural backbone needed for high-capacity, heavy-duty storage pull-outs that will not sag over time. This weekend, I want you to perform a ‘five-minute tune-up’ on your most-used cabinet. Grab your screwdriver and use the 5-minute hinge adjustment for fixing wonky cabinet reveals to see how much of a difference a single millimeter of adjustment can make to the overall feel of your home.
The Most Expensive Mistake I Made With Built-In Storage
I used to think that the more shelves I packed into a room, the more organized I would become. The reality was that I just created deep, dark caves where jars and small appliances went to die. Realizing that to revolutionize your kitchen remodel using built-ins and creative storage means choosing quality over sheer quantity was my biggest lightbulb moment. Here is the hard truth: a small, well-planned cabinet beats a massive, disorganized one every single time. Furthermore, never underestimate the power of the core material; knowing why your cabinet boxes should be stapled glued and screwed changed how I evaluate every piece of cabinetry I install. Finally, remember that your kitchen is a high-traffic zone, and if you do not account for the ‘swing’ of the doors, you will end up learning how to fix a cabinet door that is rubbing the frame much sooner than you planned.
The Tools That Saved My Sanity and My Surfaces
If you are moving beyond the simple repair phase and into full aesthetic upgrades, you need a few non-negotiables in your toolbox. I personally swear by a dedicated hardware jig because it makes the best way to drill holes for new cabinet hardware feel like a professional breeze instead of a stressful gamble. I also recommend keeping a small supply of high-grade color-matched paste for those inevitable future dings. For those looking for long-term inspiration, I always point people toward custom cabinets ideas that transform your homes style because it highlights what is possible when you stop following the ‘big box’ store rules. And if you are dealing with heavy items, please learn the best way to reinforce a floating shelf for heavy cookbooks to prevent a surface disaster before it even starts.
Your Kitchen Is a Living Space Not a Showroom
At the end of the day, a tiny chip in the laminate or a slightly sluggish hinge is not the end of the world—it is just a sign that your home is being lived in and loved. Taking the time to master these small repairs gives you the incredible confidence to eventually tackle a full modern kitchen remodel on your own terms. You do not have to live with the frustration of a damaged corner or a drawer that refuses to glide. If you ever feel like a project is becoming too much to handle, do not hesitate to reach out and contact us for expert guidance. Your dream kitchen is built one small, successful fix at a time. Have you ever attempted a laminate repair and had the color match go completely wrong under the kitchen lights? Let me know your stories in the comments below!