The Blind Corner Trap: 3 Hardware Fixes That Recover Space
Ever had that sinking feeling when you open a cabinet and realize the corner space is just wasted, full of hard-to-reach items or dead zones? I remember the first time I tackled my kitchen remodel. I was so excited to install those stylish new cabinets, only to be stumped by that infamous blind corner. No matter how sleek, if the hardware and layout don’t address those tricky spots, it’s all just wasted space—and frustration. That lightbulb moment led me down a rabbit hole of researching practical solutions to reclaim every inch and make my kitchen truly functional.
Why Corner Spaces Are the Hidden Goldmine of Storage
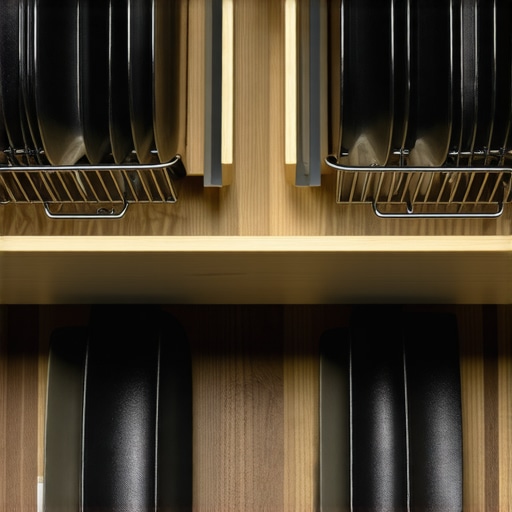
Cutting-edge storage solutions can turn what seems like a dead-end into your kitchen’s secret weapon. Those blind corner cabinets, often overlooked, can be transformed with hardware fixes that make accessing and organizing effortless. Imagine pulling out a deep, organized shelf or installing a clever hinge system that brings your corner items forward—no more awkward reaching or wasted space. According to a recent study by the National Kitchen & Bath Association, smart hardware and layout choices can boost storage capacity by up to 30%, saving time and reducing clutter.
Have You Faced This Frustration?
Did you ever feel like your kitchen’s dead corners are just a black hole for storage? Trust me, I’ve been there. Early on, I made the mistake of thinking that all corner cabinets are created equal—until I realized the importance of choosing the right hardware and layout. Once I implemented some simple fixes, my space became much more user-friendly and efficient.
Next, I’ll share three hardware solutions that helped me unlock the potential of my corner cabinets and could do the same for you. Whether you’re remodeling or just looking to squeeze every bit of space out of your current setup, these fixes are worth trying. Ready to reclaim your kitchen corners? Let’s get started.
Remove Obstructions and Clear the Path
Start by emptying your corner cabinets completely. Use a flashlight to inspect the space and identify anything blocking access. Remove unnecessary items and deep-clean the area. An organized, debris-free corner makes installation and adjustments much easier, preventing potential setbacks down the line.
Choose the Right Hardware for Accessibility
Implement Lazy Susans to Simplify Rotation
Lazy Susans are classic, user-friendly solutions for blind corners. I installed one in my kitchen, which involved measuring the opening and selecting a size that fit snugly. During installation, I used a drill to secure the mounting hardware and tested the rotation for smoothness. This transformed a cluttered dead zone into a remarkably accessible space.
Install Pull-Out Shelves for Deep Storage
Pull-out shelves act like slides beneath your cabinet, making items at the back easily reachable. To set them up, I measured my cabinet’s interior dimensions and ordered custom slides. Mounting involves attaching the rails to the cabinet floor and sides, following manufacturer instructions precisely. Once installed, these shelves turn hard-to-reach corners into organized, functional storage spots.
Leverage Corner-Optimized Hinges
Specialized hinges, such as lazy hinge systems, hinge the cabinet door outward and upward, giving full access without knocking items over. During my remodel, I adjusted the hinge tension and alignment with a screwdriver, which gave me a smooth-opening experience. This hardware minimizes wasted space and streamlines the opening process, especially valuable in tight quarters.
Custom Cabinet Inserts to Maximize Vertical Space
Vertical dividers and inserts allow you to stack and organize items efficiently. I fabricated custom plywood dividers using a saw and clamps, fitting them into existing cabinets. This hands-on approach, although messy, created tailored compartments that doubled my storage capacity and kept everything visible at a glance.
Incorporate Built-ins for Seamless Design
Replacing traditional cabinets with built-in solutions provides a designed purpose for every corner. I consulted with a professional to design built-ins featuring adjustable shelves and pull-out trays, ensuring flexibility. Proper framing and anchoring were crucial—particularly anchoring to the wall studs using appropriate fasteners—to prevent sagging over time. This strategic upgrade not only improved organization but also elevated the kitchen’s aesthetics.
Assess and Seal for Durability
Apply weather-resistant finishes or sealants to protect your hardware and cabinetry from moisture. My project involved sealing plywood edges with painted edge banding, which prevented warping. Proper sealing ensures longevity, especially in humid kitchens.
Explore Additional Innovations
Smart storage solutions like motorized pull-outs or sensor-activated hinges can add convenience. For instance, installing sensor hinges allowed me to open cabinets hands-free, which was particularly helpful during cooking. These upgrades can be tailored based on your space and budget, providing long-term benefits.
Looking for more ideas? Visit this resource for extra tips on optimizing every room in your home.
When it comes to transforming a kitchen, many homeowners fall prey to popular myths that can hinder effective storage. One pervasive misconception is that installing more cabinets automatically equates to better organization. In reality, dense cabinet layouts can often lead to clutter and harder access, especially if hardware choices aren’t optimized. Instead, focusing on specialized solutions like built-ins and custom inserts—highlighted in our comprehensive guide to custom cabinets—can drastically improve usability.
A frequent mistake is prioritizing aesthetics over functionality. Custom cabinets with ornate fronts may look stunning but can compromise accessibility, particularly in tight corners. The key is to balance beauty with utility, such as integrating pull-out shelves or lazy Susans tailored for blind corners, as discussed in our article on storage hacks for sleek kitchens. Never underestimate the power of Advanced hardware choices; for instance, sensor-activated hinges provide hands-free operation, turning overlooked spaces into user-friendly zones.
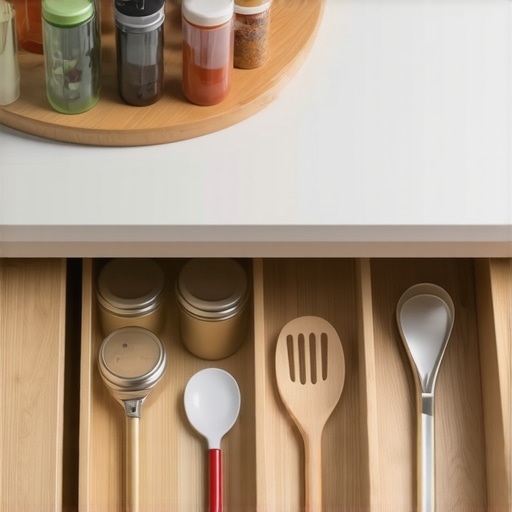
Critics often suggest that built-ins are only for high-end remodels, but this ignores their versatile benefits. Built-ins can be designed to maximize vertical space, seamlessly blending into the existing decor and offering tailored storage for specific needs, such as a wine rack or spice drawer. To get a deeper understanding, check out our guide to built-in solutions. Remember, integrating these features requires thoughtful planning—improper measurements or mismatched finishes can lead to costly errors.
Let’s dispel a common myth: that standard solutions suffice for every kitchen. Advanced storage requires nuance, like understanding humidity’s effects on certain materials—especially in moist environments—which can cause warping and damage over time. For instance, high-end plywood variants resist moisture better than particle board, preserving the integrity of your custom cabinetry. For a comprehensive look at material choices, visit our article on plywood options.
Finally, many overlook the importance of planning for future needs. A poorly designed storage system can become obsolete quickly if it doesn’t accommodate added appliances or changing family sizes. Incorporating adjustable shelving and modular inserts ensures flexibility, as highlighted in our resource on modern kitchen remodels. The goal is a space that adapts and evolves, not just looks good today.
Have you ever fallen into this trap? Let me know in the comments. Recognizing these hidden nuances can save you time, money, and countless frustrations—making your kitchen a truly functional and stylish heart of your home.
Once you’ve invested time and resources into optimizing your kitchen storage with custom cabinets and built-ins, the next step is ensuring these improvements stand the test of time. Regular maintenance, the right tools, and strategic upgrades can keep your space functional and beautiful for years to come. In this section, I’ll share my personal go-to tools, maintenance routines, and future trends to help you sustain and scale your storage solutions effectively.
How do I maintain my cabinets and built-ins over time?
Maintaining your cabinetry involves a combination of routine cleaning and periodic hardware checks. I recommend using a microfiber cloth and a gentle, pH-balanced cleaner to wipe down surfaces weekly, preventing dust and grease buildup. For hardware, I prefer using a magnetic screwdriver gizmo—like this magnetic screwdriver—which allows precise adjustments without stripping screws. Regularly inspect hinges and pulls to catch any wear early, and lubricate moving parts with a silicone spray to keep operations smooth.
Essential tools I rely on for upkeep
My toolkit includes a small cordless drill with various bits, a set of high-quality screwdrivers, and a level to ensure alignment remains sharp. I also swear by a soft-bristled toothbrush—perfect for cleaning intricate details in corner hardware and moldings without causing damage. For deeper cleaning, I use a flexible utility knife to carefully remove dust from tight corners or to dislodge debris that could cause hardware malfunctions.
Planning for the future: scaling and upgrading
As your needs evolve, so should your storage solutions. Installing adaptable hardware, such as adjustable shelves or modular cabinet inserts, can future-proof your kitchen. For instance, sensor-activated hinges, like those discussed in this guide, can automate access and maintain cleanliness effortlessly. These tech integrations are expected to become more affordable and sophisticated, offering seamless scalability for homeowner needs.
What’s the trend for long-term storage upkeep?
The future points towards smart, IoT-enabled systems that monitor humidity and wear in real-time, alerting you to potential issues before they escalate. Predictive maintenance, combined with software that logs usage patterns, will help you schedule cleaning and adjustments proactively. Embracing these innovations now—even in small ways—can save you money and frustration in the long run.
So, I challenge you to pick one high-quality tool from your toolkit—perhaps a silicone spray or a magnetic screwdriver—and incorporate it into your regular maintenance routine. Taking these small but consistent steps ensures your investments stay beautiful and functional, transforming your kitchen into a space that truly works for you over time.
Interested in scaling your storage? Check out this resource for advanced ideas on expanding your clever storage systems.
Three Surprising Mistakes That Cost Me Time and Money
One of the hardest lessons I learned was that choosing hardware without considering daily use drastically reduced the effectiveness of my storage solutions. I initially installed lazy Susans and pull-out shelves based solely on aesthetics, but I neglected to test their accessibility during regular cooking routines. This oversight taught me to always simulate real-world use before finalizing my hardware choices.
Another underestimated factor was space planning in tight corners. I assumed that standard measurements would suffice, but in reality, small miscalculations led to hardware misalignment and wasted space. Precision in measurement and the patience to double-check are essential for seamless integration of custom storage features.
Finally, I overlooked the importance of durable finishes in moist areas. Applying standard sealants caused premature wear, prompting me to research better sealing options. Now, I understand that investing in high-quality, moisture-resistant finishes preserves both the hardware and cabinetry, ensuring longevity.
Tools and Tips That Changed My Approach to Storage
My most trusted tools include a digital caliper for perfect measurements, a cordless drill with precise torque settings, and a soft-bristled toothbrush for cleaning hardware intricacies. The digital caliper, in particular, prevents costly miscalculations when fitting custom inserts or hinges, making the entire process smoother.
In addition, I rely on high-quality tutorials and guides, such as how built-ins can transform your home. These sources provide detailed step-by-step instructions and inspiration that have helped me avoid common pitfalls and elevate my kitchen’s functionality.
To stay ahead, I’ve adopted a routine of regular hardware inspections and cleaning, using simple tools like silicone sprays and adjustable screwdrivers. This routine keeps my storage systems operating smoothly and prevents minor issues from escalating.
Your Next Step: Turning Knowledge Into Action
Now is the perfect time to assess your own kitchen corners and identify areas ripe for improvement. Whether you’re considering installing lazy Susans or custom pull-out shelves, remember that thoughtful planning and quality hardware are key to long-lasting results. Don’t hesitate to explore resources like innovative storage solutions that can unveil the full potential of your space.
Imagine enjoying a kitchen where every inch is maximized for convenience and style—where clutter is a thing of the past. Your journey toward a more organized, functional space begins with just one step today. Take that step now, and transform your kitchen into the heart of your home that you’ve always dreamed of.