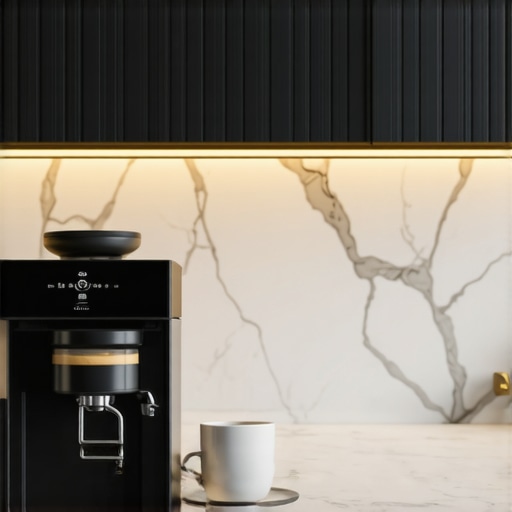
Why Every High-End Kitchen Needs a Dedicated Coffee Water Line
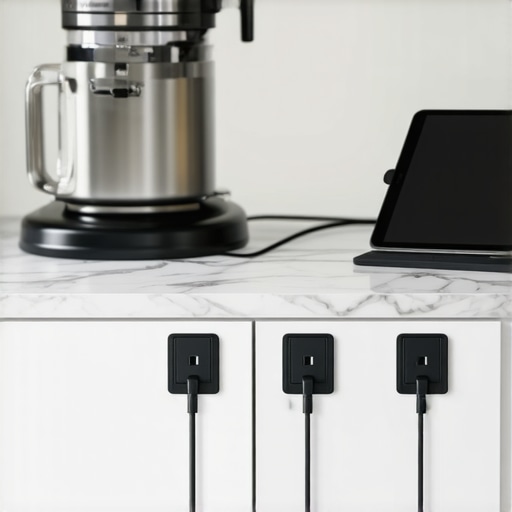
I will never forget the morning I finally snapped. It was 5:45 AM, the house was silent, and my high-end espresso machine started making that dreaded, dry-firing grinding sound because I had forgotten to refill the reservoir—again. There I was, fumbling with a heavy gallon of water in the dark, only to have it glug out too fast, splashing across my counters and down the front of my cabinetry. It was messy, it was frustrating, and it was entirely avoidable. That moment of caffeine-deprived chaos was my lightbulb moment. When we talk about custom cabinets as a game changer, we often focus on the wood and the finish, but the real magic is in the utility we hide behind those doors. Today, I want to show you why a dedicated coffee water line is the one ‘extra’ you will never regret adding to your kitchen plans. We are going to dive into how this simple plumbing addition transforms your workflow and keeps your surfaces clear of the clutter that usually comes with high-end brewing.
Get Rid of the Countertop Clutter and the Refill Routine
Early in my career, I made a classic mistake: I designed a stunning coffee nook with beautiful built-ins and storage hacks but completely ignored the plumbing. I thought, ‘How hard is it to carry a pitcher of water?’ Two months later, that client called me because they were tired of the ‘water trail’ across their hardwood floors. A dedicated water line—often called a ‘plumbed-in’ setup—removes the friction from your morning. It allows for a seamless integration where your machine is always ready. Beyond the convenience, there is a major technical benefit. According to the Specialty Coffee Association (SCA), water makes up about 98% of your coffee, and having a plumbed line allows you to install high-grade, in-line filtration systems that a tiny plastic tank simply cannot match. This doesn’t just make the coffee taste better; it saves your expensive heating elements from scale buildup.
Is a dedicated line actually worth the plumbing hassle?
I get this question all the time from homeowners who are worried about the extra cost of a plumber. They worry about leaks or the complexity of the install. But here is the reality: if you are already opening up walls for a modern kitchen remodel, the cost of running a 1/4-inch flex line is negligible compared to the long-term value. It is the difference between a kitchen that looks professional and one that functions professionally. Have you ever found yourself standing over your sink at the crack of dawn, waiting for a slow filter pitcher just so you can start your brew? I’d love to hear your coffee station horror stories in the comments. It is time we stop treating water like an afterthought and start building it into the very foundation of our sleek countertop strategies.
Route Your Lines Before the Cabinets Go In
Designing a plumbed coffee station isn’t just about the machine; it is about creating the path of least resistance for your water. During a professional kitchen upgrade, you want to tap into an existing cold water line—usually from the sink or refrigerator—using a 1/4-inch polyethylene or braided stainless steel tube. The biggest mistake I see is people running these lines through ‘dead zones’ where they can’t be reached if a pinhole leak occurs. I always recommend routing the line through the back of adjacent cabinets. In one project, we utilized removable cabinet bottoms so the plumber could verify the connections without ripping out the toe kicks. This level of foresight is what separates a DIY attempt from a professional stylish kitchen overhaul.
Leave Room for the Service Loop
Imagine trying to work on a car engine that is welded shut. That is what it feels like to maintain a plumbed espresso machine without a ‘service loop.’ You need to leave about 18 to 24 inches of extra tubing coiled behind the machine. I learned this the hard way years ago. We had perfectly fitted a machine into a hidden docking station, but we cut the water line too short. When the pump needed a simple adjustment, we had to dismantle the neighboring shelves just to get a hand behind the unit. Now, we design ‘pockets’ in the back of the cabinetry specifically to house that extra slack. 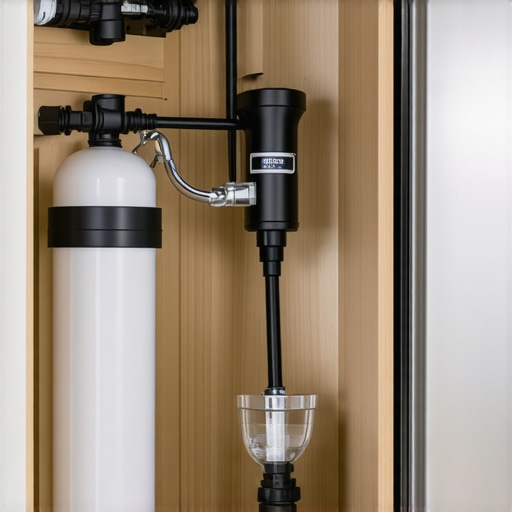
Filtration and the Hidden Access Hack
You shouldn’t just run tap water directly into a high-end machine. The chlorine and minerals will eventually degrade the flavor and the machine’s internal lifespan. The ideal setup involves a three-stage filtration system—sediment, carbon, and a water softener—tucked away in a nearby base cabinet. Because these filters need to be swapped every six to twelve months, access is everything. When dealing with smart storage solutions for small kitchens, space is at a premium, so we often use a removable cabinet panel hack. This allows the homeowner to pop off a side panel and swap the filters in seconds without having to crawl into the dark recesses of a corner cabinet. If you are planning your layout, ensure the water shut-off valve is also in an easy-to-reach spot, not buried behind a heavy drawer stack. This keeps your morning routine smooth and your investment protected.
Stop Adding More Cabinets to Fix Your Clutter Problem
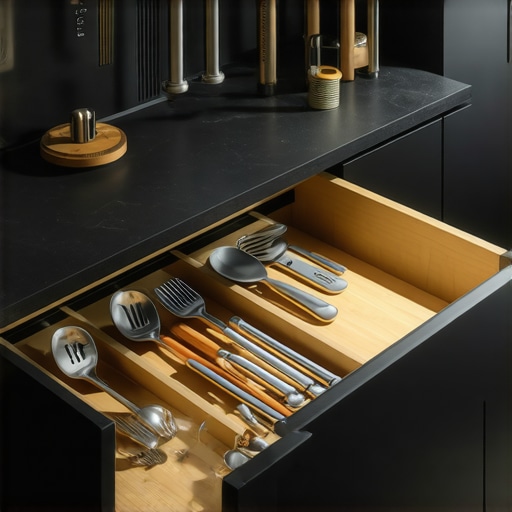
Most homeowners believe that more cabinet boxes automatically equate to a better kitchen. In my twenty years of designing spaces, I have found the opposite to be true: over-cabinetry is the fastest way to create a ‘black hole’ kitchen where items go to die in the dark recesses of 24-inch deep base units. We often get blinded by the promise of the ultimate guide to custom cabinets for a stylish kitchen overhaul and forget that accessibility is the true metric of success. If you are building a coffee station with that dedicated water line we discussed, don’t just shove it into a standard cabinet. A deep shelf without a pull-out is just a wasted opportunity. In a modern kitchen remodel, I actually advocate for fewer cabinets but higher-quality internal hardware. Why? Because a well-organized 18-inch drawer is more useful than a 36-inch cavern where you have to move five appliances just to find the bean grinder. Have you ever fallen into this trap of ‘over-cabinetry’ only to find you cannot reach the back of anything? Let me know in the comments.
The Weight Trap Most Designers Ignore
When we talk about innovative storage solutions for modern kitchen remodels, we usually talk about aesthetics, but we rarely talk about deflection. The ‘Oops’ factor in many high-end kitchens is the failure to account for the sheer weight of modern cookware. Those heavy cast-iron Dutch ovens or professional-grade stand mixers can easily exceed 40 pounds. If your builder used standard drawer slides, you will eventually experience the ‘grind.’ I always tell my clients that why plywood box construction still beats particle board for kitchens is not just about water resistance; it is about the structural integrity required to hold those heavy-duty slides in place. Without proper reinforcement, you will eventually need to learn how to fix a sagging pot and pan drawer with a center support. It is much easier to build that support in from day one than to retro-fit it after the wood has already started to bow. 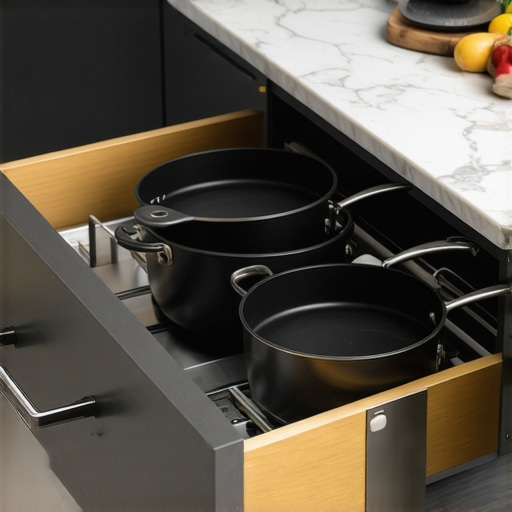
Can Your Drawer Slides Handle a 50-Pound Pot?
Advanced readers often ask me if the extra cost for ‘heavy-duty’ hardware is just a marketing gimmick. It is not. The Kitchen Cabinet Manufacturers Association (KCMA) standards require drawers to be tested at 15 pounds per square foot, but in a custom coffee or baking station, you are often exceeding that in a very small footprint. If you are planning a expert tips on selecting storage solutions for a perfect kitchen upgrade, look for slides rated for at least 100 pounds. This ensures that even when the drawer is fully extended—exerting maximum leverage on the cabinet face—it won’t fail. This is also where people overlook the small details, like the 5-inch rule for choosing the right size cabinet pulls for large drawers. Using a tiny pull on a heavy, wide drawer puts uneven torque on the slide system, leading to premature wear and that annoying ‘sticking’ feeling. Precision in your creating seamless kitchen remasters with built-in storage solutions means matching the hardware’s strength to the reality of your heaviest gear.
Stop the Grind with This Simple Maintenance Hack
I have seen the most expensive custom cabinets ruined simply because the owner didn’t know how to perform a five-minute tune-up. If your drawers are starting to resist or making a faint scraping noise, don’t ignore it. I personally keep a can of dry PTFE (Teflon) spray in my kitchen junk drawer. Unlike WD-40, which attracts dust and creates a sticky sludge, dry PTFE provides a slick, non-oily barrier on your drawer slides. Before you go calling a professional, check why your soft-close slides are failing and the quick cleaning fix. A simple vacuuming of the tracks followed by a light spray of PTFE usually restores that ‘gliding on air’ feeling. For hardware alignment, the only tool I truly trust is the Kreg Cabinet Hardware Jig. It ensures that every pull and knob is consistent within a fraction of a millimeter, preventing the uneven torque that eventually loosens the screws. Using a precision jig is the one tool you need for perfectly aligned cabinet knobs every time. 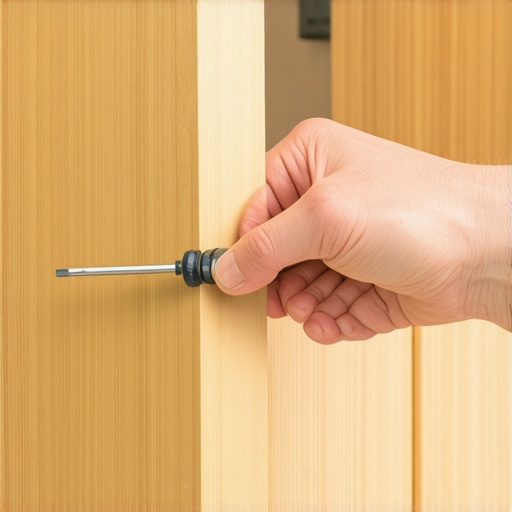
How do I maintain my custom cabinets and storage over time?
The secret to a kitchen that looks brand new ten years later is managing seasonal shifts. Wood is a living material that expands and contracts. According to the National Kitchen & Bath Association (NKBA), maintaining a consistent indoor humidity level between 30% and 50% is critical to prevent joint separation and door warping. If you notice your doors are suddenly hitting each other, it is likely a humidity issue, not a build defect. Learn how to fix cabinet doors that hit each other in the middle using the built-in adjustment screws on your European-style hinges. A simple quarter-turn of the ‘depth’ screw can compensate for summer swelling in seconds.
Hidden Sensors and the Move Toward Responsive Storage
As we look toward the future of modern kitchen remodels, I predict we are moving away from ‘static’ boxes and toward ‘responsive’ storage. We are already seeing the integration of low-profile LED sensors that illuminate the moment a drawer is cracked open, but the next step is weight-sensing technology. Imagine a pantry that pings your phone when your flour supply is low or a cabinet that adjusts its own internal lighting based on the time of day. This level of creating seamless kitchen remasters with built-in storage solutions will make the kitchen work for us, rather than us working for the kitchen. We are also seeing a massive trend toward ‘invisible’ hardware, where finger pull channels are replacing traditional handles to create a monolithic, architectural look. For your next project, I challenge you to try this: Choose one ‘heavy-duty’ drawer and upgrade the slides to a 100lb weight rating. Use it for your heaviest cast-iron gear and see the difference in stability. It is an ‘advanced’ upgrade that you will appreciate every single time you prep a meal.
What Nobody Mentions About High-End Utility
In my years of designing, the biggest takeaway hasn’t been about the paint color or the stone—it is about the friction we remove from our daily rituals. When we integrate custom cabinets as a game changer in a layout, we aren’t just buying boxes; we are buying time. I have learned that if a tool or appliance is even slightly difficult to access, you simply won’t use it. That is why I advocate for the ‘one-motion’ rule: if you can’t get to your coffee or your heavy mixer in one motion, the design has failed. Always prioritize the path of your water and your electricity over the symmetry of your doors. A beautiful kitchen that makes you work too hard is just a gallery, not a home. I’ve found that innovative storage solutions for every room succeed because they respect the human element of movement.
The Gear That Keeps My Kitchens Moving
I am often asked what specific tools I rely on to ensure these complex systems stay functional. First, I never start a project without the Kreg Cabinet Hardware Jig; it is truly the one tool you need for perfectly aligned cabinet knobs every time, preventing the wonky pulls that ruin a high-end look. For maintenance, I swear by Dry PTFE Lubricant. It keeps those heavy-duty slides silent without attracting the grit that standard oils do. Lastly, I highly recommend the NKBA Kitchen & Bath Guidelines. It is the ‘bible’ of clearances and ergonomics that helps you avoid placing a dishwasher where it blocks your path or putting a cabinet where it hits a wall. These resources ensure your custom cabinets ideas that transform your homes style are backed by technical precision.
Build a Kitchen That Actually Serves You
As you move forward with your plans, don’t be afraid to demand more from your space. Your kitchen should be a reflection of your specific lifestyle, whether that means a plumbed-in espresso machine or a dedicated baking zone for heavy cast iron. By focusing on structural integrity and smart access, you are investing in a space that will remain effortless for decades. If you are ready to stop fighting your floor plan and start enjoying it, let’s look at how modern kitchen remodels featuring custom cabinets and built-ins can solve your specific bottlenecks. Your home deserves the same level of care you put into every meal you cook. If you’re feeling stuck on the technical details, feel free to contact us to walk through your vision. Have you ever skipped a functional feature to save a few dollars, only to regret it six months later? Let me know in the comments below!