Why Your Kitchen Island Needs Outlets on Both Ends
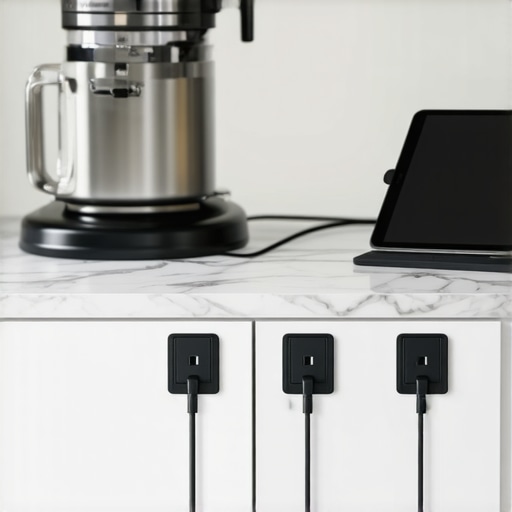
I was standing over a massive bowl of mashed potatoes during Thanksgiving, my heavy-duty stand mixer perched on the far left of the island, and the only electrical outlet was tucked away on the far right. The cord was stretched like a tightrope across my entire prep space. One accidental bump from a grandchild, and that mixer—and the potatoes—were going airborne. That was the moment I realized my dream kitchen was actually a logistical nightmare. It’s a classic mistake I see homeowners make all the time: focusing on the beautiful stone countertop and forgetting that the island is, first and foremost, a workstation. If you are planning a kitchen remodel, you need to think about how you actually move. Today, I’m going to show you why doubling up on your power points is the single best decision you can make for your sanity and safety.
Stop Tripping Over Cords and Start Using Your Island Properly
When I first started designing spaces, I thought a single outlet was plenty. I was wrong. We use our islands for everything now—laptop charging, stand mixers, slow cookers, and even electric carving knives. When you only have power on one end, you’re constantly dragging appliances across your work surface, which is how scratches happen on that expensive new quartz. I’ve found that modern kitchen remodels featuring custom cabinets and built-ins often overlook the simple flow of electricity. If you’re prepping a big meal, you want your tools exactly where you’re standing, not tethered to a wall three feet away. Think about your kitchen layout and the work triangle rule; efficiency isn’t just about where the fridge is, it’s about where your power lives too. Have you ever had to move your entire meal prep station mid-chop just because a cord wouldn’t reach? It’s frustrating, right?
Is adding a second outlet actually worth the extra electrical cost?
I get the skepticism. Wiring isn’t free, and cutting into custom cabinets feels permanent. However, consider the safety aspect. According to the National Fire Protection Association (NFPA), dangling cords are a leading cause of kitchen-related injuries, particularly with small children pulling on appliances. In fact, the National Electrical Code (NEC) has frequently updated its requirements for islands specifically to prevent the need for dangerous extension cords. Adding that second outlet isn’t just a luxury; it’s a safeguard. When I remodeled my last place, I skimped and put in only one. Two months later, I was paying an electrician double to come back out, crawl through my crawlspace, and retroactively add the second one. It was a mess. You’re already doing the work now, so do it right the first time. Integrating power on both ends allows you to utilize smart storage ideas to maximize your kitchen space because you aren’t limited by where the mixer has to sit. You gain the freedom to cook how you want, where you want.
When you start mapping out your electricity, you need to think of your island like a busy intersection. If the traffic—your appliances and chargers—only has one way in and out, you’re going to have a pile-up. This is why your kitchen remodel should start with the floor plan, specifically focusing on where the high-activity zones will be. I usually suggest placing one outlet near your main prep area and another near the seating overhang. I remember a friend who thought she was being clever by putting a single outlet right where the kids’ knees hit their stools. Every time someone sat down, they’d kick the charging cord for the iPad, eventually snapping the port. It was a costly mistake that could have been avoided by just shifting the power six inches to the left.
Map Out Your Power Before the Countertop Goes Down
You can’t just wing it once the stone is delivered. You need to decide early if you want standard side-mounted outlets or something more discreet. While side-mounted plates are cheaper, they break up the clean lines of custom cabinets as a game-changer in your kitchen remodel journey. If you have beautiful shaker-style panels, a white plastic outlet right in the middle of a drawer stack is like a blemish on a tuxedo. Instead, look into color-matched covers or recessing the boxes into the cabinet frame. This keeps the look intentional rather than accidental. When you are modern kitchen remodels featuring custom cabinets and built-ins, the goal is to make the technology disappear until you actually need it.
Hidden Outlets Keep Your Island Looking Like a Showroom
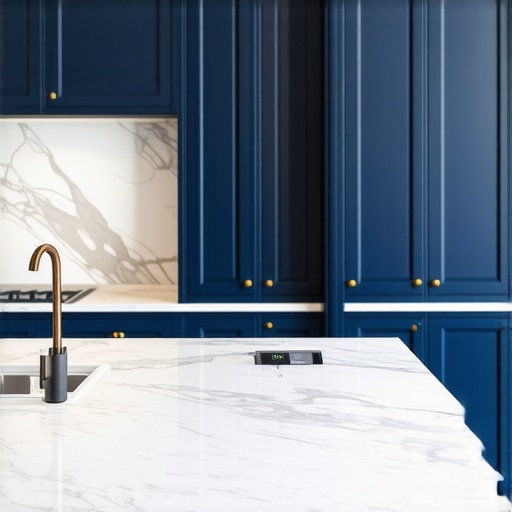
If you hate the look of wall plates, pop-up outlets are your best friend. They sit flush with your quartz or granite and only reveal themselves when you tap the top. This is the ultimate move for a clean, minimalist aesthetic. It’s also incredibly practical when you’re figuring out the best way to light your kitchen island tasks, as it prevents cords from dangling over the edge and catching the light (or your arm). I once installed a series of these for a client who did a lot of heavy baking. We paired the pop-ups with a dedicated lift-up shelf, which is the best way to store your stand mixer out of sight. She could pull the mixer up, plug it into the pop-up right next to it, and never have to drag that 25-pound machine across the counter.
Don’t Sacrifice Your Drawers for a Couple of Wires
One common fear is that adding power to both ends of the island will eat up all your storage space. This is where a skilled cabinet maker earns their keep. By using shallow electrical boxes and running the conduit through the ‘dead space’ behind the drawer boxes, you can maintain your full storage capacity. You shouldn’t have to choose between a functional outlet and the best way to store heavy small appliances in a base cabinet. If your contractor tells you that you’ll lose a whole drawer just for one wire, they aren’t being creative enough. Think of the wiring like the plumbing for your sink; it’s a necessary utility that should be tucked away to allow for smart storage ideas to maximize your kitchen space. I’ve seen setups where the wire is routed through a tiny false back in the cabinet, leaving 95% of the drawer perfectly usable for utensils or spices.
Let’s dig deeper into a philosophy that usually shocks my clients: more cabinets do not necessarily equal a better kitchen. In fact, I’ve seen homeowners cram so many upper units into a space that the room feels like a cave, effectively killing the very ‘open concept’ they paid thousands to achieve. The biggest myth in the industry is that every square inch of wall must be covered in wood. In my experience, a strategic layout using innovative storage solutions for modern kitchen remodels is far superior to raw cabinet volume. When you over-stuff a floor plan, you lose the ‘landing zones’ necessary for actual cooking. The National Kitchen & Bath Association (NKBA) recommends at least 15 to 18 inches of clear counter space on either side of a sink or stove, yet people constantly sacrifice this for one more skinny spice pull-out they’ll never use.
The invisible trap of unlevel floors and out-of-plumb walls
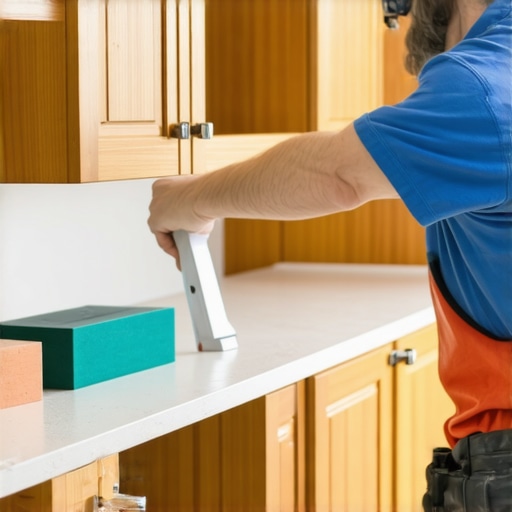
Here is the ‘oops’ factor that almost no one discusses until the stone is being templated: your house isn’t square. If you are investing in custom cabinets as a game-changer in your kitchen remodel journey, you have to account for the ‘scribing’ process. I once saw a DIY-er install a beautiful bank of base cabinets only to realize their floor dipped two inches from left to right. By the time they reached the end of the run, the countertop wouldn’t sit flat. This is why the proper way to shim cabinets on a high spot in the floor is a skill that separates the pros from the amateurs. If you don’t build in tolerances for these architectural imperfections, your ‘perfect’ custom kitchen will have gaps that collect dust and drive you crazy for the next decade.
Is it possible to over-customize your kitchen layout?
I get asked this often by people who want every single appliance integrated. While I love the look of how to hide a sub-zero fridge with custom panels, there is a hidden nuance: future-proofing. If you build a custom enclosure that fits your current fridge like a glove, you are married to that specific model’s dimensions forever. If it breaks in eight years and the manufacturer has changed the door swing or the depth, you’re looking at a cabinet surgery nightmare. I always suggest leaving a half-inch of ‘wiggle room’ hidden by a removable trim piece. This allows for creating seamless kitchen remasters with built-in storage solutions that can actually evolve with technology. 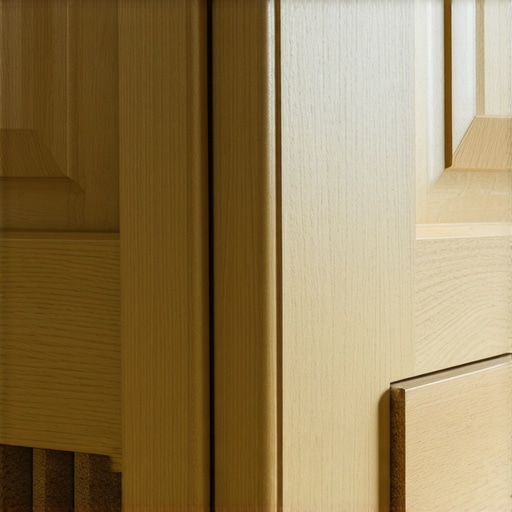
Another common mistake is choosing aesthetics over physical mechanics. For example, many people insist on deep drawers for everything, but they forget that the best way to store heavy small appliances in a base cabinet might actually involve a heavy-duty pull-out shelf rather than a standard drawer box. Standard drawer glides are often rated for 75 to 100 pounds; a heavy stand mixer plus a stack of cast iron pans can easily exceed that, leading to the dreaded ‘drawer sag.’ Have you ever fallen into this trap of prioritizing the ‘look’ over the actual weight limits of your hardware? Let me know in the comments. By focusing on the structural integrity behind the beautiful doors, you ensure your modern kitchen remodels featuring custom cabinets and built-ins last for twenty years, not just two.
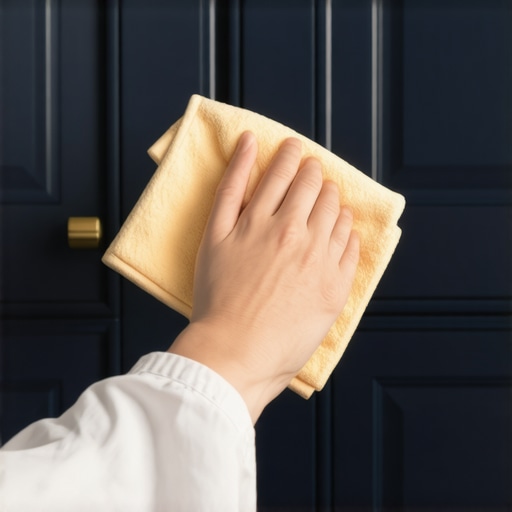
If you want your kitchen to survive more than five years, you need to think like a curator rather than just a cook. I personally use a high-end micro-fiber cloth and a pH-neutral wood cleaner—never the harsh orange stuff you find at big-box stores. Why? Because the acid in citrus cleaners can actually eat through the clear coat over time, leaving your beautiful wood looking cloudy. When we talk about innovative storage solutions for modern kitchen remodels, we have to talk about the physical maintenance of the hardware that makes them move. I’ve seen homeowners invest $40,000 only to have their doors fail because they didn’t know how to remove grease from wood cabinets without ruining the finish. It’s not just about the wood species; it’s about the mechanical life and the surface integrity of the room. If grease sits on a hinge or a painted surface, it acts as a magnet for dust, which creates an abrasive paste that wears down your joinery every time you open a drawer.
Don’t let grease ruin your investment
One tool I swear by for my own maintenance and during my final walkthroughs is a simple laser-temp gun. You’d be surprised how much heat radiates off a professional-grade range and hits your upper cabinets. If you don’t have a heat shield or haven’t accounted for that clearance in your modern kitchen remodels featuring custom cabinets and built-ins, you’re essentially baking your paint finish every night at dinner. This is why why your Indianapolis kitchen cabinet paint quote includes a mandatory de-greasing step is so critical—any residual oils trapped under a new finish will expand and contract with that heat, causing premature peeling and cracking at the joints. I always tell my clients that the best tool in their arsenal isn’t a screwdriver, it’s a thermometer to ensure they aren’t cooking their cabinets alongside their turkey.
How do I keep my custom cabinets looking new for a decade?
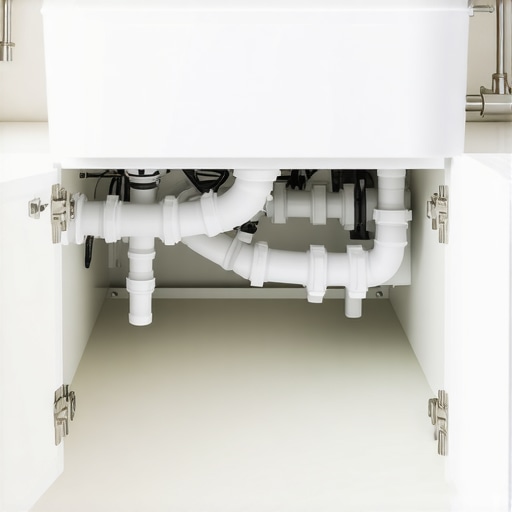
Maintenance in a high-end kitchen is mostly about moisture management and environmental control. I tell everyone I work with that why your sink cabinet needs a drip tray right now is the single cheapest way to save a $5,000 custom sink base from a slow plumbing leak you won’t notice for months. Beyond that, you have to pay attention to the seasons. You might notice the real reason your soft-close drawers are sluggish in winter is actually the change in viscosity of the hydraulic fluid in the hinges. According to the technical specifications from Blum in their ‘Dynamic Space’ workflow documentation, high-quality hinges are precision-engineered to operate optimally within a specific temperature and humidity range. Keeping your home’s climate controlled isn’t just for your family’s comfort—it’s for your cabinetry’s mechanical longevity.
The future of the invisible kitchen
Looking ahead to the next decade, I predict the ‘invisible kitchen’ trend will dominate. We aren’t just hiding fridges anymore; we are moving toward inductive stovetops hidden directly under the porcelain slab, wireless charging integrated into the stone, and voice-activated cabinetry that opens with a whisper. Your custom cabinets as a game-changer in your kitchen remodel journey is going to look a lot more like a piece of high-tech, seamless furniture than a collection of boxes. This means the precision of the installation becomes even more vital. If you’re ready to start mapping out a layout that survives the test of time and incorporates these advanced methods, contact us and let’s talk about your floor plan before you buy your first board. My challenge to you: Go to your kitchen right now and check the bottom of your sink cabinet. If it’s bare wood, order a silicone drip tray tonight—it is the easiest proactive move you can make.
Hard Lessons I Learned While Designing High-End Kitchens
After years of tearing down old cabinets and building new ones, I’ve realized that the most beautiful kitchen can still be a failure if it doesn’t respect your morning routine. Here are a few ‘lightbulb moments’ that shifted how I approach every project:
- Silence is a luxury: We often talk about the look of wood, but the sound of your kitchen matters just as much. Investing in high-end dampening hardware changes the entire energy of the room. A kitchen that doesn’t ‘clatter’ feels more expensive and peaceful.
- Lighting is the secret ingredient: Even the best custom cabinets ideas that transform your homes style will look flat if you don’t have layers of light. I’ve learned to always over-light the prep areas and under-light the social areas to create a natural hierarchy in the space.
- The 5-Minute Rule: If you can’t reach your most-used tool, use it, and clean it within five minutes because of a weird layout, you won’t use it at all. This is why expert tips on selecting storage solutions for a perfect kitchen upgrade always prioritize accessibility over raw volume.
Resources That Will Save You Thousands in Regret
I don’t expect you to know everything about cabinet joinery or electrical codes, but I do expect you to use the right map. For those of you working with tighter footprints, I highly recommend studying these smart storage solutions for small kitchens in 2025 to see how every inch can be reclaimed. If you are overwhelmed by the sheer number of choices, the ultimate guide to custom cabinets for a stylish kitchen overhaul is my go-to recommendation for understanding the ‘why’ behind the ‘what.’ Finally, I always suggest keeping a copy of the NKBA guidelines nearby; they are the gold standard for safety and ergonomic clearances that your contractor might overlook.
Your Path to a Stress-Free Morning Coffee
At the end of the day, a kitchen remodel isn’t just about increasing your home’s resale value—though it certainly does that. It’s about how you feel when you walk into the room at 6:00 AM to make that first cup of coffee. When you modern kitchen remodels featuring custom cabinets and built-ins, you are actually designing a better version of your daily life. Don’t be afraid to demand a layout that works for you, not just one that looks good in a magazine. It’s time to revolutionize your kitchen remodel using built-ins and creative storage and create a space that finally keeps up with your pace. Have you ever found a major flaw in your kitchen layout after the work was already finished? Let me know in the comments below!