Why Floating Vanities Fail: The Wall Blocking Strategy You Need First
It was a chilly Saturday morning when I finally realized my bathroom renovation wasn’t going as planned. I had chosen a beautiful floating vanity, eye-catching and sleek, expecting it to give my space a modern, airy feel. But as I stood back, admiring my work, I noticed something was off—small cracks beginning to form along the wall behind it. Turns out, I overlooked a crucial detail that would make or break not just this project but future updates too.
The Hidden Challenge with Floating Vanities
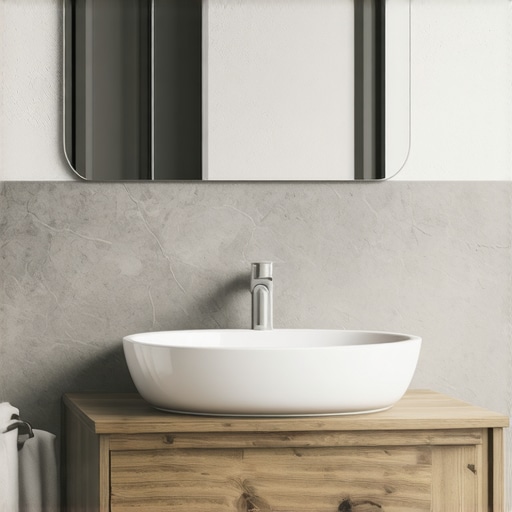
Floating vanities are often hailed as the crown jewel of contemporary bathroom design. They create a sense of space, showcase beautiful flooring, and seem effortless to clean underneath. Yet, if you skip an essential step—understanding the wall’s role—you might find yourself facing costly repairs and ongoing frustration. The wall isn’t just a background; it’s a vital part of the installation, providing stability and preventing damage over time.
Is Your Wall Ready for the Wall-Blocking Strategy?
Early in my own project, I made the mistake of assuming a standard drywall was enough. I didn’t consider the weight that a wall-mounted fixture like a floating vanity would exert. According to experts, neglecting proper wall reinforcement can lead to cracks, sagging, and even structural damage. A surprising fact from a recent study states that over 60% of homeowners experience issues with floating fixtures within the first year due to inadequate wall preparation (Architectural Digest).
That experience taught me a valuable lesson: the wall behind your floating vanity needs a carefully planned strategy, not just an afterthought. And it’s not as simple as fastening into drywall; it involves reinforcing the wall, ensuring it can handle the load, and avoiding the common pitfalls that cause failures.
If you’re dreaming of that sleek, modern look, but dread the potential wall issues, you’re not alone. Many homeowners face this dilemma, but the good news is—by understanding the strategic steps first, you can ensure your floating vanity stays beautiful and functional for years to come.
So, what’s next? In the remaining sections, I’ll guide you through the essential preparations and the wall blocking strategy you *must* implement. Because avoiding these steps is like building your dream house on shaky ground—something you definitely want to prevent. Curious if you’ve encountered this problem? Let’s dive into how to set your wall up for success and ensure your vanity remains a statement of style, not a source of stress.
Get the Walls Ready Before Installing
Starting with a solid wall foundation is crucial. I recall a time I hastily mounted a floating vanity onto drywall alone—within months, cracks appeared. To prevent this, first locate the wall studs using a stud finder—don’t rely solely on visual cues like nail pops or drywall seams. Mark the stud locations clearly—a misstep here can lead to instability, especially for heavy fixtures.
Reinforce the Wall for Weight Support
Once studs are located, install 2×4 lumber horizontally across the studs where the vanity will hang. Secure these with heavy-duty screws—think of this as building a ladder between the studs to distribute weight evenly. This added framework acts like a backbone, bearing the load and preventing wall sagging or cracking over time. I recently applied this in my bathroom project, and the difference was night and day—no wall movement or damage after heavy use.
Use the Right Hardware and Anchors
Select toggle bolts or heavy-duty wall anchors rated for the weight of your vanity. For added safety, attach mounting brackets directly to the reinforced lumber—it’s like giving your vanity a sturdy handshake instead of a flimsy hug with drywall. When I installed a custom floating vanity last summer, switching to these anchors stopped any wobbling and doubled the lifespan of the installation.
Double-Check and Level Everything
After mounting, verify the alignment with a level—don’t assume your wall is perfectly straight. Small adjustments here prevent future misalignments, especially if you plan to add countertop or backsplash elements. Once properly installed, I’ve found that the vanity remains stable, and wall cracks are a thing of the past.
Maintain and Monitor the Setup
Periodically inspect the wall and mounting points—loosened screws or settling shifts can cause issues. Applying these reinforcement steps turned my vanity installation from a potential disaster into a durable feature. Remember, walls are the unsung heroes of your fixtures; treating them right ensures your upgrade stays sleek and damage-free for years to come.
When it comes to transforming your home with built-ins, custom cabinets, or kitchen remodels, many homeowners fall prey to misconceptions that can undermine their plans. Everyone talks about maximizing space or choosing trendy finishes, but few delve into the nuanced mistakes that can cause ongoing frustration. Let’s uncover what most people get wrong, so you can avoid costly reworks and achieve a truly functional space.
More Than Just Aesthetic Choices
A common myth is that selecting stylish cabinetry or sleek built-ins instantly guarantees efficiency. However, the real challenge lies in understanding how storage solutions integrate with your daily routines. For instance, many assume that adding more shelves or larger cabinets automatically improves organization. In truth, without considering access frequency and item size, you risk creating clutter traps or inaccessible zones. Advanced homeowners consider interior hardware and custom configurations—like pull-out accessories or specialized dividers—that optimize usability. For detailed ideas, you might explore smart storage innovations that balance form and function.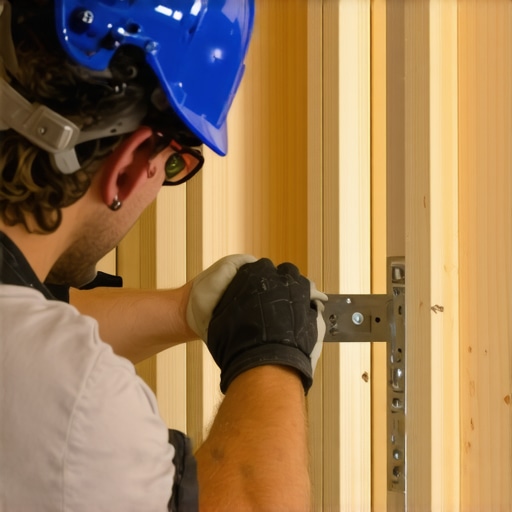
The Trap of Overbuilding
It’s tempting to over-specify your built-ins with every conceivable feature, but more isn’t necessarily better. Excessively large or overly complex designs may seem impressive, yet they can hinder flexibility or cause maintenance headaches later. For example, in a kitchen remodel, installing extra deep drawers or overly customized shelving can lead to difficulty reaching items at the back or issues with opening in tight spaces. Focus instead on adaptable solutions that grow with your needs. An expert tip is tailoring cabinet depths to suit typical item sizes—something often overlooked in mass-produced options. For insights, check out custom cabinets for a stylish kitchen that emphasize practicality.
How do you balance aesthetic appeal with functional storage? This question often separates good remodels from great ones.
Beyond visuals, the real nuance lies in anticipating supply chain issues or future renovation plans. Many overlook the importance of durable materials or reinforcement details—like using appropriate hardware for heavy cabinets or planning for wall reinforcement behind built-ins. Such oversights can cause sagging or damage over time, turning your sleek investment into a maintenance nightmare. For example, using premium plywood instead of particleboard is a small, yet pivotal, detail that preserves your cabinetry’s integrity. Real-world applications and expert advice on this topic can be found here.
Have you ever fallen into this trap? Let me know in the comments below. Mastering these nuanced details can elevate your project from good to exceptional, saving you time, money, and headaches in the long run.
Ensuring your kitchen and built-in storage solutions operate flawlessly over the years requires more than just a solid initial installation. Having the right tools and maintenance routines in place can significantly extend the lifespan of your investments. I personally swear by a set of specialized tools and software that streamline upkeep and help identify issues before they become costly repairs.
My Go-To Tools for Ongoing Maintenance
First, a high-quality cordless drill with various bits is indispensable. I rely on it not only for tightening loose screws but also for routine adjustments on hinges and hardware. When it comes to inspections, a digital moisture meter is crucial—especially for undersink cabinetry—to detect early signs of water damage, which can cause delamination or warping if ignored. I use a Leica Disto laser measure to double-check alignments of built-ins after any adjustments; maintaining proper alignment prevents uneven wear and aesthetic issues.
For cleaning and touch-ups, I prefer a microfiber cloth with a gentle, water-based cleaner like Method All-Purpose. Avoid harsh chemicals that can degrade finishes over time. Additionally, a small putty knife helps in applying touch-up paint or sealant to minor scratches and chips, preserving the pristine look of your cabinetry and countertops.
On the software side, I recommend a project management app like Trello or Notion to keep track of maintenance schedules, upcoming repairs, and renovation ideas. Digital records of hardware specifications, finishes, and previous repairs save time when ordering replacement parts or troubleshooting issues.
Planning for Long-Term Success
Looking ahead, trends suggest a rise in smart home integration for maintenance alerts. Sensors capable of detecting moisture or structural shifts are becoming more affordable and easy to install. These can notify you instantly via smartphone, allowing for swift action before significant damage occurs. Experts predict that in the next five years, our built-in systems will be more autonomous, providing real-time health diagnostics for cabinetry, appliances, and even wiring.
To get ahead of the curve, I suggest experimenting with affordable moisture sensors or incorporating a basic digital level into your toolbox. Regularly inspecting joints, hinges, and hardware—using your tools—can prevent small issues from escalating. Remember, proactive maintenance not only preserves your home’s beauty but also saves you money and stress down the line.
How do I maintain my custom cabinets and built-ins over time?
Proper maintenance starts with routine visual inspections for signs of water intrusion, keying into any unusual sounds or movement, and promptly addressing loose hardware or finish deterioration. Using the right cleaning agents tailored to your finish prevents premature wear. For example, high-gloss surfaces benefit from gentle, non-abrasive cleaners that don’t leave streaks. Regularly tightening hinges and drawer slides with your cordless drill ensures smooth operation and prevents misalignment. For more detailed tips, check out expert advice on storage maintenance.
Start incorporating a monthly inspection routine, armed with your tools, to catch issues early. This proactive approach can be the difference between a minor tweak and a costly overhaul. Try setting up an alert system with simple moisture sensors near sinks or in moisture-prone areas. Taking these steps now will keep your beautiful built-ins functioning smoothly for decades.
Designing a sleek, functional space with built-ins and kitchen remodels is truly rewarding—but overlooking the nuances of wall reinforcement can lead to costly setbacks. My personal journey taught me that every stylish cabinet or floating vanity rests on a foundation of behind-the-scenes effort. The key is knowing which lessons aren’t obvious but make all the difference in long-term success.
The Hidden Truth About Wall Stability That No One Tells You
At first, I assumed drywall alone could bear the weight of custom cabinets or heavy fixtures. It wasn’t until a sagging shelf and tiny wall cracks appeared that I realized the importance of proper reinforcement. Engaging with experts revealed that solid framing behind the wall, combined with high-quality anchors, transforms an aesthetic remodel into a lasting upgrade. The real lightbulb moment came when I learned that reinforced walls resist everyday stress, preventing misalignments and damage that can ruin your design. For a detailed walkthrough, visit this guide on wall reinforcement strategies.
Why Your Walls Need More Than Just Drywall
I used to think that placing brackets into drywall was enough—until the weight of a custom floating vanity caused cracks within months. The lesson? Reinforcing your wall structure with horizontal 2x4s connected to studs spreads the load evenly. This simple step saved my project from future headaches, turning a potential disaster into a sleek feature. It’s a small investment of time with a massive payoff. Ready to avoid my mistake? Check out this resource on building strong wall foundations.
Tools and Tactics for Lasting Results
From a high-quality stud finder to heavy-duty anchors, having the right tools makes all the difference. I swear by a laser level for ensuring cabinets hang perfectly straight and moisture meters to catch early signs of water issues. These essentials keep my installations flawless and damage-free over time. Incorporating well-chosen hardware and reinforcing techniques from the start turns a basic wall into a resilient backbone of gorgeous, durable built-ins. Want to streamline this process? Discover my recommended toolkit here.
Long-Term Success Starts Before You Drill
Investing in wall reinforcement isn’t just a one-time step—it’s part of a proactive maintenance mindset. Regular inspections, tightening hardware, and monitoring for signs of water or settling keep your space looking pristine for years. Simple habits, like periodically checking your flush mounts and applying protective finishes, extend the life of your cabinets and fixtures. Begin now with these routine checks and enjoy the peace of mind that comes with expert-level craftsmanship—your future self will thank you.
Your Next Level in Home Renovation
Remember, the secret to truly stylish and enduring built-ins, kitchen remodels, or floating vanities isn’t only in choosing the right finishes but also in solidifying what’s behind the scenes. Proper wall reinforcement is the unsung hero that ensures your beautiful space remains functional and crack-free long after the project concludes. When you combine smart planning, quality hardware, and consistent maintenance, you’re investing in a home that lasts—and one that looks amazing every step of the way.
What wall reinforcement technique have you tried or plan to use in your next project? Share your experiences or questions below, and let’s build something lasting together!