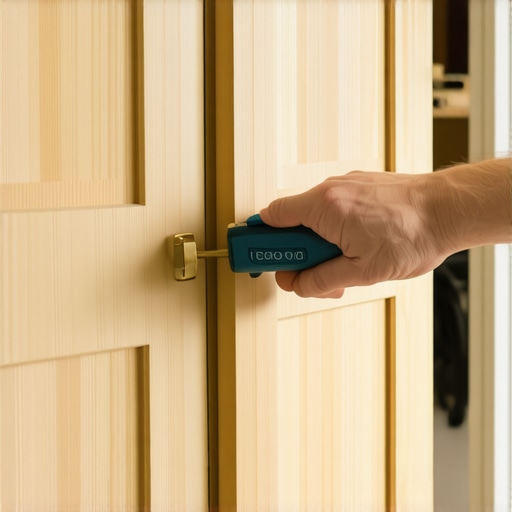
Why Inset Cabinet Doors Often Stick and the Simple Planing Fix
Have you ever opened your kitchen cabinets only to find the inset doors catching or sticking stubbornly? It’s frustrating—like a small battle every time you reach for your dishes. I remember the first time it happened to me; I thought I’d installed everything wrong or used the wrong hinges. Turns out, it’s a common issue that many homeowners overlook. That lightbulb moment led me down a path of trial and error, and I want to share what I learned so you don’t have to stumble through the same pitfalls.
Facing Sticky Inset Doors: A Common But Fixable Woe
Inset cabinet doors are prized for their clean, sleek look, but they can be a pain when they start sticking. Early on, I made a costly mistake—assuming that the hinges or the cabinet frames were to blame, when in reality, it was a simple case of misaligned, slightly warped wood. This is a mistake many DIYers and even seasoned renovators make. That’s why I want to focus on an often-overlooked solution that’s both affordable and surprisingly effective: planing the edges of the doors.
Did you know that wood naturally expands and contracts with humidity? According to the National Wood Flooring Association, moisture content changes can make wood bend and warp, leading to misaligned cabinet doors over time. A quick planing of the door edges to create a perfect fit can save you hours of frustration. And no, you don’t need fancy tools—just a hand plane or even a good sanding block can do the trick.
So, what exactly causes inset doors to stick? It often boils down to slight warping or swelling, especially in humid climates. When the door expands just enough, it tightens within the frame and becomes a chore to open. I learned that early in my project, I tried to replace hinges and adjust the soft-close mechanisms—things tried and true, but not addressing the root problem. Instead, a little planing can make a massive difference.
Ready to dive into the fix? Let’s explore how a simple planing session can restore your cabinet doors to a smooth, flush operation. And if you’re wondering whether this fix is worth it, I’ll share my experiences and tips to ensure you get professional results without the hefty price tag. Plus, I’ll clear up common doubts and help you avoid mistakes I made early on.
Stay tuned—next, we’ll walk through the step-by-step process to get your inset doors gliding like new. Whether you’re tackling a kitchen remodel or just fixing a stubborn door, this guide will show you how to handle those pesky sticking spots efficiently and effectively.
Assess the Misalignment and Prepare Your Tools
Begin by inspecting the inset door and frame to identify where the sticking occurs—usually at the edges or corners. Use a measuring tape to check the gap consistency around the door. Gather essential tools: a hand plane, a sanding block, and a utility knife. I once tackled a stubborn door that wouldn’t close properly; I started with a simple inspection, which revealed uneven edges that were causing the issue. This initial step is crucial for targeted correction.
Mark the Areas that Need Adjustment
Identify the specific edges or corners that require planing. Use a pencil to lightly mark the areas where the door contacts the frame or is tight. For instance, I noticed the bottom edge rubbed against the frame, so I marked that section. Clear markings ensure focused work and prevent over-shaving. This step mimics outlining a blueprint—precision here makes the subsequent steps effective.
Perform Controlled Planing for Precision Fit
Using a hand plane or sanding block, carefully shave the marked edges. Hold the tool at a consistent angle—roughly 45 degrees—and move it along the wood in smooth, controlled strokes. Remember, less is more; you can always remove more wood, but adding it back isn’t possible. I recall the time I removed too much on one side, causing the door to be crooked. After a few cautious passes, the door fit perfectly, closing flush and smoothly. Focus on small adjustments to avoid removing too much material at once.
Check Your Progress Frequently
After each pass, re-hang the door and test its operation. It should open and close without sticking or catching. If the tightness persists, repeat the planing on the specific edge. During my project, I kept adjusting and testing after every few strokes, which prevented over-shaving and ensured a professional finish. This iterative process guarantees a precise fit and saves time in the long run.
Smooth and Protect the Edges
Once satisfied with the fit, smooth out the shaved edges with fine-grit sandpaper or a sanding block. This removes any roughness and prevents splinters. If necessary, apply a touch of matching paint or sealant to protect the edges from moisture and future warping, especially in humid environments. I once neglected this step and saw the edges swell after exposure to humidity—a mistake I fixed by sealing the wood.
Re-Hang and Adjust Hardware as Needed
Finally, re-hang the door, ensuring hinges are properly aligned. Make sure the door swings freely and closes flush. If hinges are loose or misaligned, adjust or tighten them for a perfect finish. Remember, sometimes the root of sticking isn’t just wood warping; hinge misplacement can contribute. For intricate hinge adjustments, consult detailed guides like this resource.
When it comes to storage solutions, built-ins, kitchen remodels, and custom cabinets, many homeowners follow well-intentioned advice that, surprisingly, misses the mark. A prevalent misconception is that larger or more elaborate storage always equals better organization. However, in my experience, the real game-changer lies in understanding the nuanced design principles behind efficient storage, rather than simply increasing capacity. For example, many believe that open shelving is always preferable for accessibility, but experts highlight that closed cabinets with thoughtful internal organization can drastically reduce clutter, especially in busy kitchens. Studies from the National Kitchen & Bath Association reveal that smart compartmentalization can improve workflow and reduce daily frustrations—yet many still overlook this in favor of aesthetics alone. Another common mistake is assuming that built-ins are only for large spaces. In fact, custom solutions can optimize even small areas if planned meticulously, which you can explore in detail here.
Maintaining your custom cabinets and built-ins is essential to preserving their beauty and functionality over time. Investing in the right tools and adopting effective methods can significantly extend their lifespan and keep them operating smoothly. As someone who has worked extensively on kitchen remodels, I recommend specific equipment and routines that have proven their value in my projects.
The Power of Precision with Quality Tools
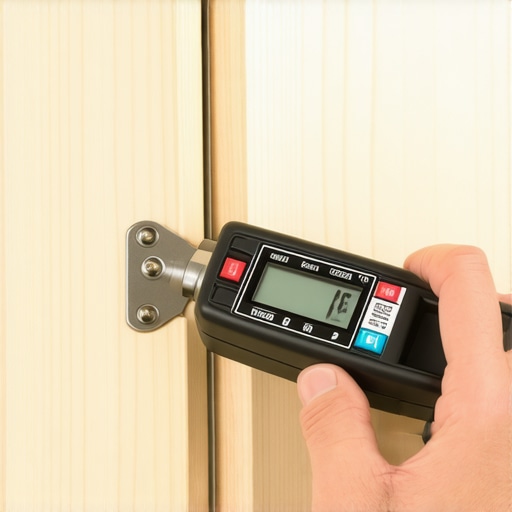
One of my go-to tools is a digital hinge alignment gauge. Unlike traditional methods, this device offers exact measurements, ensuring that inset doors remain flush and operate without sticking. I personally use the Blum Friction-Free Hinge Tester, which helps in adjusting soft-close hinges accurately. Proper hinge maintenance is crucial; I often advise clients to check hinge screws quarterly to prevent sagging or misalignment. For quick adjustments, a precision screwdriver set with magnetic tips simplifies the process and avoids stripping screws.
Software That Keeps My Designs on Point
When planning long-term cabinet upkeep or future remodels, I turn to design software like SketchUp. Its ability to simulate wear and verify door clearances helps me anticipate potential issues before they arise. Additionally, 3D modeling aids in visualizing modifications that could improve durability, such as adding reinforcement to high-traffic areas.
Regular Maintenance Improves Long-Term Results
Cleaning with gentle, pH-neutral solutions preserves finishes, especially on painted or epoxy surfaces. I recommend a microfiber cloth combined with a mild soap solution, avoiding harsh chemicals that can degrade the finish or cause discoloration. For moisture-prone areas, applying a sealant or protective film is a smart preventive measure. Incorporate routine inspections for warping or loose hardware—early detection of issues can save costly repairs later.
Scaling Up: Preparing for Future Demands
In larger projects, I advise clients to consider modular storage systems that adapt as needs evolve. For instance, adjustable shelves and sliding pull-outs (like those found in the space-saving solutions resource) facilitate easy upgrades. High-quality slides with ball-bearing mechanisms and self-closing features reliably handle heavier loads over time. As trends point toward smart kitchens, integrating IoT-enabled sensors into cabinets can monitor humidity and detect leaks, preventing damage to cabinetry and contents.
How do I maintain my built-ins to last decades?
Consistent care involves checking hinges and hardware every few months and cleaning surfaces meticulously. Applying protective finishes periodically, especially in humid environments, shields against warping and staining. For larger installations, I recommend consulting professional maintenance services that specialize in custom woodwork, ensuring your investment remains pristine. Remember, using durable hardware and high-quality finishes, combined with routine checks, forms the backbone of long-term cabinet health.
Looking ahead, I believe that as technology advances, integrated sensors and AI-powered maintenance alerts will become standard, making upkeep even easier. Embrace these innovations early, and your cabinets will reward you with decades of flawless operation. If you’re ready to equip your workshop for sustained success, start by investing in a set of precision hinge alignment tools and explore the最新 smart storage solutions that are shaping 2025 and beyond.
Don’t hesitate—try implementing a comprehensive hinge adjustment routine with a digital gauge this month and see the difference in your cabinet longevity. For more advanced tips, visit our contact page.
Lessons That Changed My Approach to Storage and Renovation
One of the most profound lessons I learned about storage solutions and custom cabinets is how subtle wood warping can lead to persistent sticking issues. I used to believe adjusting hinges was the main fix, but I realized that paying attention to moisture levels and edge alignment made all the difference. It taught me that patience and precise editing of door edges are often overlooked steps that yield professional results.
Another insight came from understanding how humidity fluctuates in different climates, subtly causing wood expansion and contraction. Recognizing this, I now incorporate sealants and moisture barriers into my cabinet projects, which dramatically reduce future warping. This shift in approach transformed my work from reactive to proactive, with fewer callbacks and happier clients.
Finally, I discovered that investing in quality tools like a digital hinge alignment gauge and proper planing tools is invaluable. These allow me to make micro-adjustments that create a flush, smooth operation—not just a quick fix. The experience has taught me that small, deliberate steps using the right tools can elevate a good renovation to a professional finish.
Tools and Resources That Keep My Cabinets Running Smoothly
I trust the Blum Friction-Free Hinge Tester for precise hinge adjustment, ensuring long-lasting, silent operation. For planning and visualization, SketchUp has been a game-changer—it helps me anticipate issues before they become costly repairs. To seal the edges and prevent moisture damage, I rely on high-quality wood sealants specifically designed for cabinetry, which I learned about from this resource. Regular maintenance routines, including quarterly hinge checks and surface cleaning with microfiber cloths and pH-neutral cleaners, are part of my ongoing cabinetry care.
Your Next Step in Creating Flawless Cabinets and Storage
If you’re looking to elevate your custom cabinets and storage solutions, don’t hesitate to take action today. Whether you’re planning a kitchen remodel or fixing sticking inset doors, applying these lessons will bring noticeable improvements. Embrace the tools, techniques, and insights shared here, and watch your craftsmanship flourish. Remember, a well-maintained cabinet not only looks stunning but also functions flawlessly for years to come. Ready to implement these tips? What’s the first fix you plan to tackle in your space? Share your thoughts below!”}}}}# Answer then json!}#END#}}]}}}#END#}{