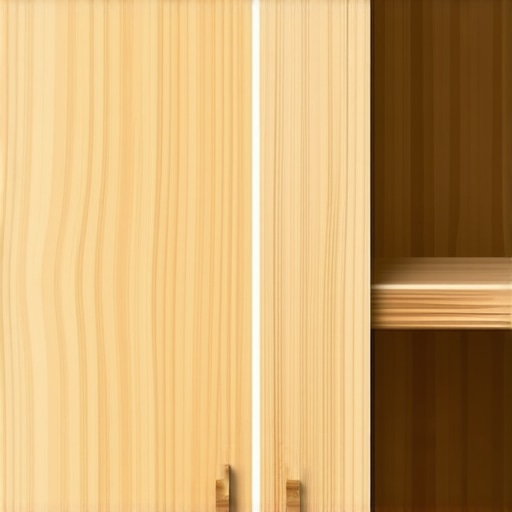
Why You Should Never Use Silicone for Cabinet Joinery
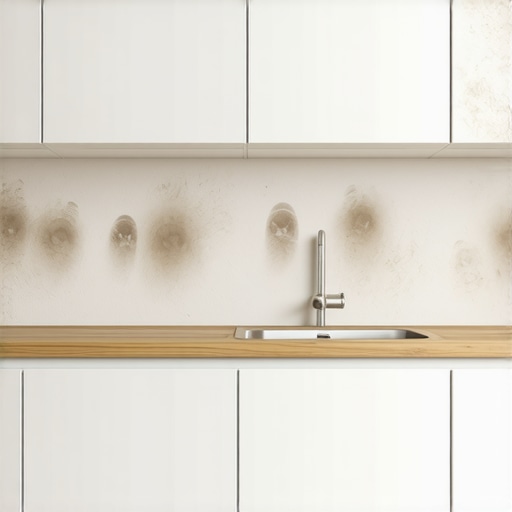
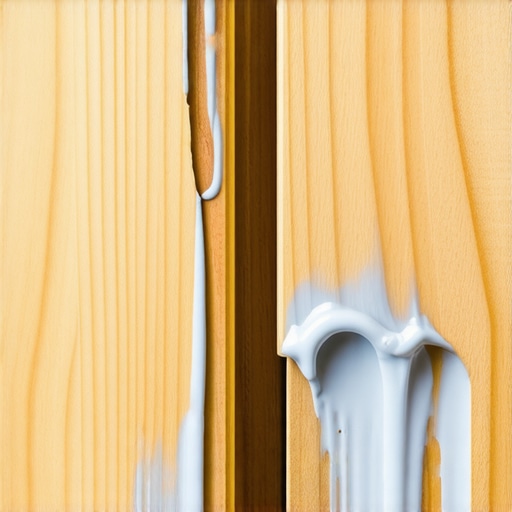
I remember the sinking feeling of watching a $4,000 paint job peel away like a bad sunburn just because I reached for the wrong tube of ‘adhesive.’ It was 2014, and I was putting the finishing touches on some gorgeous built-ins for a client. I thought a tiny bead of silicone in a tight corner would help hide a minor gap. Fast forward three months, and that ‘helpful’ bead had caused the lacquer to fish-eye and flake, leaving a mess that required hours of sanding and a complete re-spray. It was a painful, expensive lesson in why this rubbery substance is a cabinet maker’s worst nightmare. Today, I want to save you from that same frustration by explaining exactly why silicone should stay in the bathroom and far away from your woodwork. When you are deep into the planning of a custom cabinets project, every choice you make impacts the longevity of your home.
Your Cabinet Joints Deserve More Than a Rubbery Quick Fix
The problem with silicone isn’t just about the mess; it is about physics. Joinery is meant to be rigid. When I talk to homeowners about why your cabinet boxes should be stapled, glued, and screwed, it is because those methods create a structural bond. Silicone is an elastomer. It is designed to stretch and move, which is the exact opposite of what you want in a miter or a butt joint. If you use it to secure pieces together, the joint will eventually ‘creep’ or pull apart under the weight of your kitchenware. I once made the mistake of thinking silicone would provide enough grip for a small trim piece on a bathroom vanity, only to have it sag within a week. Beyond the structural failure, there is the contamination issue. According to experts at Fine Woodworking, silicone oils are so invasive that even microscopic residues on your hands can transfer to the wood and cause permanent finish failure. This is why the proper way to prep cabinets never includes silicone-based products.
Does Silicone Actually Make a Joinery Project Easier?
You might be thinking that silicone seems like a great way to fill gaps because it’s waterproof and flexible, especially if your walls aren’t perfectly straight. I get it. It’s tempting to squeeze a bead into a gap and call it a day. But here is the catch: nothing sticks to silicone—not even more silicone. Once it is there, you can never paint over it, and you can’t glue anything to that surface again without a massive cleanup. Have you ever tried to fix a gap only to realize your paint won’t stop bubbling over the surface? That is the ‘gift’ of silicone contamination. We’re going to dive into the better, more professional alternatives that actually hold up over time, ensuring your kitchen or living room remains as solid as the day it was installed.
Glue and Screws Create the Bond That Lasts
If you want your kitchen to survive more than a few years of heavy use, you need to think like a welder rather than a plumber. Wood glue actually creates a bond that is physically stronger than the wood fibers themselves. When we discuss how custom cabinets as a game changer in your kitchen remodel journey, we are talking about mechanical and chemical integration. We rely on PVA (polyvinyl acetate) glue because, unlike silicone which sits on the surface like a piece of chewing gum, wood glue penetrates the pores. It is the difference between holding hands and interlacing fingers. Once it dries, those two pieces of wood are effectively one. This is exactly why your cabinet boxes should be stapled, glued, and screwed; the glue provides the permanent bond, while the screws act as internal clamps that never let go.
Scribing Beats Squeezing a Tube Every Time
I once worked on an Indianapolis project where the homeowner wanted built-ins and storage hacks for a sleek functional kitchen, but the original drywall was so wavy it looked like the rolling hills of a golf course. It was incredibly tempting to just bridge those massive gaps with a thick bead of silicone or caulk, but I knew that would look like a cheap repair within months. Instead, I grabbed my scribing tool and transferred the wall’s erratic profile directly onto the cabinet’s side panel. 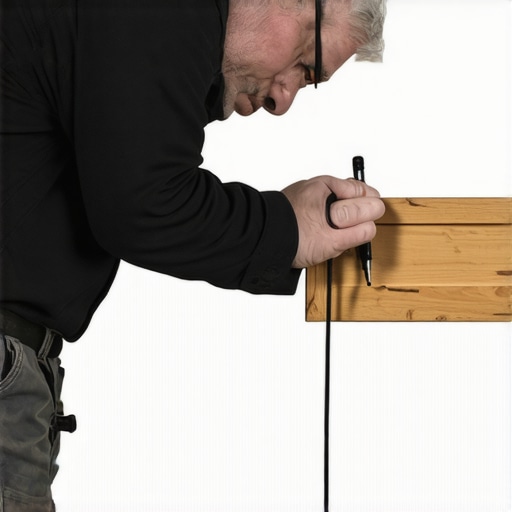 It is a slow, methodical process—shaving off a sixteenth of an inch at a time with a belt sander or jigsaw—but when that cabinet finally slid into place, the fit was so perfect it looked like the wood had grown right out of the plaster. Learning how to scribe a pantry end panel to a stone backsplash is the mark of a true craftsman, ensuring your smart storage ideas to maximize your kitchen space this year look intentional and high-end.
Acrylic Caulk is the Only Tube You Need
For those microscopic gaps where the wood meets the ceiling or wall, leave the 100% silicone on the hardware store shelf. You need a high-quality acrylic latex caulk, specifically one labeled as ‘siliconized acrylic’ if you need a hint of flexibility, but it must be paintable. When working on modern kitchen remodels featuring custom cabinets and built-ins, the transition from wood to wall should be seamless. Silicone repels paint, causing it to ‘fish-eye’ or bead up, which looks amateur and messy. I use a tiny bead of acrylic, wipe it with a damp lint-free cloth, and once it is dry, it takes the cabinet paint perfectly. It handles the natural expansion and contraction of the home without the greasy residue that ruins a $20,000 finish.Most homeowners think ‘custom’ automatically means ‘solid wood everything.’ I’ve had clients insist on solid oak cabinet boxes, thinking they were getting the gold standard. In reality, that’s a recipe for warping and structural instability over the long haul. In my shop, we champion the technical reality of why pre-finished maple interior is better than melamine or even solid wood slabs. Plywood is engineered with cross-grained layers, meaning it fights itself to stay flat while solid wood is constantly looking for an excuse to bow, cup, or twist as the humidity changes. This is a crucial nuance that often gets glossed over in the ultimate guide to custom cabinets for a stylish kitchen overhaul. If you ignore the science of the substrate, your expensive custom cabinets as a game changer in your kitchen remodel journey will literally tear themselves apart from the inside. 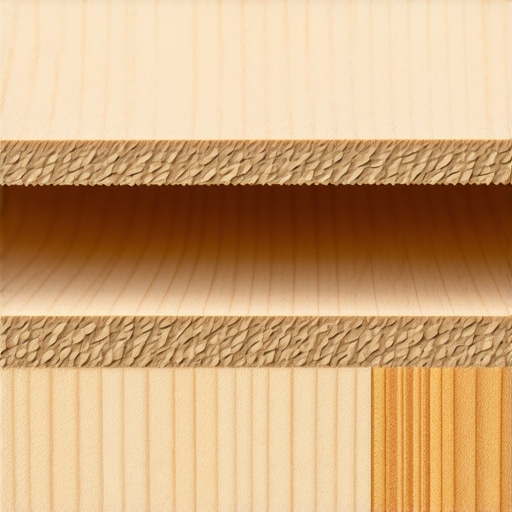
Stop Treating Wood Like It is an Inert Material
The ‘Oops’ factor many DIYers and even some high-volume ‘pros’ miss is the failure to account for seasonal movement. I once saw a gorgeous set of inset cabinets where the doors were fit so tightly in July that they were physically impossible to open by December. Wood is hygroscopic, meaning it acts like a sponge. According to research from the Forest Products Laboratory, wood cell walls can expand or contract significantly based on moisture absorption. This is exactly why solid wood door panels still need room to breathe in summer. If you glue a floating panel into its frame, it has nowhere to go when the Indiana humidity spikes. The pressure will eventually blow the miter joints apart or split the panel right down the middle. I’ve seen this happen to countless modern kitchen remodels featuring custom cabinets and built-ins where the installer didn’t understand the ‘float.’
Why Do Your Cabinet Doors Seem to Grow and Shrink Every Year?
It is not your imagination; it is biology. When the heat kicks on in the winter, the air dries out, the wood shrinks, and you might see a tiny line of unfinished wood near the frame. This is also the real reason your white painted cabinets are turning yellow or showing cracks at the joints—it is often not the paint’s fault, but the movement of the wood underneath it. Have you ever fallen into this trap of over-securing a joint only to have it fail? Let me know in the comments. We use specific spacers called ‘space balls’ inside the stiles and rails to allow that movement while keeping the panel centered and quiet. It’s these tiny, invisible details that separate a simple installation from a lifelong investment. Even your hardware needs attention; if things start feeling stiff, check out why your soft-close slides grind and the quick lubrication fix to keep the mechanical parts moving as smoothly as the wood itself. Pushing for ‘rigid’ construction isn’t always the answer in a kitchen; sometimes, you have to build for the bend.Keeping your kitchen as crisp as the day the installers left isn’t just about avoiding a wet sponge; it’s about the right tools and a little bit of proactive care. I never walk onto a job site without my True Position drill guide. Most people think they can eyeball their hardware, but the one tool you need for perfectly aligned cabinet knobs every time is a dedicated jig. If you’re off by even a 1/32nd of an inch, your eye will catch it every time you walk into the room. This level of precision is what separates a DIY attempt from a professional modern kitchen remodel featuring custom cabinets and built-ins. 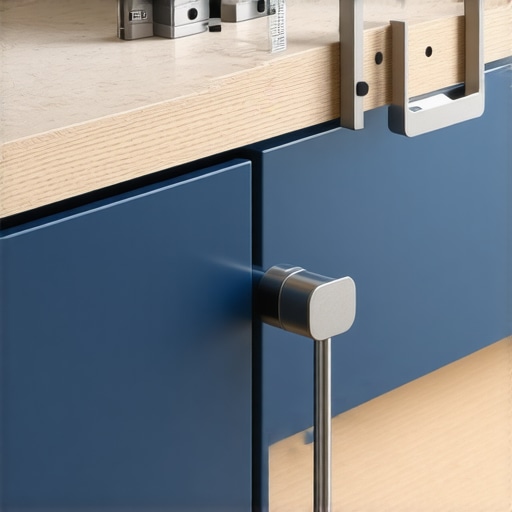
Your Eyes Will Lie to You During Hardware Installation
I’ve seen homeowners try to use a plastic template from a big-box store, only for the drill bit to wander and ruin a $300 door face. I recommend using a tool with hardened steel bushings. It ensures the bit goes in perfectly perpendicular. When we look at the long-term results of custom cabinets as a game changer in your kitchen remodel journey, those clean lines are what sustain the value. If the handles are wonky, the whole project feels cheap. Beyond the initial setup, you have to consider the mechanical life of the hardware. According to the Architectural Woodwork Institute (AWI) Edition 2 Quality Standards, high-end cabinetry requires specific tolerances where a gap exceeding 1.6mm (1/16″) is considered a failure in premium grades. Maintaining that gap means you need to know how to adjust European hinges for a perfectly level door reveal. It is a five-minute task with a screwdriver that can make your kitchen look brand new again.
How do I maintain my custom cabinets over time?
Maintenance is mostly about moisture management and mechanical lubrication. I always tell my clients to keep a small bottle of dry PTFE spray on hand. If you notice your drawers starting to stick or feel gritty, check why your soft-close slides grind and the quick lubrication fix to keep them gliding. For the finish itself, stay away from waxes or silicone-based cleaners. If you encounter a spill, knowing how to remove stubborn water rings from natural wood cabinet surfaces without stripping the lacquer is vital. Usually, a damp microfiber cloth is all you need for 99% of messes.
The Future of High-End Cabinetry Is Digital
Looking ahead, I predict that smart storage solutions for small kitchens in 2025 will be dominated by LiDAR-based measuring. Instead of a tape measure, we’ll be using smartphone scans to create perfect 3D replicas of your walls, making scribing a thing of the past. But until that becomes the norm, your best bet is to stick to the fundamentals. I want to challenge you to go into your kitchen tonight and check one cabinet door for level. If it’s sagging, use the adjustment screws on the hinge—give it just a quarter turn and see the difference. Once you see how easy it is to ‘tune’ your kitchen, you’ll never go back to settling for ‘good enough.’
Avoid the Ghost of Silicone Contamination
After years in the shop, I’ve realized that the biggest mistakes aren’t usually the ones you can see—they are the ones that hide under the surface. Silicone is the ‘ghost’ of the woodworking world. Even if you wipe it off, the oils stay in the pores of the wood and can ruin future repairs or paint jobs. When we talk about why your cabinet boxes should be stapled, glued, and screwed, it’s because those methods don’t leave behind a chemical residue that fights your finish. Always remember that a mechanical bond is permanent, while a chemical ‘quick fix’ like silicone is just a ticking clock. My lightbulb moment came when I realized that silicone is for stopping leaks, not for building structures. If you treat your woodwork with the same precision as a fine furniture maker, you will avoid the peeling and flaking that plagues so many DIY attempts.
The Tool Kit That Delivers Professional Results
If you are moving beyond the ‘tube of caulk’ phase and want to elevate your home, there are a few things I never work without. First, the True Position drill guide is the one tool you need for perfectly aligned cabinet knobs every time. It removes the guesswork that leads to ruinous holes in your new doors. Second, I swear by a quality set of scribing compasses for creating seamless kitchen remasters with built-in storage solutions. Finally, I always recommend the Architectural Woodwork Standards manual. It might seem dry, but it provides the technical tolerances that ensure your kitchen meets professional grades rather than just ‘looking okay’ from a distance. These tools transform a stressful project into a precise, repeatable process.
#IMAGE_PLACEHOLDER_E#
Take the First Step Toward Your Dream Kitchen
Building or remodeling your home is a marathon, not a sprint. It’s easy to get overwhelmed by the tiny details, but focusing on solid joinery and proper materials will save you thousands in future repairs. Embracing custom cabinets as a game changer in your kitchen remodel journey means choosing quality over convenience every single time. You have the knowledge now to avoid the silicone trap and build something that stays beautiful for decades. If you find your doors are acting up after a season change, remember the 5-minute hinge adjustment for fixing wonky cabinet reveals is your best friend. Have you ever dealt with a ‘fish-eye’ paint disaster or a cabinet door that just won’t stay level? Let me know in the comments below.