Why Your Cabinet Paint Bubbles Near the Stove and How to Prevent It
I was standing there, tongs in one hand and a damp cloth in the other, staring at what looked like a tiny, unwanted pimple on my brand-new cabinet. My stove was doing its job, but my paint was failing its first real-world test. If you’ve ever noticed those frustrating blisters or ‘orange peel’ textures creeping up on the cabinets flanking your range, you aren’t alone. It’s a visceral kind of heartbreak, especially when you’ve invested in a stylish kitchen overhaul. I remember thinking I had everything figured out, but heat is a humbling teacher.
Heat and Humidity Are a Toxic Combo for Your Paint
The reality is that your stove is basically a localized weather system. Between the dry, searing heat of the oven and the wet, billowing steam from a boiling pot of pasta, your cabinet finish is under constant siege. One of the biggest mistakes I made early on was assuming that ‘durable’ meant ‘indestructible.’ I didn’t account for the fact that intense heat causes materials to expand and contract at different rates. According to technical reports from the Paint & Coatings Industry, thermal stress is a primary cause of coating delamination in residential high-heat environments. When the wood or MDF beneath the paint gets hot, it wants to breathe. If the paint is too brittle or hasn’t bonded correctly, that escaping moisture or air gets trapped, creating those unsightly bubbles. This is why I often tell people that skipping cheap thermofoil near the oven is the smartest move you can make during a renovation.
Can’t I Just Use Better Paint?
You might be thinking, ‘Surely a $100 gallon of paint can handle a little Sunday roast heat?’ Honestly, it’s not just about the price tag; it’s about the chemistry. I’ve seen homeowners try to save a buck by using leftovers from the living room, but that’s a fast track to bubbling. You need a finish that can flex. For example, painted maple provides a much smoother finish than oak, but even the best wood needs a primer that can withstand the heat. Even small appliances can cause trouble if you aren’t careful; I’ve seen many folks make the toaster garage error where heat builds up and ruins the surrounding finish. Have you noticed any weird texture changes on the doors right next to your burners lately? Drop a comment and tell me about it—I’ve probably seen (and fixed) it before. We’re going to dive into the specific shields and prep steps you need to take to keep your kitchen looking like a magazine spread, even if you cook like a pro.
Install a Mechanical Barrier Against the Burn
The first thing you need to understand is that no paint is a magical force field. If the side of your cabinet is consistently hitting 150 degrees Fahrenheit every time you preheat the oven, the bond will eventually fail. This is why I always install stainless steel heat shields. Think of them as a thin suit of armor for your woodwork. They are essentially L-shaped metal strips that screw into the side of the cabinet frame, creating a literal wall between the stove’s heat vent and your finish. When you are deep into custom cabinets as a game changer in your kitchen remodel journey, these small additions are what separate a kitchen that lasts twenty years from one that looks ragged after two.
The Secret Power of Shellac
If you are already dealing with bubbling, you can’t just sand it down and slap on more latex. You have to seal the problem at its root. I’ve learned the hard way that standard water-based primers are often too porous for high-heat zones. This is why novi painters always use a shellac primer for dark wood cabinets and high-stress areas. Shellac creates a non-porous, brittle-hard barrier that blocks resins and prevents the wood from off-gassing under heat. It’s like putting a glass plate over the wood; nothing gets out, and nothing gets in. 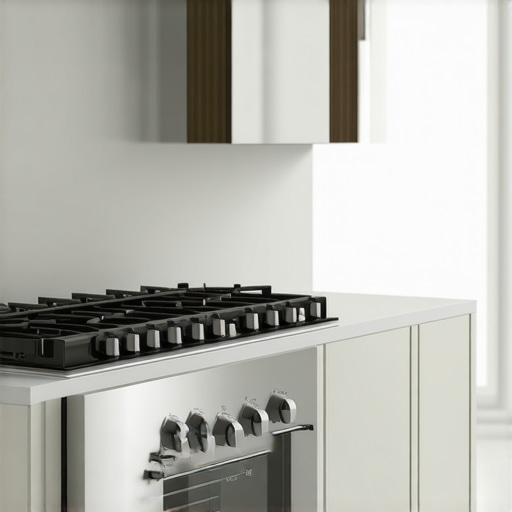
Lessons from a Melted Drawer Front
A few years ago, I was working on a galley kitchen where the homeowner had installed a professional-grade, high-BTU range. Within three months, the top drawer right next to the oven started to ‘weep’—the paint was actually turning soft. I realized the oven door didn’t have a perfect seal, and every time they roasted a chicken, a jet of 400-degree air shot directly at the drawer edge. We had to strip it back to the bare wood, re-prime with shellac, and then we used integrated appliance panels to better manage the heat distribution. The lesson? If your appliance is a powerhouse, your cabinetry needs to be built to industrial standards.
Upgrade Your Box Construction
People often focus on the doors, but the box itself is the foundation of your kitchen’s longevity. I’ve seen cheap furniture board crumble under the stress of oven steam. This is exactly why plywood box construction still wins over furniture board in wet areas and high-heat zones. Plywood has cross-grain stability, meaning it won’t expand as violently when the oven gets hot.
Prevent Warping Before it Starts
Heat doesn’t just ruin paint; it moves the wood itself. You have to keep an eye on how your doors are reacting to the kitchen’s microclimate. Understanding why solid wood doors warp and how to prevent it is crucial here. If the wood moves too much, the paint film—which isn’t as elastic as the wood—will crack at the joints. Once you have a crack, moisture from your boiling pasta water gets in, and that is when the bubbling really takes off. Stick to stable materials and high-quality sealants to keep everything flush and flawless.
I see it in almost every consultation: a homeowner with a Pinterest board full of cavernous walk-in pantries. But here is the hard truth that most designers won’t tell you: bigger isn’t always better. In fact, a massive walk-in can often become a disorganized graveyard for expired flour and three-year-old cans of pumpkin puree. In my years of building innovative storage solutions for modern kitchen remodels, I’ve found that high-density pull-outs are far superior for actual daily use. This is exactly why a pull-out pantry beats deep walk-in shelves for visibility every single time. You want your food to come to you, not the other way around. When you have to dig three rows deep to find the baking soda, your kitchen has failed its primary job.
The Heat Trap Hiding Above Your Refrigerator
While we are on the subject of smart layouts, let’s talk about the ‘wine rack over the fridge’ mistake. It looks sophisticated and architectural, right? But it is a functional disaster. Your refrigerator works by pulling heat out of the box and venting it out the back or top. If you store your expensive Cabernet directly in that constant heat plume, you are essentially slow-cooking your wine. This is why we stopped putting wine racks over the refrigerator years ago. Beyond ruining the wine, the constant thermal cycling can cause the delicate joinery in a custom wine lattice to expand and contract, eventually leading to those same paint failures and joint cracks we discussed earlier. Have you ever fallen into this trap? Let me know in the comments.

Expert research from the National Kitchen & Bath Association (NKBA) emphasizes that effective kitchen storage should be categorized by ‘points of use’—storing items exactly where the task happens—rather than simply maximizing volume. If you are constantly crossing the kitchen to grab a spice or a heavy cutting board, your layout is working against your body. When you are selecting storage solutions for a perfect kitchen upgrade, ignore the allure of the empty ‘big closet’ and focus on the steps you take between the sink, the stove, and the prep area. Efficiency is measured in movement, not cubic feet.
How Do I Hide My Microwave Without Burning the House Down?
This is the number one question I get from people who want a ‘clean’ countertop look without sacrificing convenience. The ‘Oops’ factor here is significant. Many DIYers—and even some inexperienced contractors—simply shove a standard countertop microwave into a closed cabinet or a tight-fitting built-in. Without proper airflow, the magnetron will overheat and fail prematurely, or worse, the trapped steam will destroy your cabinet finish from the inside out. Knowing how to hide a microwave without creating a fire risk involves very specific venting requirements and often using a dedicated trim kit that allows the appliance to breathe. It’s these tiny, technical nuances that distinguish a professional stylish kitchen overhaul from a weekend project that ends in a service call. Let’s look at how to properly integrate these heavy-duty appliances without sacrificing your safety or your style.
You’ve spent weeks planning the perfect layout, but the real work starts the day the contractors pack up their trucks. I’ve seen too many people treat their new kitchen like a museum piece, only to find that three years later, the drawers stick and the doors hang crooked. To keep that high-end feel, you need a very specific toolkit. I’m not talking about a generic hammer and nails; I’m talking about a PoziDriv #2 screwdriver. Most people try to use a standard Phillips head on European hardware, but that is a one-way ticket to a stripped screw. This is why adjusting European hinges when your doors are crooked requires the exact right tool for those micro-adjustments.
Stop the Slam with This 30-Second Fix
If your expensive cabinets start making noise, don’t panic. Usually, it’s just dust in the tracks. I personally use a can of compressed air and a dry silicone spray—never WD-40, which attracts grime like a magnet—to keep the motion fluid. Knowing why your soft-close slides are failing and the quick cleaning fix can save you a $150 service call. It is all about the friction points. According to technical specifications from Blum’s engineering documentation, their hardware is rated for 200,000 opening and closing cycles, but that’s only if the alignment remains within a 2-millimeter tolerance. Precision isn’t just for the installation; it’s for the life of the home. 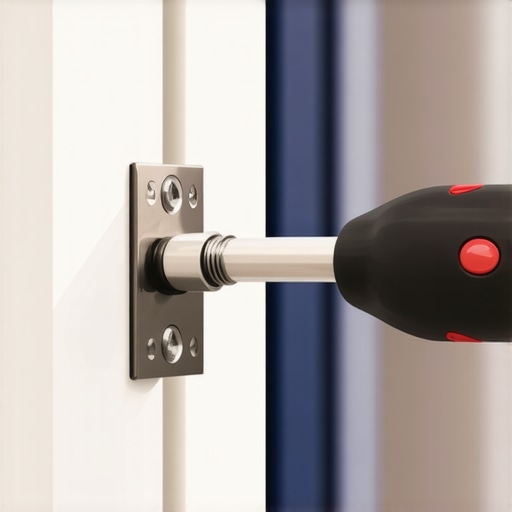
Where Kitchen Storage is Heading in 2026
Looking ahead, I’m seeing a massive shift toward ‘responsive storage.’ We are moving away from static shelves and toward modular, magnetic-track systems inside drawers that can be reconfigured as your family grows. I predict that in the next few years, we will see integrated moisture sensors as a standard feature in sink bases to alert your phone the second a pipe drips. For now, focus on smart storage ideas to maximize your kitchen space this year by using adjustable dividers that don’t lock you into one configuration forever.
How can I keep my custom cabinets from showing their age?
Maintenance is mostly about climate control and weight management. Never overload your upper cabinets with heavy stoneware unless you’ve confirmed the wall blocking is sufficient. I always tell my clients that modern kitchen remodels featuring custom cabinets and built-ins stay beautiful longer when the home maintains a consistent 35-55% humidity level. If the air gets too dry in the winter, the wood shrinks; if it’s too humid in the summer, it swells. A simple hygrometer in the kitchen is the best $15 investment you can make to protect a $50,000 investment. If you want to see an immediate improvement in your kitchen’s function, go to your ‘junk drawer’ tonight, empty it completely, and install a dedicated peg-board organizer. It’s the single most satisfying way to reclaim your sanity in a custom cabinets as a game changer in your kitchen remodel journey.
Hard Truths I Learned After Fixing a Hundred Kitchens
After years of tearing out failed designs and installing high-end work, I’ve realized that the ‘wow’ factor usually fades in six months if the functionality isn’t there. One major lesson? Be careful with your finishes. I’ve seen homeowners regret their dark accents once they realize why black cabinet hardware shows every speck of dust within minutes of cleaning. Another lightbulb moment for many is that custom work isn’t just about the wood—it’s about the lifestyle. Using custom cabinets ideas that transform your homes style means thinking about where your morning coffee goes, not just where the dishes sit.
#IMAGE_PLACEHOLDER_E#
The Very Few Tools I Actually Trust
You don’t need a garage full of power tools to maintain a masterpiece. Beyond the PoziDriv screwdriver I mentioned, I always recommend keeping a digital hygrometer on your counter. It is the only way to know if your HVAC system is quietly destroying your wood. I also swear by micro-fiber cloths specifically for cabinetry; paper towels are actually abrasive enough to swirl high-gloss finishes over time. If you’re looking for the definitive word on trends and durability, I always point my clients toward the expert guide for 2025 to see what materials are actually holding up in the real world.
Give Your Kitchen the Upgrade it Deserves
Starting a renovation can feel like standing at the base of a mountain, but remember that every great kitchen is built one thoughtful decision at a time. Whether you are installing a single heat shield or embarking on a full-scale kitchen remodel, focus on the details that protect your investment. Your home is where your life happens—make sure it’s built to last. If you’re ready to take the next step, feel free to reach out and let’s talk about your vision. What is the one cabinet ‘mystery’ or frustrating layout quirk you’ve been trying to solve lately? Let me know in the comments below!