The Best Wood Species for Painted Cabinets That Won’t Show Grain
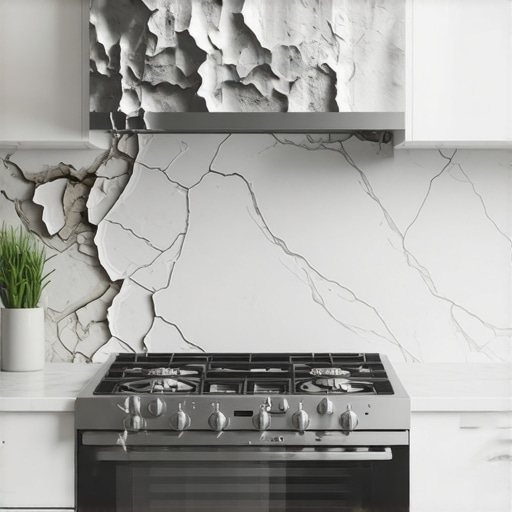
I still remember the sinking feeling in my gut when I flicked on the overhead lights for the big reveal of my first major built-in project. I had spent weeks sanding until my palms were raw, applying coat after coat of what I thought was thick primer. But as the final layer of satin paint dried, the truth came out. Instead of the sleek, modern look I had promised my wife, the cabinets looked like they were covered in millions of tiny, jagged goosebumps. The heavy, open grain of the red oak I had chosen was screaming through the finish, catching every bit of light and shadow. It was a mess. I realized right then that no amount of fancy spraying technique can fix a bad wood choice when you are chasing that glass-smooth factory finish. This moment changed how I approach modern kitchen remodels forever. It taught me that the foundation of your finish isn’t the paint—it’s the botanical structure of the tree itself.
The Sinking Feeling of a Failed Paint Job
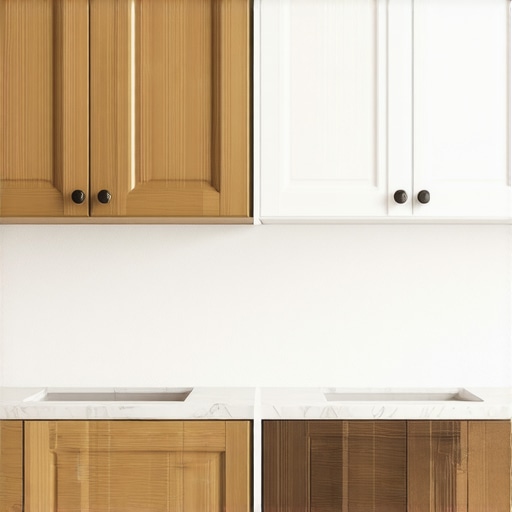
If you are planning a home upgrade, you are likely dreaming of those crisp, flat-panel doors that look like they were carved out of a single block of marble. The problem is that many people—and even some contractors who prioritize durability over aesthetics—grab whatever is on sale at the lumber yard. They assume that modern paint is like a heavy blanket that hides everything underneath. In reality, paint is more like a spotlight; it highlights every pore, rift, and imperfection in the wood. I have learned the hard way why painted maple beats oak every single time if you want to avoid that rustic texture in a contemporary space. I spent four days trying to sand down the grain on that first project, only to realize I was just making the valleys deeper. It was an expensive, time-consuming lesson in wood anatomy. [image_placeholder]
Can You Really Get a Smooth Finish Without Using Plastic?
There is a common fear that to get a perfectly smooth look, you have to sacrifice the soul of real wood and switch to cheap, flimsy materials like particle board or thermofoil. You might be wondering if it is even possible to have durable, solid wood doors that do not look like a topographical map once the color goes on. According to the experts at the Wood Database, species with diffuse-porous structures have much smaller, evenly distributed pores that are far easier to bridge with finish than ring-porous species like Oak, Ash, or Hickory. Today, I am going to show you exactly which species will give you that high-end look without the headache of grain-filling, so your custom cabinets look as professional as they feel. Have you ever painted a piece of furniture only to be disappointed by the texture showing through?
Picking the Right Wood for a Glass-Like Result
The secret to a stunning paint job starts in the wood shop, not the paint booth. When we talk about transforming your kitchen with custom cabinets, we have to talk about stability and surface density. If you pick a wood that expands and contracts wildly with seasonal humidity, your paint will eventually crack at the joints, creating unsightly lines. If you pick a wood with deep natural valleys, you will spend a fortune on labor just trying to level the surface with grain filler. Even with the right species, don’t forget that the details matter—avoid the hardware mistake that makes expensive cabinets look cheap. We are going to dive into the top three species that professional finishers beg for, and I will explain exactly why they are the gold standard for anyone who hates visible grain. By the time we are done, you will know exactly what to ask for at the cabinet shop to ensure your kitchen doesn’t end up looking like my first disastrous attempt.
Forget the Oak and Embrace Diffuse-Porous Species
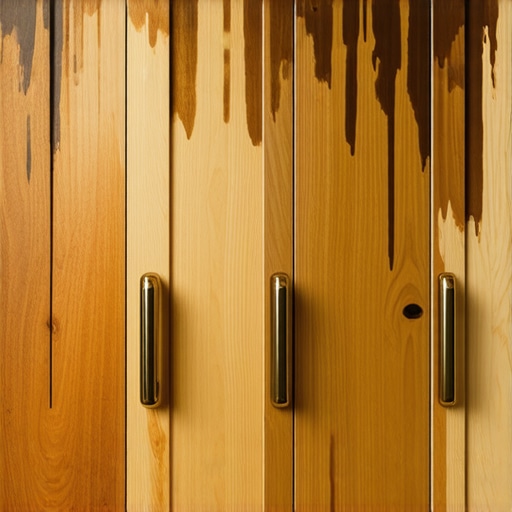
If you want your modern kitchen remodels to look high-end, you have to stop thinking about wood as a solid surface and start seeing it as a collection of microscopic straws. Oak has huge pores that suck up paint and leave unsightly craters. To get that glass-like sheen, I always steer my clients toward Hard Maple. It is incredibly dense and its pores are so small they are practically invisible to the naked eye. Think of it like trying to paint a piece of glass versus painting a sponge. I remember a project where a homeowner insisted on using Ash for a sleek navy-blue kitchen. Even after four coats of high-build primer, the grain ghosting was so aggressive it looked like denim fabric. We ended up remaking every door in Maple, and the difference was night and day. This is exactly why painted maple beats oak for anyone chasing a contemporary, flat-panel aesthetic.#IMAGE_PLACE_HOLDER_B#
Stop the Seasonal Crack Before it Starts
Even the best wood choice can be ruined by basic physics. Wood is a living material that gulps down moisture in the summer and exhales it in the winter. If you build a solid wood door panel and glue it tight into the frame, the paint will eventually shatter at the seams as the wood moves. I have seen beautiful custom cabinets ideas ruined because the builder did not give the center panel space to shift. This is why solid wood door panels still need room to breathe during seasonal humidity changes. To avoid those ugly white lines appearing at the joints in January, I use rubber space balls inside the door stiles. This keeps the panel centered but allows it to expand and contract without putting stress on the cured paint film.
Prep Your Surface with Surgical Precision
You cannot just scuff the wood and start spraying if you want a professional result. I spend about 70% of my time on a project just prepping the raw wood. Every piece gets sanded progressively up to 150 grit, followed by a thorough vacuuming and a wipe-down with a high-quality tack cloth. If a single grain of sawdust stays on that surface, your final coat will feel like grit. For the cabinet interiors, I always stick to why plywood box construction still beats particle board, as the structural integrity of the box ensures the doors stay perfectly aligned over time. If the box twists even a fraction of an inch, your doors will not close flush, making even the smoothest paint job look like a DIY failure.
The Primer that Acts Like Liquid Plastic
Once the wood is prepped, the primer is your most important layer for durability. I do not use the standard latex primer you find in big-box stores. You need a high-solids, sandable primer that builds up a thick enough film to level any remaining microscopic texture. There is a massive difference between pre-catalyzed and post-catalyzed cabinet lacquer, and choosing the right topcoat depends on how much abuse your kitchen takes. I prefer a post-catalyzed system for high-moisture areas like the island or sink base. On a recent job, I saw a standard water-based primer fail near a cooktop, which is a common reason why your cabinet paint bubbles near the stove and peels over time. Using a professional-grade sealer creates a chemical-resistant shield that keeps your investment looking brand new for years.
Stop Over-Designing Your Storage Depth
Most homeowners think that to maximize a kitchen remaster, you need the deepest cabinets possible. It feels like common sense: more volume equals more storage. However, I have spent years ripping out deep, dark base cabinets that became graveyards for half-used bags of flour and forgotten crockpots. In my professional experience, ‘more’ is often the enemy of ‘functional.’ When you are looking for built-ins and storage hacks for a sleek kitchen, you should prioritize reach over raw depth. This is why a pull-out pantry beats deep walk-in shelves for visibility every single time. If you cannot see an item without a flashlight and a yoga move, you simply will not use it. Most people get this wrong because they focus on square footage rather than the ‘active zone’ of their cabinetry. #IMAGE_PLACE_HOLDER_C#
Is 29 Inches Really the Magic Number for Built-ins?
When customers ask for home office built-ins or integrated workspaces, they often assume that standard kitchen counter height is the way to go. This is a massive mistake that leads to chronic fatigue. According to the National Kitchen & Bath Association (NKBA), ergonomic standards for seating height are much stricter than most DIYers realize. I call this the built-in desk error. If you build a workspace at the standard 30 or 32 inches, your shoulders will be bunched up around your ears within an hour of typing. Twenty-nine inches is the industry gold standard for ergonomic comfort in a seated position. Have you ever fallen into this trap? Let me know in the comments.
The Movement Trap Most Contractors Ignore
One of the most common ‘oops’ factors I see in high-end projects involves wood movement—specifically with heavy wood tops on islands or benches. People love the look of thick, natural wood surfaces, but the butcher block mistake of bolting it directly to the cabinet boxes will lead to a split top or a racked cabinet within just two seasons. Wood is a living material that never stops breathing. If you do not use slotted holes or expansion clips to allow the top to slide across the frame, the internal tension will eventually win. It is these hidden nuances—the things you cannot see from the front of the door—that separate a master-built kitchen from a weekend project. Taking the time to understand the mechanical requirements of the wood ensures your custom cabinets remain a centerpiece rather than a maintenance nightmare. By respecting the physics of the material, you protect the high-end finish we worked so hard to achieve.
The Gear That Separates Hobbyists From Pros
If you’ve ever wondered why a custom shop charges a premium compared to a big-box store, it often comes down to the precision of the tools used behind the scenes. I personally swear by the Festool Domino DF 500 for all my joinery. Unlike basic pocket screws which can shift or strip over time, the Domino allows me to create rock-solid floating tenon joints that ensure your custom cabinets ideas don’t just look good, but stay structurally sound for decades. This level of precision is non-negotiable when you are creating seamless kitchen remasters where every gap needs to be consistent to the millimeter. When I set up for an installation, I don’t use a bubble level; I use a self-leveling cross-line laser. If the floor is out by even a fraction of an inch, your modern kitchen remodels will show it in the door alignments.#IMAGE_PLACE_HOLDER_D#
How Do I Keep My Custom Cabinets Working Like New?
Even the most expensive hardware requires a bit of love after a few years of heavy use. If you notice a drawer sticking or a door hanging low, don’t assume the wood has failed. Often, it’s just a buildup of kitchen grease or dust in the mechanism. This is why your slow-close hinges are suddenly sluggish, and a quick wipe with a dry microfiber cloth and a drop of silicone-based lubricant can fix it instantly. For the wood surfaces themselves, avoid harsh chemical cleaners that can eat through a high-end finish. If you encounter a spill, knowing how to remove stubborn water rings correctly is the difference between a quick fix and a total refinishing job. Proper maintenance ensures your custom cabinets remain a legacy feature of your home rather than a wear-and-tear item.
Digital Layouts are the Future of Storage
Looking ahead, the way we design built-ins and storage hacks for a sleek kitchen is shifting toward hyper-personalization. In the next few years, I predict we will see more integration of AI-driven inventory systems designed directly into the cabinetry framework. This tech will help homeowners track expiration dates and suggest recipes based on what’s currently in their pull-out pantry. For now, the most advanced move you can make is following expert tips on selecting storage solutions that prioritize ergonomics over simple volume. According to the Blum Technical Specifications manual, their high-end hinges are tested for 200,000 opening and closing cycles—that’s roughly 20 years of daily use in a busy home. If you want that kind of longevity, don’t settle for ‘off-the-shelf’ hardware. My best advice? Take five minutes this weekend to check the tension on your most-used cabinet door. A simple 1/8 turn on the adjustment screw can make it feel brand new. If you’re ready to start your next project with these professional standards, feel free to contact us to discuss your vision.
3 Hard Truths About Custom Cabinetry That Changed My Career
Reflecting on my years in the shop, there are a few things I learned the hard way that aren’t usually in the brochures. First, don’t let depth be your only metric for success. High-functioning kitchens use the pantry zone method to ensure things don’t get lost in the shadows. Second, I learned that flexibility is better than rigidity; why you should never glue cabinet doors into the frames is a lesson in wood expansion that saves your finish from cracking. Finally, always check your fasteners. Small errors, like the cabinet screw mistake that causes heavy drawers to fail, can lead to sagging boxes years later.
[image_placeholder]
Gear and Resources for Your Next Project
If you’re ready to tackle a project or just want to know what to ask your builder, I recommend checking out the Blum Technical manuals for hardware specs—they are the gold standard for durability. For those attempting a DIY install, mastering the best way to mount heavy floating shelves to drywall is a total game-changer for safety. I also suggest reading through these expert tips on selecting storage solutions to avoid over-complicating your layout. These resources ensure that every piece you choose adds real value to your home.
Bring Your Vision to Life
Embarking on modern kitchen remodels is about more than just picking a paint color; it’s about creating a space that works as hard as you do. By focusing on the structural integrity of the wood and the precision of the joinery, you’re investing in a legacy. I hope these custom cabinets ideas inspire you to look closer at the details of your next renovation. If you’re feeling overwhelmed by the choices, don’t hesitate to contact us to walk through your plans. Have you ever found a hidden ‘treasure’ in the back of a deep cabinet? Tell me your storage horror stories below!