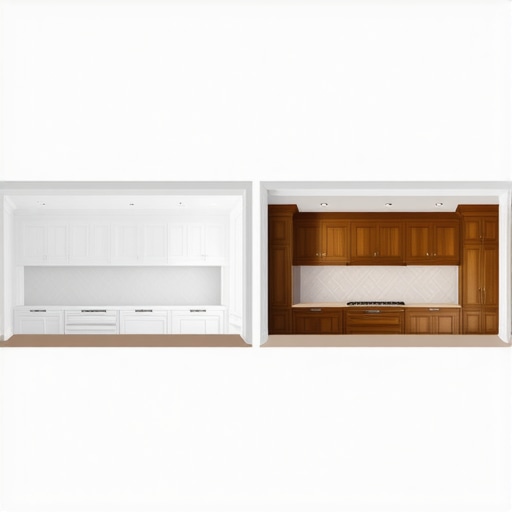
4 Ways to Bridge the Gap Between Your Cabinets and the Ceiling
Have you ever stood in your kitchen, staring up at that awkward gap between your upper cabinets and the ceiling, feeling frustrated and wondering if there’s a better way? I remember the moment I realized my lack of a solution was making my entire kitchen look unfinished. For years, I let the space collect dust and spider webs, neglecting one of the most overlooked areas in kitchen design. That lightbulb moment changed everything for me — I discovered there are simple, effective ways to bridge that gap, elevating both the style and functionality of my kitchen.
Why Tackling the Gap Matters More Than You Think
This gap isn’t just a visual flaw; it can impact your kitchen’s maintenance, storage, and overall aesthetic. When I first moved into my home, I dismissed the empty space as a minor quirk. However, I soon found that dust and grime accumulated in those tight corners, making cleaning a chore. Plus, that gap made my cabinets look cheap, not custom, and I knew I wanted to make a change.
Research shows that well-designed kitchen cabinets can increase a home’s value and appeal. In fact, a study from the National Association of Realtors revealed that updated kitchens with thoughtful cabinetry and storage solutions significantly boost resale potential. So, addressing this gap isn’t just about looks; it’s an investment in your home’s future.
With so many options available, tackling this issue can seem overwhelming. But fear not — I’ve tested practical strategies that can be tailored to your style and budget. Whether your ceiling height is standard or tall, there’s a solution that will make your kitchen feel complete, polished, and functional.
Have you accepted that dealing with this gap is just part of the kitchen design? Think again.
Early in my renovation journey, I made the mistake of rushing into concealing this space without proper planning. I chose a quick fix that looked good temporarily but didn’t last. Trust me, a thoughtful approach is worth the effort — and it can save you time and money down the line. If you’re curious about some clever ideas that have worked for others, check out custom cabinet ideas for inspiration.
Up next, I’ll share four proven ways to bridge that gap effectively — so you can finally enjoy a cohesive, beautiful kitchen that feels designed just for you. Let’s get started!
Measure Your Space Carefully Before Choosing a Solution
Start by measuring the height, width, and depth of the gap. Use a reliable tape measure, and note these dimensions precisely. I once skipped this step and ordered custom cabinets that didn’t fit, wasting time and money. Take your measurements, and double-check them to ensure accuracy, because perfect fit begins with perfect data.
Select the Right Filling Method for Your Kitchen
Opt for Custom Cabinets or Built-ins
If your ceiling height varies or you desire a seamless look, custom cabinetry offers the best fit. When I installed built-ins in my kitchen, I used built-in solutions to eliminate gaps and create a polished appearance. These are like tailored suits—crafted to match your space perfectly.
Use Crown Molding or Decorative Trim
For standard-sized gaps, adding crown molding or decorative trim is a quick, stylish fix. I bought pre-made moldings from a hardware store, cut them to size, and painted to match my cabinetry. This approach transforms the space and adds architectural interest, much like jewelry accentuates an outfit.
Consider Adding Crown Molding for a Finished Look
Installing crown molding requires some skill but results in a professional appearance. Use a miter saw to cut pieces at proper angles, and secure them with clamps and nails. I measured and cut carefully, but my first attempt was a bit rough. After a bit of sanding and filling, the gaps disappeared, and the kitchen looked custom-developed. This method emphasizes craftsmanship and can be combined with other solutions for a layered style.
Create a Custom Hood or Panel to Hide the Gap
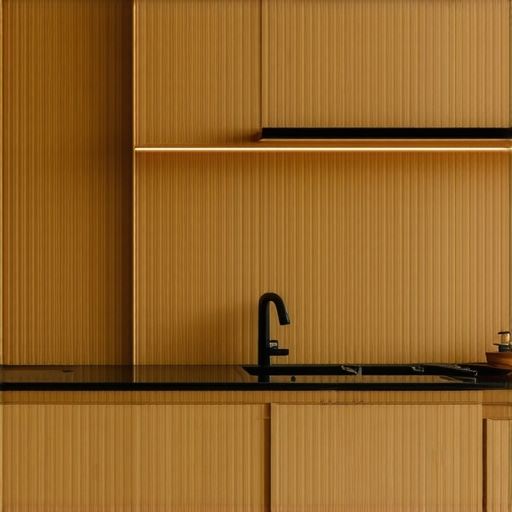
Building a custom panel or hood is an advanced move but provides a cohesive, high-end appearance. If you’re comfortable with basic carpentry, frame out a panel to match your cabinetry and finish it with paint or veneer. I designed and built one for my kitchen, which took a weekend but was worth the effort—no more gap, just sleek continuity. This option pairs well with modern remodels that favor seamless aesthetics.
Smooth Transition with Inset or Shaker Doors
Using inset or shaker-style doors can minimize the visual impact of the gap. These styles have a recessed panel that aligns flush with the frame, creating a clean line. When I replaced my doors, I chose inset cabinet fronts—they increased visual interest and masked minor imperfections. This approach is practical when considering style and function simultaneously.
Add Lighting to Highlight Architectural Details
Integrate LED strip lights or under-cabinet lighting beneath the upper cabinets. They draw attention away from imperfections and create ambiance. I installed LED strips along the top edge of my cabinets, enhancing depth and hiding transitional gaps. Lighting is a subtle but effective way to unify the space, especially when combined with other filling methods.
When it comes to designing a functional kitchen with built-ins or custom cabinets, many homeowners fall prey to misconceptions that can lead to regret and costly mistakes. Let’s dig deeper into some of these pitfalls so you can avoid the traps that trap many others.
Are All Built-Ins Created Equal For Your Space? Think Again.
While built-in solutions are often praised for their seamless integration, not every system suits every space. A common myth is that custom-built-in units are always the best choice for maximizing space, but in reality, they can become rigid and hard to modify if your needs change. Instead, flexible modular storage might better serve dynamic households. According to experts from artisan cabinetmakers, understanding your long-term storage needs is crucial before opting for built-ins.
Furthermore, many assume that custom cabinets are a one-size-fits-all solution, but poor planning can result in awkward compartments and wasted space. The oversight of considering the accessibility of every zone can diminish the usability of your storage. This nuanced planning is essential to create a truly functional environment.
What Most Get Wrong About Choosing Materials for Cabinets
Many homeowners believe that choosing wood types based on aesthetics alone is enough, neglecting the nuances that impact durability and maintenance. For instance, hardwoods like oak are renowned for strength, but they are more susceptible to warping in high humidity areas if not properly sealed. Conversely, engineered materials like plywood tend to perform better in moist environments, especially when made with high-quality veneer. The material selection can significantly influence the lifespan of your cabinets.
Another mistake is underestimating the importance of your hardware finish. Matte black hardware, for example, can show water spots and fingerprints more than oil-rubbed bronze or brushed nickel. Choosing durable, water-resistant finishes can save you from frequent cleaning and touch-ups, which many overlook during initial planning.
How Do Advanced Storage Solutions Actually Save Space?
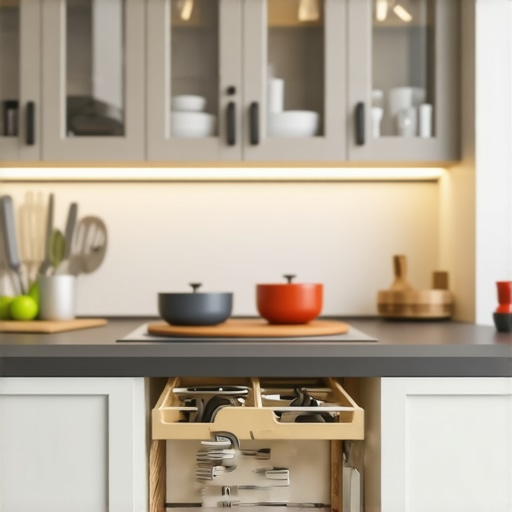
One area where misconceptions run deep is thinking that all innovative storage solutions are luxury extras rather than necessities. Hidden features like toe kick drawers or vertical dividers can reclaim wasted space and improve organization. However, they are often dismissed as unnecessary, especially in small kitchens. The key is understanding that these nuances contribute to maximizing every inch—something backed by research from industry studies showing significant space savings when advanced solutions are properly implemented.
Be cautious, though—over-automation or overly complex systems may backfire, complicating everyday access. Always balance innovation with practicality to avoid creating a storage nightmare.
Have you ever fallen into this trap? Let me know in the comments, and share your experiences or questions about optimizing your kitchen storage—the nuances matter more than you think.
Maintaining your kitchen storage solutions and built-ins is crucial to ensure they continue to serve you well over the years. Like any precision system, your cabinetry, hardware, and shelving require regular care and the right tools to stay in top shape. By investing in specific equipment and adopting effective maintenance routines, you can prolong the lifespan of your kitchen investments and keep everything functioning seamlessly.
Tools That Make Maintenance Easier and More Precise
One of my go-to tools is a high-quality electric screwdriver with multiple screwdriver bits. It might seem basic, but having this at hand saves me time when adjusting hinges or tightening cabinet hardware. For instance, when I noticed my inset doors were no longer closing flush, I used an electric screwdriver to fine-tune the European hinges, referencing this detailed guide to get perfect alignment.
Another essential tool is a plastic pry bar. It helps in removing molding or panels without damaging delicate finishes, especially when cleaning or replacing parts. I regularly use it for tasks like disassembling crown moldings to clean behind them or to replace worn trim, ensuring my kitchen stays looking sharp.
For cleaning and preventing buildup, an ultrasonic cleaner is a game-changer. Funding my own sets for hardware or delicate veneer panels, I’ve found ultrasonic cleaning removes dirt and grease more effectively than traditional methods, preserving the finish of hardware like matte black pulls, which can show fingerprints and spots — more here.
Don’t overlook hardware lubricants—good-quality silicone spray or graphite powder helps keep drawer slides and hinges operating smoothly without squeaks or jams. Regular applications prevent wear and tear, especially in humid climates that can cause metal components to rust or stick.
Automating Maintenance: Software Solutions for Long-Term Care
On the digital front, I recommend using project management apps like Trello or Notion to track your maintenance schedule. I set reminders for lubricating hinges every six months or checking for loose screws periodically. These tools keep me accountable and ensure nothing slips through the cracks, especially on busy remodel projects where multiple tasks compete for attention.
Looking ahead, integrating smart sensors into your cabinetry or appliances may be the next frontier. Future trends suggest devices will notify homeowners of potential issues—like moisture damage or hardware failure—before they escalate. This proactive approach aligns well with the growing emphasis on smart home integration, augmenting traditional maintenance routines with technology.
How do I maintain my built-ins and custom cabinets over time?
The key is regular inspections combined with the right tools—like soft-bristled brushes to clean crevices, microfiber cloths for dusting, and gentle wood cleaners that preserve surface finishes. Periodically checking and tightening hardware prevents long-term issues. Also, be vigilant about controlling humidity levels; excessive moisture can warp or degrade cabinet materials, especially in high-humidity areas. Using a dehumidifier in such spaces can be a simple but effective step.
If you’re interested in learning about innovative storage products that can further reduce maintenance efforts, this article explores future solutions that integrate seamlessly with modern kitchens.
Don’t forget: adopting these tools and routines is an investment in your kitchen’s longevity. For example, try implementing a quarterly hinge inspection with a precision torque screwdriver — a small step that can save you from costly repairs down the line.
My Lessons That Changed Everything About Custom Cabinets
- I realized that rushing into quick fixes often leads to more frustration — durability and fit matter more than immediate appearance.
- Understanding my ceiling’s unique height helped me choose solutions that truly integrated, rather than just masked, the gap.
- Experiencing firsthand that well-planned molding and panels can elevate a simple space into a stunning feature taught me patience and precision.
- Don’t underestimate the power of lighting — subtle LED strips hid imperfections and emphasized the craftsmanship of my custom work.
- Listening to industry experts and combining their insights with my own DIY efforts resulted in a kitchen that feels designed, not assembled.
Tools, Resources, and Secrets That Made a Difference
- My favorite kit includes a versatile electric screwdriver and a plastic pry bar — trusted for their efficiency and gentle handling.
- Books like custom cabinet ideas inspired me to think beyond standard solutions and tailor my space.
- Online tutorials from artisans, combined with trusted hardware suppliers, provided me with practical tips I couldn’t find elsewhere.
- Community forums gave me a sense of camaraderie and shared wisdom that boosted my confidence during complex tasks.
Your Next Move: Embrace the Power of Personal Growth in Your Kitchen
Upgrading your kitchen with thoughtful storage solutions,kitchen remodel,built-ins,custom cabinets isn’t just about aesthetics — it’s about creating a space that works for you. Take that first step today, experiment with ideas, and remember: every challenge is an opportunity to craft a space that truly reflects your style and needs. The journey is worth it, and your dream kitchen is within reach.
Have you ever struggled with implementing a custom cabinet solution that fit just right? Share your story or questions below — I’d love to hear your experiences and help you achieve that seamless kitchen finish.