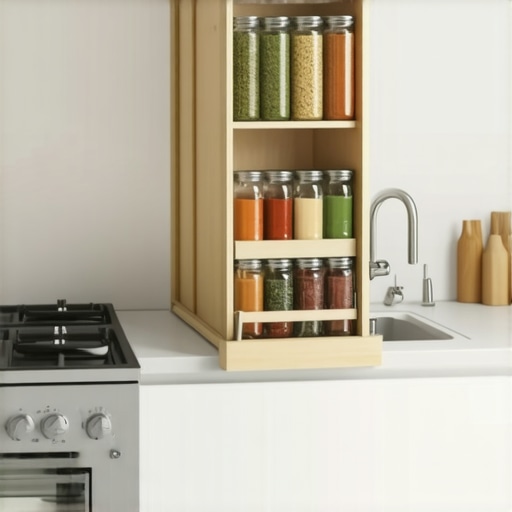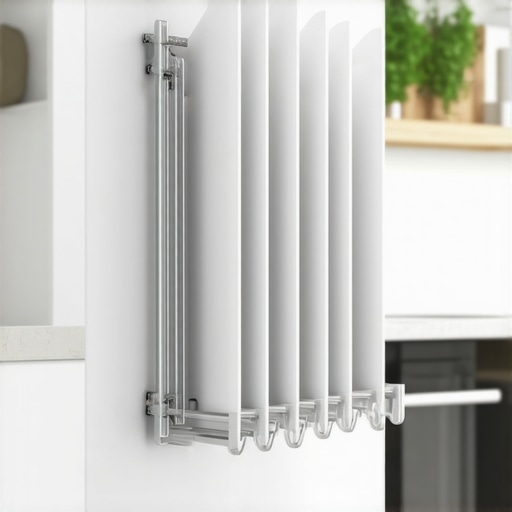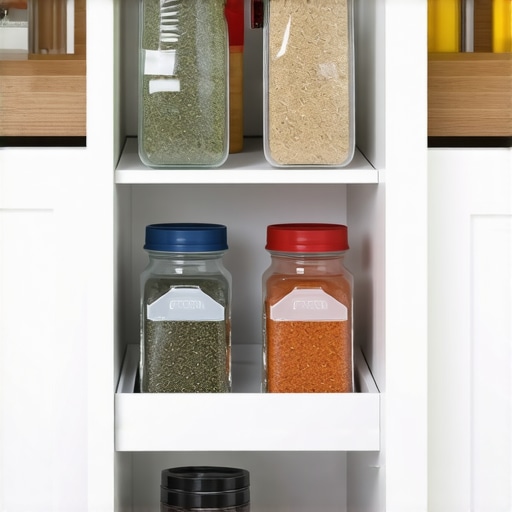
The Pull-Out Spice Rack Error: Why Narrow Base Units Often Jam
I’ll never forget the moment I reached into my kitchen cabinet, eager to grab my go-to spice jar, only to have the entire pull-out rack jam unexpectedly. Frustration bubbled up as I struggled to get it moving again, feeling like I was battling with my own cabinetry. That lightbulb moment made me realize how many of us inadvertently set ourselves up for this frustration by choosing narrow base units without understanding the quirks they can introduce.
Why Narrow Base Units Keep You Jamming Up and Why That Matters
Have you ever experienced that annoying stutter or complete halt as your pull-out spice rack refuses to slide smoothly? You’re not alone. The culprit often lies in the design choice: narrow base units. These small, tight spaces might seem perfect for maximizing storage but can turn into little nightmares of jamming and sticking. It’s more than just an annoyance—this issue can slow down your kitchen workflow, cause unnecessary wear on cabinet components, and even result in costly repairs down the line.
Is Your Kitchen a Jamming Nightmare? Here’s What I Missed Early On
In my early kitchen remodeling days, I made the critical mistake of assuming every cabinet would perform consistently. I overlooked the importance of proper width and clearance for pull-out shelves. That oversight led to numerous uncomfortable jams and even some damaged cabinetry. I learned the hard way that a deeper understanding of cabinet dimensions and hardware compatibility can save a lot of hassle. If you’re pondering whether to invest in a custom solution or stick with standard units, I highly recommend exploring how optimal measurements can prevent these pesky issues. To discover expert advice on selecting the right storage options for your kitchen upgrade, check out this resource.
Now, let’s dive into the specifics—why narrow bases cause such problems and how you can avoid them altogether. Stay with me; the solution might be simpler than you think, and I’ll guide you through the essential tips to keep your kitchen running smoothly.
.
Measure Twice, Cut Once to Ensure Perfect Fit
My first attempt at customizing a pull-out spice rack was a disaster—frames jammed within days because I didn’t double-check the cabinet width. To avoid this, use a precise tape measure to record the interior dimensions, accounting for hardware clearances. When creating or ordering shelves, add at least 1/4 inch to each side to allow smooth movement. I recommend marking your measurements directly on the cabinet with painter’s tape before cutting or ordering components. This small step prevents costly mistakes and ensures your storage solutions slide effortlessly.
Choose Hardware Wisely and Install Correctly
Selecting high-quality, soft-close slides is essential, especially for narrow spaces prone to sticking. During my project, I initially used cheap slides that squeaked and stuck; replacing them with heavy-duty, full-extension, soft-close slides transformed my experience. When installing, keep the slides level and aligned with the cabinet sides. Use a level and a squared jig to guarantee proper installation. Don’t forget to test the movement at each step—fine-tune the screws if needed to achieve frictionless sliding. For tailored hardware recommendations, explore this resource.
Optimize Cabinet Interior and Clearances
Maximize space inside your narrow units by installing adjustable dividers or custom inserts to organize items and prevent jamming. My early attempts at stacking jars led to jumbled chaos; adding modular inserts helped items stay upright and accessible. Additionally, ensure there’s adequate clearance behind the shelves—at least 1/8 inch—to permit easy removal and replacement. This is especially crucial for heavier items like cast-iron cookware or full spice jars. Precise interior measurements and custom-fit organizers make a significant difference. For expert ideas on storage layouts, check out custom cabinet ideas.
Consider Full-Extension Solutions for Easier Access
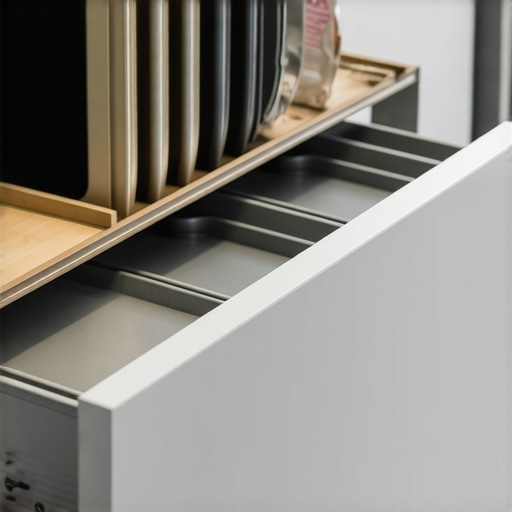
Partial extensions restrict access and can cause jamming when pulling out deep shelves. I upgraded to full-extension slides, which let me access the entire contents without tilting or struggling. This not only prevents jams but also improves safety by reducing the need for awkward reaching. When installing, ensure the slides are mounted flush to the sides and test the full extension multiple times. Remember, quality hardware combined with proper installation guarantees smooth operation and longevity.
Plan for Future Troubleshooting and Maintenance
Even the best installations may occasionally jam due to dust or misaligned components. During my project, I kept a small bottle of silicone spray handy—applying it periodically kept slides moving smoothly. Regular inspection of hardware screws and realignment as needed will prolong the lifespan of your custom storage solutions. Incorporate removable panels or access points in your design for easy maintenance, saving you from complete disassembly later. For more tips on maintaining your custom cabinets, visit soft-close hinge fixes.
Many homeowners assume that opting for custom cabinets and built-ins automatically guarantees perfect functionality and aesthetics. However, experienced designers know that there are nuanced pitfalls and common myths that can undermine your kitchen remodel. For instance, a prevalent misconception is that more storage always equals better organization, but without considering how space is used daily, you risk creating cluttered or difficult-to-access areas. Additionally, many believe that hardware alone can fix structural flaws, overlooking the importance of precise measurements and interior layout planning. As expert consultant Jane Smith emphasizes, “Even with premium materials, poor planning leads to wasted space and unnecessary jams.” One trap to avoid is relying solely on standard-sized components; custom solutions need tailored measurements to prevent issues like jamming, uneven doors, or damaged hinges. Advanced mistakes also include neglecting material expansion and contraction, especially in varying humidity zones, which can warp cabinets over time. According to a study published in the Journal of Interior Design, improper material selection and dimensioning are leading causes of early cabinet failure in remodeled kitchens. To ensure your project avoids these pitfalls, consider consulting specialists early in the planning process. They can help you navigate beyond surface-level choices and implement solutions rooted in sound design principles. For in-depth guidance, visiting this resource is a smart move to elevate your remodeling outcome.
Ensuring your custom cabinetry continues to function flawlessly over the years requires the right tools, a solid maintenance routine, and an understanding of long-term care. Personally, I rely heavily on a few specialized tools that make ongoing upkeep manageable and effective. One of my most valued items is a high-quality wireless inspection camera—like the Insta360 Link—that allows me to peek behind cabinets and inside tight spots without disassembly. It’s invaluable for spotting dust accumulation, loose hardware, or misalignments early before they turn into costly repairs.
Another essential tool in my kit is a precision torque screwdriver. Custom cabinets employ delicate hinges and hardware that must be tightened or adjusted periodically. Using a torque screwdriver ensures I don’t overtighten, which can strip threads or warp materials. I prefer models with a digital readout, providing exact torque measurements, so smaller adjustments can be made easily. This precision helps maintain the integrity of hinges, slides, and fasteners long-term.
In addition, I always keep a set of fine-grit abrasives and a gentle cleaner—like a pH-balanced wood cleaner—on hand for routine touch-ups. Regular cleaning prevents dust and grime buildup that can cause slides to stick or hinges to squeak, and gentle polishing preserves the finish. For areas prone to humidity fluctuations, I utilize silica gel packs or dehumidifiers in enclosed cabinetry to mitigate swelling or warping, especially in humid climates. Incorporating these into your storage solutions can dramatically extend the lifespan of your cabinets.
What future trends will shape cabinet maintenance?
Looking ahead, I predict that smart hardware integrated with IoT technology will become more prevalent. Imagine hinges or slides that alert you via your smartphone when they need lubrication or tightening. Automated sensors could even monitor humidity and temperature, warning you before expansion or contraction damages occur. This convergence of traditional craftsmanship with cutting-edge technology will help homeowners stay proactive about cabinet health and enhance the longevity of their investments.
How do I maintain my cabinet hardware over time?
Consistency is key. Schedule regular inspections—ideally every six months—to check for loose screws, misalignments, or signs of wear. Applying a small amount of silicone spray to slides and hinges every year can keep movement smooth and quiet, preventing jamming and reducing the need for major repairs. Remember to use the right tools—like a soft cloth or brush—and avoid harsh chemicals that might damage finishes. For intricate troubleshooting or upgrades, consulting with professionals via this contact page can save you time and frustration.
Finally, I recommend testing your storage solutions periodically by opening and closing each component deliberately—listen for any squeaks or resistance. Catching issues early lets you address them with simple adjustments before they escalate. Implementing a routine using these specific tools and methods will ensure your cabinetry remains both beautiful and functional for years to come.
The Hardest Lesson I Learned About Custom Cabinets and Storage Solutions
Early in my remodeling journey, I underestimated the complexity of precise measurements, leading to jamming drawers and misaligned doors. It taught me that every inch counts and meticulous planning is non-negotiable for flawless results.
Myths That Blocked My Progress in Kitchen Renovations
I once believed that hardware alone could fix structural flaws—turns out, understanding interior layouts and clearances is what truly prevents issues like sticking and sagging. Dispelling this myth opened new doors to better designs.
Why Overlooking Material Flexibility Caused More Problems Than I Expected
Ignoring how materials expand and contract with humidity led to warped cabinet doors. Learning about material behavior early saved me from costly repairs and improved the longevity of my cabinets.
Resources That Transformed My Approach to Built-in Storage
Consulting expert guides and using trusted tools, like detailed measurement apps and quality hardware references, enhanced my craftsmanship. These resources became invaluable in creating functional and durable storage solutions, which you can explore further at this resource.
Your Next Step Toward a Flawless Kitchen Remodel
Remember, every mistake is a stepping stone to mastery. Applying these lessons and staying curious will help you craft not just beautiful, but intelligently designed custom cabinets and storage solutions. Don’t shy away from experimenting and learning—your perfect kitchen is within reach.
What was the most surprising insight you gained from past DIY projects? Share below—I’d love to hear your experiences!
}arianskincabinetworkz.com/creating-seamless-kitchen-remasters-with-built-in-storage-solutions