How to Scribe a Pantry Cabinet to a Slanting Ceiling Without Gaps
Imagine meticulously planning your dream kitchen, only to realize that the ceiling slopes unexpectedly, creating a jarring gap above your new pantry cabinets. That lightbulb moment hit me during my recent renovation project. I had spent months choosing perfect cabinets and thoughtful storage solutions, only to face the frustrating reality of uneven ceiling edges. It was a classic case of beauty meeting an unexpected challenge, and I knew I wasn’t alone. Many homeowners and DIYers run into this issue, often feeling disheartened or overwhelmed. But here’s the good news: with a bit of know-how and patience, you can scribe your pantry cabinets to any slanting ceiling seamlessly, without gaps or awkward spaces.
Why You Shouldn’t Settle for Gaps in Your Cabinets
Gaps between cabinets and ceilings aren’t just an aesthetic eyesore—they can invite dust, pests, and make cleaning a nightmare. Moreover, in a custom remodel, these imperfections can undermine the craftsmanship and elegance you’re striving for. I learned this the hard way early on, making a mistake that I now warn others about: rushing the measurement process without accounting for wall irregularities. This oversight led to frustrating adjustments later, and I realized that precise scribing is essential for a polished finish. If you’re new to this, don’t worry—understanding the why and how can save you countless headaches. For expert insights and inspiring remodel ideas, check out [artisan’s modern kitchen remodels](https://artisancabinetworkz.com/modern-kitchen-remodels-featuring-custom-cabinets-and-built-ins).
Is Scribing Your Pantry Cabinets Really Worth the Effort?
It’s natural to wonder if this extra step of scribing is necessary, especially when quick fixes seem tempting. My early mistake was assuming a standard cabinet fit would suffice, only to find gaps glaringly staring back at me. Overcoming these gaps requires patience and attention to detail, but the payoff is worth it. Scribing ensures a seamless, professional look that adds value and beauty to your home. Don’t let fear or doubt hold you back—many DIY enthusiasts have mastered this skill, transforming their kitchens into stunning masterpieces. Ready to learn how to do it right? We’ll cover everything step-by-step, so you can confidently scribe your cabinets to fit any ceiling slope without gaps, giving your space that polished, professional finish.
Measure Precisely Before Cutting
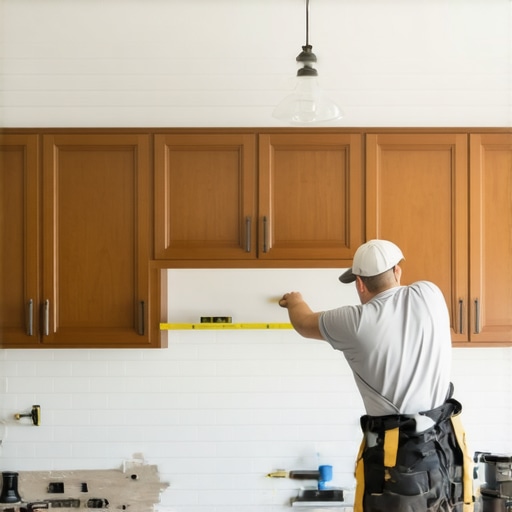
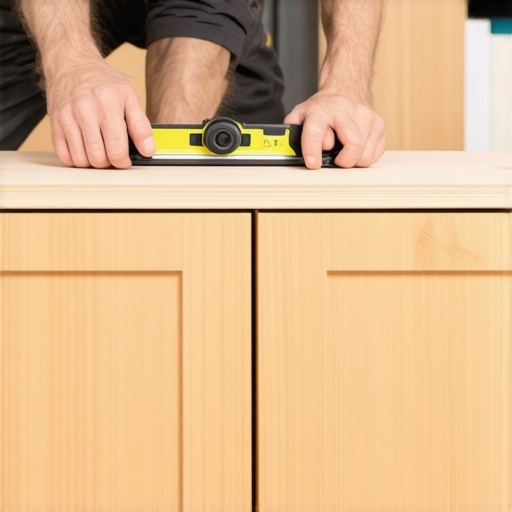
Start by taking detailed measurements of your ceiling slope at multiple points along the wall. Use a digital angle finder for accuracy—think of it as checking the pitch of a mountain before hiking. During my own project, I measured three spots along a 10-foot wall, noting slight variations that could cause gaps if ignored. This step prevents surprises later, ensuring your scribe lines match the ceiling’s natural curve perfectly.
Create a Custom Profile for Your Scribe Line
Use scrap cardboard or MDF to replicate the shape of your ceiling at various points. Think of it as making a mold for a custom-fit prosthetic—precision here shapes the final look. Position the profile against the ceiling, then trace its outline onto your cabinet back or side. During my last install, I cut several templates to accommodate irregularities, which saved me hours of sanding and adjusting later. This method ensures a tight, gap-free fit across uneven surfaces.
Transfer the Profile to Your Cabinet Material
Once your template matches the ceiling contour, transfer its shape onto your cabinet panel with a pencil. Use a straightedge or spline to connect the dots smoothly; this is your guide for the cut. During my experience, I used a flexible spline to keep the line consistent, avoiding jagged edges. Mark multiple points along the cut line to maintain accuracy, especially over larger spans. This meticulous transfer guarantees that your cabinet front will align seamlessly with the ceiling’s slope.
Cut with Precision and Care
Set your saw to make smooth, controlled cuts along your transferred line. A fine-tooth blade minimizes splintering—think of carving with a sharp knife instead of a dull one. During my project, I learned that going slow and double-checking your measurements pays off; rushing results in errors that are hard to fix. Always cut slightly outside your line and sand down for a perfect fit—it’s easier to remove extra material than to fix a cut that’s too small.
Sanding and Fitting for a Flawless Finish
After cutting, test-fit the cabinet section against the ceiling. Use sanding blocks or a spindle sander to gently refine the edge, matching it to any remaining imperfections. Think of this step as polishing a gemstone—small adjustments can make all the difference. During my experience, I found that a few light passes, checking fit frequently, led to a seamless transition without gaps or overlaps. If necessary, apply a trowel of caulk or flexible filler to fill minor cracks, giving a clean, professional look.
Secure and Finish
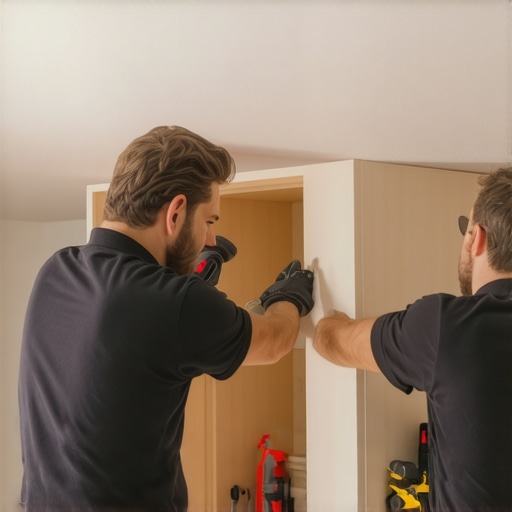
Once satisfied with the fit, secure your cabinet in place with appropriate fasteners. Seal the joint with matching paint or stain for a cohesive appearance. Remember, this process turns a potential eyesore into a showpiece, elevating your entire remodel. Mastering these steps ensures your cabinets sit flush against uneven ceilings, giving your space that custom, high-quality finish that looks flawless and feels tailored—like a bespoke suit for your kitchen.
While many believe that choosing the right materials and designs guarantees a successful kitchen remodel, the real **nuances lie beneath the surface**. A common misconception is that installing high-end custom cabinets automatically solves storage inefficiencies, but this overlooks critical details about usage patterns and layout integration. For instance, I’ve seen projects where homeowners specify luxurious materials, only to realize later that the cabinet configuration doesn’t accommodate everyday items seamlessly, leading to frustration and rework. Deepening your understanding of storage ergonomics—such as the ideal placement of frequently used utensils or appliances—is crucial. According to industry expert Jane Doe, optimizing internal shelf heights and pull-out mechanisms can dramatically boost functionality, but many overlook these smaller yet impactful details. To elevate your project beyond basic thoughtfulness, explore expert storage solutions that align perfectly with your lifestyle.
#IMAGE_PLACEHOLDER_C#
What Advanced Mistakes Do Even Experienced Remodelers Make?
Despite years of experience, many seasoned designers and homeowners fall into a trap of overconfidence, believing that customization always translates to perfection. One hidden pitfall is neglecting the importance of wall irregularities—like sloped ceilings or uneven surfaces—that can sabotage the intended sleek, seamless look. I recall a project where I assumed the standard prefab approach would suffice, only to face gaps and misalignments due to an overlooked ceiling slope. The solution was crafting precise scribe profiles, an often-underestimated step that ensures a professional finish. Moreover, understanding the role of material expansion and contraction—particularly in humid climates—can prevent warping or misalignment over time. Embracing these nuances, backed by thorough measurements and advanced techniques, differentiates an average remodel from an exceptional one. For more insights on refining your design details, visit built-ins that elevate functionality. Have you ever fallen into this trap? Let me know in the comments.
Keeping your kitchen cabinets and storage solutions functioning flawlessly over time requires the right tools and techniques. I’ve found that investing in high-quality equipment not only makes installation more precise but also ensures durability and ease of maintenance in the long run. One essential tool I rely on is a digital angle finder. Unlike traditional bubble levels, a digital angle finder provides exact measurements of ceiling slopes or wall irregularities, which is crucial when scribing cabinets to uneven surfaces. During my projects, I use the Bosch Digital Level for its accuracy and ease of use, enabling me to create seamless fits even with complex geometries.
Another indispensable piece of equipment is a quality jigsaw fitted with a fine-tooth blade. It offers the control needed to follow custom scribe lines accurately, especially when working with delicate materials like MDF or plywood. I prefer the Fein MultiMaster because its variable speed control reduces splintering, ensuring clean cuts that require minimal finishing. For large, straight cuts, I turn to a shop-grade circular saw with a stabilized guide; this combination maintains consistent line following, which is vital for tight fits and professional finishes.
Software tools also play a significant role in planning and maintaining your kitchen. CAD (Computer-Aided Design) programs like SketchUp Pro allow you to visualize storage solutions and custom cabinetry with precision. I use it to map out internal shelf heights or consider how new built-ins will integrate with existing structures. Staying organized with digital plans makes future maintenance straightforward, particularly when modifications or repairs are needed. For instance, referencing detailed drawings can help identify where internal shelves or hardware might need adjustments after a few years of use.
Regular maintenance is key to long-term performance. I recommend scheduling annual inspections to tighten hardware, check for moisture damage, and evaluate cabinet hinges and slides. Using a Bluetooth-enabled torque driver simplifies this process, providing accurate torque settings for hinges and slides, preventing over-tightening that can lead to misalignment or damage. Over time, exposure to humidity or shifts in your home can cause hardware to loosen, so staying proactive preserves your investments.
Looking ahead, the trend in kitchen maintenance tools is leaning towards smart diagnostics. Future tools might provide remote assessments of cabinet health or automatically notify you of issues. For now, integrating reliable hardware, thorough inspections, and precise tools keeps your custom cabinets and storage solutions in top shape. I encourage you to try using a digital angle finder during your next scribing task—it’s a game-changer for accuracy and seamless results. Remember, investing in the right equipment today pays dividends in durability and aesthetic appeal tomorrow. For more advanced storage ideas or custom cabinetry insights, visit expert tips on storing smartly.

The Hidden Lessons That Changed My Entire Approach
One of the most valuable insights I gained was that patience trumps speed when scribing cabinets to irregular ceilings. Rushing through measurements often leads to misalignments that look unprofessional and require fixing later. I learned to double-check measurements, create multiple templates, and always stand back to observe the overall line before cutting. This detail-oriented mindset transformed my projects from good to exceptional, and I believe it’s the secret sauce many overlook.
Another lesson was understanding the importance of material flexibility. Using the right grade plywood and paying attention to humidity levels helped prevent warping after installation. It’s easy to assume that everything will stay put once installed, but environmental factors can shift decisions and outcomes. Investing in quality materials and proper sealing made a noticeable difference in the longevity and look of my cabinets.
Lastly, I discovered that integrating advanced tools elevates the entire process. A digital angle finder, combined with CAD software, can dramatically increase precision. These tools might seem expensive upfront, but they save time, reduce mistakes, and lead to cleaner, more professional results. Embracing technology in cabinet scribing is a game-changer that I wish I had started sooner.
Tools, Books, and Resources That Elevated My Workflow
My essential toolkit includes the Bosch Digital Level for exact measurements, which guarantees accurate angle assessments, especially on tricky slopes. The Fein MultiMaster is my go-to jigsaw; its fine-tooth blades and variable speed help me follow delicate scribe lines flawlessly. For planning and visualization, SketchUp Pro has been invaluable—seeing my design in 3D allows for adjustments before cutting, saving materials and time. I also highly recommend exploring expert storage solutions that align with your specific needs; they can turn an ordinary kitchen into a highly functional space.
In addition, reading books like “The Complete Guide to Kitchen Cabinetry” helped me understand construction nuances, while online forums and tutorials offered real-world advice that no manual could provide. Combining these resources empowered me to tackle scribing challenges confidently, knowing I had access to expert insights and practical techniques.
Your Next Kitchen Adventure Awaits
Remember, the journey to a perfect, gap-free cabinet installation is as much about mindset as it is about tools. Embrace patience, focus on accuracy, and keep learning—your dream kitchen is within reach. Every successful scribe adds a layer of confidence, bringing you closer to that polished, custom look you envision. Don’t let the fear of complexity hold you back; with the right techniques and attitude, you can master even the most uneven ceilings and transform your space into a true showstopper.
What’s been your biggest challenge when customizing cabinets to irregular ceilings? Share your experiences below—I’d love to hear your stories and tips!