How to Match New Cabinet Stain to 20-Year-Old Sun-Faded Oak
Imagine opening your kitchen cabinet and feeling that familiar pang of disappointment. The once warm, rich oak has faded to a pale, washed-out shade over the years. It’s like your beautiful, 20-year-old hardwood has lost its luster, leaving you with a mismatch nightmare when trying to update or refurbish your space. I’ve been there myself, frustrated by how difficult it can be to make brand-new stains blend seamlessly with aged wood—especially when the difference in color is glaring enough to ruin the entire aesthetic.
The Challenge of Matching Old and New Wood Finishes
Refreshing your kitchen with new cabinets or even just re-staining existing ones sounds simple until you realize just how tricky it is to replicate that historic warmth. The sun, moisture, and countless years of use have given the aged oak its unique character, which is often lost when you use modern stains. The key isn’t just about choosing the same color—it’s about understanding the nuances of aged wood and how it reacts to new finishes.
One thing I learned early on is that applying the same stain to a sun-faded oak doesn’t automatically result in a perfect match. In fact, a common mistake I made was trying to rely solely on visual approximation without testing on a hidden area first. That misstep led to an uneven, unnatural look that I had to correct later, which just added time and expense to my project. To truly bridge the gap between the old and the new, you need a strategy—something I’m excited to share from my own experience and research.
If you’re facing the daunting task of matching new stains to aged wood, you’re not alone. Many homeowners struggle with this exact issue, often feeling overwhelmed by the different products and techniques available. Rest assured, with a bit of knowledge and patience, you can achieve a beautiful, cohesive finish that honors your home’s history while giving it a fresh new look.
So, let’s dive into practical solutions that will help you match those cabinet stains with confidence. By the end of this post, you’ll know exactly how to approach your project, avoid common pitfalls, and create a space that feels both timeless and refreshed.
Is restoring a cohesive look really worth the effort?
Early in my journey, I made the mistake of thinking I could wing it—picking a stain based purely on color alone. However, I quickly discovered that many factors influence how a stain appears on aged wood, from the wood’s porosity to its underlying tone. According to experts, understanding these factors is essential for achieving a blended finish (source: Expert Tips on Selecting Storage Solutions). This realization was a turning point that made me take the process seriously.
Now, I’ll walk you through a practical, step-by-step method to match your new stain to your aged oak cabinets, ensuring your project results in a stunning, harmonious look that stands the test of time.
Assess the Existing Finish
Start by examining your cabinets in natural light, noting the current color, sheen, and any variations caused by age or sun exposure. My first attempt involved hurriedly picking a stain after a quick glance, which resulted in an obvious mismatch. To avoid this, take a photo and compare it to stain samples in different lighting conditions, ensuring you understand the true tone and finish.
Test on Hidden Areas
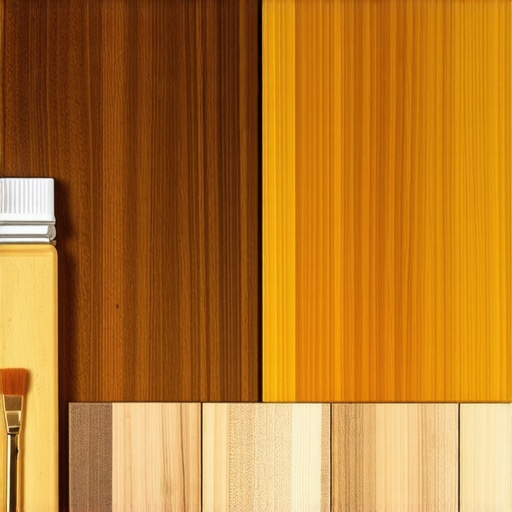
Choose a discreet spot, like the inside of a cabinet door or the back panel, and apply small test patches using different stain shades or even diluted versions of your chosen stain. I learned this the hard way when my initial stain looked perfect in the bottle but turned out too dark on the wood. Testing revealed the subtle differences, saving me from major rework later.
Match the Base Color
Identify whether your oak has warm, cool, or neutral undertones. To do this, compare small test spots with the original finish, considering how the wood reacts to different stains. I found that a gel stain helped me control the depth and saturation better than liquid stains, allowing me to blend more naturally with the aged wood.
Adjust the Stain Application
Apply the stain with a brush or rag, following the grain, and wipe off excess promptly to prevent blotchiness. If the color is too dark, dilute the stain with a compatible solvent like mineral spirits. For lighter shades, build up in thin coats. My experience involved multiple thin coats, each carefully evaluated, which ultimately created a more accurate match than a single thick application.
Use a Finish to Seal and Match Sheen
Age often diminishes the sheen of old wood, so choose a finish that replicates the original gloss—be it matte, satin, or semi-gloss. Applying a compatible topcoat after staining helps unify the new and old surfaces. I learned that testing the finish first on my test patches prevented surprises on the actual cabinets.
Fine-Tune the Color
If the stain doesn’t match perfectly, consider mixing a small amount of complementary color tint into your stain before application. This technique requires patience and precise measurement but can yield the seamless blend you desire. I achieved a near-perfect result by adding a tiny touch of amber dye to warm up a too-cool stain.
Maintain Consistency Across All Cabinets
Once satisfied with the test results, apply the stain in sections, ensuring consistent technique and drying times. Remember, the appearance of aged wood is unique, so replicate your tested method uniformly. My mistake was rushing through the application on multiple cabinets, leading to uneven color; taking my time resulted in harmony.
Final Tips to Master the Match
Keep a detailed record of your stain mixture ratios, application methods, and drying times for future touch-ups. If you’re considering full understanding or consulting professionals, check out trusted sources or local experts who can provide personalized advice, like their team. This meticulous process will ultimately yield a cohesive look that respects the character of your aged wood, ensuring your project’s success.
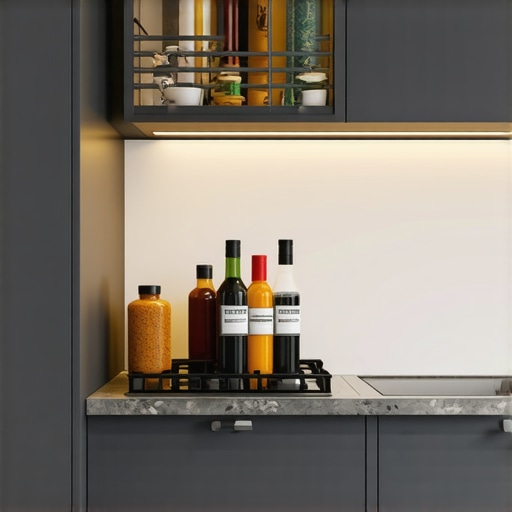
When embarking on a kitchen remodel or designing built-ins, many homeowners fall prey to misconceptions that can hinder the transformation. A prevalent myth is that choosing trendy hardware or minimalist designs guarantees timeless functionality. In my experience, focusing solely on aesthetics often neglects the importance of tailored storage solutions that serve your unique space and habits. For instance, opting for sleek, handleless cabinets without considering the reachability or internal organization can lead to frustrating access issues, especially in busy kitchens. One common trap is underestimating the importance of deep, customized drawers for bulky items like cookware, which traditional shallow cabinets simply can’t accommodate effectively. Making assumptions based on standard layouts might save initial costs but will trap you in ongoing clutter and inconvenience. The real secret is to analyze your daily routines carefully and invest in **smart storage hacks** that maximize every inch—like incorporating vertical dividers for baking sheets or pull-out trays for spices—elements often overlooked in generic designs. Have you ever fallen into this trap? Let me know in the comments. For that, I recommend reviewing expert tips on selecting storage solutions that complement both your lifestyle and the style of your home (source: expert advice).
Thinking beyond the basics, a nuanced detail that many miss pertains to the integration of built-ins with existing structures. For example, installing shelves or cabinets that don’t account for the room’s natural light or traffic flow can create obstructions rather than seamless usability. The hidden nuance here is the importance of fostering harmony between form and function—an aspect that elevates your project from mediocre to extraordinary. A common oversight is neglecting to incorporate accessible lighting within storage areas, which can render otherwise efficient spaces nearly unusable at night. Innovative solutions, like under-cabinet LED strips or motion sensors, are often skipped over yet provide significant benefits (source: modern ideas). When designing your space, consider how each element interacts—this is where expert insight truly makes a difference. Often, clients overlook the importance of door swing clearance or the placement of electrical outlets, leading to costly modifications later. To avoid these pitfalls, I suggest detailed planning with a focus on flow and accessibility from the outset, ensuring built-ins and storage integrate smoothly into your daily routines without creating obstacles. Remember, a well-thought-out plan that accounts for the hidden nuances in storage design can markedly improve your kitchen’s usability and style over time. Play it safe by consulting experienced professionals who understand these subtleties—visit their team for guidance.
Gear Up for Long-Term Success
Having the right tools is crucial for maintaining your custom cabinets and storage solutions over time. I personally swear by a high-quality orbital sander, like the Festool RO 150 FEQ, because it delivers a smooth finish and minimizes swirl marks, saving me from rework. Regularly using a fine-grit sanding pad helps keep surfaces looking fresh and helps existing finishes last longer, especially in high-traffic areas where wear is inevitable.
For cleaning, I rely on a microfiber cloth combined with a gentle, pH-neutral cleaner. This combo prevents buildup and preserves the finish, especially on delicate painted surfaces. Maintaining a consistent cleaning routine extends the lifespan of your cabinets and prevents the need for costly refurbishments down the line.
Software That Keeps Projects on Track
If you’re managing a large kitchen remodel or custom cabinetry project, investing in design software like SketchUp is a game-changer. It allows me to visualize every detail and make adjustments before committing to any physical work. Additionally, I use project management tools such as Trello or Asana to assign tasks, set deadlines, and monitor progress. Staying organized ensures everyone involved remains aligned, preventing delays that could compromise your storage solutions’ functionality.
Workshops and Routine Checks
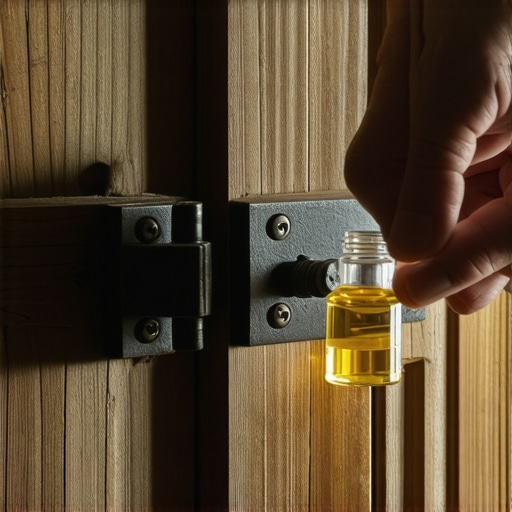
Scheduling periodic inspections of your cabinets and built-ins can prevent small issues from becoming major headaches. Tighten loose hinges, lubricate sliding mechanisms with silicone spray, and check for signs of moisture intrusion. I’ve found that proactively addressing these issues, rather than waiting for visible damage, preserves both the beauty and utility of your investment.
The Future of Maintenance Tools
Emerging trends point toward smart tools integrated with IoT technology — imagine cabinets that alert you when hinges need oil or wear is detected. Companies are developing sensors that monitor humidity and temperature to prevent warping or mold growth, prolonging the life of your storage solutions. Expect to see more of these innovations becoming affordable and widely accessible in upcoming years.
How do I keep my storage solutions functioning smoothly over time?
Consistency is key. Regularly clean and inspect your cabinets, oil hinges and slides annually, and use quality tools designed specifically for cabinetry maintenance. Incorporate smart sensors for advanced monitoring if you’re into high-end solutions. Adopting these practices can significantly reduce long-term costs and keep your storage spaces both functional and beautiful for years to come. Want to upgrade your understanding? Check out expert tips on selecting storage solutions.
Take the time to equip your toolbox with essentials like the Festool orbital sander, a set of precision screwdrivers, and silicone-based lubricants. These might seem like small investments, but they make a world of difference in maintaining the integrity of your custom kitchen. For more insights into durable hardware and long-lasting finishes, explore our modern remodeling ideas. Don’t forget, staying proactive is the secret to preserving your kitchen’s beauty and utility in the years to come.
Lessons from My Own Staining Mishaps in Kitchen Renovations
One of the toughest lessons I learned was that patience truly pays off when blending new stains with aged wood. Rushing to finish a project often leads to mismatched finishes that undermine the entire aesthetic—a costly mistake I encourage you to avoid by testing thoroughly before committing.
Understanding the unique character of your wood—its undertones, porosity, and aging process—is vital. I once believed a single stain color could be universally perfect, but now I know custom adjustments—like diluting stains or adding color tints—are essential for harmony.
Small details, such as the sheen level or the application technique, can make or break your look. Applying thin coats with a brush and assessing under natural light has saved me countless rework sessions. Remember, the beauty lies in the nuances.
Tools and Resources That Changed My Approach to Kitchen Refinishing
My go-to tools include the versatile orbital sander for smooth finishes and a high-quality brush set for precise stain application. These tools ensure consistent results and save time, making the entire process more enjoyable. Additionally, I rely on expert-guided tutorials that break down complex techniques into manageable steps, which I found invaluable during my projects.
Books like Wood Finishing for Dummies have provided foundational knowledge about how different woods respond to various stains and finishes. Participating in online forums or workshops, like those offered by industry professionals, has further deepened my understanding and refined my skills in creating seamless, vintage-meets-modern kitchen looks.
Your Next Step—Transforming Spaces with Confidence
Embrace the learning curve and view each project as an opportunity to hone your craft. The satisfaction of seeing aged oak blend effortlessly with new stain is truly rewarding and adds a personalized touch to your home. Remember, every misstep brings you closer to mastery—so don’t hesitate to experiment and trust your taste.
What’s been your biggest challenge when trying to match old wood finishes with new stains? Share your story below and let’s learn together!